Ice Chalk

Nothing beats playing with ice chalk on a hot summer afternoon, because the warmer the weather, the better it works. Frozen chalk makes a great art, science, and sensory experience because it melts into puddles of oobleck. Get ready to get messy!
DIRECTIONS

1. Stir together the water and cornstarch. Keep mixing until the cornstarch is incorporated and the liquid is completely smooth.

2. Divide the mixture evenly into bowls, one for each color of ice chalk you’d like to make.

3. Stir a few drops of dishwashing detergent into each bowl. This step is optional, but it will make cleanup easier later.

4. Tint each batch using either food coloring or liquid watercolors. Use plenty of color because it will lighten as it freezes.

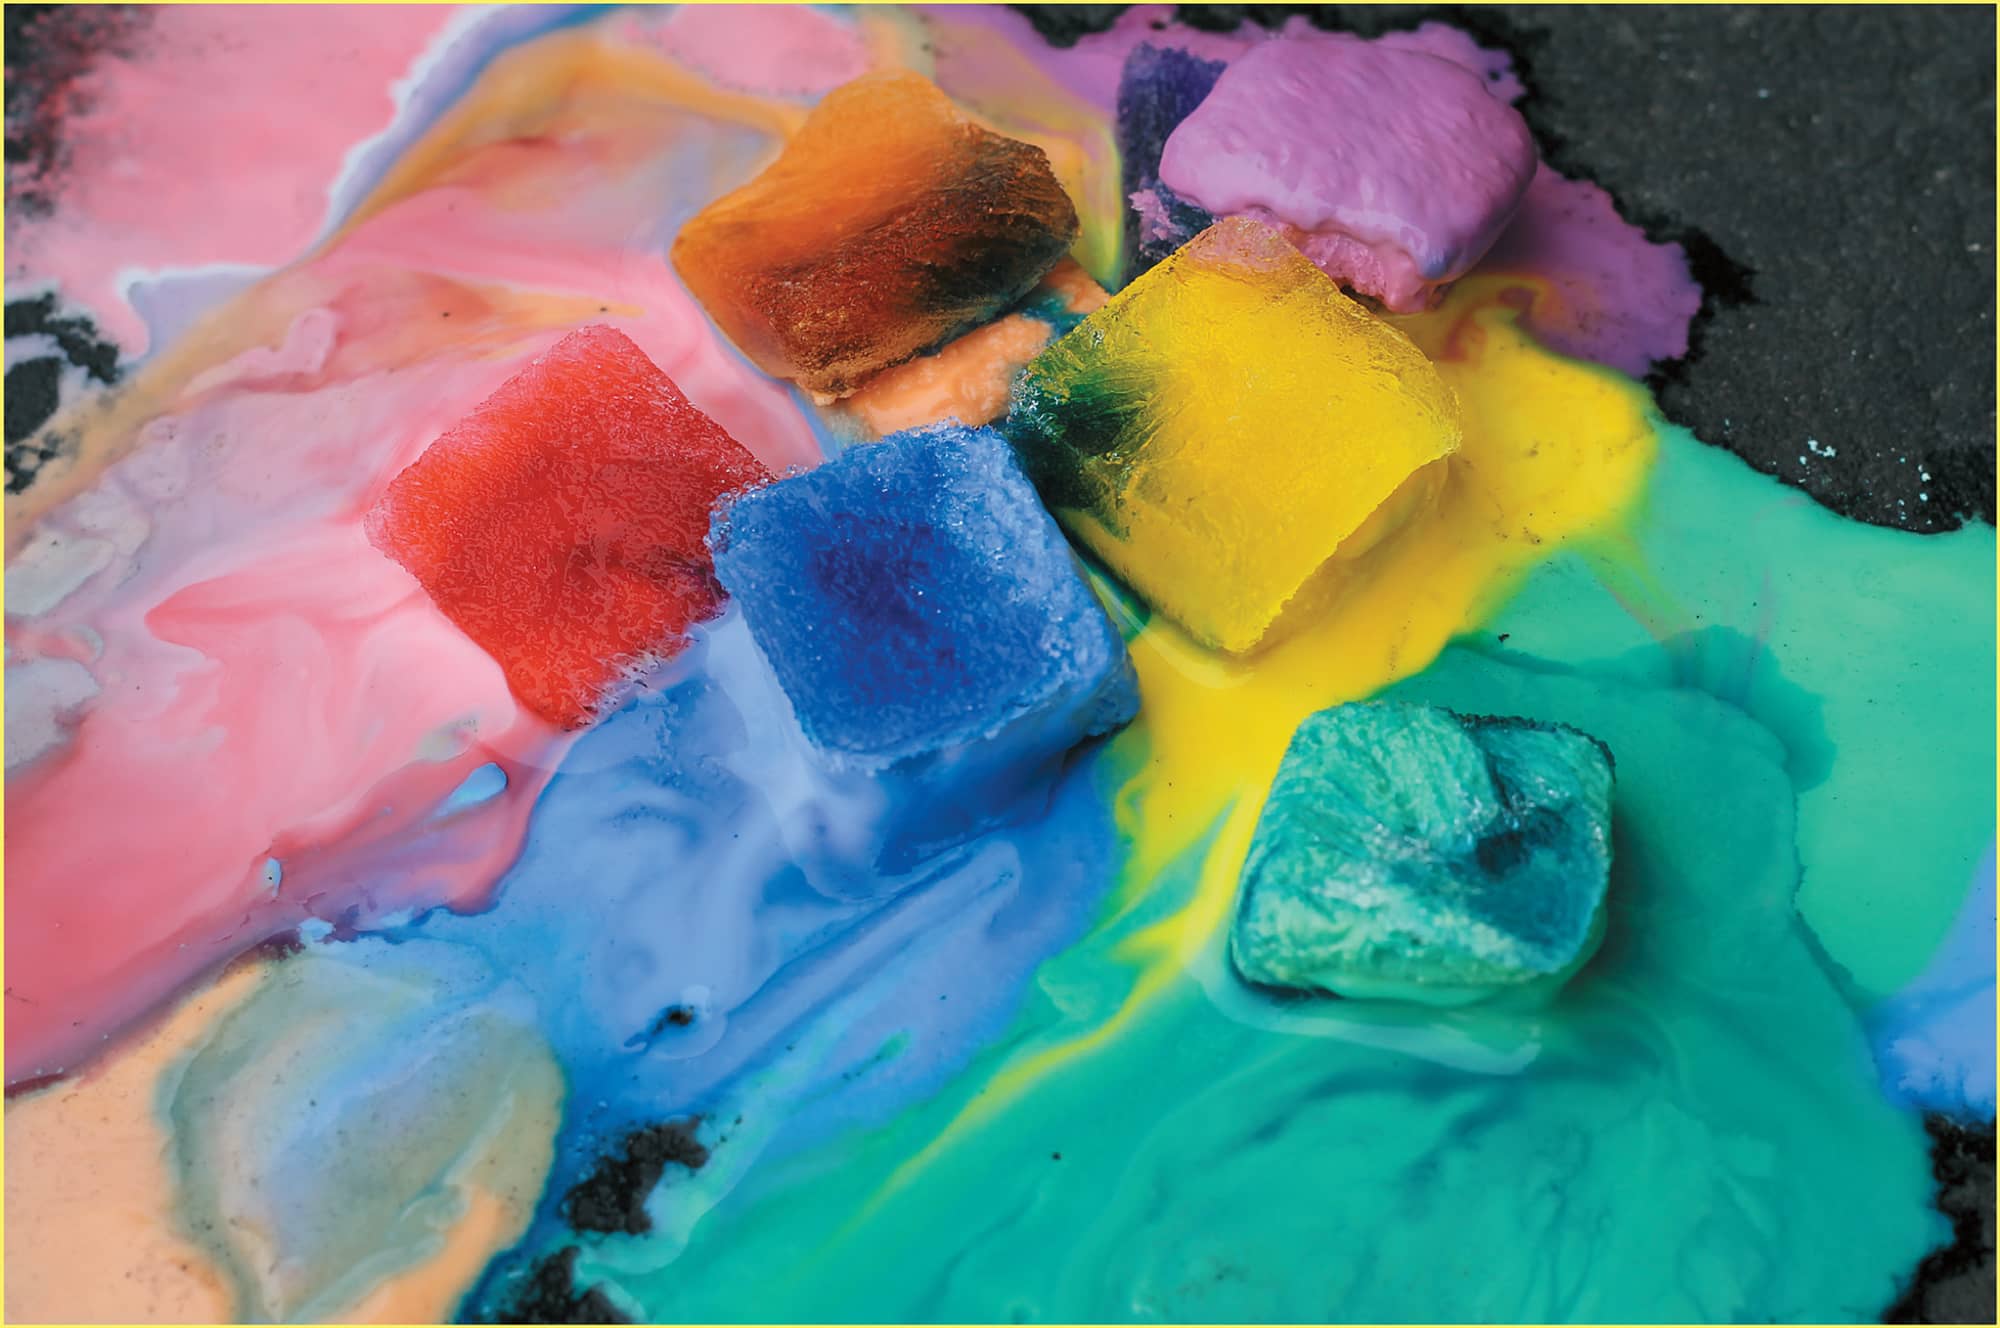
5. Immediately pour the liquid into an ice cube tray, and place it in the freezer until the ice chalk is solid. The cornstarch may settle slightly while it’s in the freezer, but it won’t affect how the ice chalk works.

6. Once frozen, pop the ice chalk out of the trays and it’s ready to use.

7. At first it may look like your ice chalk won’t work for drawing on the pavement, but as it dries, the colors will become more vibrant. Have fun experimenting with the melting times of your ice chalk, and explore the ways you can mix the colors.