
Homemade Sidewalk Chalk

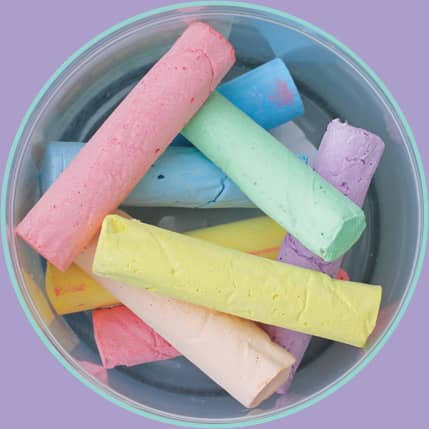
Making your own sidewalk chalk is almost as much fun as drawing with it. It’s easy, inexpensive, and can be made in any shape or color. The hardest part of this project is waiting for the chalk to dry! This recipe makes approximately two standard sticks of sidewalk chalk in a single color.
DIRECTIONS

1. Depending on the size you’d like your chalk, you may have to adjust the size of the cardboard tubes. If they’re too long, use scissors to cut them shorter. If they’re too thick, remove a strip of cardboard from the tube by making two cuts lengthwise.

2. Use a piece of duct tape to secure the two sides together, making sure to seal the seam completely. Cover one end of each cardboard tube with duct tape. Line each tube with a small sheet of wax paper cut to size. This will keep the chalk from sticking to the cardboard tube.

3. In a disposable cup, stir together the water and paint until thoroughly combined. Add the plaster of paris, and then mix well.

4. Pour the mixture into a sandwich bag and seal. Snip off one corner of the bag, and pipe the mixture into each cardboard tube. Dispose of the container you used to mix the plaster in the trash. (Do not pour plaster of paris down the sink because it will clog the pipes!)
 Tip
Tip
You can make chalk in different shapes using premade molds. Be sure to coat the inside of the molds generously with petroleum jelly before adding the chalk mixture. Ice cube trays, silicone molds, and candy-making trays all work well for making unique chalk shapes.

5. Tap the mold gently on a hard surface to settle the chalk mixture and to release any air bubbles. Allow the chalk to dry for a few hours.

6. When the chalk feels firm, remove the tape, tube, and wax paper.
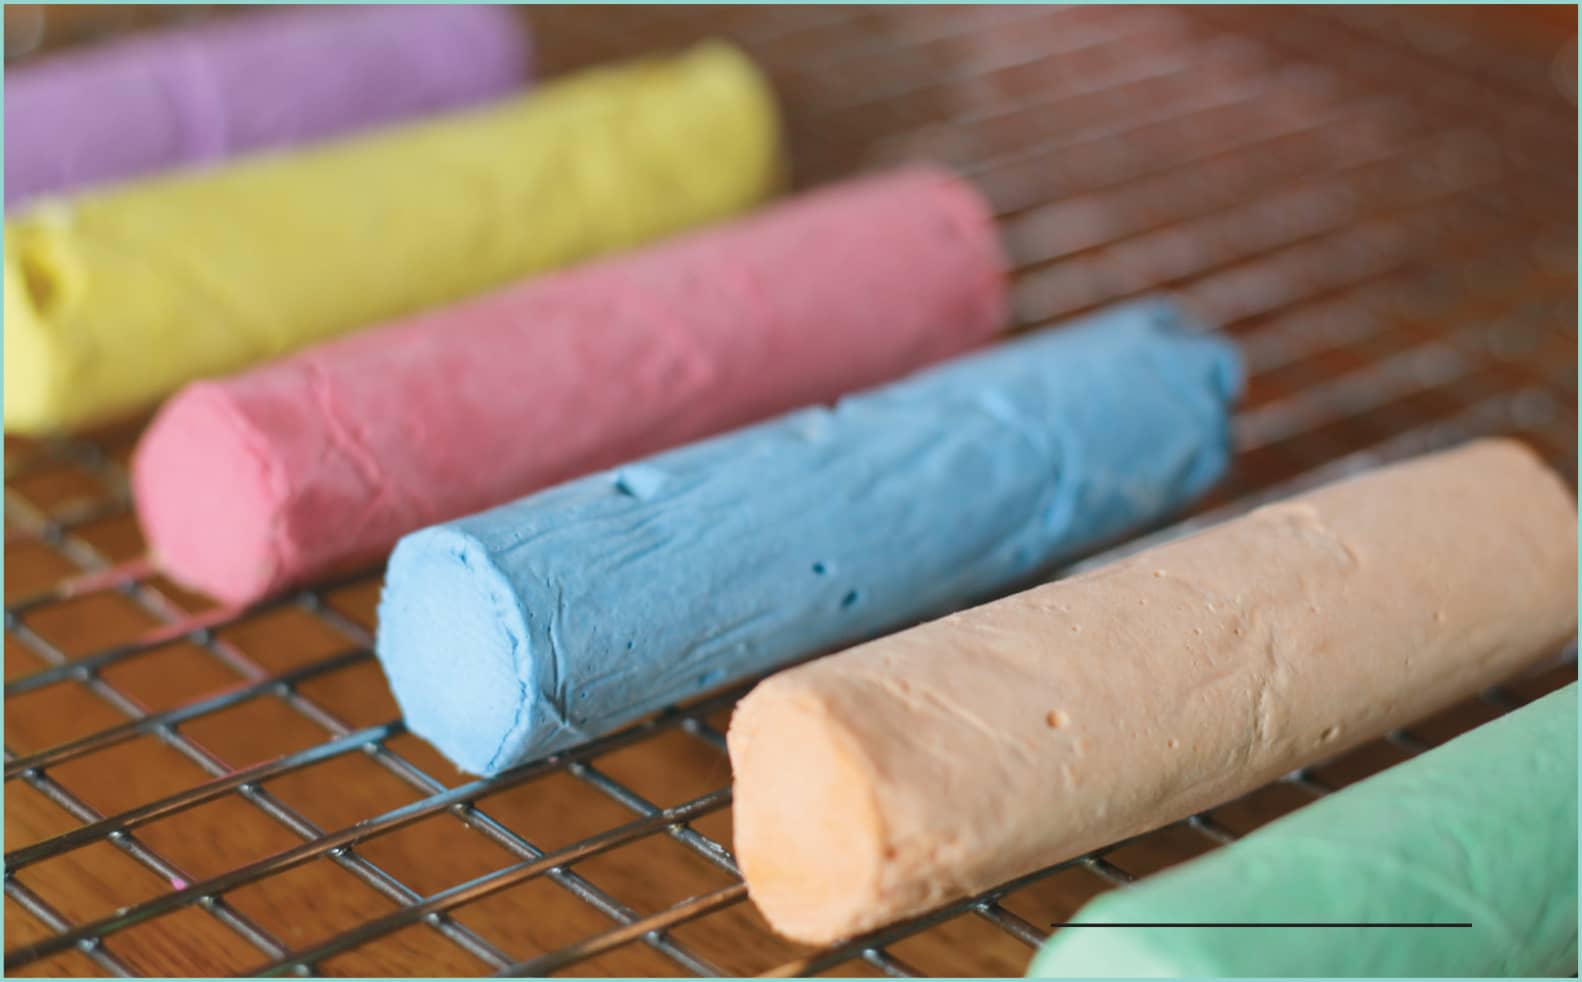
7. Allow the chalk to dry on a rack for at least 24 hours before using it.
HOW IT WORKS
After the mixture is poured into the molds, touch the outside of the cardboard tube at regular intervals to see if it’s warm. Any increase in temperature you feel is caused by a chemical reaction called an exothermic reaction, which releases energy in the form of heat. This occurs when water is mixed with plaster of paris. Once the plaster has hardened, it will no longer release heat.