
In this recipe, we will discuss how the level of tracing effects the information being collected. The level of tracing is important when we search for the root cause of a problem. When the tracing is too verbose, we might not see the error message. On the contrary, when the tracing is not very verbose, we might spot the problem only after the BPEL process has been terminated by the fault.
We will adjust the log level through the Oracle Enterprise Manager Console. We log in with the administrator account and follow the next steps:
- Select soa-infra from the tree on the left side. Then, right-click on soa-infra and select Logs | Log Configuration.
- The Log Configuration window opens and we have two tabs to choose from as shown in the following screenshot. The Log Levels tab is used for changing the level of tracing that we use for a particular logger:

- Under the Logger Name column, select the logger for which you want to adjust the log level.
- With the help of a drop-down menu, we adjust the level of tracing as shown in the following screenshot:

By defining the lowest level of tracing, we get the maximum verbosity of tracing possible. Note that the lower trace levels also enable the tracing from all log levels that are higher.
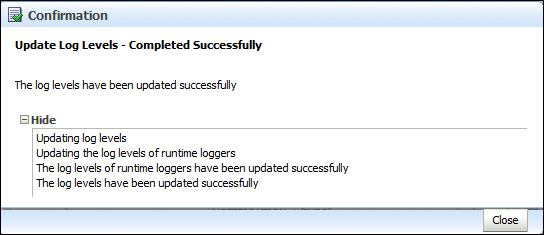
- Click on the Apply button for the changes to take effect. In case you change your mind, choose the Revert button to discard the changes:
The tracing and logging model in Oracle SOA Suite is based on the Oracle diagnostic logging (ODL) model and shares similarities with the Java Utilities Logging (JUL) facilities. This is also shown in the Oracle Enterprise Manager Console where the log level option contains its corresponding log level in the JUL.
Remember: in this chapter, we define two custom loggers:
From the aspect of setting the log level, there is one significant difference between these two approaches.
In the first approach, the logger is completely integrated into the Oracle SOA Suite logging mechanism. Therefore, it is possible to change the level of tracing from within the Oracle Enterprise Manager Console. Also, the changes are applied immediately.
On the other hand, the second approach is less flexible. We have to handle the log configuration changes outside of Oracle SOA Suite. Also, as we develop it, the changes to the log level do not take effect on the already running instances of the business processes. Rather, the changes do take effect only in the newly initiated business processes.
In the recipe Configuring the logfiles, we defined a new logfile for our custom logger. Remember we said that although the logfile is created, there are still no log messages in the file. We will configure the log level of our custom logger now.
In the following steps, we will show you how to configure the log level of the custom logger through the Oracle Enterprise Manager Console:
- Go to the Log Levels tab in the Oracle Enterprise Manager Console.
- From the view, select Loggers with Persistent Log Level State. A section opens as shown in the following screenshot:

- Enter the logger name and the log level and click on the Apply button.
- Now we have to define to which logfile the logger will send messages. Thus, go to the Log Files tab and select packt-log-handler and then click on the Edit Configuration… button.
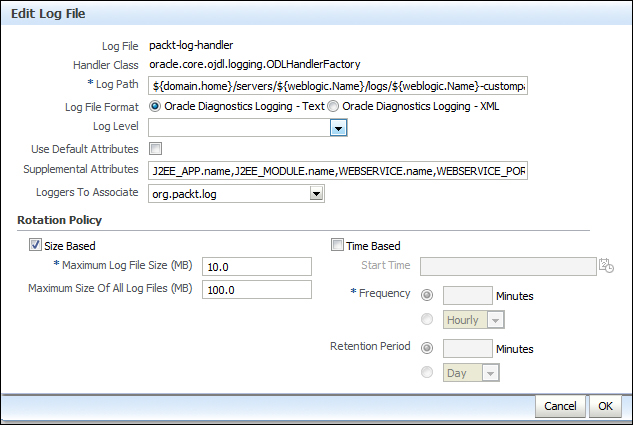
- Now you have to associate the logger with the logfile. Choose the org.packt.log logger from the drop-down menu of the Loggers To Associate option. Then, click on OK.
- If you run the BPEL process which uses our custom logger now, you'll see the following line in the logfile:
[2013-03-10T16:43:09.994+01:00] [AdminServer] [WARNING] [] [org.packt.log.Logger] [tid: 14] [userId: <anonymous>] [ecid: e84bae63a4864aa7:-7492ef57:13d54c9a59f:-8000-0000000000000f43,0:2] [WEBSERVICE_PORT.name: BPELProcessSeq_pt] [APP: soa-infra] [composite_name: SeqBPEL] [component_name: BPELProcessSeq] [component_instance_id: 140005] [J2EE_MODULE.name: fabric] [WEBSERVICE.name: bpelprocessseq_client_ep] [J2EE_APP.name: soa-infra] Hello from JUL process with id: 140005