
Now is the right time to look at one simple process in Activiti. We will be using the Eclipse IDE for designing the business process (the details of configuration are covered in Chapter 3, Designing Your Process Using the Activiti Designer). For now, we will just gain an understanding about creating a process.
We will create a simple leave process for employees in which we will have a script task and a user task. A script task is used for adding some logic within a process and a user task is used to indicate that there is some human interaction required in the process (there is a detailed explanation regarding tasks in Chapter 2, Modeling Using the Activiti Modeler).
Perform the following steps to create a process in Activiti:
- Create a new Activiti project in Eclipse by navigating to File | New | Project | Activiti Project and name your project
SimpleLeave-Process. - The
SimpleLeave-Processproject will have a folder structure as shown in the following screenshot: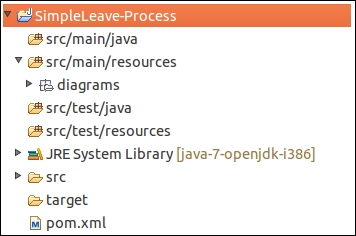
- Now create an Activiti Diagram in the
src/main/rersource/diagramsfolder structure. - To create a diagram, navigate to File | New | Other | Activiti Diagram and name your diagram
SimpleLeaveProcess. The folder structure is shown in the following screenshot:
- On opening the
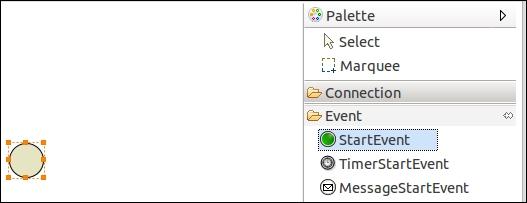
.bpmnfile, a white canvas will appear on which you can design the business process. - To draw a business process, there is a Palette option available which contains most of the BPMN diagrams for designing the business process. First, we will be adding a StartEvent on the canvas from the Event tab of the Palette option. All these options are shown in the following screenshot:
- To add a script task, click on StartEvent and it will display the options as shown in the following screenshot. From those options, select the new element option, which will list down all the elements; from those elements, select Create script task, as shown in the following screenshot:

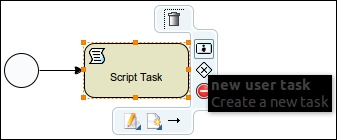
- To add a user task, click on Script Task and select new user task, which is the option displayed with a human icon as shown in the following screenshot:
- As each and every business process should have at least one end event, to add an end event, click on User Task and select the new end event option, as shown in the following screenshot:

- After adding the end event to the process, your business process should look similar to the following screenshot:

- Now we have to make some changes to the properties of the process.
- First, we will change the properties of the start event. Select the start event, open the Properties tab, and add Form Properties in the Form tab using the New button as shown in the following screenshot:

- Now, edit the properties for the script task. In the Main config tab, there is a Script field available; within that, insert the print statement
out:println"ApplyforLeaveby"+Empname;. TheEmpnameproperty is the form property that we created in the start event. The script task will print the message on the console when it is executed, as shown in the following screenshot: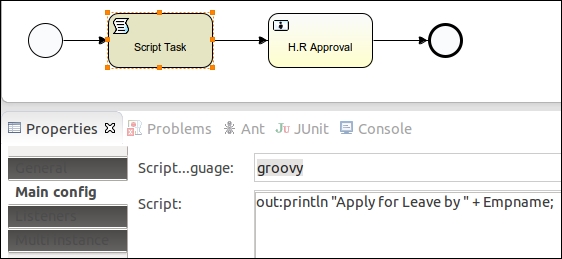
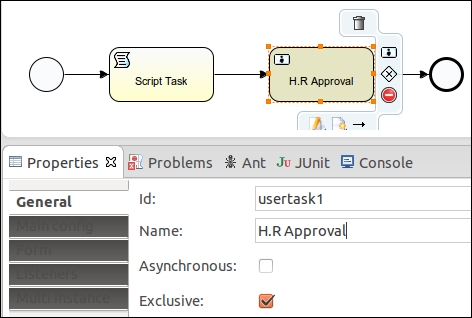
- Now we will edit the user task properties. In the General tab, we will populate the Name property, which will be displayed in the user task node, as shown in the following screenshot:
- As the user task is to be performed by a specific user, we have to provide the name of the user who will be responsible for executing it.
- We have to populate the Assignee property of the Main config tab with the name of the person to whom the task should be assigned; as shown in the following screenshot, we will be assigning it to
kermit: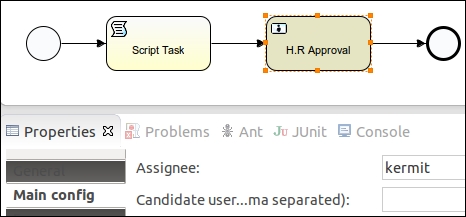
- We can also view the
.bpmnfile in the XML format. Right-click on theSimpleLeaveProcess.bpmnfile, browse to OpenWith | XML Editor, and it will be available in the XML format. The result of this step is shown in the following screenshot: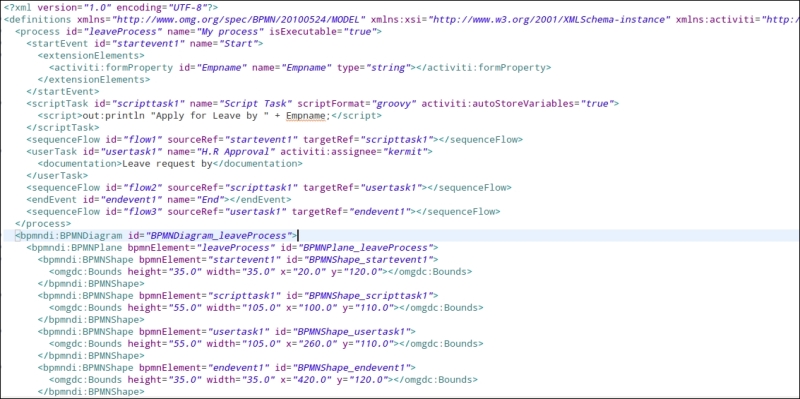
..................Content has been hidden....................
You can't read the all page of ebook, please click here login for view all page.