STEP-BY-STEP PROJECT
POPSICLE ART
Kids are going to love making acrylic skins! Here, your child is strongly encouraged to think outside the box and create the coolest and wildest popsicles imaginable. Use a dirty pour flip cup technique in this project with very little paint; your acrylic skins do not need to be big. It is important to remember not to mix too many dark colors in your pours, or your popsicles may turn out too dark or muddy-looking. This project will require additional time to complete because acrylic skins can take 36 to 48 hours to dry completely.
STEP 1
Have kids prep their workspace by laying down a sheet of wax paper or a vinyl tablecloth. If using a baking sheet, line it, including the edges, with wax paper to protect it from paint. Lay a silicone mat on top.
Pour a small amount of each paint color into a separate cup; then add pouring medium. We used 21/2 parts pouring medium to 1 part paint. Add a small splash of water and mix thoroughly, ensuring that there are no clumps. If your child wishes to add cells to their designs, replace the water with a splash of rubbing alcohol or 1 or 2 pumps of dimethicone in each paint cup. Mix thoroughly.

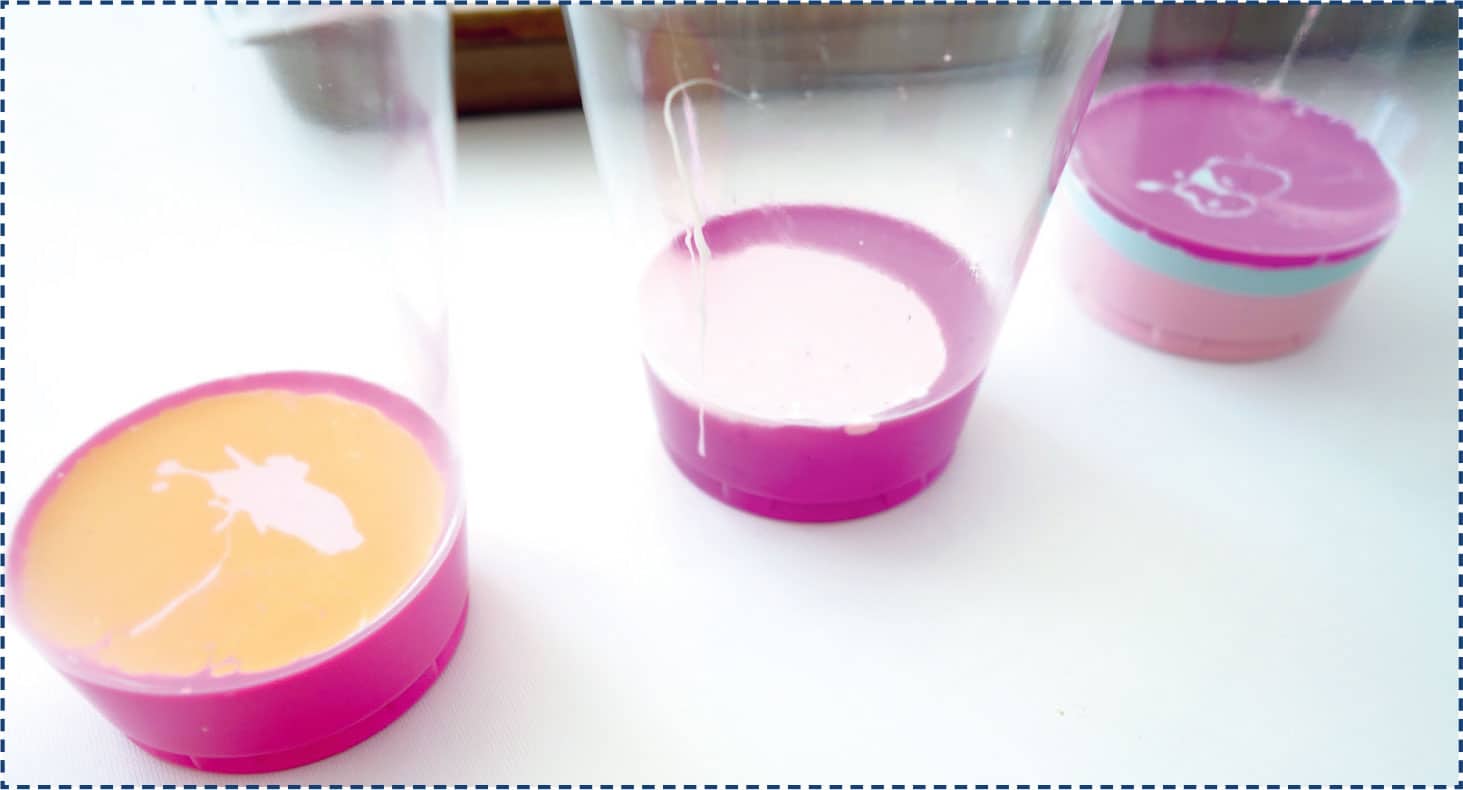
STEP 2
Now your child can create two or three different dirty flip cups. We added a little bit of white to each cup and then a combination of the prepared colors.
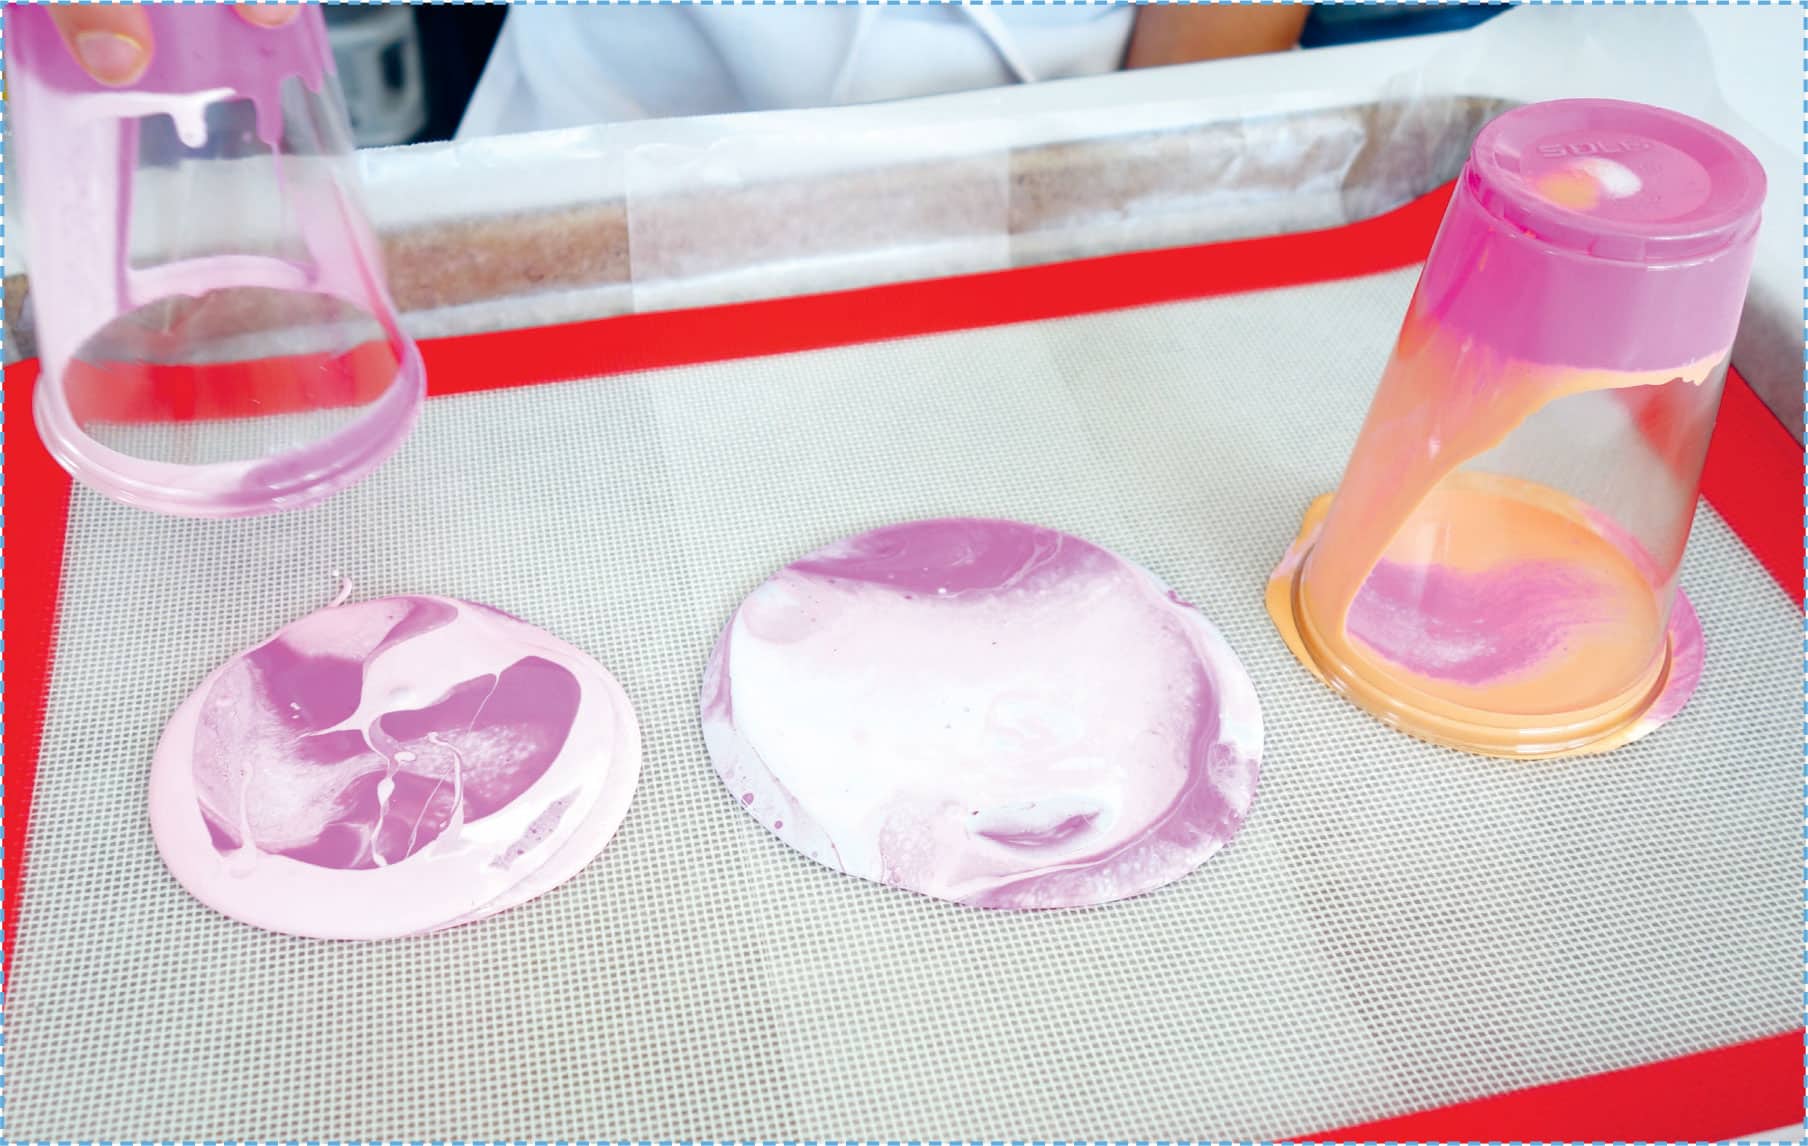
STEP 3
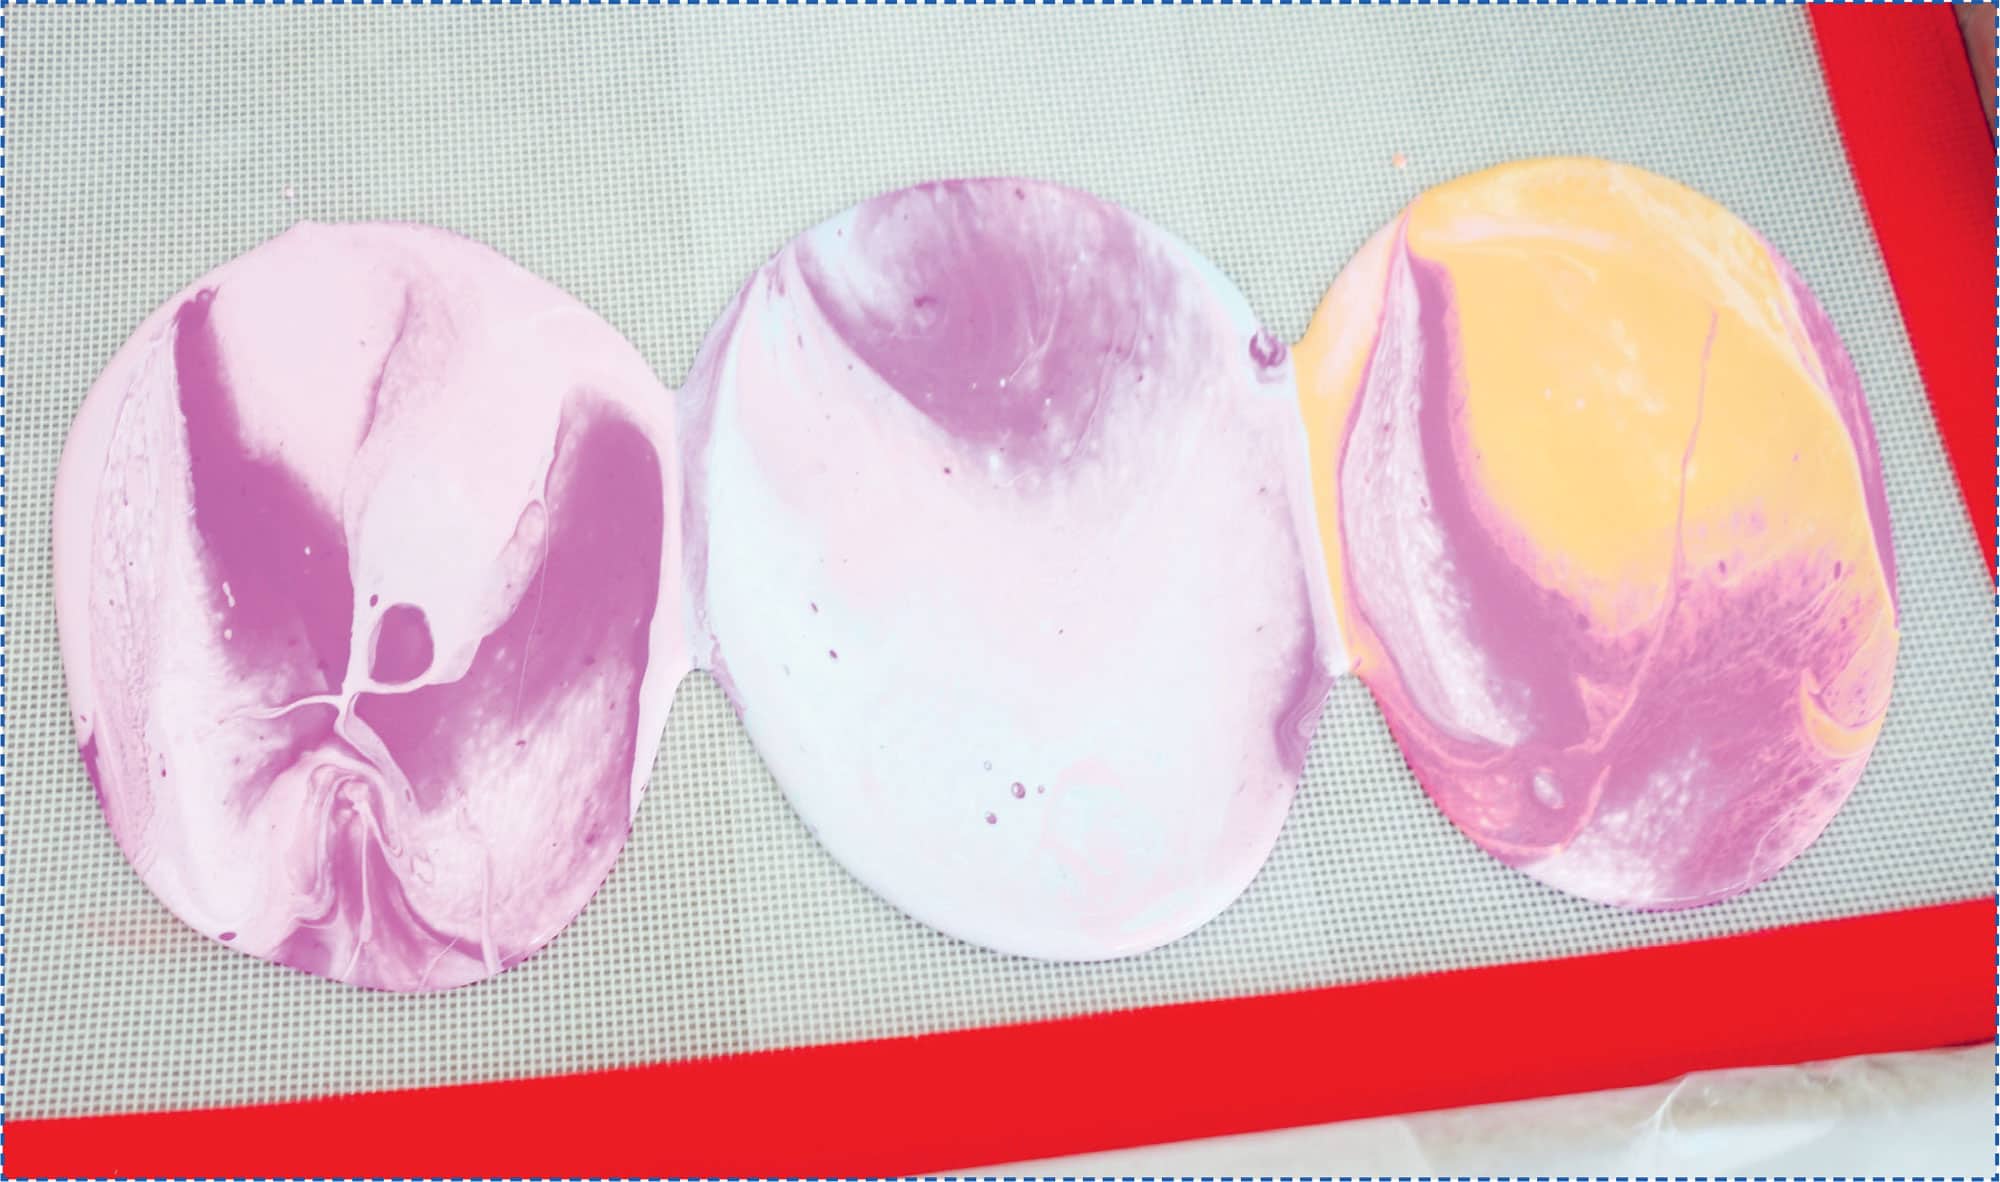
Using the flip cup technique (shown here), apply the paint to the silicone mat. Flip each cup onto the mat, one at a time; then let them sit upside down until all three cups are on the mat.

STEP 4
Gently remove each cup, slowly releasing the paint.
STEP 5
Help your child pick up the baking sheet, tilting and tipping it to allow the paint to flow and cover more of the silicone mat. Remove any noticeable globs of paint with a toothpick.
STEP 6
Set the baking sheet aside on a flat surface and let the acrylic skins dry for 36 to 48 hours.
Once the skins are completely dry, gently lift them from the silicone baking mat.

STEP 7
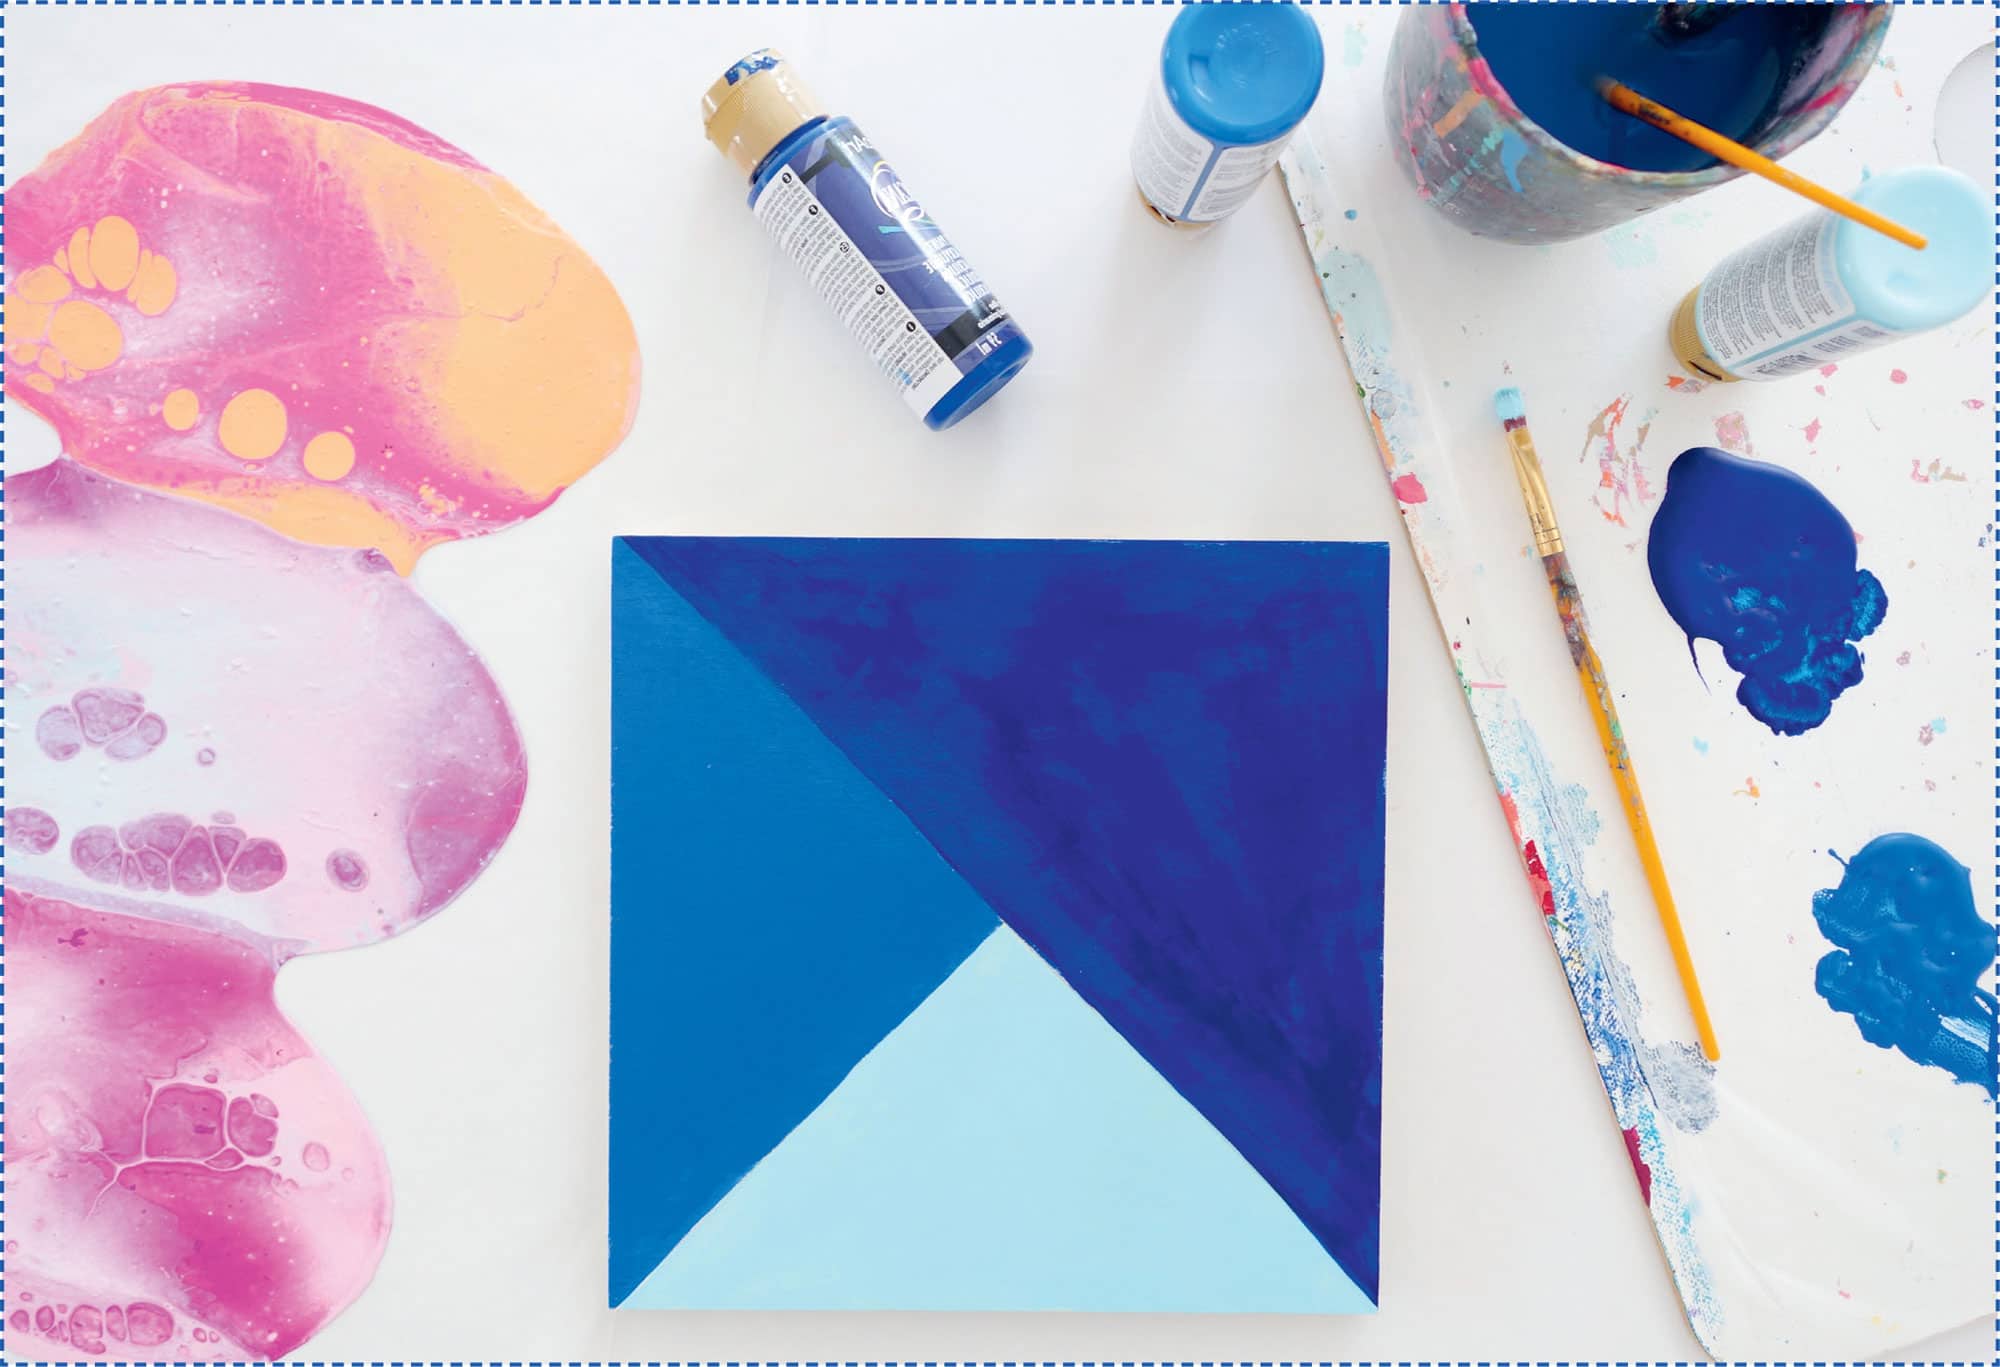
We chose to create a geometric pattern and color blocks for our background.
Using a ruler, mark the areas you wish to divide with a pencil, and start painting. Let the background dry completely before moving on to the next step.
STEP 8
Cut a popsicle shape from scrap paper; then trace the shape onto the acrylic skins.

STEP 9
Cut popsicle shapes from the acrylic skins and place them on the surface to play around with the layout. Then help your kids cut out popsicle sticks from scrapbook paper. Once you’re happy with the layout, it’s time to glue all of the pieces in place!

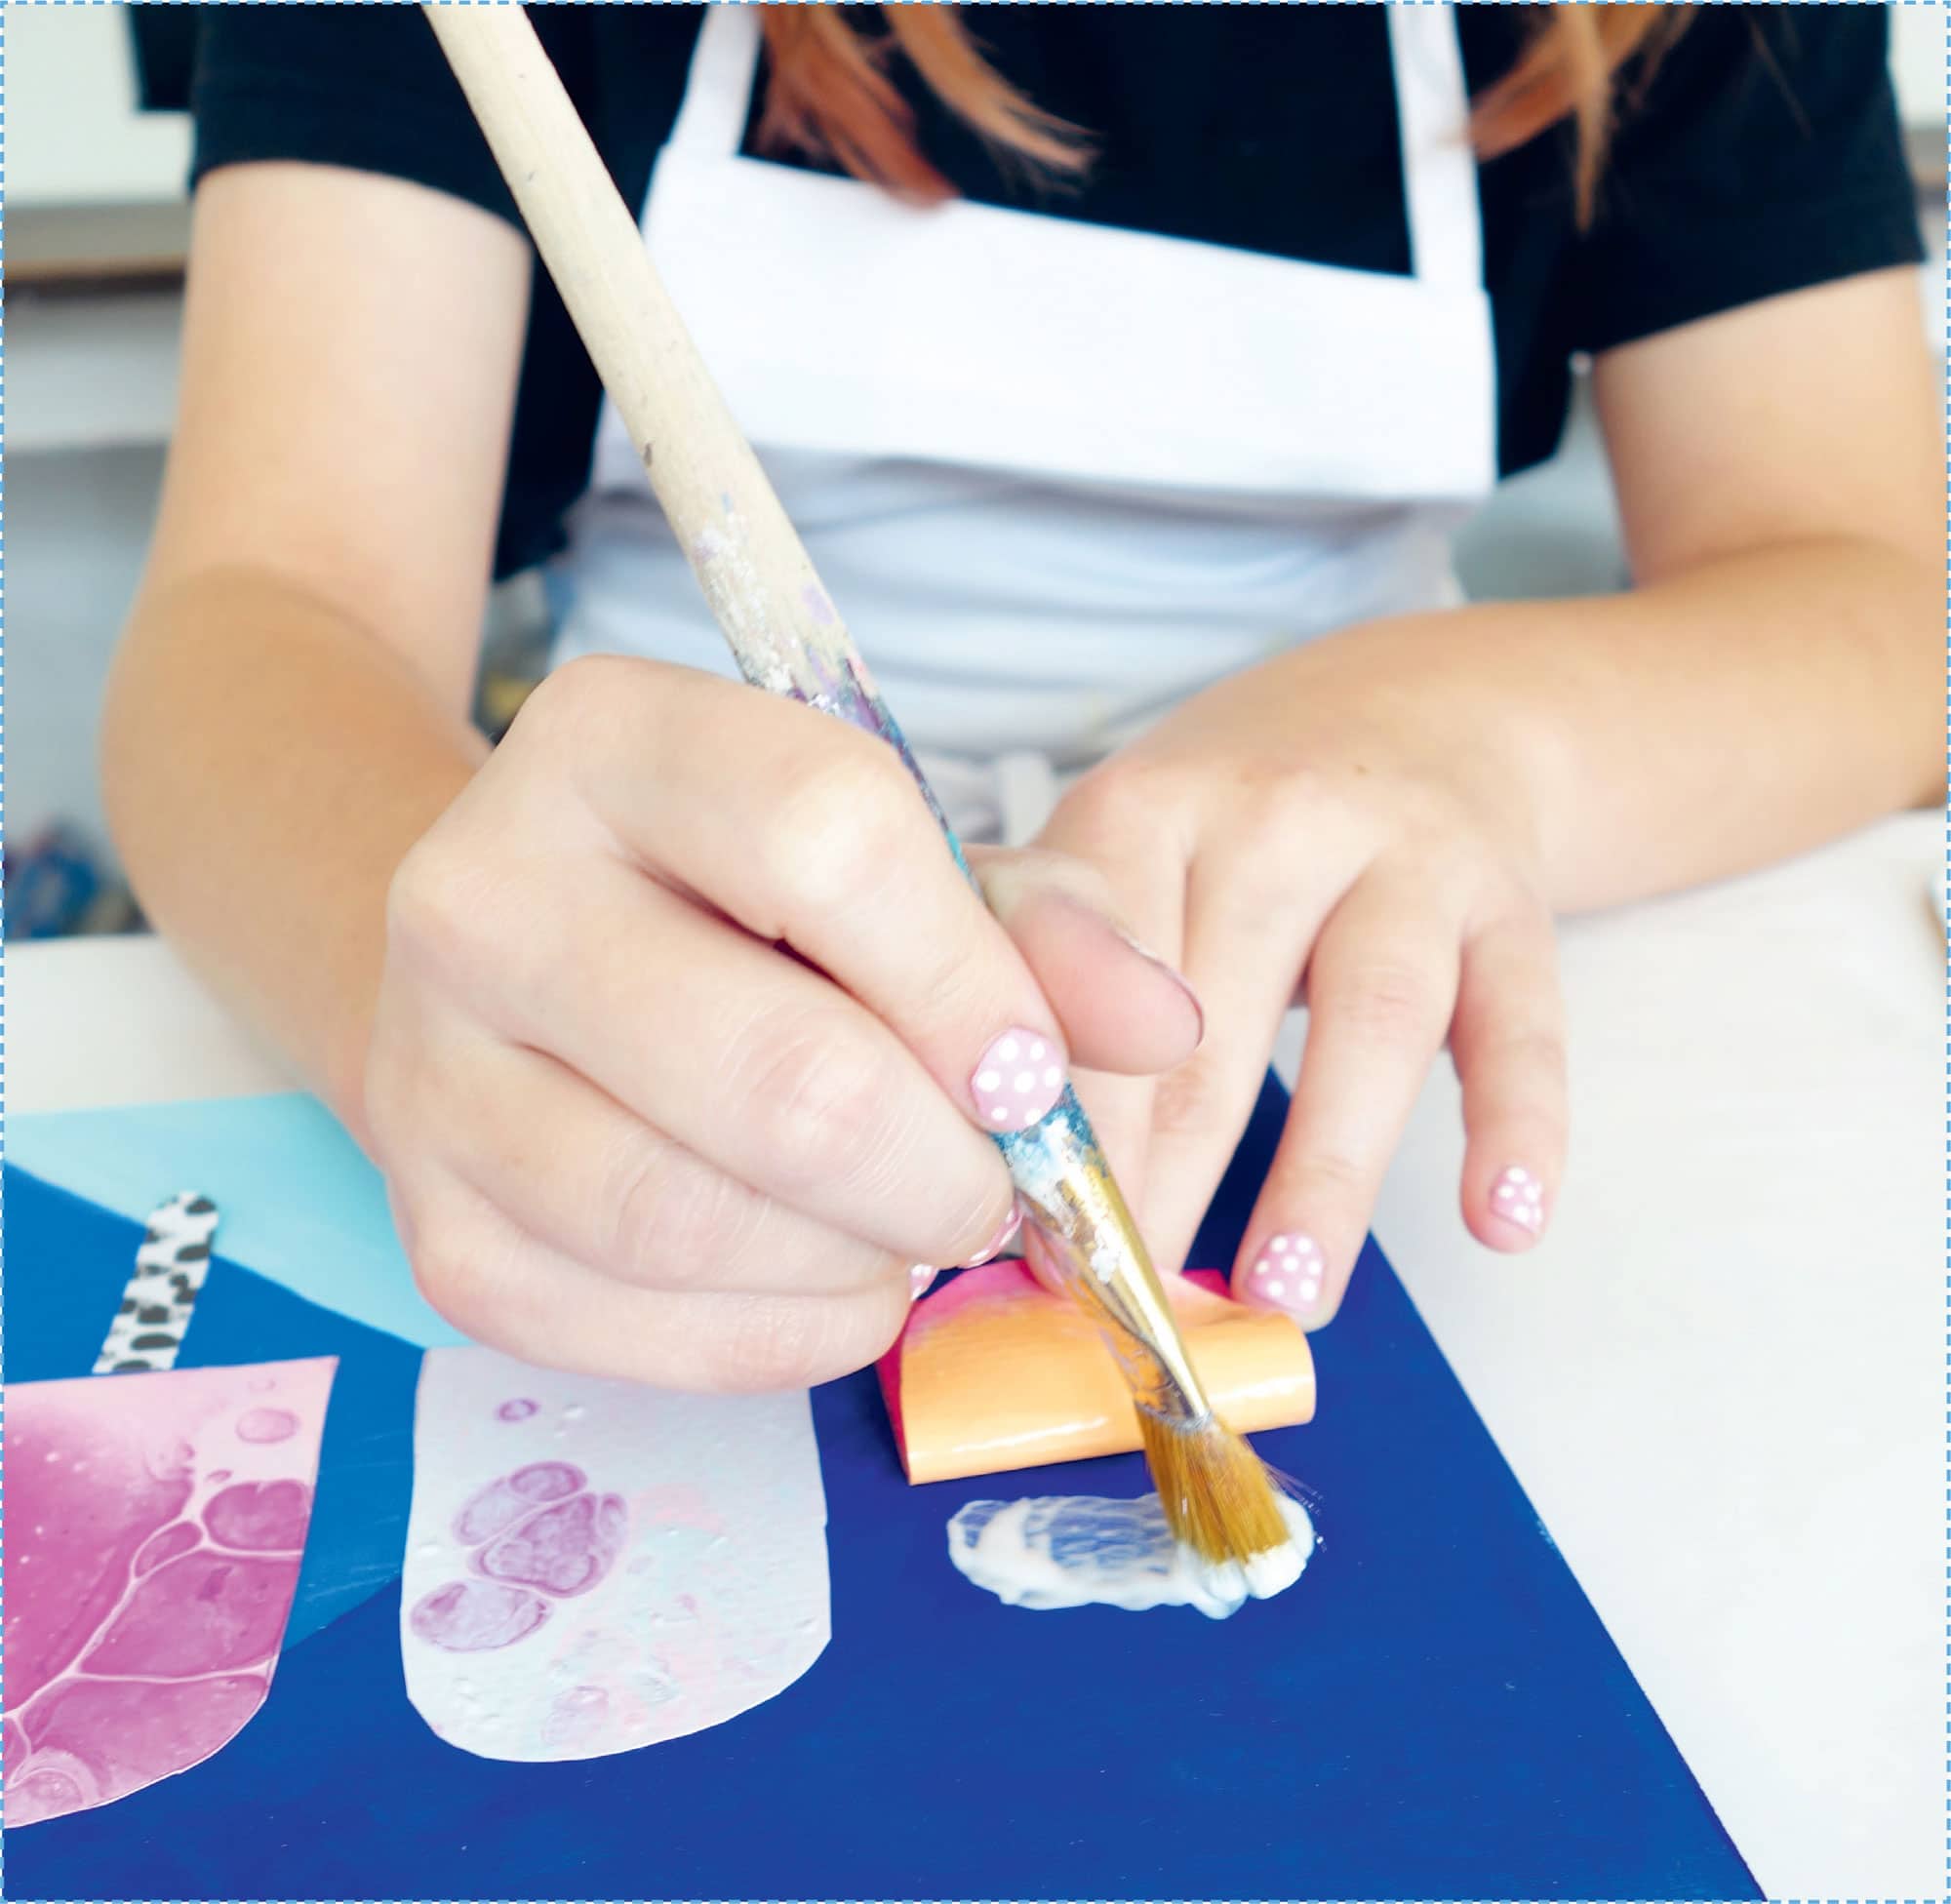
STEP 10
Mod Podge glue works best when applied under and over artwork. Have your child gently lift each piece, one section at a time, gluing down each popsicle and then the sticks. Then brush a thin layer of Mod Podge over the surface, and your child can use their fingers to press down and smooth out any air bubbles. The glue will dry completely clear.