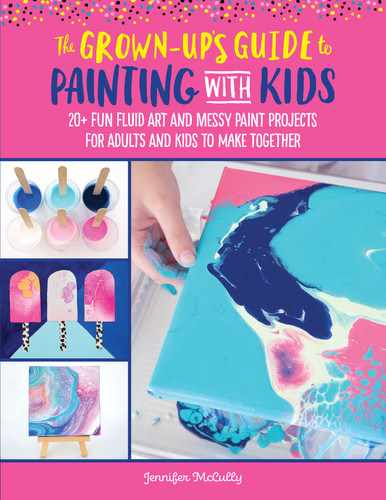
STEP-BY-STEP PROJECT
WITH ALL MY HEART
• Optional: sawtooth hanger A heart symbolizes love, but also unity, friendship, kindness, thankfulness, and gratitude. When creating this project, have your child think about someone or something special. Projects made with love are always the most thoughtful, and this one-of-a-kind heart will be cherished for years to come.
Please note that extra drying time will be needed to complete this project, as the CraftWrap must be completely dry for you to pour paint on the heart.
STEP 1
Gather the supplies and have your child set up the creative space by laying down a vinyl tablecloth and a few sheets of wax paper.

STEP 2
Have your child draw a heart on sturdy cardboard. The heart we created measures 61/2” x 5”. The shape of your heart can be larger or smaller—it’s up to you and your kids!
Once your kids are happy with the shape and size of the heart, help them cut it from the cardboard using scissors or a utility knife.

STEP 3
Crumple strips of foil to form wads and “fill” the interior of the heart. The foil should go all the way to the edge of the heart. Press down on the foil to level the pieces to a consistent height. We used four child’s-fist-sized wads of foil to “fill” our heart.

STEP 4
Wrap duct tape around the heart to hold the foil in place. Have your child wrap the duct tape as smoothly as possible around the entire heart, pulling tightly from edge to edge until all of the foil is covered.


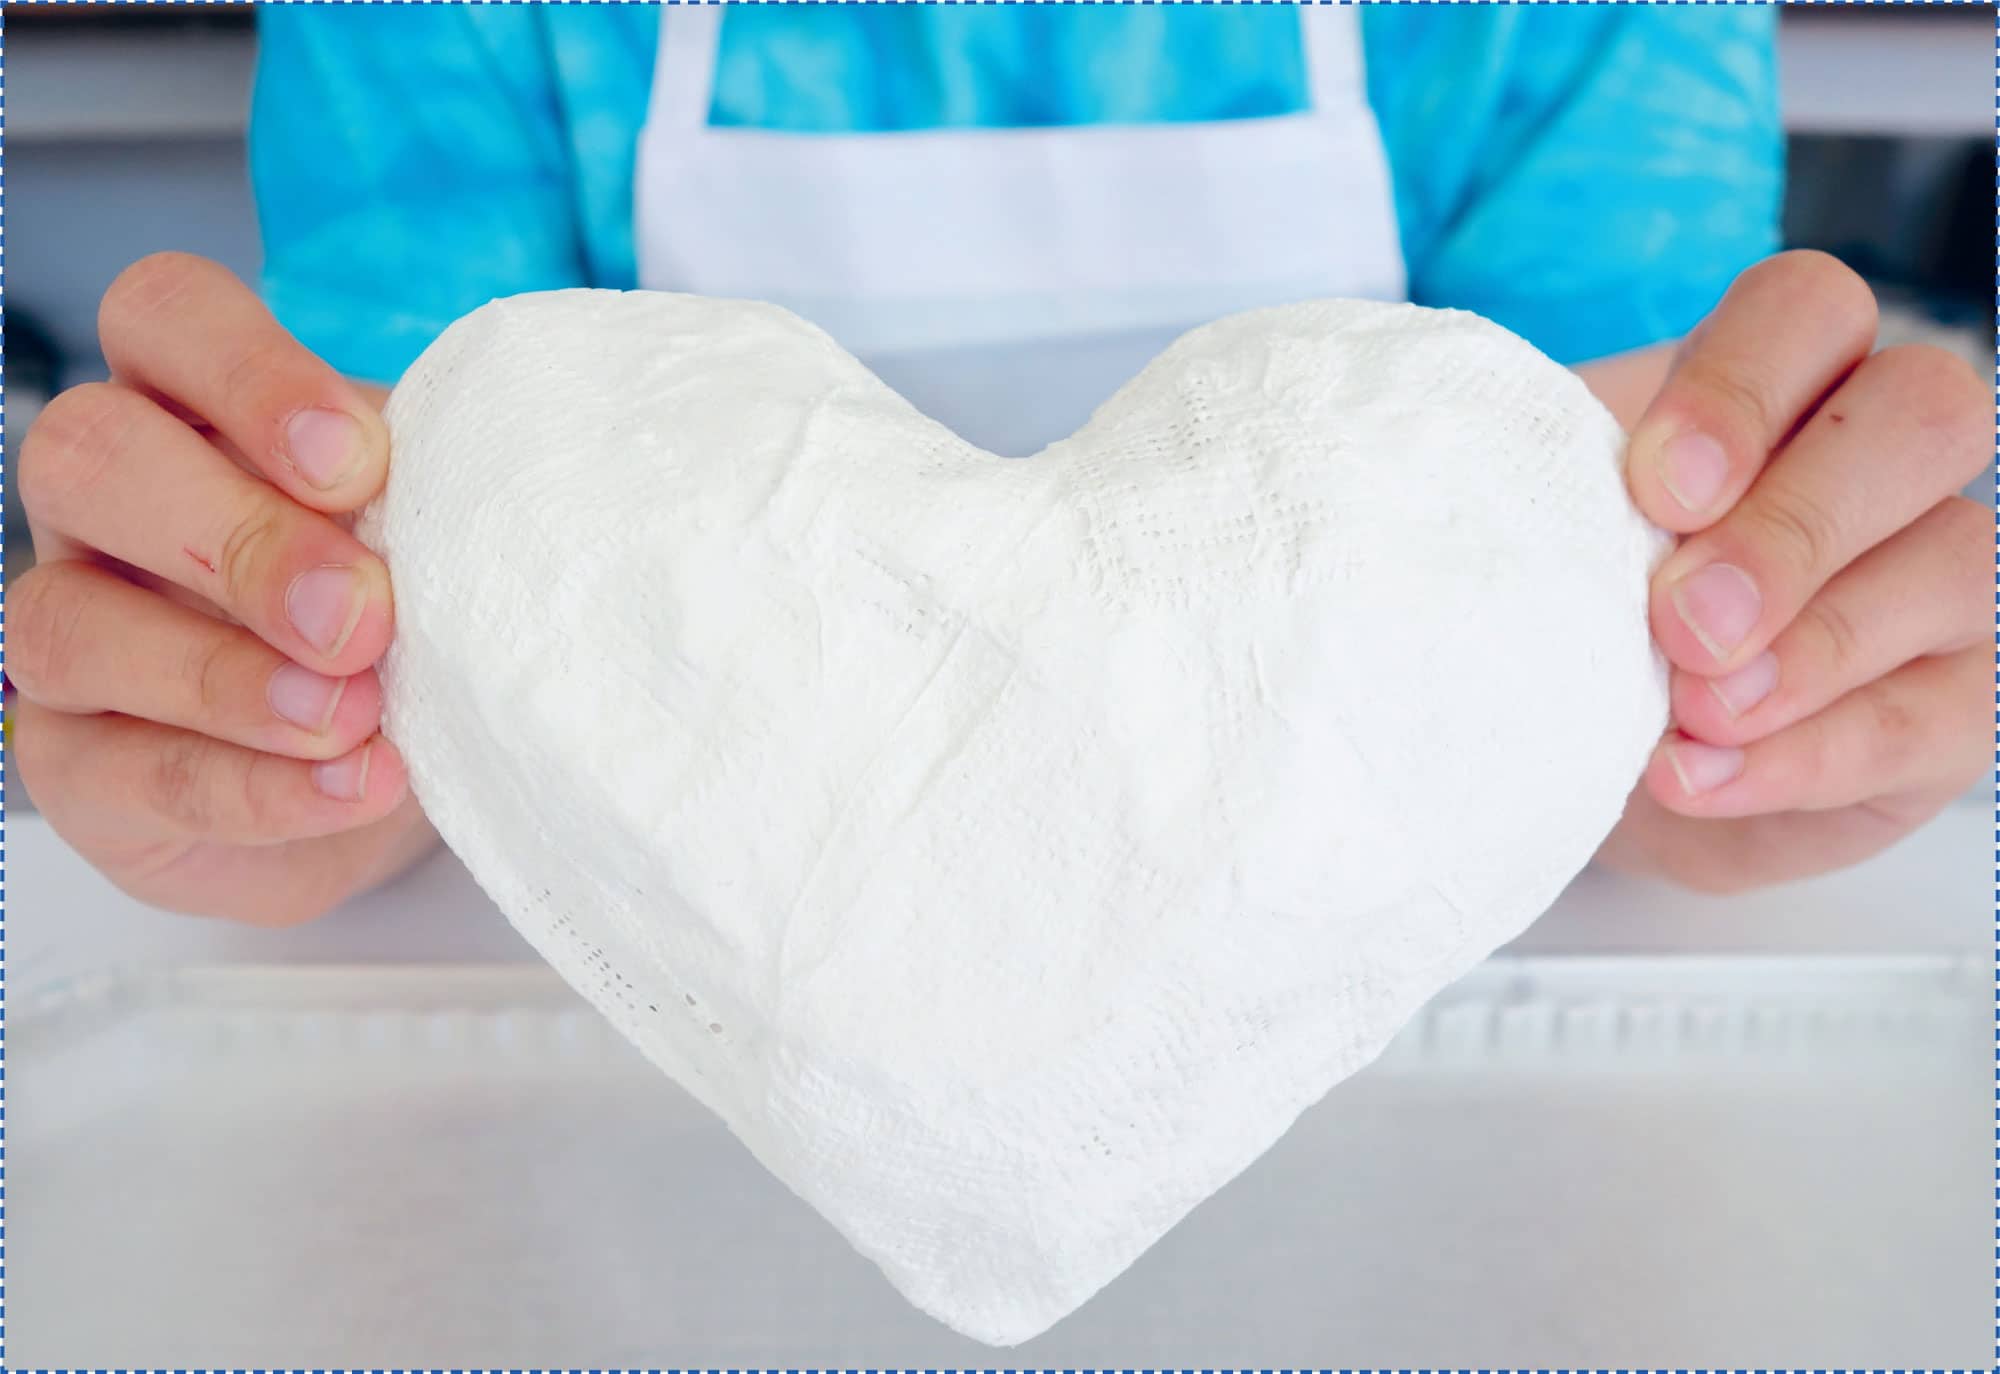
STEP 5
Complete this step on top of wax paper so that the heart does not stick to your work area. Cut about a dozen 1- to 11/2-inch strips of CraftWrap. It is easier to work with small pieces and cover the heart one section at a time. Dip each strip of CraftWrap in water, making the CraftWrap completely soft so that your child can mold and form it around the heart.
Smooth out each CraftWrap strip with wet fingers. Repeat until the entire heart is covered, including the back.
Let the heart dry and harden completely for about 24 hours on a clean sheet of wax paper. Flip the heart halfway through the drying time to help it dry and harden on both sides.


STEP 6
Help your child lay a sheet of wax paper on a foil tray, and place the heart on top of an upside-down cup. This will ensure that the poured paint runs down all sides and edges of the heart.
Help your child pick out paint colors and pour them into individual cups. Have your child add pouring medium to each cup of paint, following a ratio of 21/2 parts pouring medium to 1 part paint. Add a small splash of water and mix thoroughly, ensuring that there are no clumps. Replace the water with rubbing alcohol or dimethicone if your child wishes to create more cells in their artwork.

STEP 7
Now help your child create two or three different dirty pour cups by layering the colors (see here to learn how to create a dirty pour). We made each dirty pour cup different so that each section of the heart would look different.

STEP 8
Pour each cup of paint onto the heart, one at a time. You may not need to do any tipping or tilting after pouring the paint; you can let the shape of the heart control the paint flow.


STEP 9
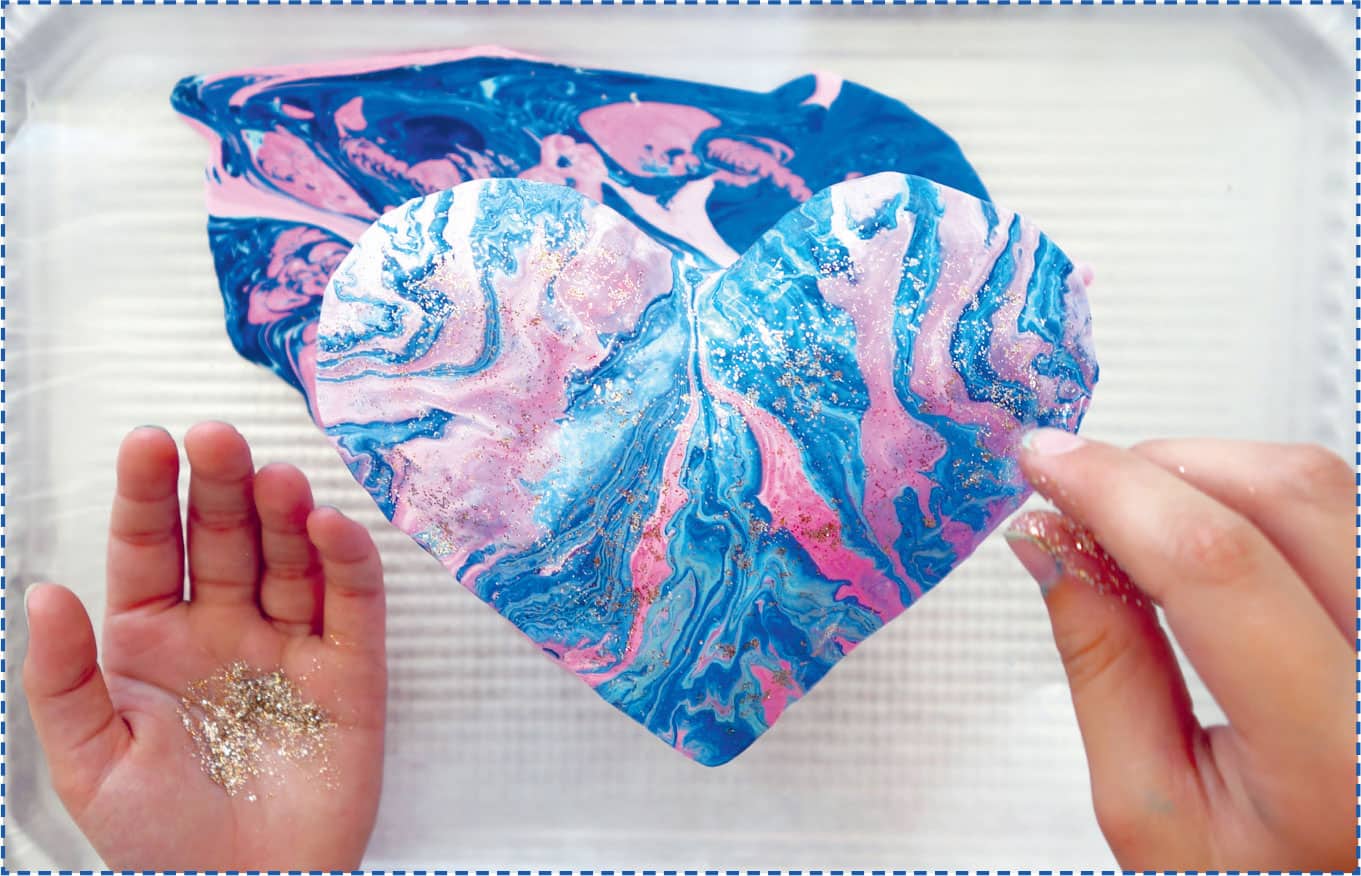
This step is optional, but we found that sprinkling glitter on the heart helped neutralize the texture created by the CraftWrap. Have your child put a small amount of extra-fine glitter into their palm and lightly and evenly sprinkle glitter all over the heart, without allowing it to clump.
Let the heart dry completely on top of the cup for 24 to 36 hours. Once the heart is completely dry, it can be used as a desk accessory, or you can press or lightly hammer a sawtooth hanger into the back of the heart to hang it on a wall.