A Raspberry Pi is typically just a chipboard with exposed circuits. Most people want to protect their investment as well as conceal their Raspberry Pi at a target location using a case. The majority of Raspberry Pi cases are designed to either pop in the circuit board or slip between wedges designed to hold the Pi in place. Once your Raspberry Pi is seated properly, most cases have a cover to seal the Pi while exposing the input ports.
The next step for assembly is to attach the input and output devices such as keyboard, wireless adapter, and mouse. The Raspberry Pi Model B+ offers four USB input ports for this purpose. There is also an HDMI output that is used to connect it to a monitor. For power, the Raspberry Pi uses 5 V micro USB power that can come from a USB hub, power adapter, or such other devices. The brain for the Raspberry Pi is the software installed on the microSD card; however, we need to first install the Kali Linux image on it before inserting it into the Raspberry Pi.
Note
Some Raspberry Pi microSD cards come with preinstalled software. It is recommended to clone this software prior to formatting the microSD card for Kali Linux so that you have a backup copy of the factory-installed software. The process to clone your microSD card will be covered later in this chapter.
Now that your Raspberry Pi is assembled, we need to install Kali Linux. Most computers do not have microSD ports; however, many systems such as Apple MacBooks offer an SD input port. If your system does not have an SD port, external USB-based SD and microSD adapters are also available that are very cheap. For my example, I'll be using a MacBook that has an SD drive and a microSD adapter to allow me to format my Raspberry Pi microSD card.
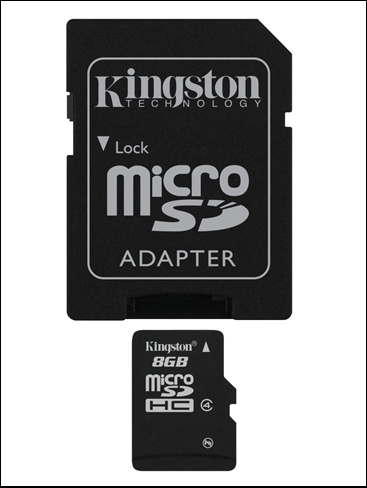
The following image shows a class 10 Kingston 8 GB microSD card:
Once you have found a way to use your microSD card in your computer, you will need to format the card. A free utility is available from the SD Association at www.sdcard.org, as shown in the following screenshot:

This utility will allow you to format your card properly. You can download it using the following steps:
- Go to https://www.sdcard.org/home/ through your web browser.
- On the left-hand side menu bar, select Downloads.
- Then, select SD Card Formatter 4.0.
- Then, select your platform. A Mac and a Windows version is available.
- Finally, accept the End User License Agreement, download the software, and install it.
Once you have downloaded and inserted your SD card, launch the SD Card Formatter application. Make sure that you select the correct media, and when it is ready, click on the Format button. This will erase all the information on the SD card and prepare it for your Kali Linux installation.
Make sure that you format the right drive or you could erase data from another source.
The following screenshot shows the launch of the SDFormatter application:

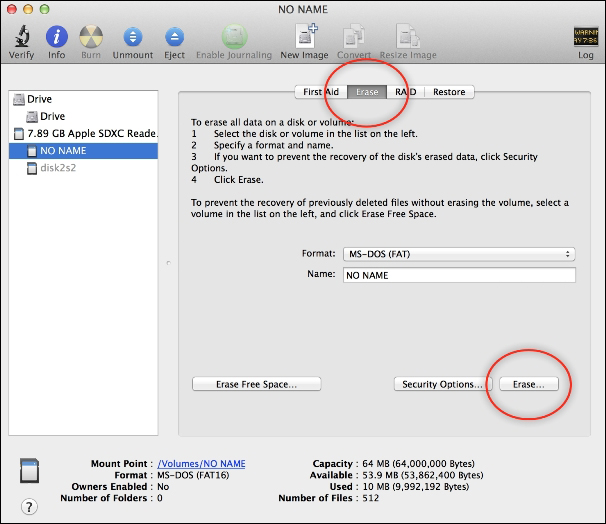
If you are an Apple user, you can use the Disk Utility by clicking on Finder and typing Disk Utility. If your microSD card is seated properly, you should see it as a Drive option. Click on the microSD card and select the second tab in the center called Erase. We recommend that you use MS-DOS (FAT) for the Format. You won't need to name your microSD card, so leave Name blank. Next, click on the Erase... button to format it.
The following screenshot shows the launch of the Disk Utility: