
After selecting the Create a new project option, we are guided via a wizard that helps us get started.
The first step is to select what type of project you want to create. At the moment, there are two distinct types of projects, mobile (iOS) or desktop (OS X) that you can create. Within each of those types, you can select the type of project you want. The screenshot displays a standard configuration for iOS application projects. The templates used when the selected type of project is created are self sufficient, that is, when the Run button is pressed, the app compiles and runs. It might do nothing, as this is a minimalistic template. On selecting the type of project, we can select the next step:

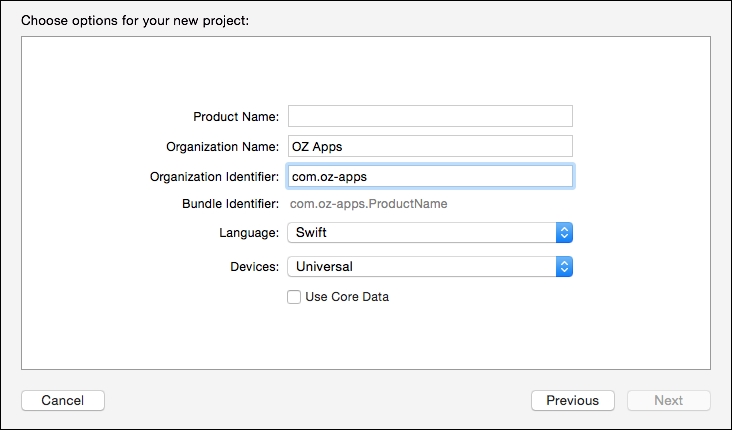
This step allows selecting the options, namely setting the application name, the organization name, identifier, language, and devices to support. In the past, the language was always set to Objective-C, however with Xcode 6, there are two options: objective-C and Swift (more of which we shall see later in this book):
On creation, the main screen is displayed. Here it offers the option to change other details related to the application such as the version number and build. It also allows you to configure the team ID and certificates used for signing the application to test on a mobile device or for distribution to the App Store. It also allows you to set the compatibility for earlier versions. The orientation and app icons, splash screens, and so on are also set from this screen. If you want to set these up later on in the project, it is fine, this can be accessed at any time and does not stop you from development. It needs to be set prior to deploying it on a device or creating an App Store ready application. These are covered later in the book in Chapter 7, Building and Running.