

The idea of a pre-wedding shoot is not new – many wedding photographers offer either this service or an ‘engagement sitting.’ However, it is important to focus on the underlying objectives and benefits arising from such a session.
As we see it, the purpose of the pre-wedding shoot is:
-
To further build upon the rapport established at the enquiry meeting. This rapport will prove vital to getting the cooperation and respect you require on the wedding day.
-
To get to know how the couple behave in front of camera. Understanding what makes them tick, how ‘touchy feely’ they are, and how to take pictures that flatter them. Can they take a profile shot? What is the bride’s best side to be shot from? Is the groom relaxed in front of camera? If not now is the time to change that, not the wedding day.
-
To produce a set of pictures the couple love enough to rave about you. Having your bride and groom excited about you before the wedding is a great way to start your referral chain from this job.
-
To make the most of the extra sales opportunity. You can add as much as 10% to your sales from each wedding client by selling pictures from the pre-wedding shoot.
We first discuss the pre-wedding shoot at the enquiry stage. We suggest that a spring pre-wedding shoot is ideal for a summer wedding. This is because you want the two shoots to be close enough for the rapport established to carry through, yet far enough apart for the couple to be happy to invest in the pictures without wanting to wait and see the wedding pictures before choosing pre-wedding shots.
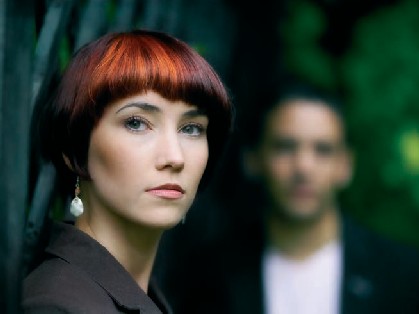
Figs 1–4 ISO 400 f/4 at 1/40th to 1/180th
I took these pictures in the rain. I had the couple take shelter under a tree while I shot the sequence. F/4 gives a great look with a shallow depth of field and it also allows me to use a sensible shutter speed. I still needed my trusty monopod though.
I suggest you find a few locations that will be ideal for pre- wedding shoots. I have a couple in London, and one in Bristol. A good location is one that has a café or bar where you can meet the couple beforehand. It also provides washroom facilities and useful cover from a quick rain shower. If you are early or your clients are delayed by traffic you can relax with a cup of coffee and wait in comfort. The photographic requirements of a good location are:

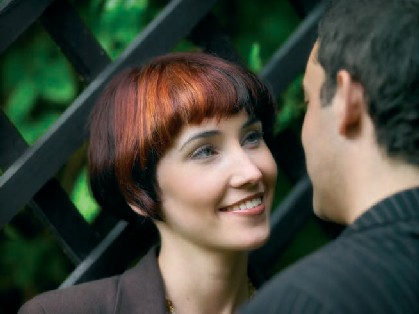
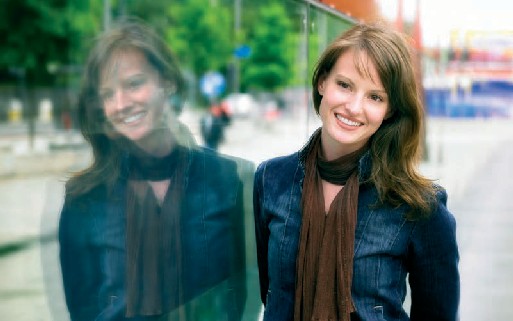
Figs 5 & 6 ISO 400 f/4.8 at 1/180th
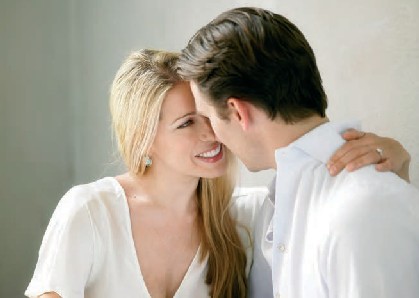
A trick I use to make portraits of couples is to use the out of shot partner to stimulate the emotion. This couple are looking at each other as I shoot. The fun and love in their eyes reflects the feelings they have for each other. All I had to do was change camera position to capture these two pictures just seconds apart. I choose my locations carefully as I want great natural light to work with.
Figs 7 & 8 ISO 400 f/4 at 1/250th and ISO 400 f/4 at 1/80th
I shot this same scene from different angles and distances just like in my television days. Marko, our picture editor, chose to make one of the images black & white to help find out what the couple preferred.
-
To be able to shoot unhindered by officials. Some public open spaces like the royal parks in London are protected with bylaws and require you to buy a license to take pictures for commercial gain.
-
Covered areas with natural daylight. A cloister or colonnade is ideal. Buildings with covered walkways also work well. If it is raining you can stay dry and use the wonderful sidelight this type of location provides.
-
Open shady areas to shoot in on sunny days. Being able to keep the sun at bay is perfect. In the summer, leafy trees and buildings provide areas of shade to work in.
-
Unpopulated shooting areas that give the couple some degree of privacy are ideal. (I’m also happy to shoot in busy areas if the couple are up for it.)
I take a simple kit of one camera, a monopod and two lenses, a210 and a 35 mm, or occasionally an 80 mm instead. Traveling light is a good idea. My camera bag is often needed as a depository for a handbag, car keys, and a wallet. Keeping the couple’s pockets clutter free saves time in Photoshop later.

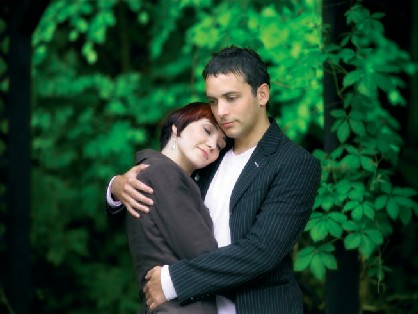
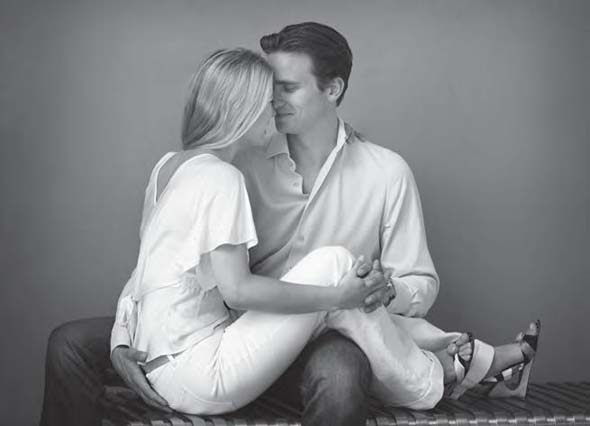
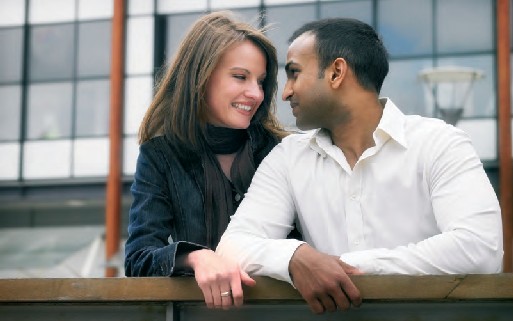
This location has the light quality and ambience of a film set. I placed the groom to be against the wall so that his head was in front of the light door. I asked his fiancé to drape on him. I turned her face toward the camera, brought her left hand up to his shoulder to form a graceful arc and placed his hand in her pocket. Relaxing her right leg and ‘feel the love’ were the last direction points I gave.
Over the years, our pre-wedding experience has evolved into a super-slick event. We now have a smart studio in the country, just 20 minutes from Bristol, and we ask our clients to come to Bristol for their shoot. The day works something like this:
11:00 AM Meet at a waterfront bar in Bristol. Drink coffee and have a chat. I explain the purpose of the session, how I will work, what I expect of them and how much they will enjoy the session.
11:30 We leave the bar and go on a ‘walk and shoot’ tour of the old waterfront, Bristol docks area. The area is visually stimulating and provides a good experience for the couple. The shoot lasts from about 45 minutes to an hour.
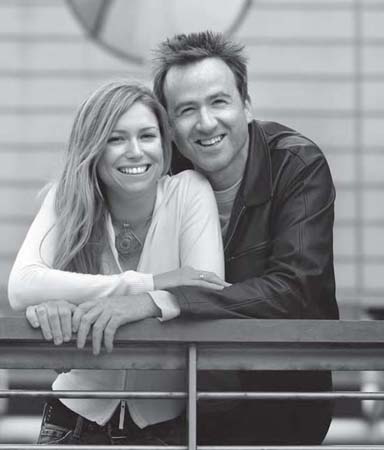
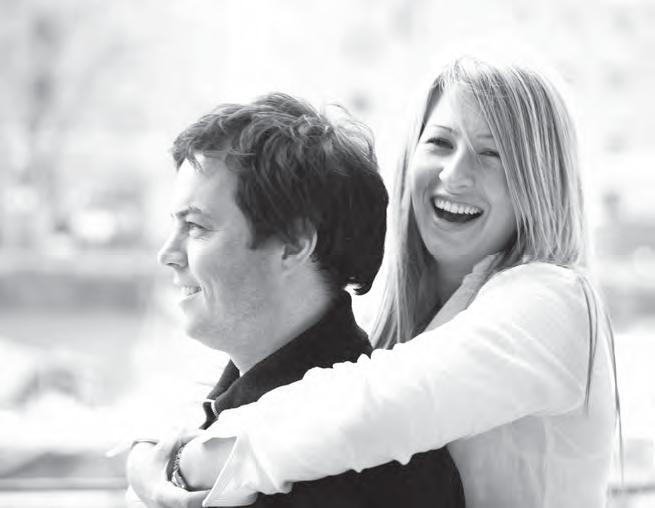
fig. 10 ISO 400 f/4 at 1/1500th
Placing the groom behind the bride evens out their body mass in the picture. Bringing his head forward ensures that all their eyes are on the same focal plane. This is an important detail as I chose to work wide open.
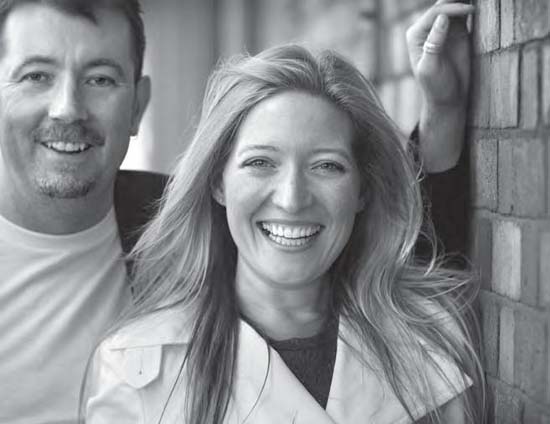
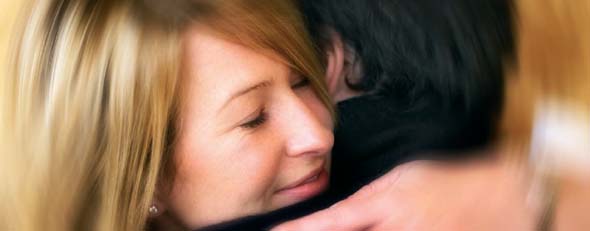
Fig. 11 ISO 400 f/4.8 at 1/320th
I love this picture. I saw it come together in my viewfinder and I just knew there and then that this couple were special. Their wedding was one of the most enjoyable we have ever photographed. Truly unforgettable for all the right reasons.
12:30 The couple go off to explore the area further and have lunch at one of the many fine restaurants on the harborside. I give them a map and directions to our studio and drive back to the studio with the Compact Flash card containing 100 or so images.
12:50 Julie loads the pictures into Capture One, selects the best ones, about 40 or so, using a tagging system, and passes the hard disk to Marko, our picture editor.
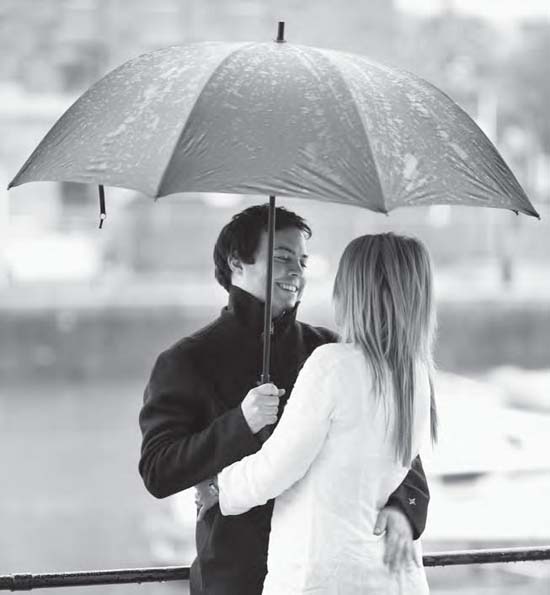
ISO 200 f/4 at 1/20th and 1/50th<style:> It had just started to rain as we began to shoot but I made the moments fun and used a brolly to great effect.
13:20 Marko makes any RAW adjustments to the files, processes the selected set to high resolution JPEGs and opens each one in turn in Photoshop for some spot tonal adjustments and cosmetic retouching and the like.
14:00 The couple leave Bristol having had lunch and make their way to our studio.
14.20 The couple are greeted by Julie who goes through the timings and details of their wedding day over a glass of champagne. This discussion is a vital element of the wedding planning. It is our chance to re-confirm the logistics and opportunities we have for the wedding day itself. Julie will later key the time plan into her computer and email it to the couple.
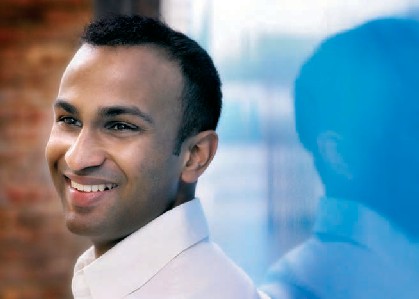
This image of the same couple was given a bit of treatment in post-production to see if they might like a funkier look to their pictures. As it turned out they were happier with a classic black & white look.
15:00 Marko has finished editing the pictures and has created a set of viewing resolution files for Gemma, our sales assistant.
15:05 Gemma shows the couple the pictures using our projector in the sales room and takes their order.
16:30 The couple leave the studio and either make their way home or onto their hotel for the night. We aim to get them on the road before the evening rush hour.
The pictures I take are a combination of single shots – with and without eye contact – and couple shots. I usually keep the majority of the pictures tight, minimizing any distractions in the background. Isolation of the couple is my key aim, to produce striking portraits. I nearly always shoot at f/4 and at 400 ISO. The session is fluid and I try out new things as I go. I shoot from below and above the eye line to see what produces the most flattering pictures. I aim to shoot the emotions the couple have for each other and I will push them to their limits. Above all I keep the energy up and make the whole experience fun.
Julie’s meeting is a chance for the couple to spend some time face to face with her. It may well be the first time they have met in person and this is Julie’s opportunity to cement the relationship that she has nurtured over the past months on the phone.
Figs 15– 17 ISO 400 f/6.3 at 1/250th
ISO 400 f/8 at 1/500th ISO 400 f/5.6 at 1/200th I switched my Hasselblad H1 to program for this shoot to see what settings the camera would choose. I was surprised at how different the images created by my 210 mm lens looked at f/8. I would have still preferred an f/4 look so I switched back to aperture priority and f/4 the next day and I have stayed there ever since.
Gemma’s viewing is more than a sales process. As well as taking the clients’ order for pictures, she discusses the pictures in detail. Her aim is to find out exactly what the couple like and dislike about themselves in the pictures. They are made to feel free to discuss the pictures openly in a way that it would be impossible to do if I were showing them the pictures. Gemma’s impartiality comes in handy. Her notes are shared with us all later. Marko needs to know how to edit the wedding pictures and Julie and I need to discuss shooting angles for the wedding day too.
An album containing 20 pictures and a framed print for each of the Mums is an ideal sale from the pre-wedding shoot. The pictures can be used on wedding invitations, websites, and even projected as a slideshow at the wedding reception. There are excellent opportunities to develop a product range to suit a set of pre-wedding pictures. Be creative with your product design and it will create its own sales.
One important spin-off from the pre-wedding shoot is a psychological one. This is often the time when the penny drops about just how many pictures they are going to want in their wedding album. If just 40 minutes of shooting by one photographer produced 20 ‘must have’ pictures, then 12 hours of shooting with two photographers is going to produce several hundred! We have already told them they will be shown three hundred or so pictures from their wedding and that they should expect to love them all. Couples often have a low esteem of themselves in pictures and they believe we can’t possibly produce that many gorgeous pictures of them. The pre-wedding shoot dispels this theory and puts us firmly on the road to a big order from the wedding pictures themselves.
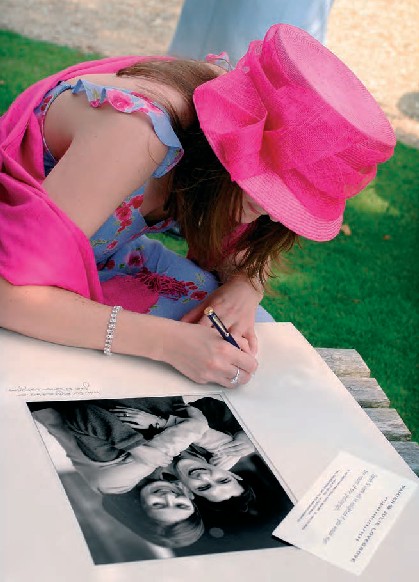
Fig. 18 ISO 320 f/4.8 at 1/850th