
Panda3D has a built-in physics system that treats its entities as simple particles with masses to which forces may be applied. This physics system is a great amount simpler than a fully featured rigid body one. But it still is enough for cheaply, quickly, and easily creating some nice and simple physics effects.
To be prepared for this recipe, please first follow the steps found in Setting up the game structure found in Chapter 1. Also, the collision detection system of Panda3D will be used, so reading up on it in Using the built-in collision detection system might be a good idea!
The following steps are required to work with Panda3D's built-in physics system:
- Edit
Application.pyand add the requiredimportstatements as well as the constructor of theApplicationclass:from direct.showbase.ShowBase import ShowBase from panda3d.core import * from panda3d.physics import * class Application(ShowBase): def __init__(self): ShowBase.__init__(self) self.cam.setPos(0, -50, 10) self.setupCD() self.setupPhysics() self.addSmiley() self.addFloor()
- Next, add the methods for initializing the collision detection and physics systems to the
Applicationclass:def setupCD(self): base.cTrav = CollisionTraverser() base.cTrav.showCollisions(render) self.notifier = CollisionHandlerEvent() self.notifier.addInPattern("%fn-in-%in") self.notifier.addOutPattern("%fn-out-%in") self.accept("smiley-in-floor", self.onCollisionStart) self.accept("smiley-out-floor", self.onCollisionEnd) def setupPhysics(self): base.enableParticles() gravNode = ForceNode("gravity") render.attachNewNode(gravNode) gravityForce = LinearVectorForce(0, 0, -9.81) gravNode.addForce(gravityForce) base.physicsMgr.addLinearForce(gravityForce) - Next, implement the method for adding a model and physics actor to the scene:
def addSmiley(self): actor = ActorNode("physics") actor.getPhysicsObject().setMass(10) self.phys = render.attachNewNode(actor) base.physicsMgr.attachPhysicalNode(actor) self.smiley = loader.loadModel("smiley") self.smiley.reparentTo(self.phys) self.phys.setPos(0, 0, 10) thrustNode = ForceNode("thrust") self.phys.attachNewNode(thrustNode) self.thrustForce = LinearVectorForce(0, 0, 400) self.thrustForce.setMassDependent(1) thrustNode.addForce(self.thrustForce) col = self.smiley.attachNewNode(CollisionNode("smiley")) col.node().addSolid(CollisionSphere(0, 0, 0, 1.1)) col.show() base.cTrav.addCollider(col, self.notifier) - Add this last piece of source code that adds the floor plane to the scene to
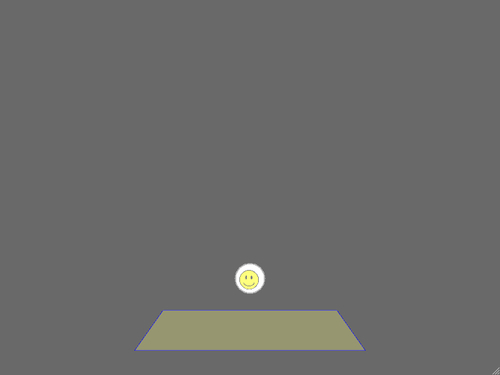
Application.py:def addFloor(self): floor = render.attachNewNode(CollisionNode("floor")) floor.node().addSolid(CollisionPlane(Plane(Vec3(0, 0, 1), Point3(0, 0, 0)))) floor.show() def onCollisionStart(self, entry): base.physicsMgr.addLinearForce(self.thrustForce) def onCollisionEnd(self, entry): base.physicsMgr.removeLinearForce(self.thrustForce) - Start the program by pressing F6:
After adding the mandatory libraries and initialization code, we proceed to the code that sets up the collision detection system. Here we register event handlers for when the smiley starts or stops colliding with the floor. The calls involved in setupCD() are very similar to the ones used in Using the built-in collision detection system. Instead of moving the smiley model in our own update task, we use the built-in physics system to calculate new object positions based on the forces applied to them.
In setupPhysics(), we call base.enableParticles() to fire up the physics system. We also attach a new ForceNode to the scene graph, so all physics objects will be affected by the gravity force. We also register the force with base.physicsMgr, which is automatically defined when the physics engine is initialized and ready.
In the first couple of lines in addSmiley(), we create a new ActorNode, give it a mass, attach it to the scene graph and register it with the physics manager class. The graphical representation, which is the smiley model in this case, is then added to the physics node as a child so it will be moved automatically as the physics system updates.
We also add a ForceNode to the physics actor. This acts as a thruster that applies a force that pushes the smiley upwards whenever it intersects the floor. As opposed to the gravity force, the thruster force is set to be mass dependant. This means that no matter how heavy we set the smiley to be, it will always be accelerated at the same rate by the gravity force. The thruster force, on the other hand, would need to be more powerful if we increased the mass of the smiley.
The last step when adding a smiley is adding its collision node and shape, which leads us to the last methods added in this recipe, where we add the floor plane and define that the thruster should be enabled when the collision starts, and disabled when the objects' contact phase ends.