
While OpenWrt and embedded system platforms that have been discussed previously are advantageous because of their size, it is clear that their functionality is limited due to their constrained and limited platforms. Another platform that has gained popularity in recent years is the Raspberry Pi. It is an inexpensive, credit card-sized computer that is modular and flexible. It has a built-in wired Ethernet port and four USBs that allow for wireless adapters, 3G or Bluetooth interfaces, and more. The beauty of this platform is that the storage is based on a MicroSD card, so multiple gigs of dumps or rainbow tables are not an issue.

The specifications for the current shipping Raspberry Pi 2 are as follows:
- Quad-core AMD Cortex-A7 CPU @ 900 MHz
- 1 GB RAM
- Four USB ports
- One Ethernet port
- An HDMI port
You may have noticed that the Raspberry Pi does not have built-in wireless capabilities specific to our application. You can use a USB wireless adapter to add this functionality. Here, you have several options that will fit the bill; however, you'll want to choose one that is compatible with Kali Linux and meets your size requirements. A discussion of these adapters and their compatibility can be found in the first chapter.
For this example, we have used the popular Alfa AWUS036NH wireless adapter (http://www.alfa.com.tw/products_show.php?pc=34&ps=21), which is an 802.11b/g/n High Gain 2000mW adapter. This allows it to hear more distant RF signals; however, the size of the adapter is nearly the same size as the Raspberry Pi itself, which might not work for your scenario.

The other option is to use a mini USB Wi-Fi adapter. This is barely larger than the USB port itself and provides basic capabilities to your Raspberry Pi.

Ranz Mini USB 150 Mbps 802.11n Wireless Adapter (http://www.ranzindia.net/)
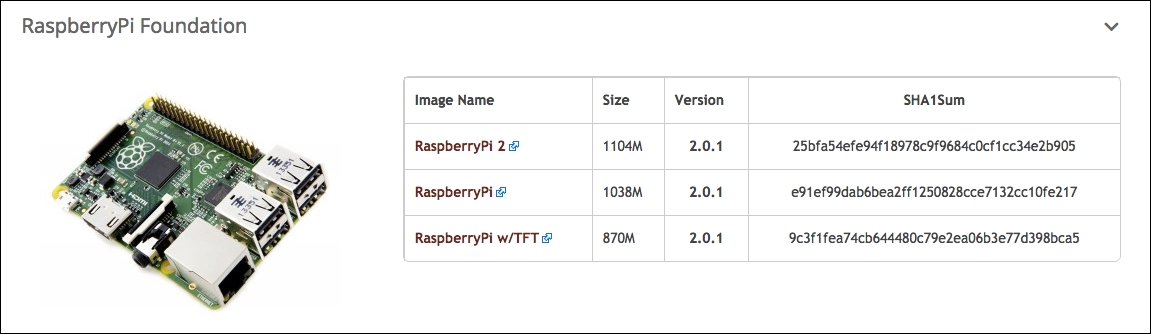
After your hardware has been selected, you can proceed to downloading and installing an image to your MicroSD card for use in the Raspberry Pi. Offensive Security has built an image specific for either the Raspberry Pi (A, B, or B+) or Raspberry Pi 2. They are distributed from their Custom Images Download Page located at https://www.offensive-security.com/kali-linux-vmware-arm-image-download/. Select the version that corresponds to your Raspberry Pi version and carry out the following steps:
- The download is an
.xzcompressed image file that will be copied over to your microSD card or standard SD card for older Pis. Once it is downloaded, verify the SHA1 hash and compare it to the hash that is published with the file:#shasum kali-2.0.1-rpi2.img.xz
- Extract the
.imgfile by decompressing the.xzfile downloaded from Offensive Security:#xz –d kali-2.0.1-rpi2.img.xz
- Choose an SD or microSD card that is at least 8 GB and preferably at least a Class 10 card. This will help with read/write performance while running Kali Linux and dumping data into the storage. The card you choose will be overwritten by the copy process, so choose one that can be dedicated to Kali.
- Insert the card and identify the device identifier associated with it. This example uses OSX as the platform for the loading of data to the card; you'll follow similar steps on other host operating systems.
- Run
diskutilto identify/dev/ namefor the card:#diskutil listYou should see something like what is shown in the following screenshot:

In this example, the microSD card is
/dev/disk2and has a 16 GB FAT 32 partition. There is no need to reformat this since we will be writing the image to the raw device and over anything that may already be on the SD card.- Unmount any partitions that are currently handled by the operating system. On OSX, this is accomplished through
diskutil. This will allow us to do a clean write to the device without the file system coming in the way:#diskutil unmountDisk /dev/disk2
- Unmount any partitions that are currently handled by the operating system. On OSX, this is accomplished through
The image will now be copied to the raw disk device rather than the block device. This is significantly faster on OSX:
- Use the
ddcommand to copy the.imgfile directly to the SD card:#dd if=kail-2.0.1-rpi2.img of=/dev/rdisk2 bs=4mThe
ddoptions for this example are summarized in the following table:if
The input file (specifically, the .img file for Kali)
of
The output file or disk
bs
The block size (2m or 4m should suffice)
You should see something like the following:

- You are now ready to insert your SD or microSD card into the Raspberry Pi 2 and boot it up for the first time. Connect the wired interface to a network serving DHCP and watch to see what IP address it was assigned. We will use this to log in via SSH for the initial setup rather than connecting it via HDMI to a screen and locating a USB keyboard to interact with it:
#ssh root@[assigned IP address]You should get the following output:

After Kali is successfully installed, you will want to generate new SSH keys as all of the instances that are imaged using the file provided from Offensive Security will have the same keys. To do this, you will run the following commands:
#rm /etc/ssh/ssh_host_*
#dpkg-reconfigure openssh-server
#service ssh restart
This will delete the existing keys, regenerate new keys, and then restart the SSHD server to activate the newly generated keys, as shown in the following screenshot:

You're now ready to proceed!
Throughout this book, we've covered what you can do from here with Kali running on the device. The unique thing about the Raspberry Pi is its portability and size (in that it can be concealed and left on the site while you test from elsewhere). The Raspberry Pi will need to get connected to the Internet in order to enable you to control it remotely. One way would be to get the device plugged into an Ethernet port at the target that you will be testing. This might or might not be possible depending on the environment and the wired network controls, such as port security or MAC authentication that could be enabled on the target's network. Ideally, removing this variable from the equation would be your best course of action. Both the Raspberry Pi and some devices running OpenWrt allow for a USB 3G interface for communication. Though not a topic covered by this book, it is recommended that those pursuing this as long-term tool for your pen-testing toolbox pursue mobile broadband connectivity by either a locally connected 3G/4G interface or by combining it with a personal hotspot to bridge Wi-Fi to the mobile network.