Dynamics NAV has one big key word (among others), called post . If you read the word post anywhere in the application or see the following icon, it means that if you click on the button, a routine will be run and this will lead to posted documents and posted entries that are on their last stage. It is the trusted data that won't change anymore.
As explained in The data model section of this chapter, Dynamics NAV has some tables called Entries (G/L Entries, Cust. Ledger Entries, Vendor Ledger Entries, Item Ledger Entries, and so on) that correspond to transactions related to master data. The only way to insert data into entry tables is through the posting routines. A bunch of validations are carried out during the posting routines as the system has to check if all the data is correct and that no inconsistencies exist.
One unique posting process usually creates multiple entries, and all of the entries are related and consistent to each other. For instance, when you post a sales invoice, the system needs to create the following entries (depending on what the invoice includes):
- Customer Entries: It is used to track all the transactions related to the customer.
- Item Entries: It is used if the invoice contains the items that you need to reduce the stock of, plus if in the future you need to track all the transactions related to one particular item.
- VAT Entries: You will need to report to the tax authorities, all VAT charged to your customers. Therefore, the VAT amount charged on every invoice has to be tracked.
- General Ledger Entries: Accounting rules say that when you issue an invoice, you have to record the related amounts on certain accounts. Dynamics NAV does it for you by creating G/L entries.
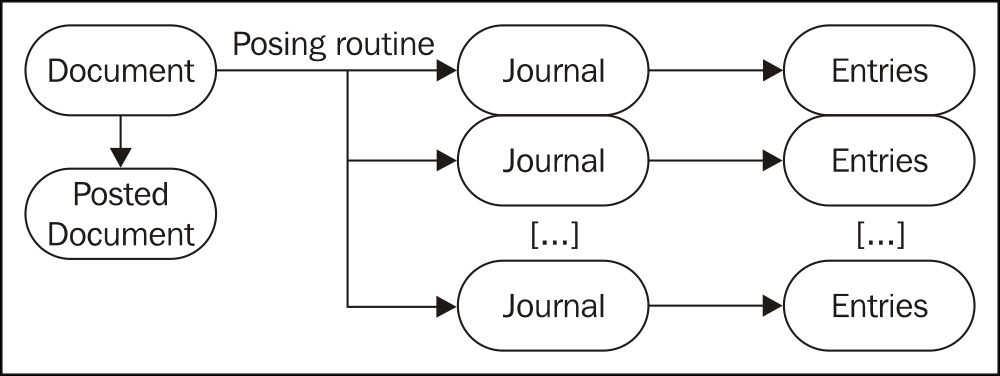
As explained in The data model section of this chapter, entries are created by reading information from a journal line. Therefore, if you choose to post a document, the first step that the process must follow is to create all the related journal lines. Then all the related entries have to be created. The next diagram shows the general schema:
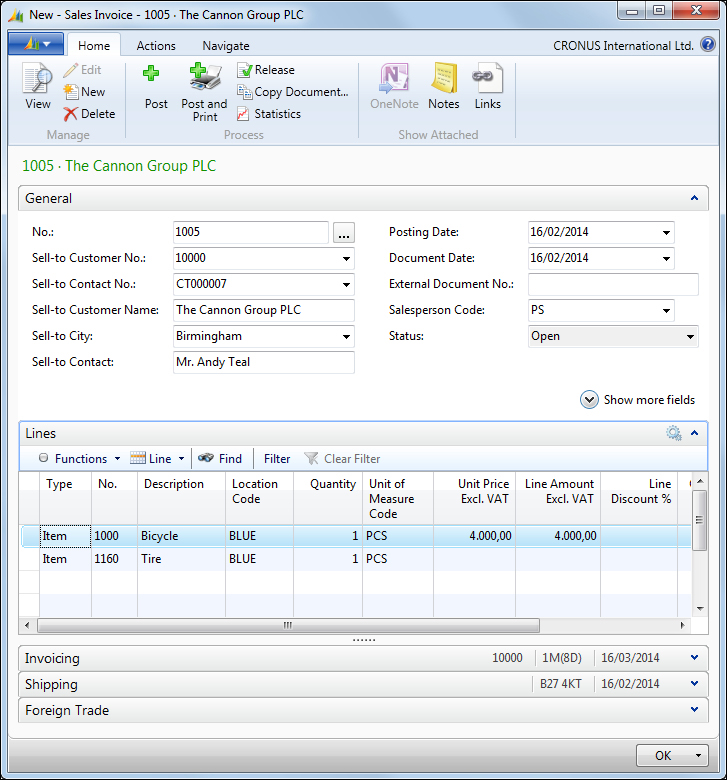
The best way to understand the posting routines is to create an example and dive into the code. We'll create a sales invoice document and turn on the debugger to follow the whole posting process. You'll get a pretty clear idea on what it does and when. You don't need to turn the debugger on right now; we have already selected the most relevant pieces of code for you. If you want to use the debugger anyway, we would recommend you to read Chapter 11, Debugging, and then come back to follow this example.
Create the new Sales Invoice table for customer number 10000. Insert two item lines, one for item number 1000 and another one for item number 1160. We'll sell one unit for each item. Leave the default values for the rest of the options.
The posting process for this Sales Invoice will go through all the steps shown in the following diagram. The main steps are to:
- Insert posted document headers
- Create item journal lines and post them
- Insert posted document lines
- Create general journal lines and post them
You'll find the steps that insert data into the database with a grey background. These are the posted documents and posted entries that the user will see after the posting process is completed:
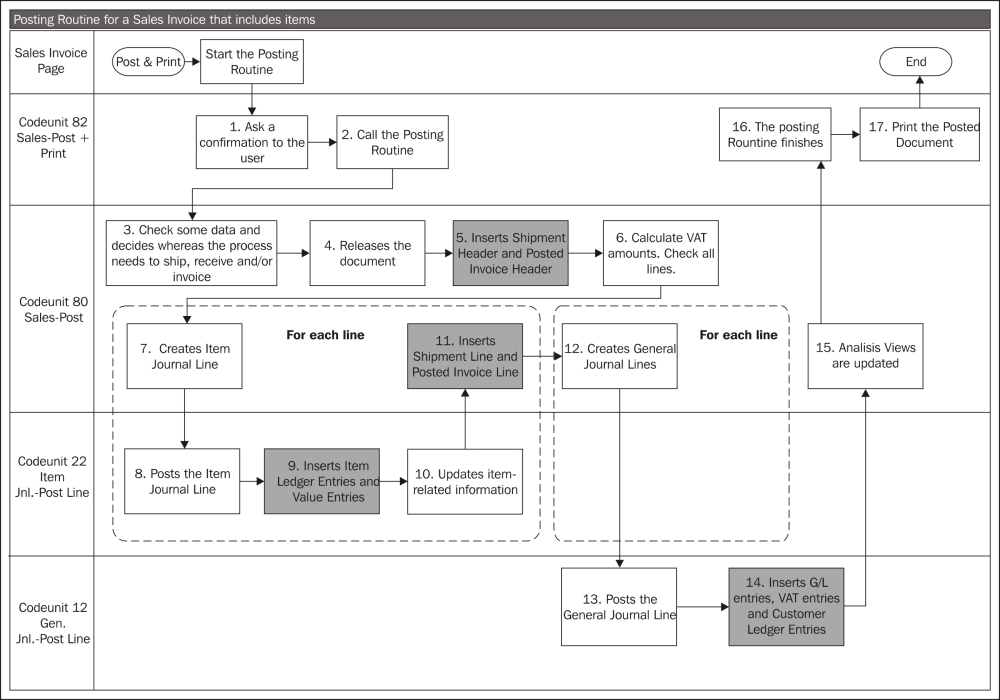
To see the exact code that corresponds with each step, turn the debugger on and click on the Post and Print button found on the ribbon bar on top of the page.
Following are the steps for posting routine for a sales invoice that includes items:
- Ask a confirmation to the user: The confirmation question asked to the user corresponds with the following code. The
[…]icon shows that the functions include code, which is not shown in the following screenshot:
- Call the Posting Routine.

- Check some data and decide if the process needs to ship, receive and/or invoice: The
TESTFIELDlines of code correspond to some basic checks related to the invoice.TESTFIELDstatements are there to ensure that there is a value in the field and that it is not blank or null. The next basic step is to check if posting dates are allowed. After this, the system decides if the process needs to ship, receive, and/or invoice and keeps the result in global variables.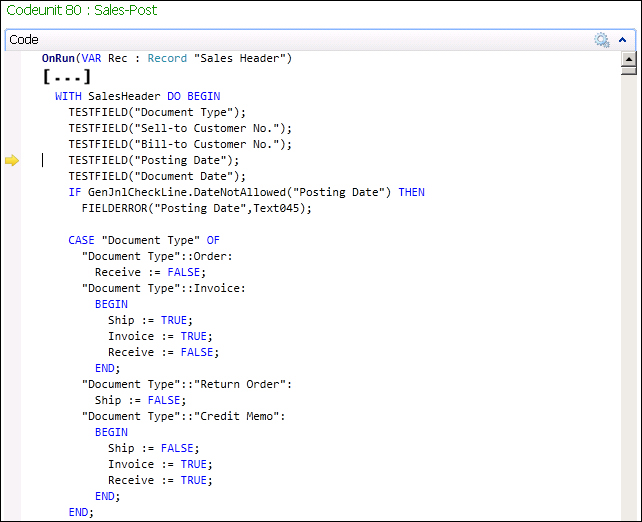
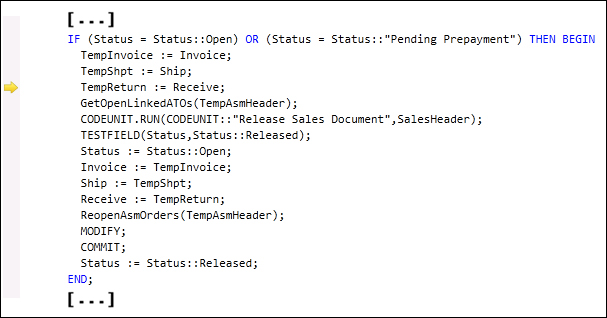
- Releases the document: If the document has not yet been released, the code to release it is run.
- Insert Shipment Header and Posted Invoice Header: When the first data is inserted into the database, the system must assure that while the transaction is being processed, no other process modifies or deletes the information that the process is taking into account. This is why the
LOCKTABLEinstruction is placed in the following part of the code: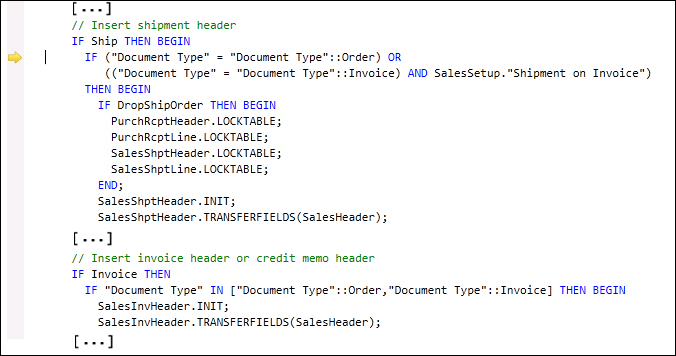
- Calculate VAT amounts. Check all lines: Even if each invoice line contains information related to the VAT tax, all the amounts need to be calculated again to solve rounding issues.

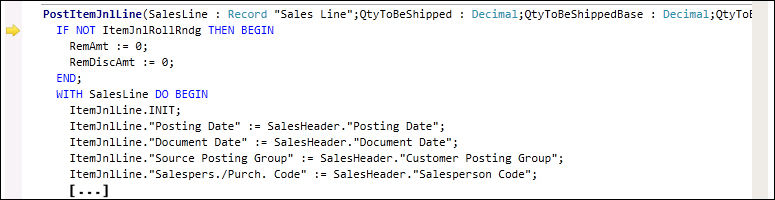
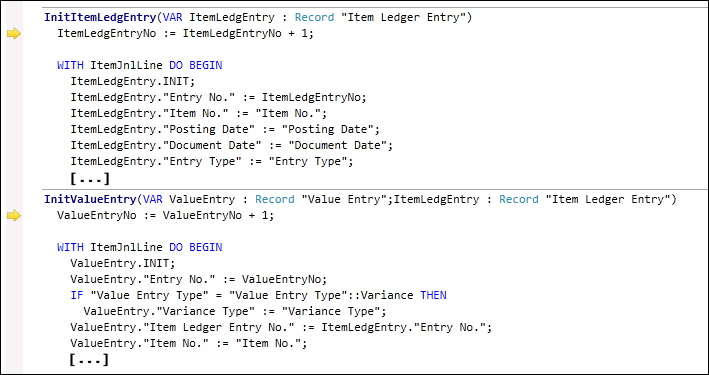
- Creates Item Journal Line.
- Posts the Item Ledger Entry.

- Inserts Item Ledger Entries and Value Entries.
- Updates item-related information: Some item-related information, such as the average cost, gets updated after posting any item journal line.
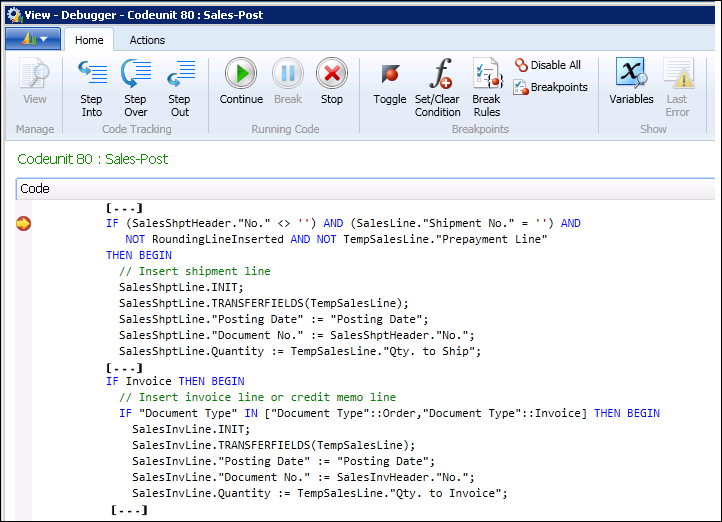
- Inserts Shipment Line and Posted Invoice Line.
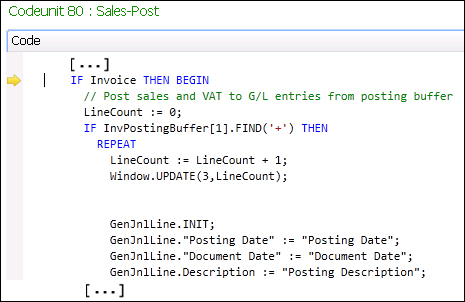
- Creates General Journal Lines.
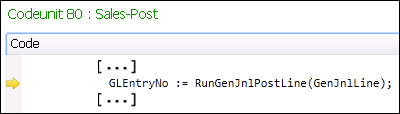
- Posts the General Journal Line.
- Inserts G/L Entries, VAT entries and Customer Ledger Entries.

- The posting routines finishes: At the end of the
OnRunfunction there is aCOMMITinstruction. When the system finds aCOMMITinstruction, it saves all the data into the database. If an error occurs after this instruction, all changes will only be rolled back until this point. In this case,Posted Invoiceand all its entries will still be posted.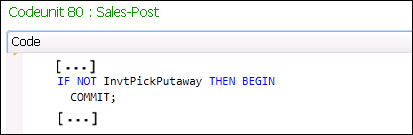
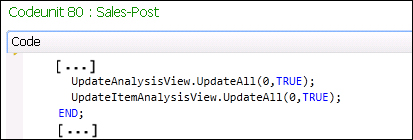
- Analysis views are updated.
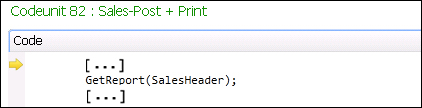
- Print the Posted document.
If you have reached the end of this section, we applaud you since it's been a tough one. The posting routines are the core of the application, so all the time you invest to know them is worth it.
We've only seen a small example with the sales posting routine that involved the general journal posting routine and the Item Journal posting routine. Other posting routines that can be found on the system are:
One of the first things an end user faces when he/she starts to work with Dynamics NAV is the inability to modify what has been posted, whether it's a posted sales invoice, a shipment document, a general ledger entry, or any other posted data. Any posted document or entry is unchangeable. This causes frustration for new Dynamics NAV users, especially if they are used to other systems that allow them to modify data. However, this Dynamics NAV feature is a great advantage since it ensures data integrity.
There are a few exceptions where posted documents can be deleted or fields changed; they are as follows:
- Posted documents can be deleted after they are printed. This feature cannot be used as a way to undo the document, as only the document is deleted but the corresponding entries remain in the database.
Anyway, we do not recommend that you delete any document, especially sales documents. If you delete them, you will have to consider keeping a hard copy of the documents as you will not be able to print them again. Some countries require you to keep a copy of the documents for a certain period of time.
- Fields used for the system's internal purposes (such as the
Openfield found on some entry tables). - Some specific fields can be modified by the user manually, such as the
Due Datefield in customer and vendor entries orShipment Agent Codein the shipments header. Changes on these fields are handled by special codeunits.
As we have seen in earlier sections of this chapter, when one document is posted, the output consists of several entries that are all consistent to each other and to the rest of the application data.
If one single piece of information has to be changed, this single piece of information will probably be replicated many times. For instance, the posting date is replicated in all the entries the posting routine creates. As you can imagine, changing one single date without changing the rest of the dates of the same transaction could be a disaster.
If data cannot be changed, how can users correct a mistake in the data? The only way is to post the reversed documents or entries so that their sum voids the transaction. Now the user can post the correct document or entry and the mistake will be resolved.