
Fusion Tables is software that Google has designed. For various security- and privacy-related issues, Google only wants verified software to send/receive data to/from Fusion Tables. Hence, we need to establish our identity before our Event App can exchange data with Google Fusion Tables. In this section, we will describe how to create Google service-level authentication to establish this credential.
To establish the service-level authentication credentials, follow these instructions:
- Go to https://console.developers.google.com/ and log in with your Google account if necessary. On the Getting started page, click on the Use Google APIs button as shown in the following screenshot:

The acronym API stands for Application Programming Interface. To describe it in a very simple manner, an API defines a way for computers to interact with websites (essentially for software programs to interact). Developers at companies like Twitter, Facebook, and Google create protocols for their software to enable other programs to communicate with it. In this case App Inventor will be communicating with the Google Fusion Tables API.
- You will be prompted to create a new project that uses APIs. Name your project Event App Project. Make the selections shown in the following screenshot, and click on Create:

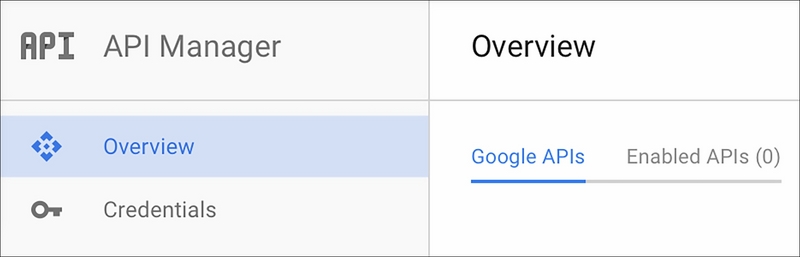
- On the right-hand side, you will see a tab named Enabled APIs (7), as follows. Click on that tab:

This will show you a list of APIs that are enabled by default. Since we will not use these APIs, click on the Disable option next to each API and disable each one of them.

After you have disabled all APIs, your screen will look like the following screenshot:
- Our next goal is to enable the one API that our app will use—the Fusion Tables API. To do so, look for the Other popular APIs column. You will find it to the bottom-right group of links (look for the blue hexagon icon), as shown in the screenshot that follows:

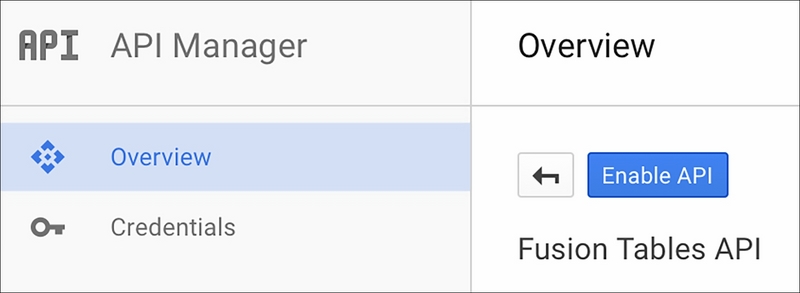
- Click on the Fusion Tables API listed in this column. And then, in the next screen, click on the blue Enable API button shown in the following screenshot:
- Now that we have enabled the Fusion Tables API, it is time to create credentials (ways for software to verify the authenticity of other software). Click on the Credentials option on the left vertical pane, as shown in the following screenshot:

This will result in a pop-up window with the blue Add credentials button, as shown in the following screenshot. Click on that button and select the last option—Service account.

In the next window, make the selections shown in the following screenshot and click on Create:

This will create the service account and download a special file onto your computer. This file has a
.p12extension. Depending on your browser's setting, you might see a window such as the following one. This window asks you where to save the file. Save the file somewhere on your hard drive and remember the location. We will upload this file in to App Inventor later on:
If you do not see the pop-up window like the one shown previously, in all likelihood your browser is set to download everything to the default
Downloadsfolder. In that case, the.p12file will automatically be saved in that folder:
After this
.p12file has been downloaded to to your computer, you will see a message resembling the one shown previously. Click the Close button to dismiss the message. - Now that we have created the credentials we are going to use, Google will automatically generate an e-mail address that goes with this credential. This email address is something we will have to specify in App Inventor as well. As shown in the following screenshot, a long and complicated email address will be displayed under the Service accounts. Copy this email and paste it into the document that you used to store the ID of the Fusion Table that you created earlier. Just like the ID of the Fusion Table, you will need this email address later on:

- The Fusion Tables API is now enabled and the credentials are established.