
So far, we have created a Fusion Table and the GUI for the RSVP_Screen, and established our Google API credentials. Now it is time to create the code for RSVP_Screen.
When the user clicks the Send RSVP button:
- The app takes the name from the NameTextBox, the selection from the NumGuestListPicker, and the contents of the ItemsBringingTextBox and inserts them as a single row in the appropriate column in the Fusion Table.
- Then the app clears textboxes and reset the Listpicker selection to 1.
We created the service-level credentials (the .p12 file and the service-level email address) so that our app is authorized to send or receive information from Google Fusion Tables. Next, we need to provide the FusiontablesControl component in our app with this information. We want to do this when a user opens the RSVP_Screen.
As shown in the following screenshot, once in the RSVP_Screen in the Designer, select the FusionTablesControl1 component under the Components column. This will display all the properties of FusiontablesControl1. Under the KeyFile property, click currently shows None. Then click on the Upload File button:

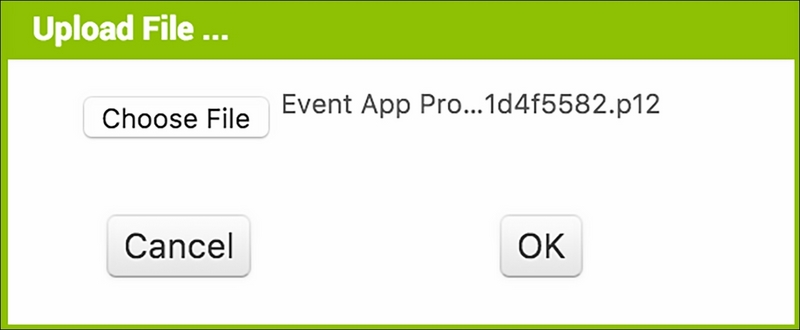
This will open up another pop-up, which will let you select the file that you want to upload. The following screenshot shows the pop-up. Select the .p12 file that you earlier downloaded to your computer and click on the OK button:
Next, copy the service-level email address that you have saved in a document and paste it into the ServieAccountEmail property.
Finally, check the UserServiceAuthentication checkbox.
