
Recover Your Account
Apple used to made it difficult to recover access to an Apple ID account and iCloud data when you’d forgotten a password, lost access to devices, or had your account locked. Apple now has three recovery modes: two for you and one for your future heirs or executor.
These modes correspond to the party who has the right pieces of information to help:
A recovery process and a Recovery Key, which are exclusive options you can choose between to help you recover access to an Apple ID account when a lot goes wrong.
A Recovery Contact lets you lean on a trusted person or people to help you restore access to iCloud.com-accessible data if you can’t log in to your account via Recovery Assistance (formerly iCloud Data Recovery Service).
Apple’s Digital Legacy service lets your heirs or estate gain access to your data after your passing, should you so choose. This fills a gap in how our data is handled posthumously.
In this chapter, I explain each of the above in that order.
Pick a Recovery Pathway for 2FA and Keys
With code-based two-factor authentication or security keys enabled, it’s possible to wind up with too little information, hardware, and access to gain access to your account as described in Troubleshoot Apple ID Login Problems.
Apple offers two pathways you can select between for recovering access by regaining the ability to reset the password for your Apple ID account. These options are exclusive: you must pick one or the other.
By default, Apple has you rely on a complicated recovery process that involves human interaction and personal documentation. You can instead opt to enable a recovery key, which prevents Apple from recovery access to your account by any method, but makes it somewhat easier for you to do so than with their human-driven process.
Here’s the key differences between the two:
Apple recovery: It takes time, requires identity documents, and could be turned down.
Recovery key: You must have your recovery key and one of your account’s trusted phone numbers. Without those two elements, your account’s password can never be reset and will be lost forever.
With that in mind, let’s dig into how the two work so you can make an informed choice.
Use Apple’s Account Recovery Process
Apple’s procedure is described in detail on their website. This process can take days or longer. You have to provide personal details to proceed, including credit card numbers associated with purchases used on the account.
The company makes this process tough to deter thieves’ attempts to use a stolen identity to gain access to a user’s account. However, I have heard from people who have been unable—even with scans of passports, mail sent to their addresses, and other information in hand—to convince Apple they were the legitimate owner, and have lost access to their accounts for good.
You start account recovery via the iForgot website, but consider how you start! Apple warns that if you used a browser on one of your own devices signed in to the Apple ID used for iCloud that you’re trying to recover access to, you should not use that device again until recovery is complete. However, you can use a browser on literally every other device in the world instead of one on your own device.
After beginning the recovery process on the website, an email will arrive from Apple confirming that they received the request. The email contains the date and time at which Apple expects to let you reset your account password if you succeed in passing the recovery hurdles.
Apple may send or request two pieces of information that they say will reduce the wait or even bypass it:
A six-digit code may be sent to the primary address associated with your Apple ID. Enter this code as instructed may either reduce the delay or allow immediate access to reset your password.
Apple may request credit card information that’s associated with your account. After entering that information, Apple performs an authorization, validating details without charging your card. You may hear from your card issuer to confirm the request.
You can’t anticipate what date and time Apple will tell you that the step of recovery will occur nor whether the above steps will help. This, again, is to deter identity thieves.
However, when the period is over, Apple will either text you instructions or call using a synthesized voice. Apple says these instructions will allow you to regain access to your Apple ID immediately.
If this sounds unappealing, consider a recovery key.
Recover Access with a Recovery Key
By enabling the Recovery Key feature, you gain two advantages:
Changes to your Apple ID password are prevented except from devices that are already logged in to that account or by using the recovery key. You can’t use the Apple ID website.
You can unlock an Apple ID account that Apple has restricted for security reasons. Previously, Apple required a call and more steps if an account was locked due to suspicious activity, such as too many failed login attempts. Now, with a trusted device, a trusted phone number, and a recovery key, you can unlock your account directly.
Enabling a recovery key prevents Apple from otherwise resetting or unlocking your account, and prevents an identity thief from attempting to gain access to your account without the recovery key and access to a trusted phone number.
Here’s how to enable the recovery key. In iOS/iPadOS, go to Settings > Account Name > Sign-In/Password & Security and tap Recovery Key. In macOS, open System Preferences > Apple ID > Password & Security (Monterey) or System Settings > Account Name > Sign-In/Password & Security (Ventura or later). Next:
Turn on the recovery key. In iOS/iPadOS, tap the Recovery Key switch. In macOS, click Turn On next to the Recovery Key label.
When prompted, confirm that you want to create a recovery key (Figure 33). Be sure!
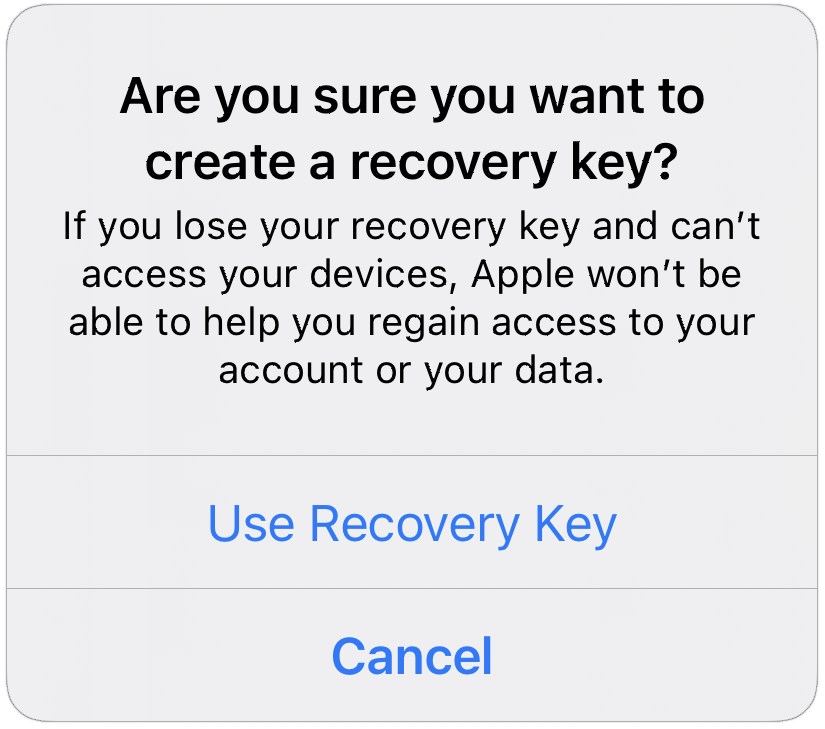
Figure 33: Apple wants you to be sure that you know what you’re getting into. Enter the password of the device you’re using or the macOS account you’re logged in to.
The recovery key is displayed (Figure 34). Maddeningly, you can’t copy it. You have to write it down or type it into a password-management app.
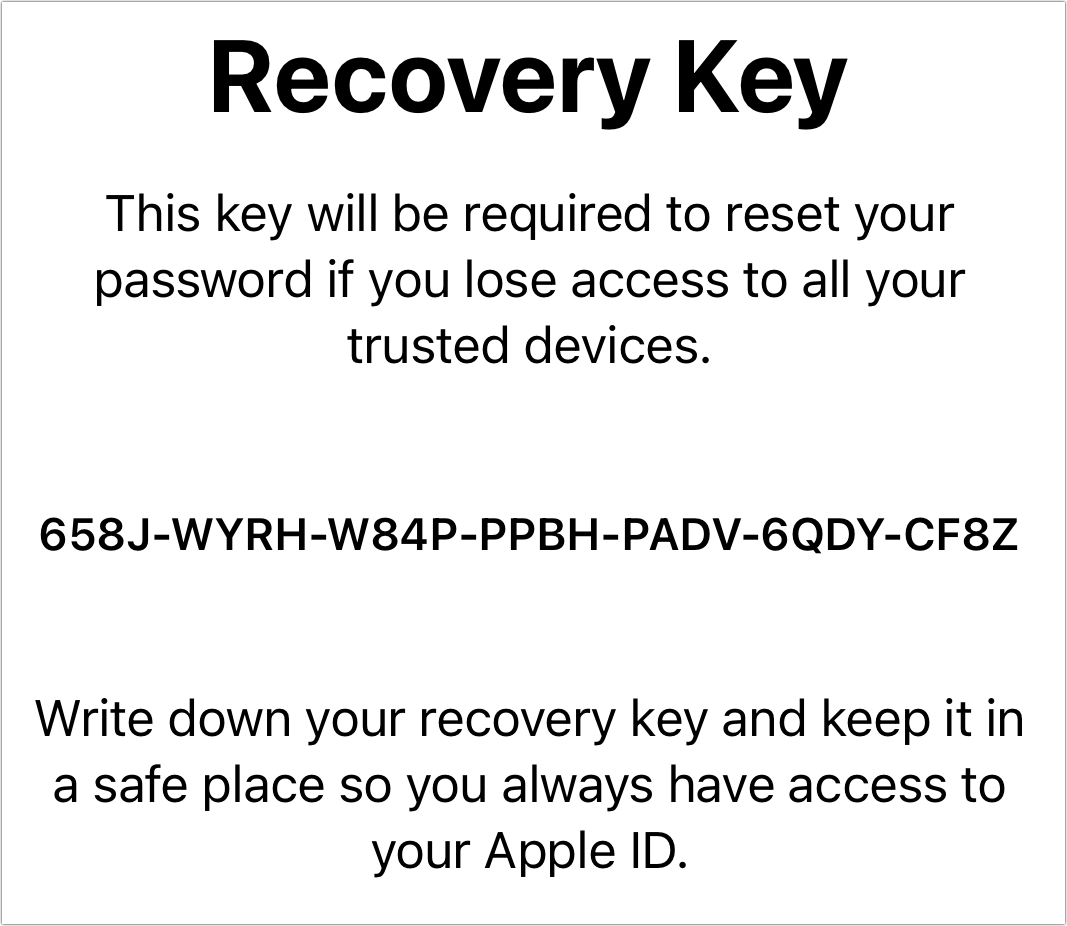
Figure 34: The recovery key appears and you cannot copy it. (I can show you my key, as I later reset it and it’s not of any use.) Now you have to enter that long key to validate that you have it recorded correctly. However, if you entered it elsewhere to keep a permanent record, you can copy and paste it in from that location.
Click Continue and the account changes are made.
The recovery key is now active and Apple sends email to the address connected to your Apple ID account informing you of the fact.
Once the recovery key is created, you can use the key to reset your Apple ID password along with a trusted device and trusted phone number on any Apple device running iOS 11 or later or macOS 10.13 High Sierra or later. The key may be used once, and will regenerate after a successful deployment.
However, Apple offers no instructions and no pathway to find out how to initiate recovery. Because I don’t want to disable access to my Apple ID accounts forever by accident, I have not taken steps far enough down the road to determine the sequence.
What Apple says is simply this: “If you use a recovery key for account security, you can use it to help reset your password on your iPhone, iPad, or iPod touch.” Presumably, you’ll know when the time comes, because you’ll be asked for the key.
You have two other actions you can take with a recovery key. You can:
Disable it. In the Sign-In/Password & Security area in iOS/iPadOS, tap the switch; in macOS, click Manage > Turn Off. In all three operating systems, enter the recovery key to disable it.
Regenerate it. In iOS/iPadOS, tap Create New Recovery Key. In macOS, click Create New Key (Monterey) or Manage > Create New Key (Ventura or later).
Recover iCloud Data with a Recovery Contact
Apple offers a powerful tool for iCloud data recovery that lets you pick trusted people for Recovery Assistance.
If you’re locked out of your account for some reason and can’t regain access, these contacts can receive a validation code and provide it to you, and you can unlock all your data.
iCloud manages two kinds of data:
Cloud accessible: Data synced among your devices and accessible via iCloud.com. This kind of cloud-accessible data is encrypted in transit and at rest, but Apple possesses all the encryption keys necessary to manage that data and display it in a browser.
End-to-end encryption (E2EE): Data that is only encrypted and decrypted using secrets stored on your devices relies on E2EE. Apple uses iCloud as a conduit to sync data among your devices, but it cannot display that data on iCloud.com and has no way of accessing it themselves.
Data that’s encrypted end-to-end can be recovered only with access to a device key. Device keys are, as you can tell by their name, stored only on your devices. However, enabling Recovery Assistance creates a workaround without reducing security. Recovery Assistance creates a strongly encrypted wrapper around device keys.
Apple doesn’t have access to these keys and neither do your contacts. But your contacts can trigger a process that lets you unlock the wrapper and regain access to both your iCloud-accessible and E2EE data. That’s especially important with the option to use E2EE for more categories of iCloud data, as explained in Recovery’s Relationship to Advanced Data Protection. (This process is also how Apple establishes trust among your devices when you enable iCloud Keychain without leaking secrets.)
An account holder has to be at least 13 years old to enable this form of account recovery. Anyone selected as a recovery contact must have at least iOS 15/iPadOS 15 or macOS 12 Monterey running to provide recovery service. If they don’t, they will be marked pending until they upgrade and accept your invitation.
Once you’ve thought about who to pick, here’s how to add them:
Go to Settings > Account Name > Sign-In/Password & Security > Account Recovery.
Tap Add Recovery Contact.
Read the disclosures and then tap Add Recovery Contact.
Apple authenticates you via Touch ID or Face ID, or requires an additional step.
From the Add Recovery Contact screen you can select members if you’re in a Family Sharing group; if not, tap Choose Someone Else (Figure 35). Tap Next. Family Sharing group members are automatically added (and informed); otherwise, proceed to step 6.
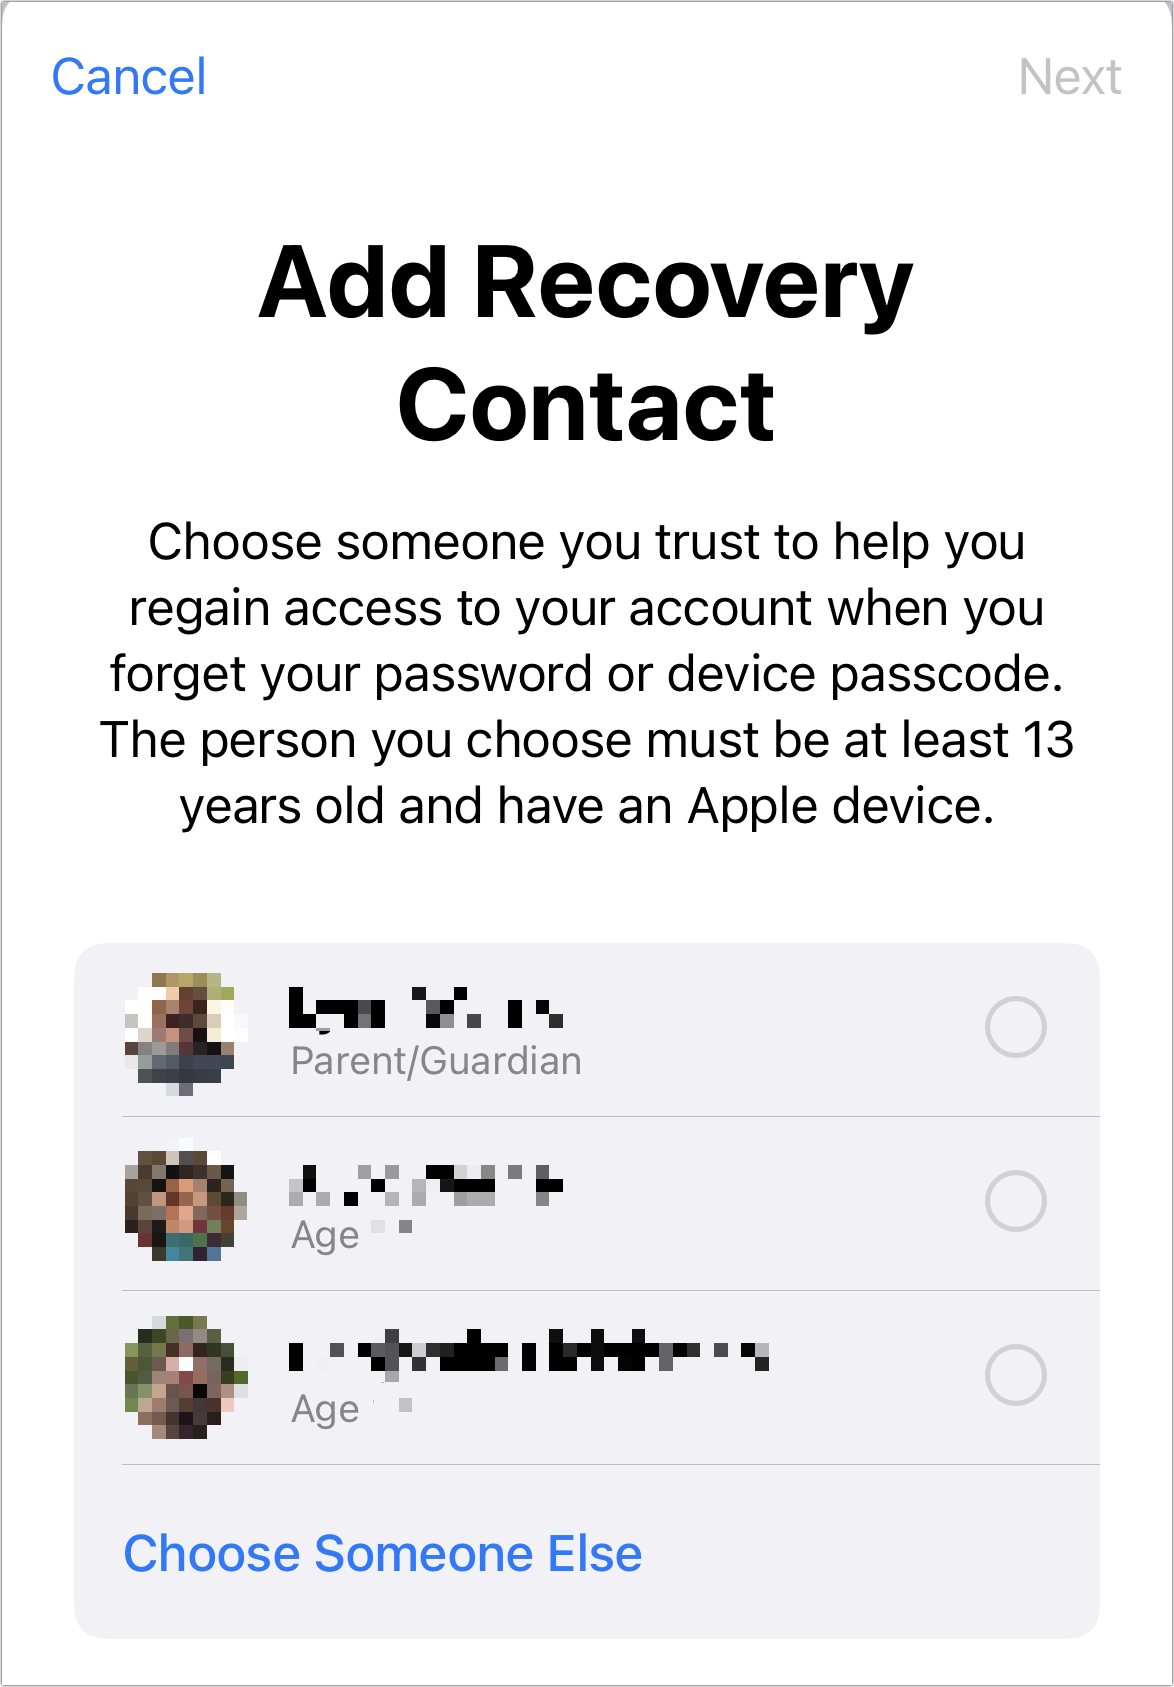
Figure 35: Select contacts. To add people, you can start typing to select them from your contacts list. Some names may be suggested, too. Tap Add when done. (You can have a total of up to five Recovery Contacts from your Family Sharing group and contacts.)
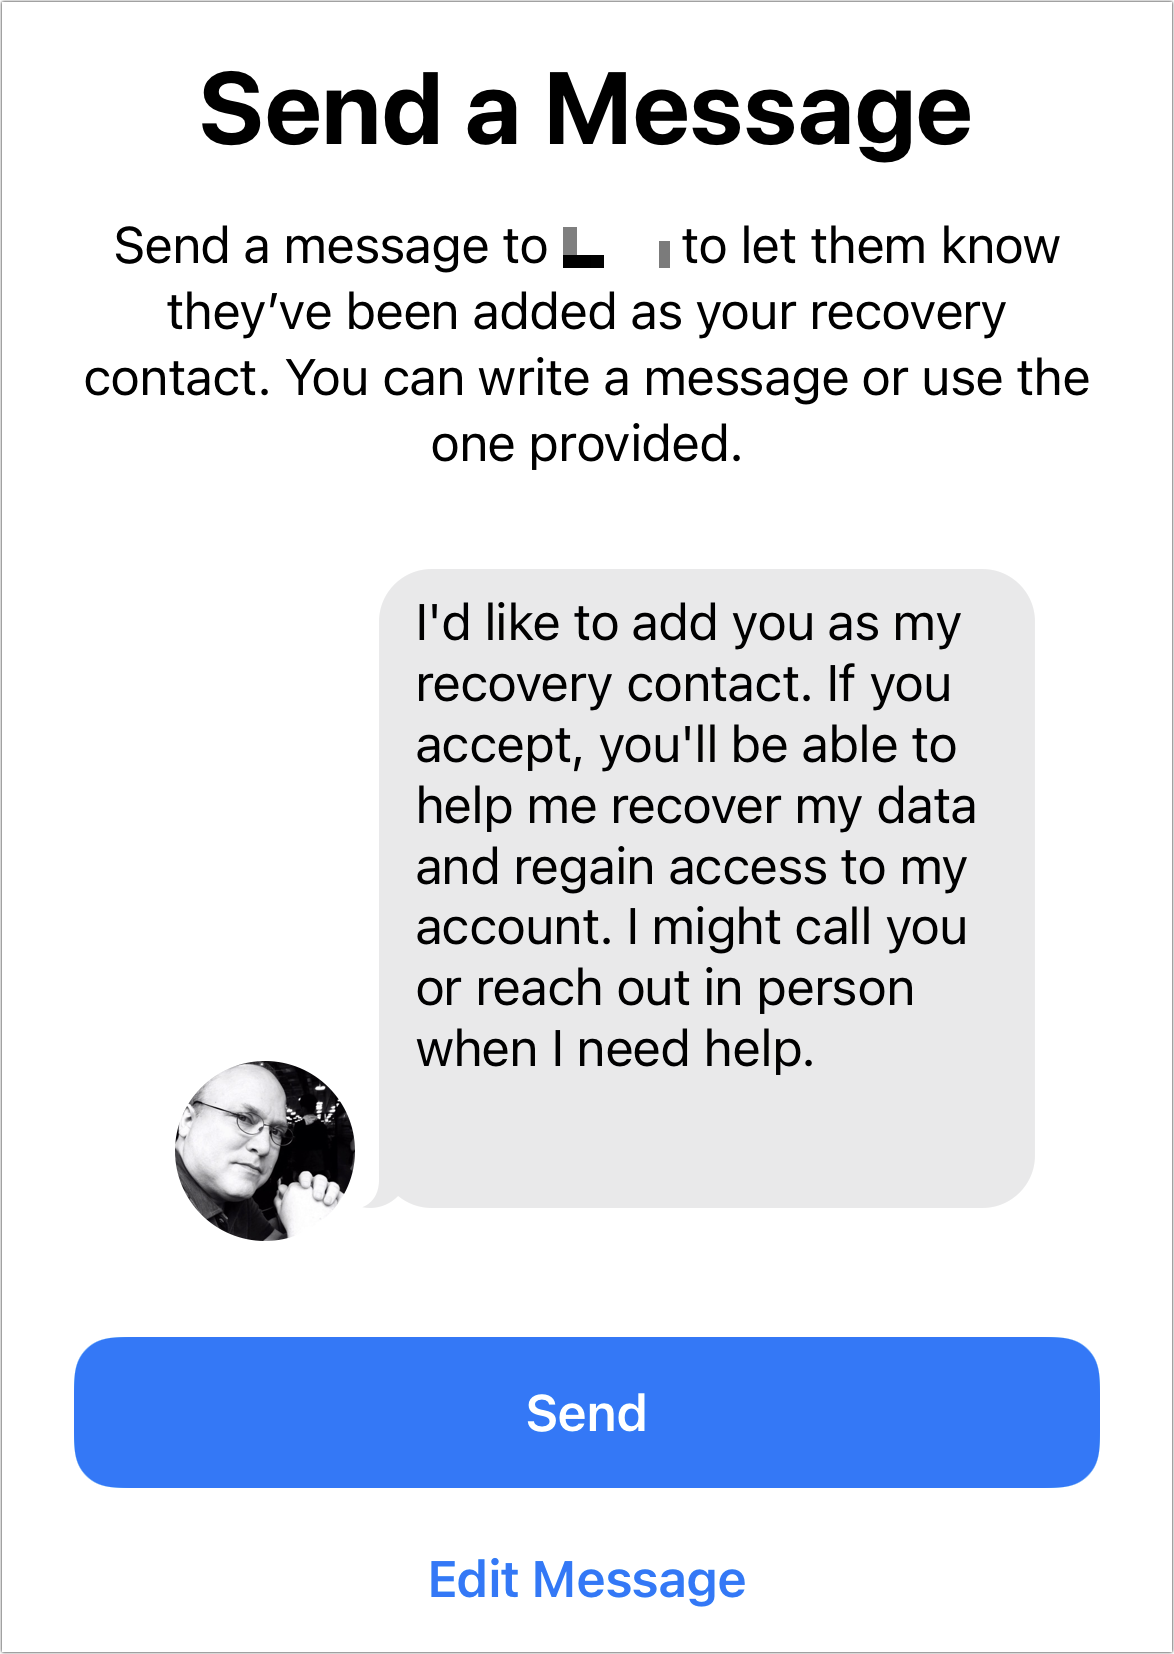
On the Send a Message screen, Apple provides helpfully prewritten text to explain what you’re inviting someone to do (Figure 36). You can tap Edit Message to revise it or tap Send to send them the invitation.
On the Account Recovery screen, you now see a list of contacts with a status below in small type marking whether they’re active or have had a request sent to them. You can tap any contact to choose to remove them, or to resend an invitation if they haven’t yet responded.
In the event you need help from one of your Recovery Contacts, you can follow steps on one of your devices to recover iCloud access. Part of that process will provide you with information to give to a contact. Apple suggests you do this in real time by phone or in person, safety permitting. Your contact will receive a recovery code you can enter on your iPhone or iPad, and then you can reset your Apple ID password.
Leave Permission with a Digital Legacy
It’s been a rough few years for a lot of people. I’ve received many dozens of emails from people who have lost a child, parent, relative, or other loved one, and are locked out of accounts that contain that person’s digital footprint. These accounts may contain every picture and video they’ve ever captured, email, critical bits of family history, important legal and financial documents, and much else.
Starting in iOS 15.2/iPadOS 15.2 and macOS 12.1 Monterey, you can, while still among the living, appoint someone to have permission to access data you synced through and stored on iCloud.com.
How To Add Legacy Contacts
Anyone you pick as a legacy contact can retrieve what Apple describes as “your photos, videos, notes, documents, personal information, and more”—such as the contents of your iCloud Drive and apps you’ve purchased—with possession of an access key Apple generates for them and a copy of your death certificate. Digital purchases and payment information are excluded.
Unlike Recovery Assistance, this dataset is iCloud-synced data that isn’t end-to-end encrypted. Apple provides a complete list, though they don’t explain what happens to Family Sharing purchases if the purchaser is gone.
Legacy Contact is a big step forward for Apple, which previously said that when someone was gone, their account was null and void, and could be deleted without warning or recourse. Now, people will be able to add iCloud estate planning to other preparations.
Legacy Contact enrollment works almost the same as Recovery Assistance. Here’s how to enable it in iOS/iPadOS:
Go to Settings > Account Name > Sign-In/Password & Security > Legacy Contact.
Tap Add Legacy Contact.
Read the disclosures and then tap Add Legacy Contact (Figure 37).
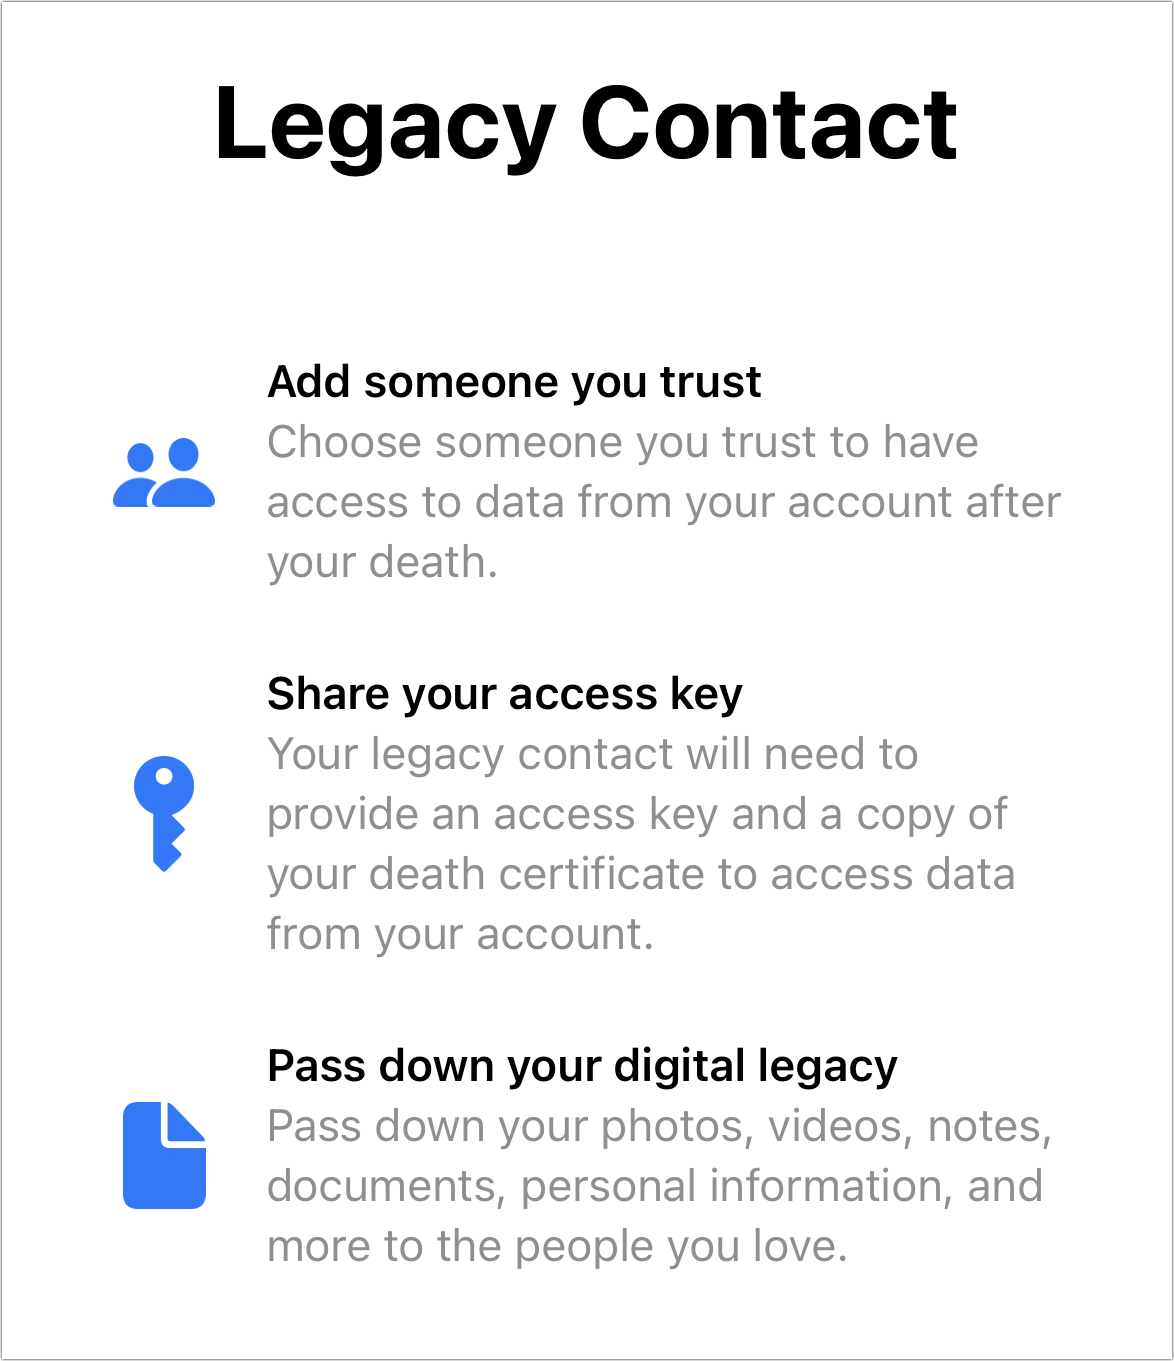
Figure 37: Apple provides extensive disclosure about what a legacy contact has access to and how they can proceed when you’re gone. Apple authenticates you via Touch ID or Face ID, or requires an additional step.
From the Add Legacy Contact screen, if you’re in a Family Sharing group, you can select any other members; if not, tap Choose Someone Else. Tap Next. Family Sharing group members are automatically added (and informed); otherwise, proceed to step 6.
To add people, you can start typing to select them from your contacts list. Some names may be suggested, too. Tap the contact when it appears. (You can have a total of up to five Legacy Contacts from your Family Sharing group and contacts.)
Apple provides reiterates what’s shared on yet another disclosure screen, “Access to Your Digital Legacy” (Figure 38). Tap Continue.
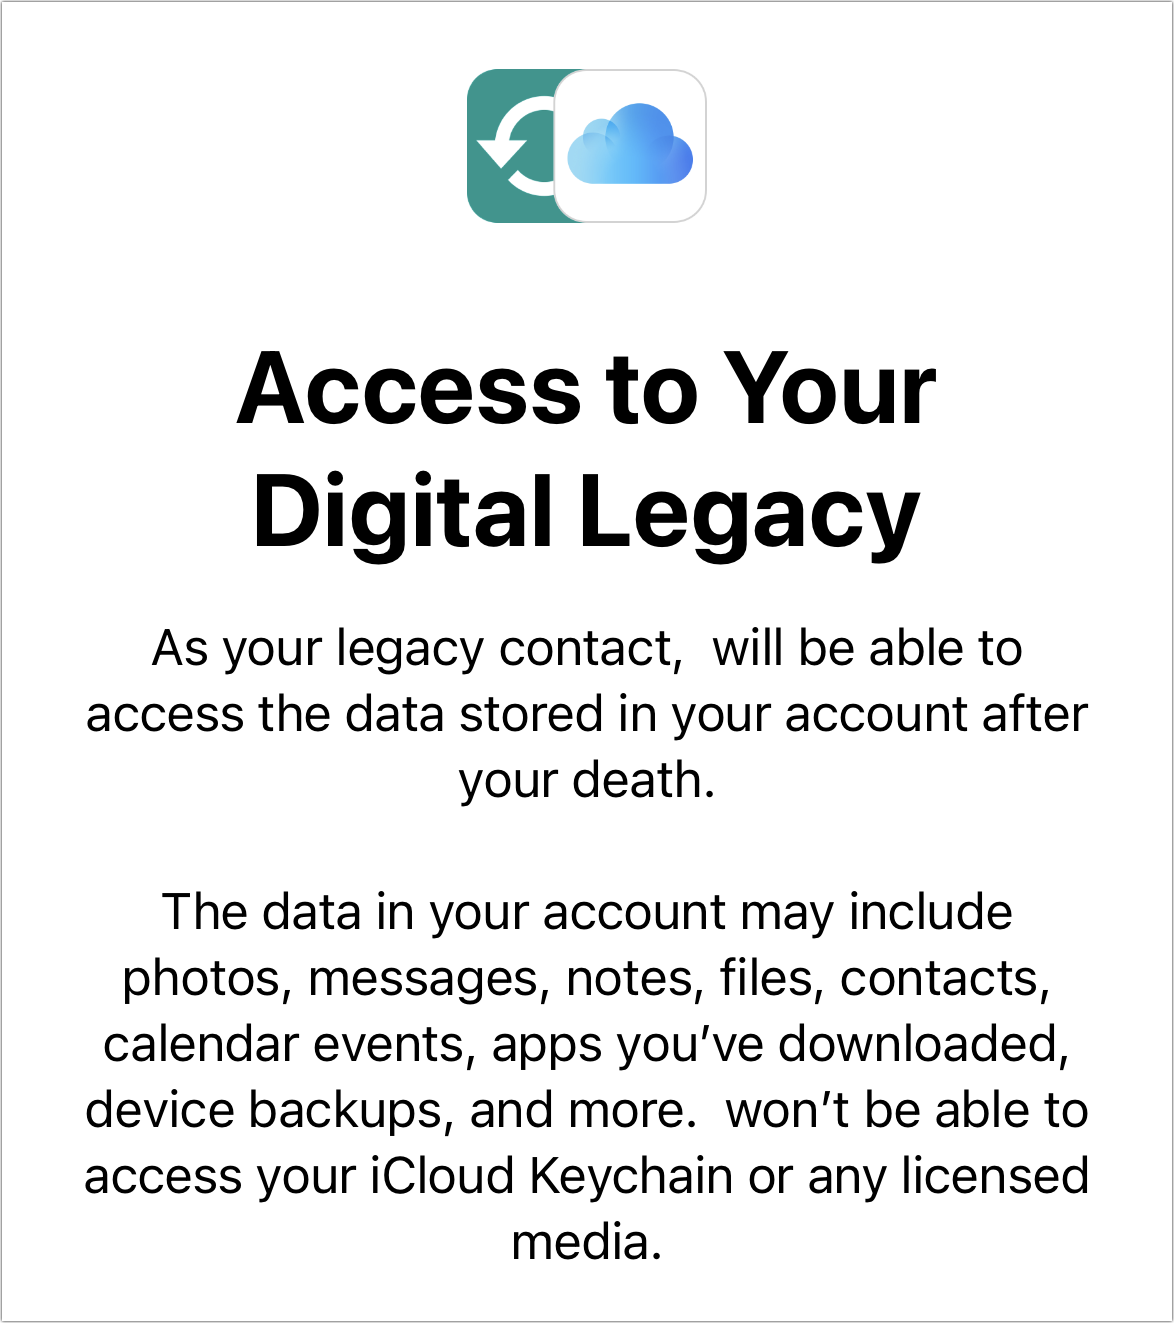
Figure 38: A second screen reiterates the first to reinforce it? You can now share the information with the legacy contact in one or two ways, depending on your contact card for them (Figure 39):
- If the contact has an iMessage account associated with an email address or phone number in your card record for them, you will see Send a Message. Tap that and, just like with a recovery contact, Apple provides helpfully prewritten text to explain what you’re inviting someone to do. You can tap Edit Message to revise it or tap Send to send them the invitation.

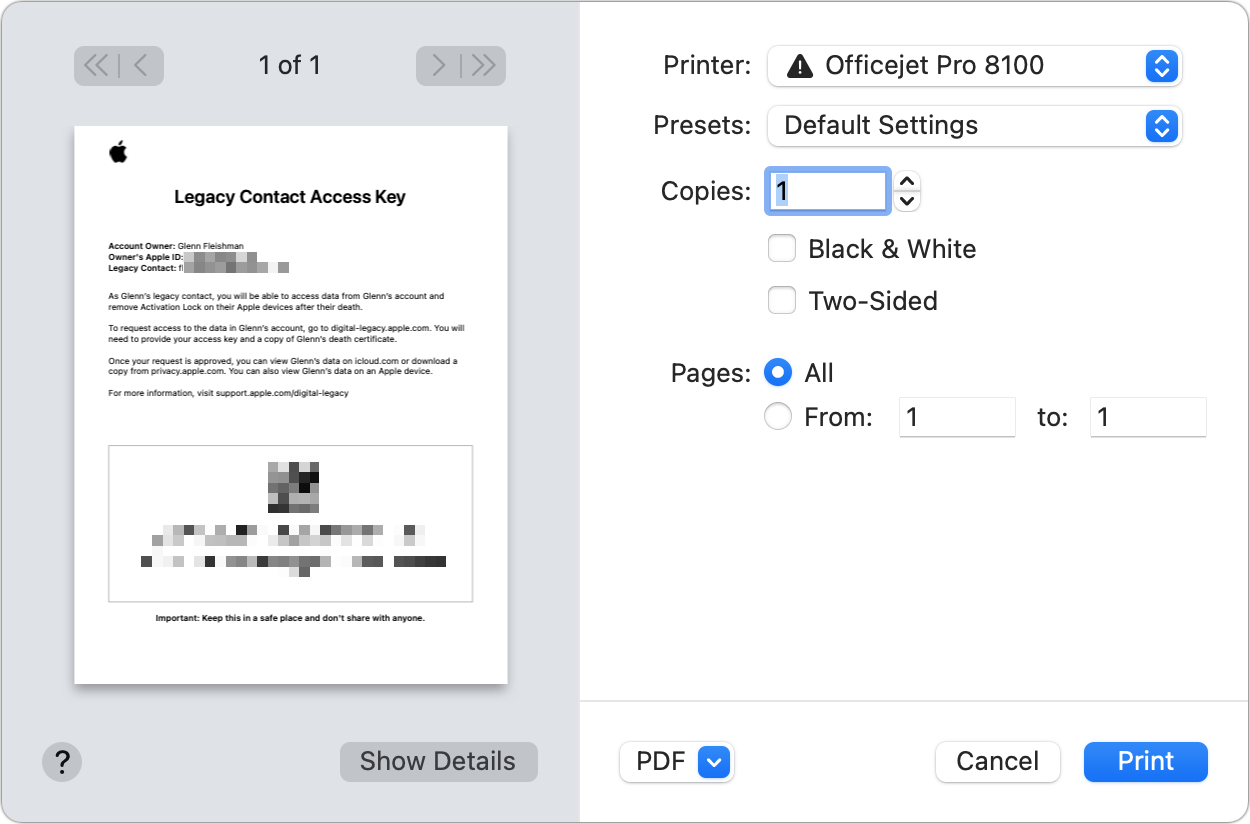
Figure 39: Provide your contact with the information they need. - Print a Copy appears in all cases, Tap that and iOS/iPadOS prints a sheet with an explanation and both text and QR code versions of the validation code required after your passing (Figure 40).
Tap Next and then tap Done.
The process to use Legacy Contact in macOS 12.1 and later is nearly identical: in System Preferences > Apple ID > Password & Security (Monterey) or System Settings > Account Name > Sign-In/Password & Security (Ventura or later), then click Manage to the right of Legacy Contact. Then you can add and manage contacts as above.
Make sure people you’ve selected retain the information sent. However, because we might enable this feature long before our demise, you can retrieve the access information and hand it over or print it again:
In iOS/iPadOS, go to Settings > Account Name > Sign-In/Password & Security > Legacy Contact. Tap an existing Legacy Contact.
In macOS, go to System Preferences > Apple ID > Password & Security (Monterey) or System Settings > Account Name > Sign-In/Password & Security (Ventura or later), click Manage to the right of Legacy Contact, and click Details to the right of a contact.
Now you can tap or click View Access Key. After authenticating, you can view the access key as text and as QR Code. Tap or click Print a Copy to produce the output as in Figure 40 above.
You can also remove a Legacy contact in the same location as View Account Key. Tap or click Remove Contact and confirm the action.
How to Access Someone’s Digital Legacy
Once someone else has entered the hereafter, a legacy contact can begin the process to access the deceased’s data. Before getting started you need their death certificate. (I’m assuming “you” in this section, as if you’re gone, you don’t need these instructions.)
Apple requires a scan of the death certificate at 300 dpi (3,300 by 2,550 for an 8.5-by-11–inch page). The scan must be a PDF, PNG, TIFF, JPEG, or GIF file. The scan has to be clean and flat, and Apple says all four edges of the paper must be visible.
The process starts either on device or via a website:
iOS 15.2/iPadOS 15.2 or later: Go to Settings > Account Name > Sign-In/Password & Security > Legacy Contact, click the person’s name, and click Request Access (Figure 41). You can also click View Access Key to retrieve information for the website below.
macOS 12 Monterey (at least version 12.1): Go to System Preferences > Apple ID > Password & Security, click Manage to the right of Legacy Contact, click the person’s name, and click Request Access. You can also click View Access Key to retrieve that information for use at the website below.
macOS 13 Ventura or later: Starting in Ventura, you can only retrieve the Legacy Contact access key. Go to System Settings > Account Name > Sign-In/Password & Security, click Manage to the right of Legacy Contact, click the person’s name, click Details, and click View Access Key.
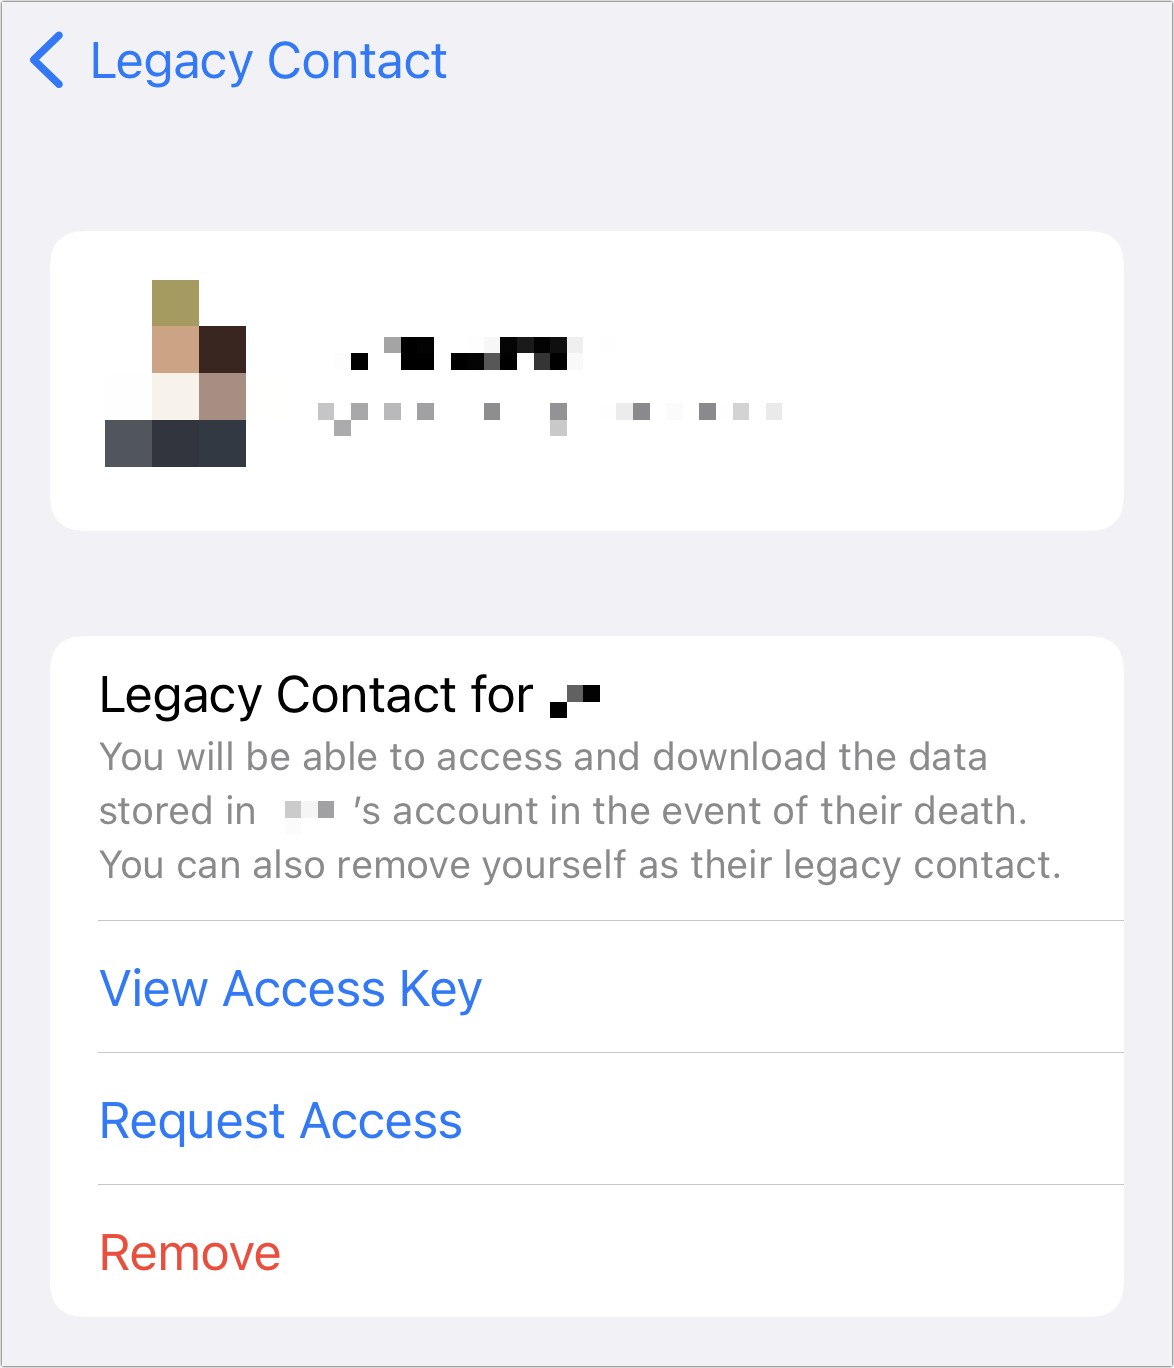
Figure 41: You can request Digital Legacy access directly within some versions of Apple’s operating systems. Website: Go to digital-legacy.apple.com, Apple’s dedicated website, and click Request Access. In this case, because the key isn’t stored in your account, you will need to enter the access key.
You’re prompted to upload the death certificate. Apple sends an email to confirm the process has begun. Apple has a person review the file. You may receive an email requiring more information or one that tells account access is approved.
When Apple turns on Digital Legacy for someone’s Apple ID account, the following happens:
Activation Lock is disabled on all their devices for which they turned on Find My.
Their regular Apple ID disabled and can no longer be used with devices or iCloud.com.
A three-year countdown clock starts. When three years is up, the account can no longer be accessed.
When you receive the email that approves access, you’re prompted to activate the special legacy account, set a password, and set up two-factor authentication, which is mandatory (Figure 42). You can then log in via iCloud.com just like a regular iCloud.com account. You can view data there, download it, and delete it.

Apple notes that iCloud Backups can be retrieved by someone with the legacy account, which means you could restore data and apps (but not in-app purchases or digital media) to another device. That might be one of the deceased person’s after it’s been erased or another piece of equipment. Apps installed via the Mac App Store would ostensibly continue to be available through the legacy Apple ID as well.