STEP-BY-STEP PROJECT
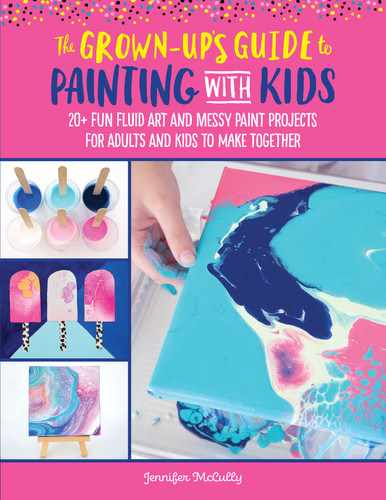
HAPPINESS FROM ABOVE: CLOUD & COLORFUL RAIN
This project offers a unique way to bring paint pouring into a project to be showcased in your child’s room or playroom decor! Ideally you have small boxes somewhere that can be used to cut out a cloud and some raindrops—just a few small pieces of cardboard are all you need to get started. Your kids will love creating the colorful raindrops (my favorite part of this project!). Let them go wild with colors—the more, the better!
STEP 1
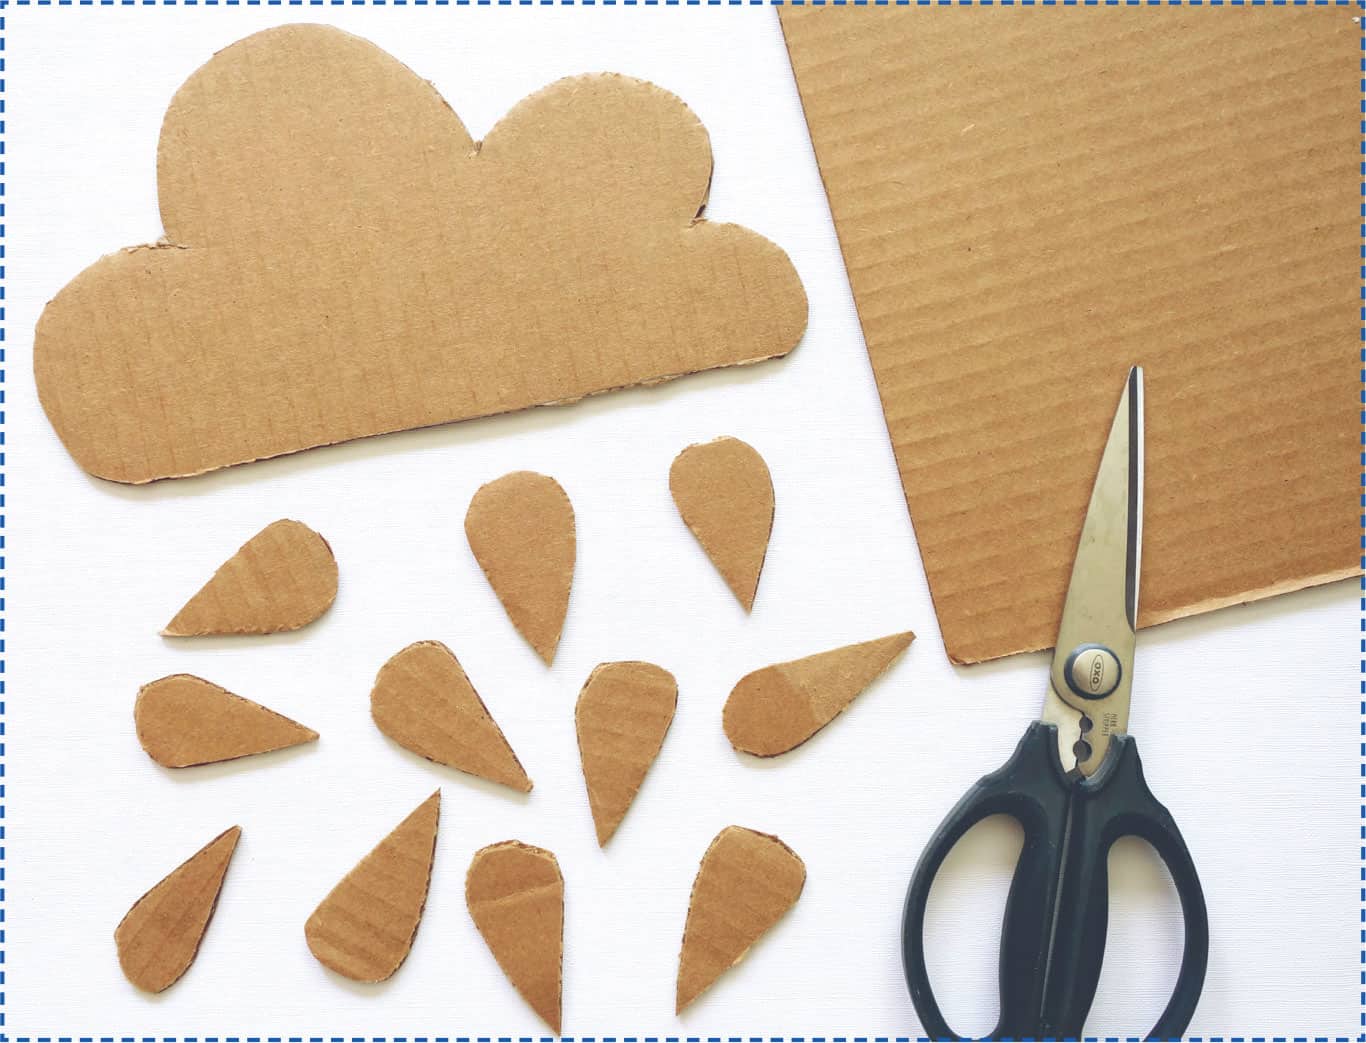
Set up your creative space by laying a vinyl tablecloth over your work surface. Then have your child use a pencil to draw a cloud and raindrops on cardboard. Cardboard can be challenging to cut, so make sure you cut out the cloud and raindrops for your child if you choose to use a craft or utility knife.
The raindrops don’t have to be identical in shape or size, and you can create as many as you wish.
STEP 2
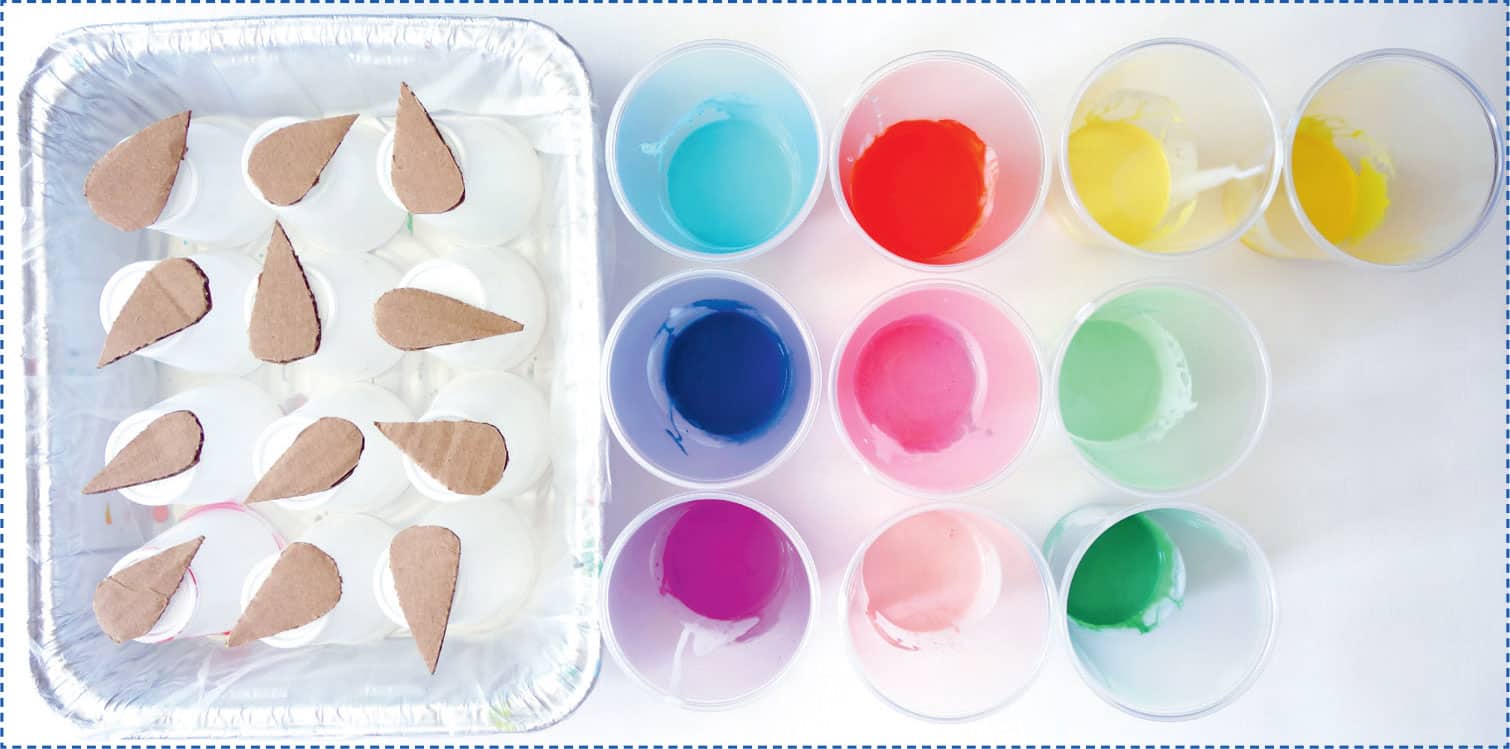
Have your child line a foil pan with wax paper and set up cups on which to rest the raindrops while pouring paint on them. Then mix the paint to pour onto the raindrops. For our raindrops, we chose to go for a tone-on-tone effect in each raindrop and wanted a rainbowlike look.
Follow a ratio of about 21/2 parts pouring medium to 1 part paint. Add a small splash of water and mix thoroughly with a wooden stir stick, ensuring that there are no clumps in the paint mixture.
STEP 3
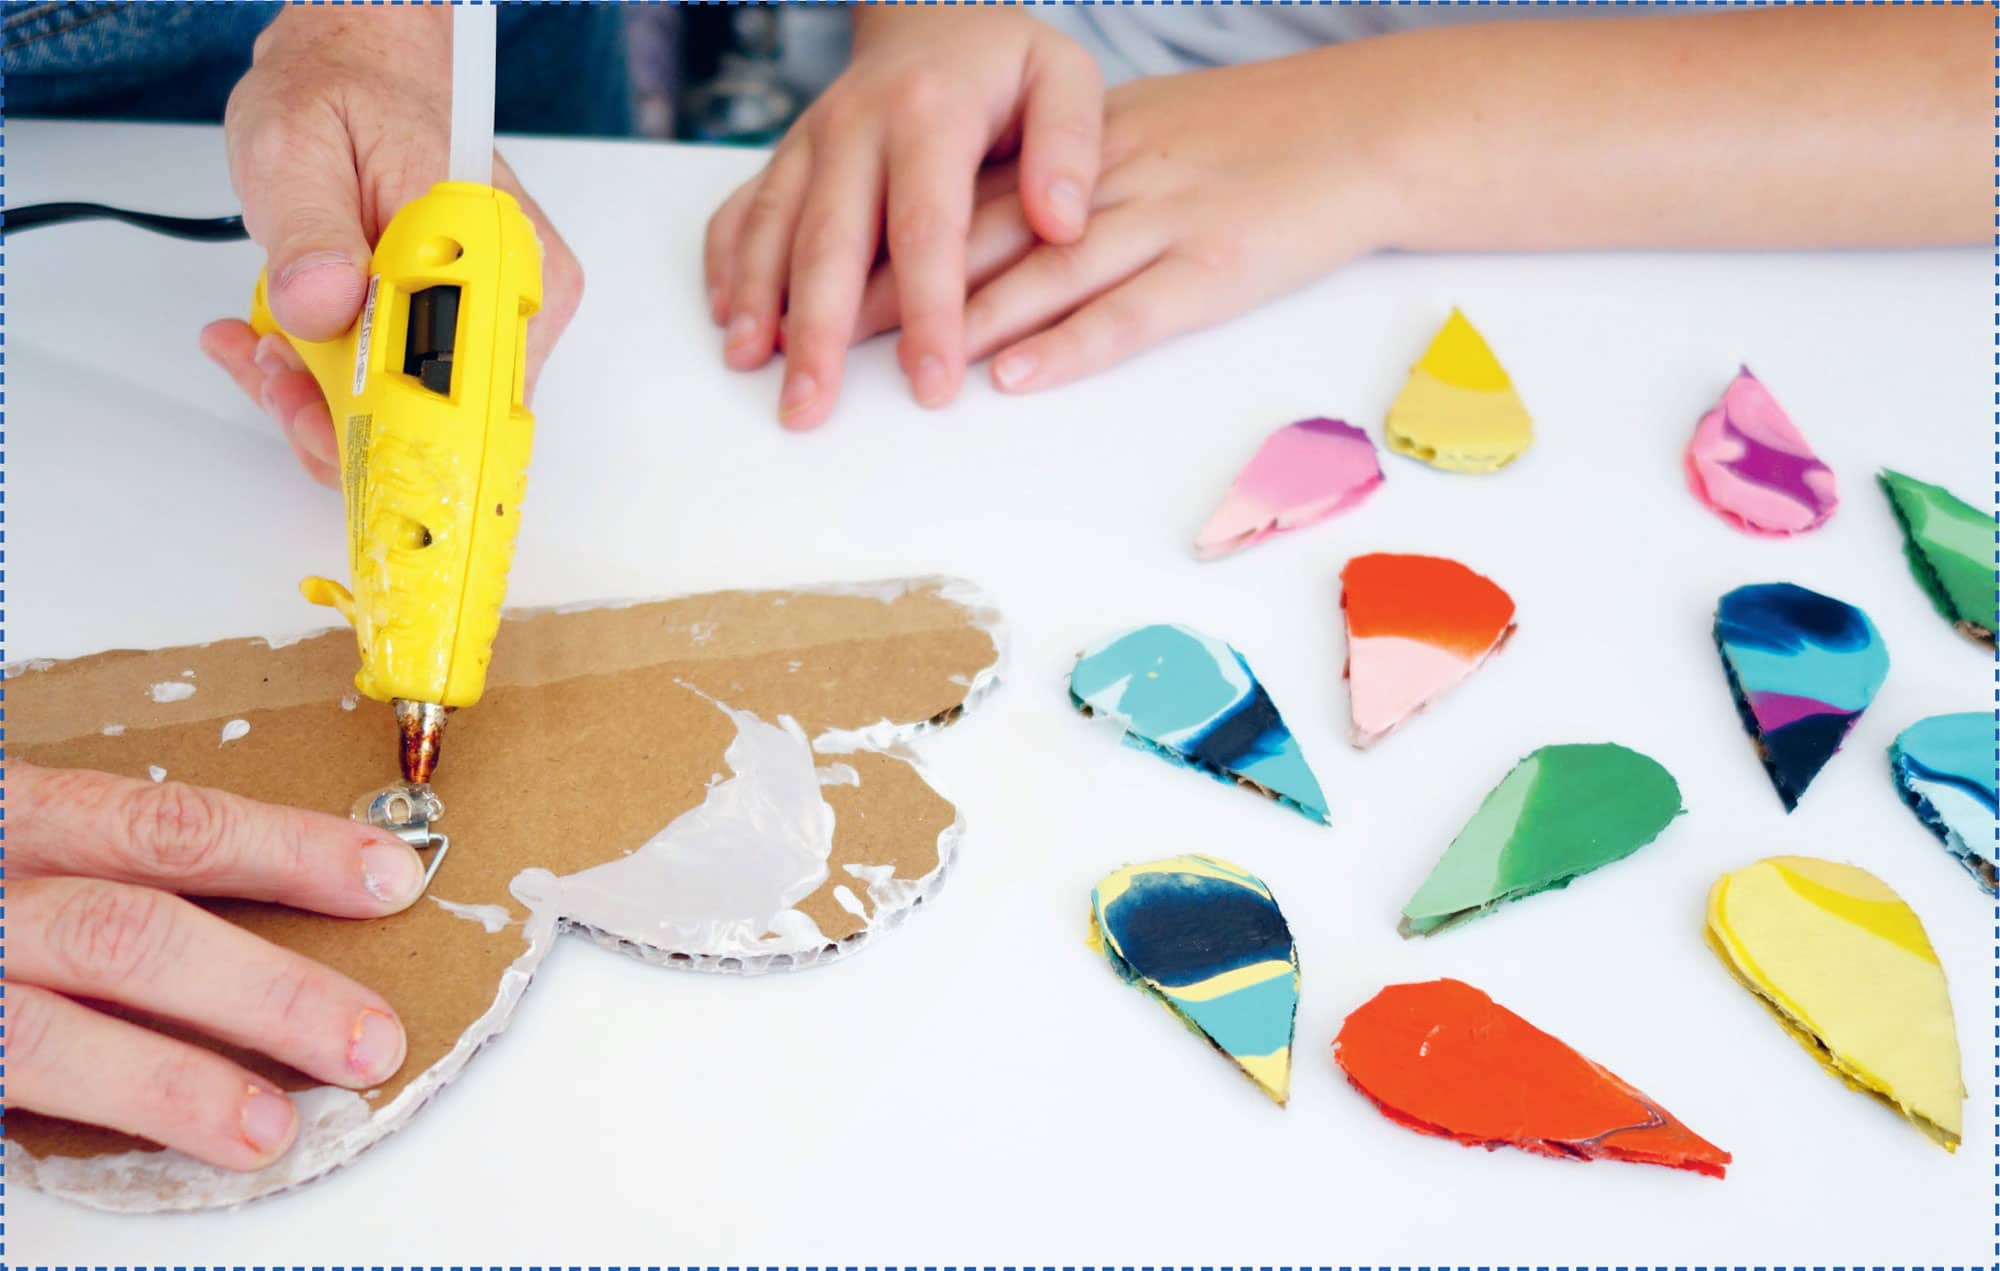
Happiness begins with color! Have your child pour paint onto each raindrop. Because the raindrops are so small, tipping and tilting them isn’t necessary—simply layering the colors works just fine! Have your child pour a little bit of each color one at a time on the raindrops. You can add additional colors if you wish to make the raindrops multi-colored. Once all of the raindrops are completely covered and your child is happy with the way they look, set them aside in a safe place to dry for 24 to 36 hours.

STEP 4
Lay the cardboard cloud flat on a sheet of wax paper. Have your child mix the colors for the cloud. Make sure to mix your two colors separately, and you might choose to mix a small cup of gold paint to give your cloud a dreamy, magical feel. Only a little paint is needed; if you use too much, the cardboard may warp. Tilt and tip the colors a bit to let them flow if you wish.
Lay the cloud flat and let it dry. Some warping might occur during the drying process; however, it will flatten out once completely dry after about 24 to 36 hours.

STEP 5
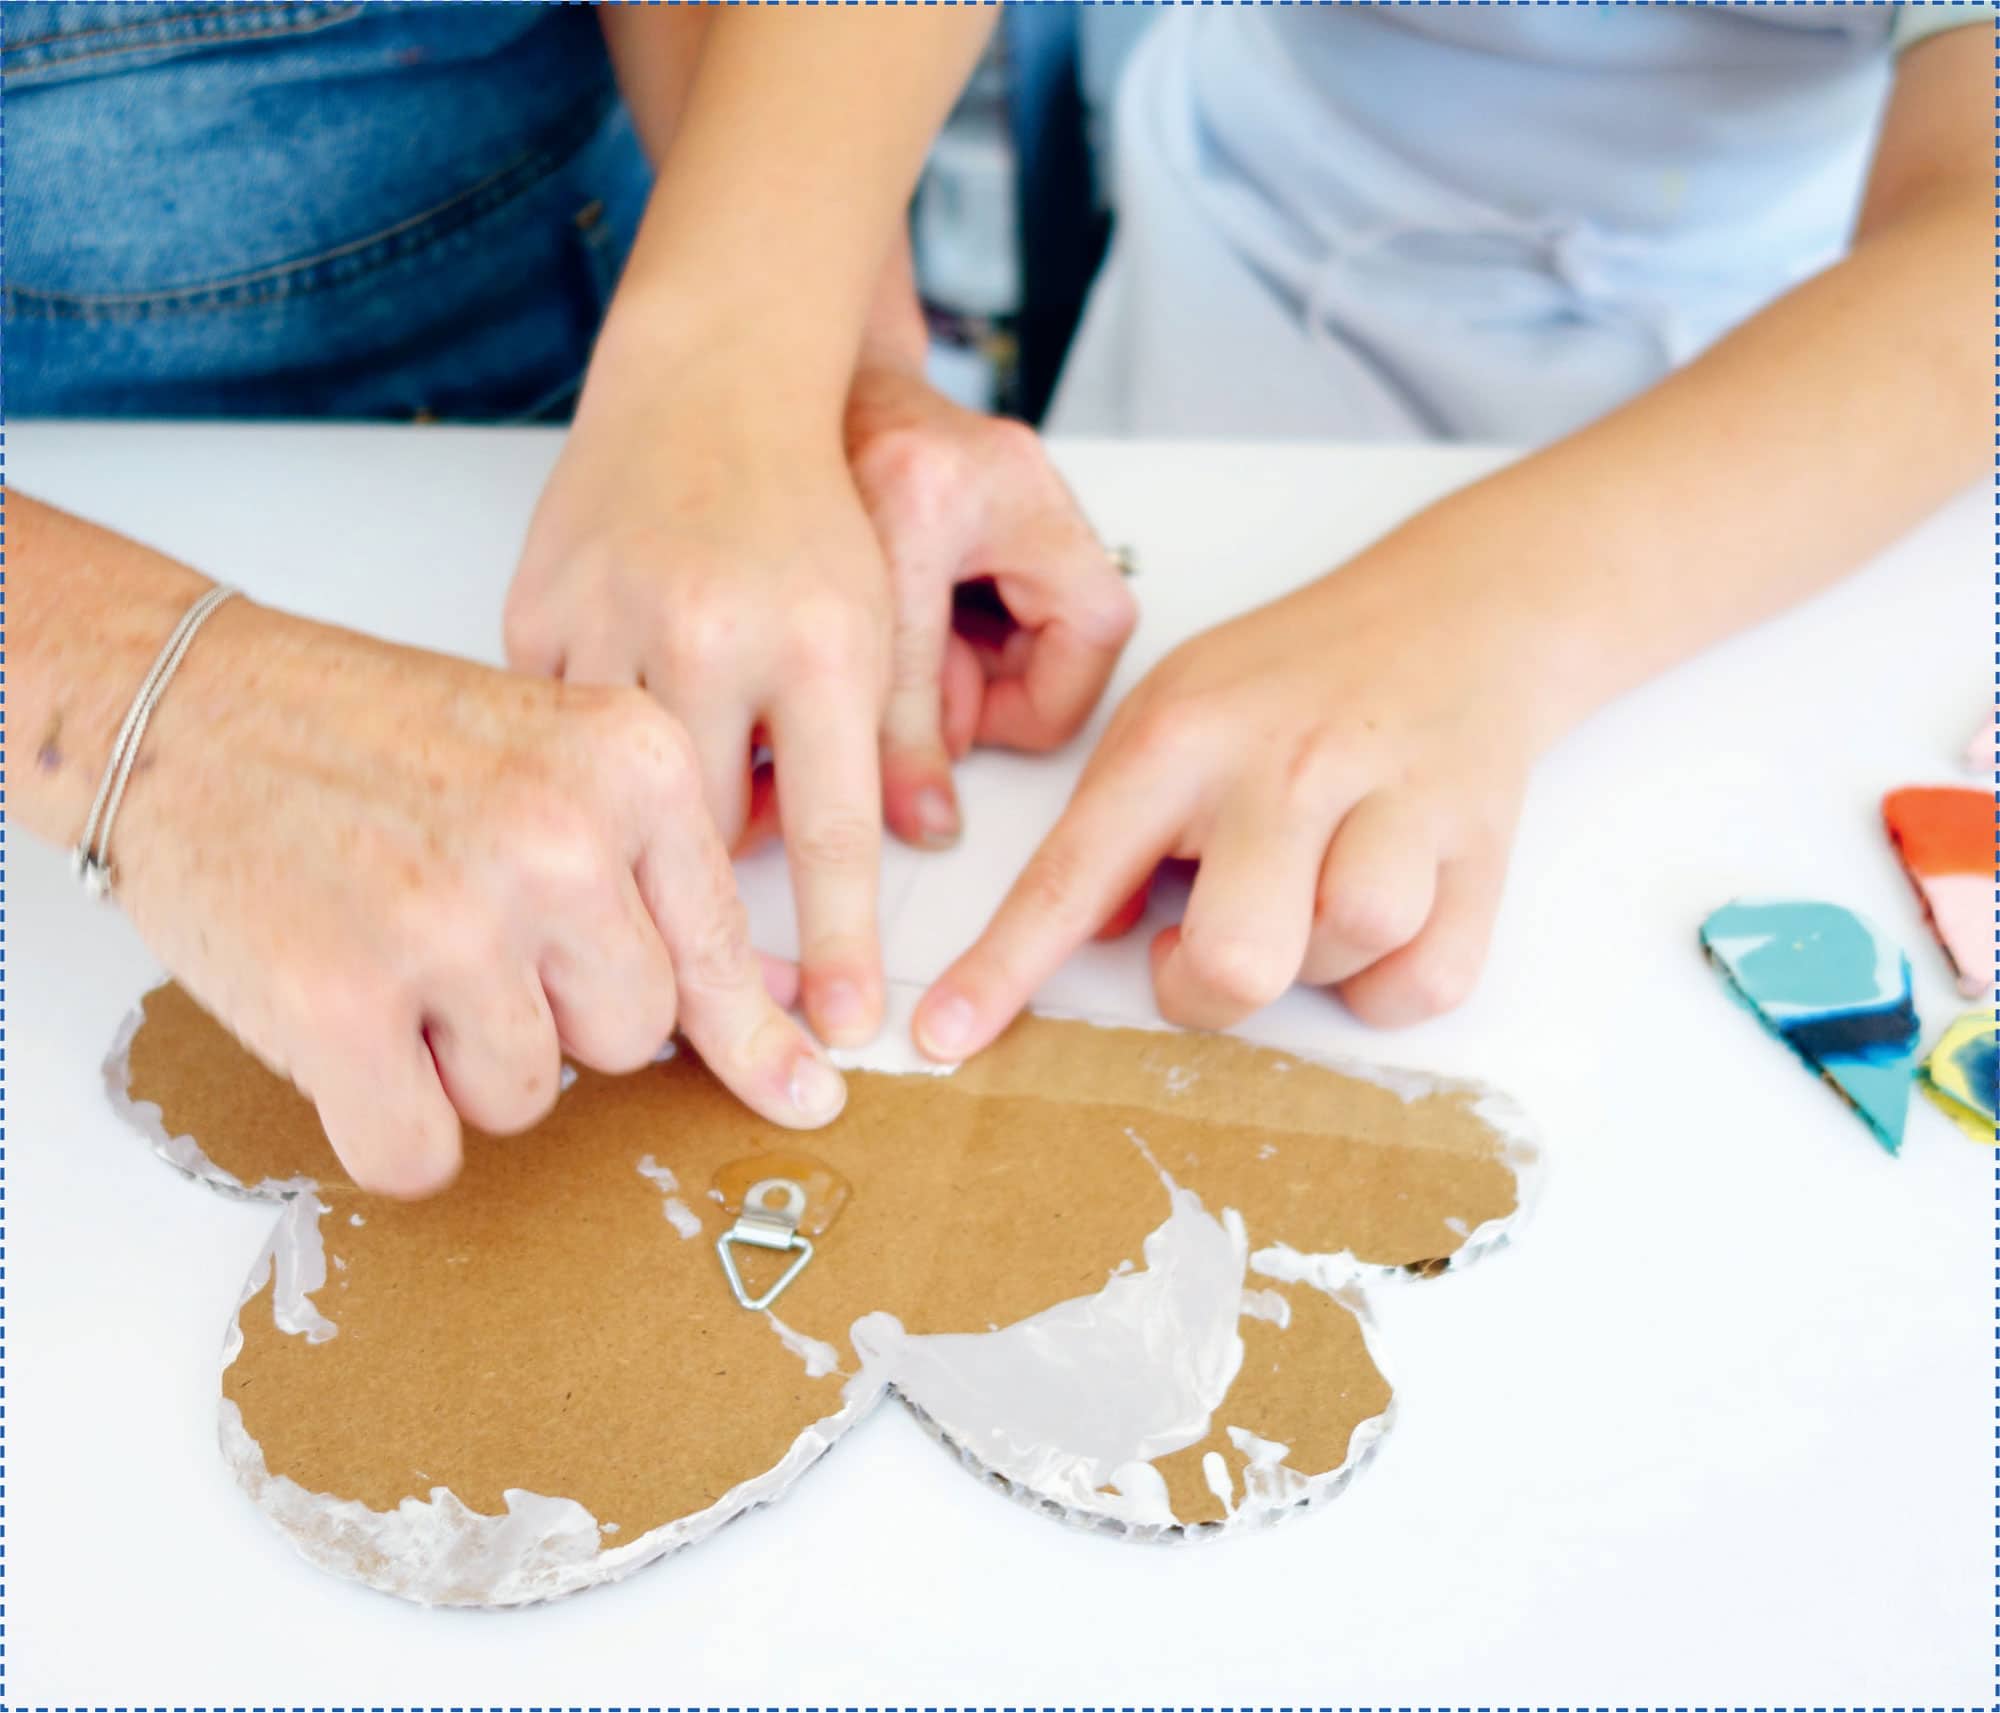
This step should be done by an adult. Hot glue the metal ring hanger to the back of the cloud.
STEP 6
Cut 12-inch pieces of clear fishing wire to attach the raindrops to the back of the cloud. The strands of fishing wire should be spaced apart on the back of the cloud; add as many as you need. It may be necessary to trim off the ends of the fishing wire if they are too long to hide behind the last raindrop on each strand.
STEP 7
Attach all the raindrops to the fishing wire using duct tape. Space them as far apart as you wish.

