STEP-BY-STEP PROJECT
HEY, BIRDIE, BIRDIE
In this project, you and your child will create a fluid-art painting, and then add a painted object on top of it! My kids and I loved creating our birds on a wire. We intentionally chose light colors for the background fluid art so that the birds would look bold and vibrant. Allow extra drying time to complete this project; the painting must be completely dry before adding the birds. Let’s get started!
STEP 1
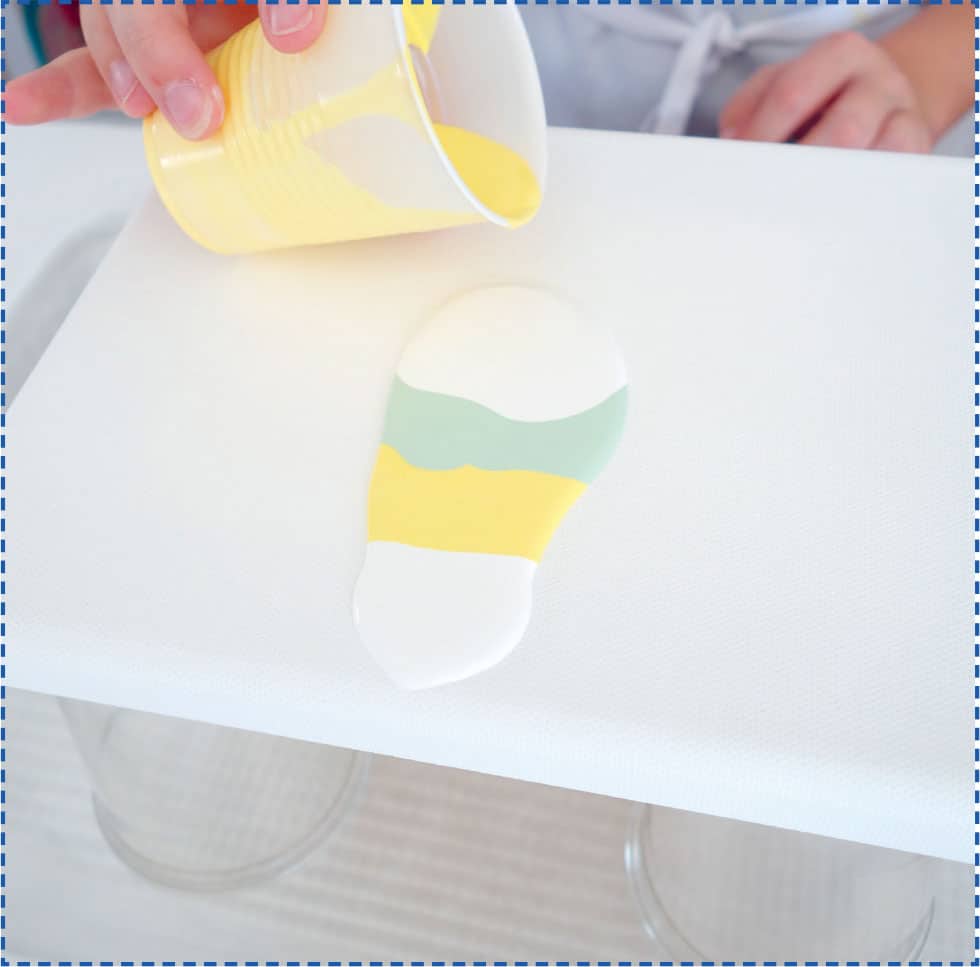
Set up your creative space by covering a tray with wax paper and placing the canvas on cups. Then have your child pour the paint colors into individual cups. Add pouring medium to each cup of paint, following a ratio of 21/2 parts pouring medium to 1 part paint. Add a small splash of water and mix thoroughly, ensuring that there are no clumps. Then your child can pour the paint mixtures directly onto the canvas.
STEP 2
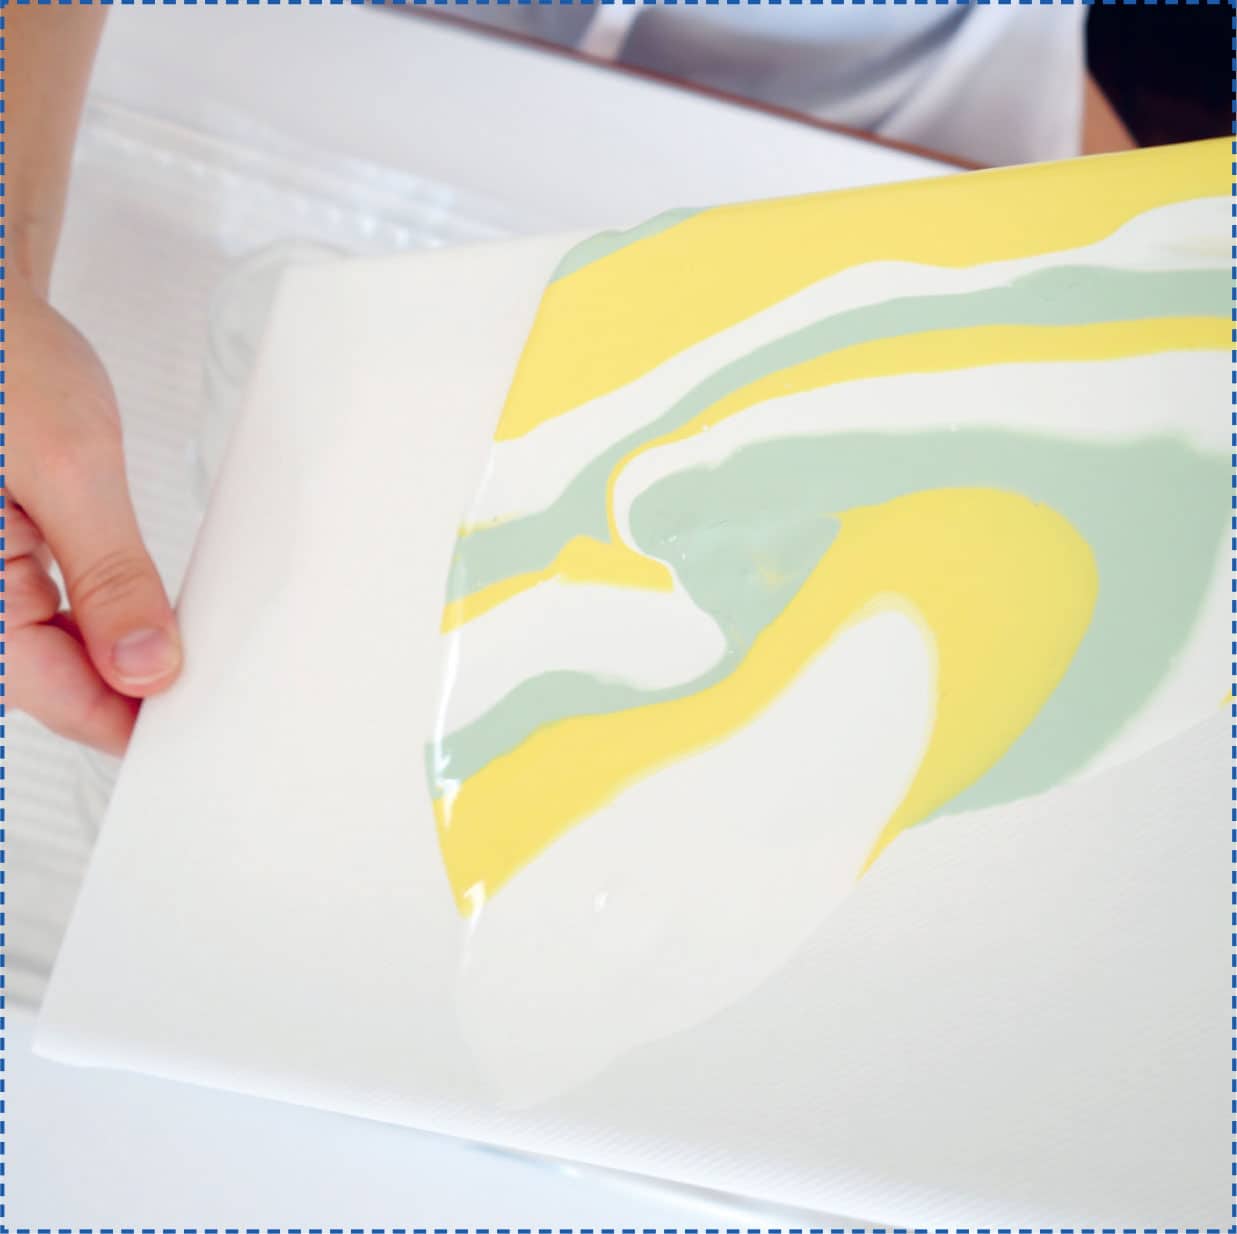
Now your child can tip and tilt the canvas to spread the paint. Once you are happy with the pattern, set the canvas back down on the cups.
STEP 3
If you see uncovered areas or corners of the canvas, have your child pour any leftover prepared paint on those spots and tip and tilt again as needed. A toothpick can be used to remove any noticeable clumps of paint. Lay the canvas back on the cups or leave it in the tray to dry completely for 24 to 36 hours.

STEP 4
Using a piece of scrap paper, draw a simple bird silhouette. Avoid making the tail and lower wings too thin, as you will need to cut out the bird once you’re happy with its shape.

STEP 5
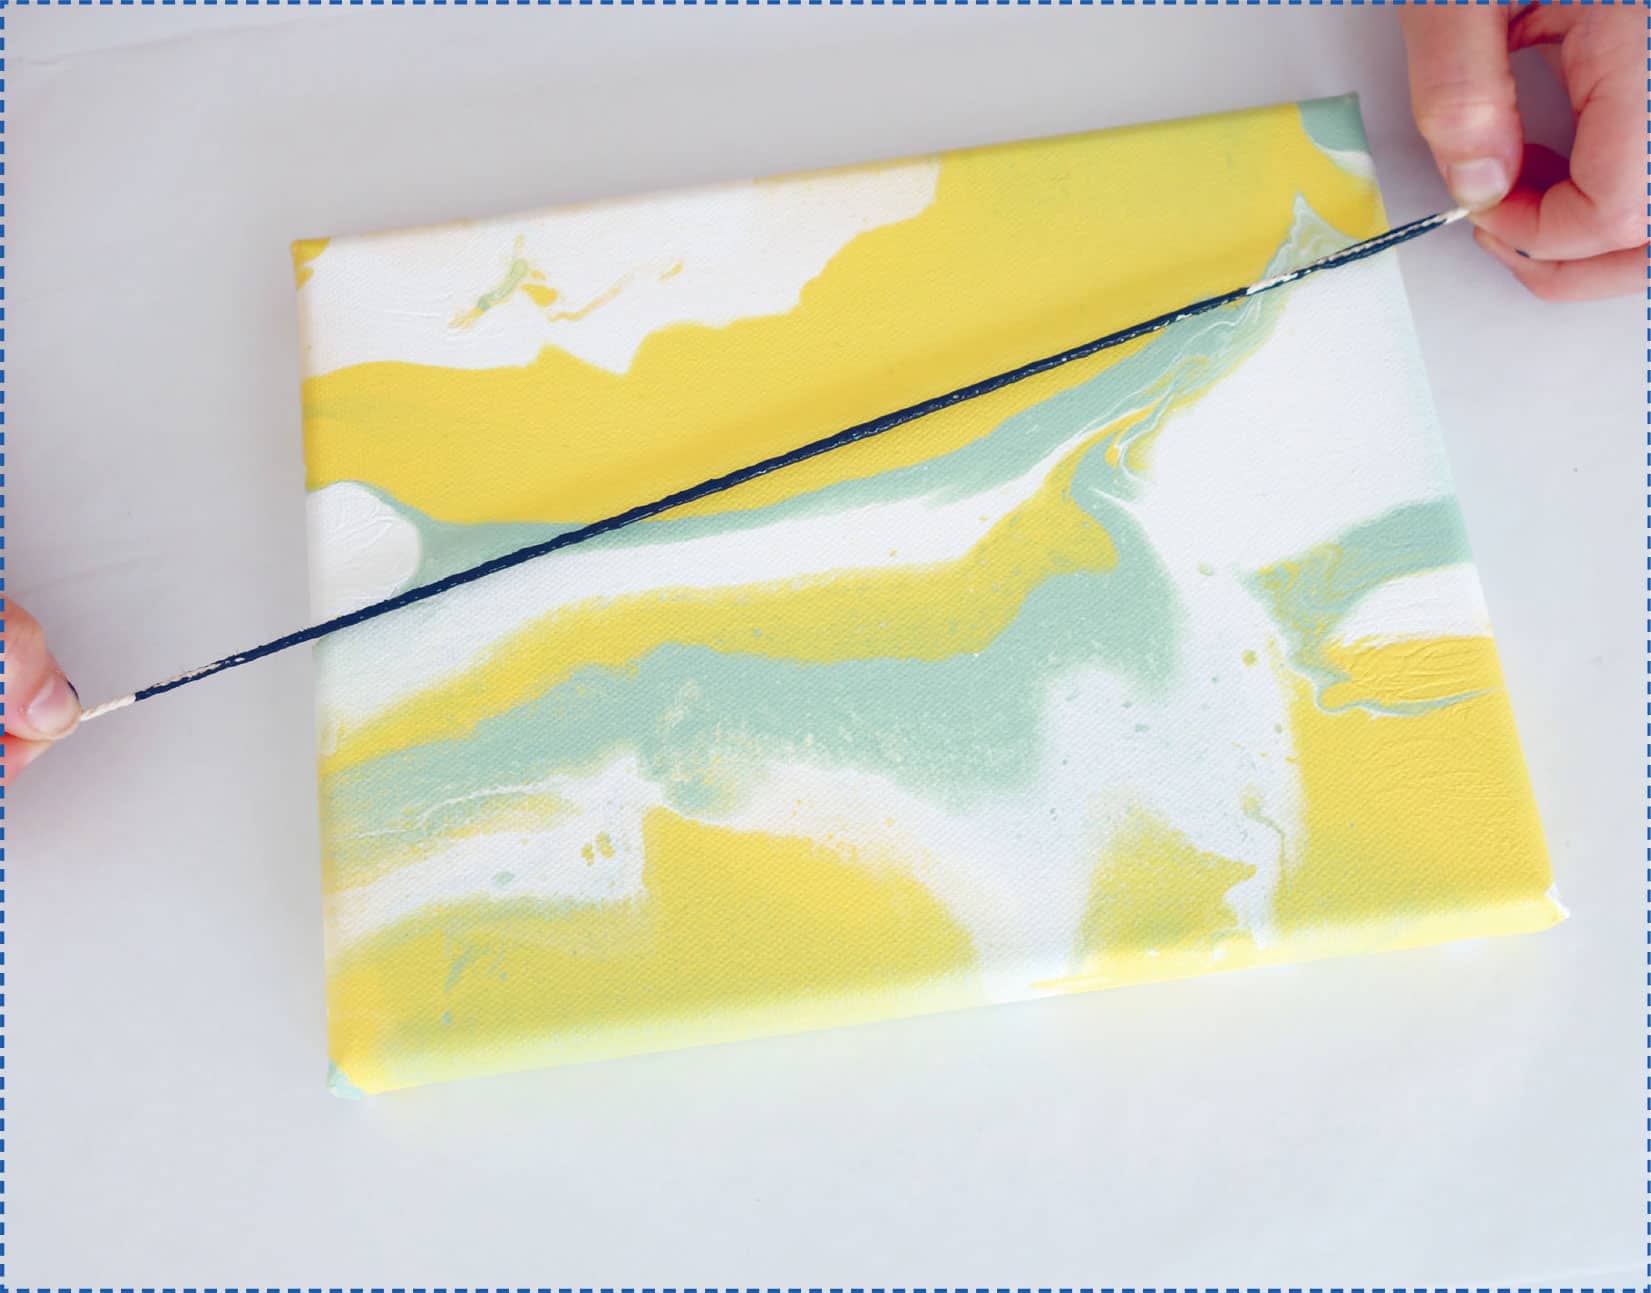
Squirt black paint into a long, rectangular shape on a palette or paper plate and run the string through the paint, covering as much of the string as you can. You don’t want the paint in a glob on the string; coat the string evenly so that you can transfer the paint to the canvas. Angle the string slightly across the canvas and press down on each side to leave a “wire” across the canvas. Let the paint dry completely.
STEP 6
Using the cutout bird silhouette, your child can trace the bird shape onto the wire. The canvas size will determine how many birds fit across it. Alternate the direction of the birds by flipping over the silhouette and tracing it onto the canvas facing in the opposite direction.

STEP 7
Now that your birds are lined up on the canvas, it’s time to fill them with paint! I recommend using a small- to medium-sized brush to paint the birds’ bodies and a smaller, fine-point brush to fill in the beak and tail. You and your child can use a wide variety of vibrant colors to fill in the birds—dive in and be fearless!

STEP 8
Your masterpiece is almost complete! Add a single dot of paint for the birds’ eyes, as well as a few splatters of slightly watered-down paint by gently tapping the tip of a brush over areas of the background. Do this last step when the birds are completely dry so that you can quickly wipe off any areas where you don’t want splatters.

