
Naturally, you are anxious to get your hands dirty and start writing some applications! Before you write your first tablet application, however, you need to download the required tools and SDKs.
For Android development, you can use a Mac, a Windows PC, or a Linux machine. All the tools needed are free and can be downloaded from the Web. All the examples provided in this book will work fine with the Android emulator.
NOTE This book uses a Windows 7 computer to demonstrate all the code samples. If you are using a Mac or a Linux computer, the screenshots should look similar; minor differences may be present, but you should be able to follow along without problems.
So, let the fun begin!
Java JDK
The Android SDK makes use of the Java SE Development Kit (JDK). Hence, if your computer does not have the JDK installed, you should start off by downloading the JDK from www.oracle.com/technetwork/java/javase/downloads/index.html and installing it prior to moving to the next section.
Eclipse
The first step toward developing any applications is obtaining the integrated development environment (IDE). In the case of Android, the recommended IDE is Eclipse, a multi-language software development environment featuring an extensible plug-in system. It can be used to develop various types of applications, using languages such as Java, Ada, C, C++, COBOL, Python, and others.
For Android development, you should download the Eclipse IDE for Java EE Developers (www.eclipse.org/downloads/packages/eclipse-ide-java-ee-developers/heliossr1). Six editions are available: Windows (32 and 64-bit), Mac OS X (Cocoa 32 and 64), and Linux (32 and 64-bit). Simply select the relevant one for your operating system. All the examples in this book were tested using the 32-bit version of Eclipse for Windows.
Once the Eclipse IDE is downloaded, unzip its contents (the eclipse folder) into a folder, say C:Android.
Downloading the Android SDK
The next important piece of software you need to download is, of course, the Android SDK. The Android SDK contains a debugger, libraries, an emulator, documentation, sample code, and tutorials.
You can download the Android SDK from http://developer.android.com/sdk/index.html (see Figure 1-4).
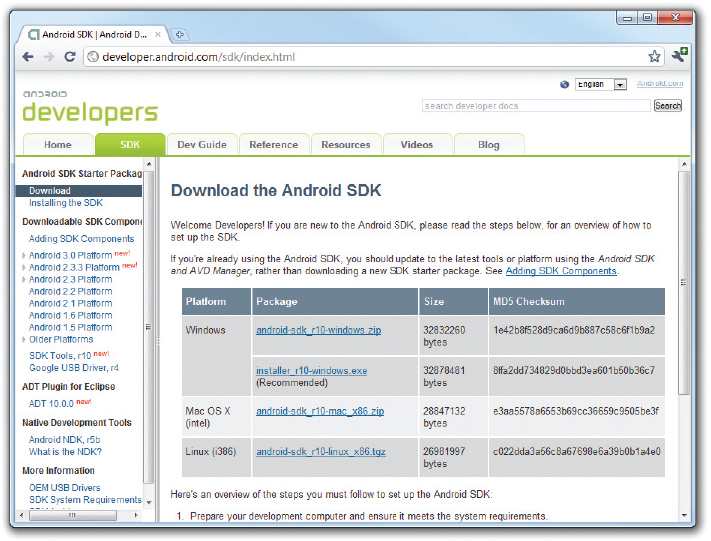
For Windows users, there are two ways in which you can download the Android SDK — either you download the entire Android SDK package — android-sdk_r10-windows.zip or you can download the SDK installer — installer_r10-windows.zip. For beginning Android developers, I strongly encourage you to download the latter, as it makes it very easy for you to get started.
Once the installer_r10-windows.zip package is downloaded, double-click on it to start the installation process. It will first detect whether the JDK is installed and will only continue if it finds one installed on your computer. Next, you will be asked to choose a destination folder for installing the SDK (see Figure 1-5). Remember the path to this folder because you need to use it later.
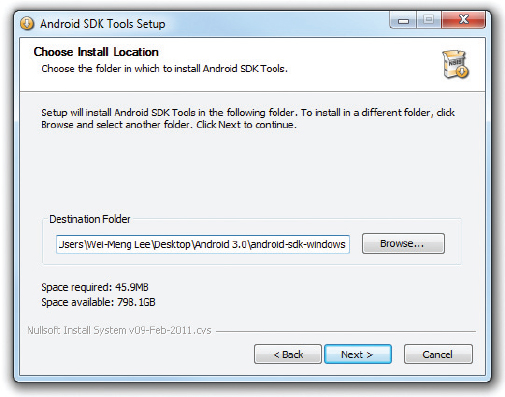
Click Next to continue.
You will next be asked to choose a Start Menu folder to install the Android SDK shortcut. Use the default Android SDK Tools folder and click Install. When the installation is complete, click Finish (see Figure 1-6). Doing so will start the SDK Manager, which downloads all the necessary packages for you to test your Android applications.

Installing the Packages
When the SDK Manager is started, it first checks for the packages that are available for installation. The packages contain the documentation and SDK specific to each version of the Android OS. They also contain sample code and tools for the various platforms.
Figure 1-7 shows the various SDK packages that you can install on your computer. Double-click on each package name to select or deselect a package. If you are not sure which packages to install, you might want to select the Accept All radio button to download and install all the packages.

Click Install to proceed with the downloading and installation of the various selected packages.
Each version of the Android OS is identified by an API level number. For example, Android 3.0 is level 11 (API 11), while Android 2.3.3 is level 10 (API 10), and so on. For each level, two platforms are available. For example, level 11 offers the following:
- SDK Platform Android 3.0
- Google APIs by Google Inc., Android API 11, revision 1
The key difference between the two is that the Google APIs platform contains the Google Maps library. Therefore, if the application you are writing requires Google Maps, you need to create an AVD using the Google APIs platform.
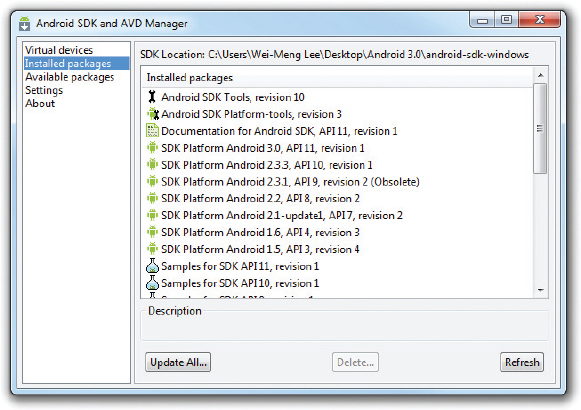
Downloading and installing the packages takes some time, so you have to be patient. When all the packages are installed, click Close. You should now see a listing of all the packages installed (see Figure 1-8).
Creating Android Virtual Devices (AVDs)
Once the packages are downloaded and installed, the next step is to create an Android Virtual Device (AVD) to be used for testing your Android applications. An AVD is an emulator instance that enables you to model an actual device. Each AVD consists of a hardware profile, a mapping to a system image, as well as emulated storage, such as a secure digital (SD) card.
You can create as many AVDs as you want in order to test your applications with several different configurations. This testing is important to confirm that your application behaves as expected when it is run on different devices with varying capabilities.
NOTE Appendix B discusses some of the capabilities of the Android emulator.
To create an AVD, select the Virtual Devices item in the left pane of the Android SDK and AVD Manager window (see Figure 1-9).

Then click the New. . . button located in the right pane of the window. In the Create new Android Virtual Device (AVD) window, enter the items as shown in Figure 1-10. Click the Create AVD button when you are done.

In this case, you have created an AVD (put simply, an Android emulator) that emulates an Android device running version 3.0 of the OS. In addition to what you have created, you also have the option to emulate the device with an SD card and different screen densities and resolutions.
NOTE Appendix B explains how to emulate the different types of Android devices.
It is preferable to create a few AVDs with different API levels so that your application can be tested on different devices. To emulate the Motorola Xoom, you should choose the “Google APIs (Google Inc.) – API Level 11” target.
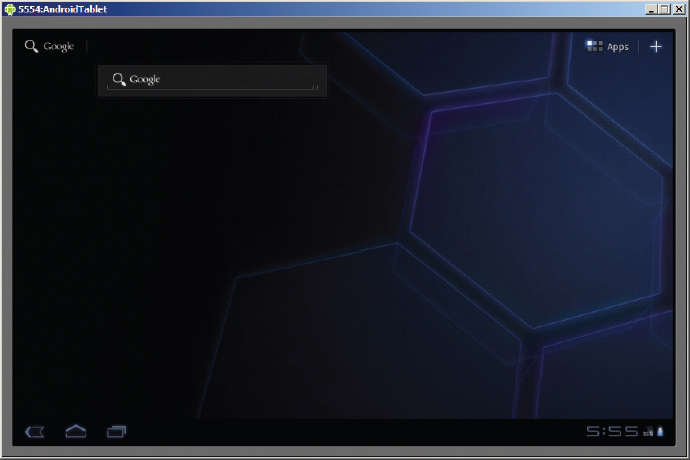
To see what the Android emulator looks like, select the AVD you have just created and click the Start. . . button. Figure 1-11 shows the Android 3.0 emulator.
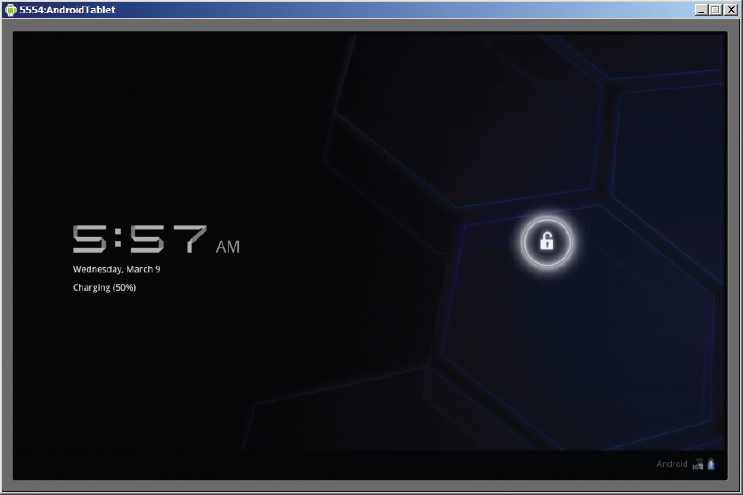
Click and move the lock icon to touch a circle that appears when you move the mouse. This unlocks the emulator. Figure 1-12 shows the main window of the Android 3.0 screen.
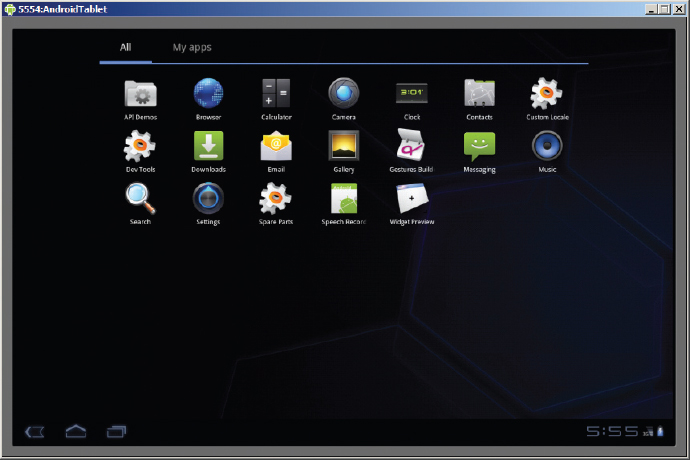
Clicking the Apps icon on the top-right corner of the screen reveals a list of installed applications on the device (see Figure 1-13).
Android Development Tools (ADT)
With the Android SDK and AVD set up, it is now time to configure Eclipse to recognize the Android project template. The Android Development Tools (ADT) plug-in for Eclipse is an extension to the Eclipse IDE that supports the creation and debugging of Android applications. Using the ADT, you will be able to do the following in Eclipse:
- Create new Android application projects
- Access the tools for accessing your Android emulators and devices
- Compile and debug Android applications
- Export Android applications into Android Packages (APKs)
- Create digital certificates for code-signing your APK
To install the ADT, first launch Eclipse by double-clicking the eclipse.exe file located in the eclipse folder.
When Eclipse is first started, you are prompted for a folder to use as your workspace. In Eclipse, a workspace is a folder where you store all your projects. Take the default suggestion and click OK.
Once Eclipse is up and running, select the Help ⇒ Install New Software. . . menu item (see Figure 1-14).

In the Install window that appears, type http://dl-ssl.google.com/android/eclipse in the topmost text box (see Figure 1-15) and press Enter.

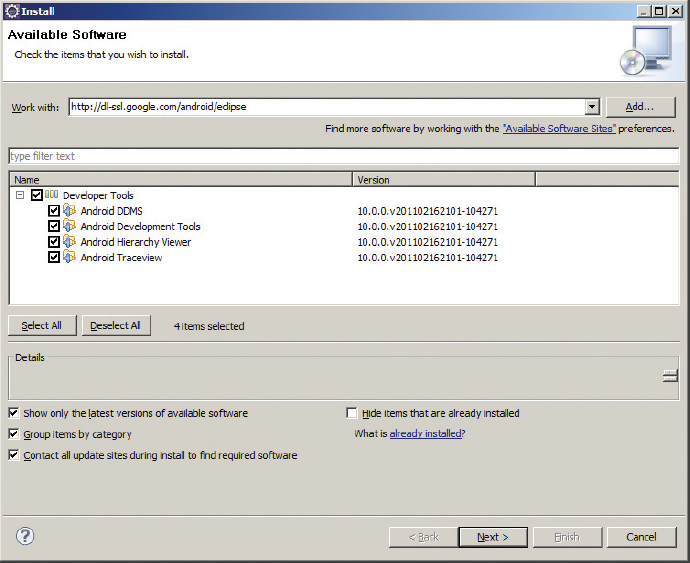
After a while, you will see the Developer Tools item appear in the middle of the window (see Figure 1-16). Expand it and it will reveal its contents: Android DDMS, Android Development Tools, Android Hierarchy Viewer, and Android Traceview. Check all of them and click Next.
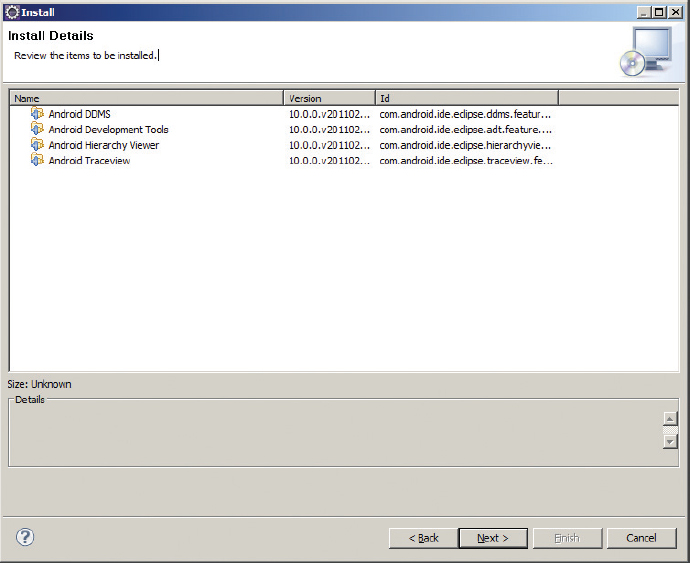
When you see the Install Details window, shown in Figure 1-17, click Next.
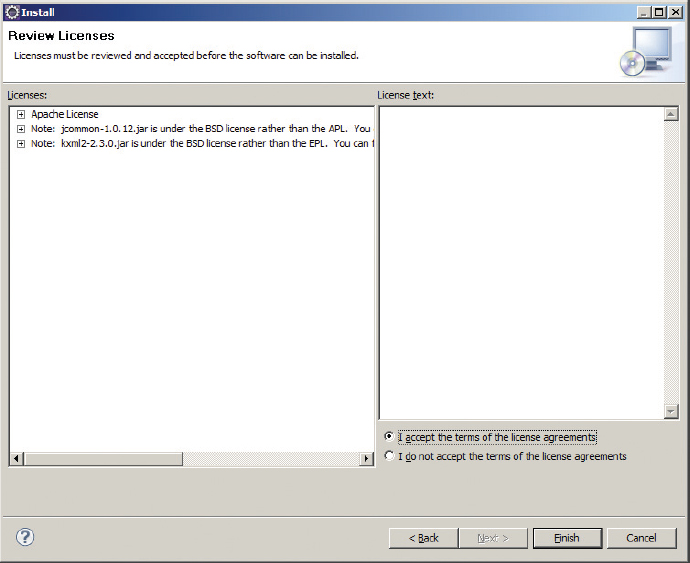
You will be asked to review the licenses for the tools. Check the option to accept the license agreements (see Figure 1-18). Click Finish to continue.
Eclipse proceeds to download the tools from the Internet and install them. This takes some time, so be patient.
NOTE If you have any problems downloading the ADT, check out Google’s help at http://developer.android.com/sdk/eclipse-adt.html#installing.
Once the ADT is installed, you will be prompted to restart Eclipse. After doing so, select Window ⇒ Preferences (see Figure 1-19).

In the Preferences window that appears, select Android. Enter the location of the Android SDK folder (that you supplied earlier when you downloaded and installed the Android SDK). Click OK.