
VNC is a widely used remote screen control technology that underlies Leopard's Screen Sharing software, and that Apple previously packaged and continues to ship with Apple Remote Desktop (ARD). VNC clients are available for nearly every platform, including nearly every release of Mac OS X. There's even a version for a "jailbroken" iPhone—one that's been modified to allow third-party software installation.
VNC service is split into client and server components: a client is a viewer; the server handles access to a computer's screen and manages input from the remote user.
Note
Leopard's pair: In Leopard, the server is the Screen Sharing service in the Sharing preference pane, and the client is the Screen Sharing application, which the Finder launches if needed.
It would be neat if Leopard could be controlled by and access VNC clients, right? Well, it can, using either Leopard's built-in support or third-party software. Leopard's support, built into the Screen Sharing service controlled via the Sharing system preference pane, is just fine, but if you need more options, you might consider an alternative; see the sidebar Picking VNC Software, a few pages ahead, for details.
Let's get started with the steps for enabling the built-in VNC server in Leopard, Tiger, and Panther.
Turning on the VNC service in Leopard involves a simple trip to System Preferences:
Open System Preferences, and select the Sharing preference pane.
Select the Screen Sharing service, and make sure there's a check in its activation box.
Click the Computer Options button.
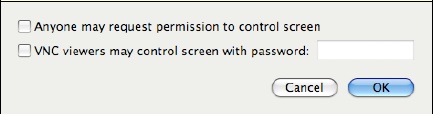
Check the box labeled VNC Viewers May Control Screen with Password, and enter a password (Figure 8-1).
Warning
The standard flavor of VNC employs a form of encryption that can be easily cracked unless you use a long password—one that's more than eight characters long. Unless you're using VNC coupled with a virtual private network (VPN) connection or over a local network, choose a long password. Some VNC clients won't allow passwords longer than eight characters, just to complicate matters, however. In that case, you might choose to use SSH, as described inUse a Non-Apple VNC Client or Server, ahead.
When you enable the VNC service in Tiger, you enable it for particular user accounts on your system:
Open System Preferences, and click the Sharing preference pane; the Services sub-pane will be exposed by default.
Enable the Apple Remote Desktop service by checking its box or clicking the Start button.
Click the Access Privileges button to turn on VNC.
Tiger requires that you select specific users that may access a system remotely; select those users in the list at left by checking the box next to each name (Figure 8-2).
You can uncheck all the options beneath Allow User To Do the Following on This Computer, except for Observe and the Control checkbox beneath it.
Check the VNC Viewers May Control Screen with Password box, and enter a password. (See the Warning! about passwords, on the previous page.)
Click OK.

To activate the VNC server , download and install a client upgrade for Apple Remote Desktop version 2.1 from http://www.apple.com/support/downloads/appleremotedesktop21client.html. I know: it's a little weird to install a client in order to activate a server, but that's how Apple has packaged VNC for Panther.
To enable the service, follow these steps:
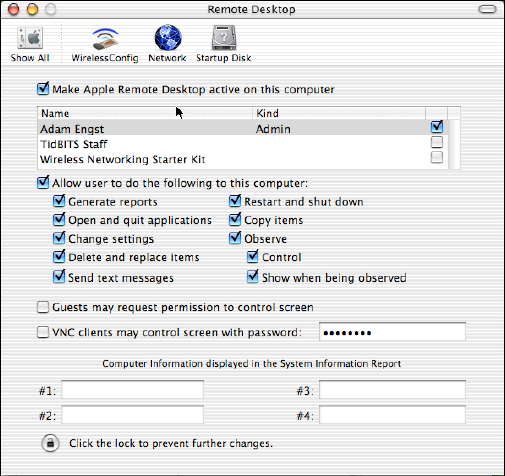
In Apple Remote Desktop (Figure 8-3), check the Make Apple Remote Desktop Active on This Computer box.
In the list near the top of the window, select the user or users that you want to have remote access, and check the box to the right of each name in the list at top.
Select each user in turn and check Allow User To Do the Following to This Computer and check the Observe and Control boxes, at a minimum.
Check the VNC Clients May Control Screen with Password box, and enter a password of eight characters or more for the best security.
You could also opt for Chicken of the VNC or Vine, as described next.