
PENNANT
Varsity pennants show off school or team pride and this one is perfect for displaying graduate pride! This easy-sew project has room for a single-line border, a graduation design, a name, and a mini motif. What could be better than celebrating and cheering on someone special with cross stitch?

|
|
|
|
|
|
|
|
|
|
|
|
 352 (DMC)
 209 (DMC)
 211 (DMC)
 04 (DMC)
 436 (DMC)
 03 (DMC)
 02 (DMC)
 310 (DMC)

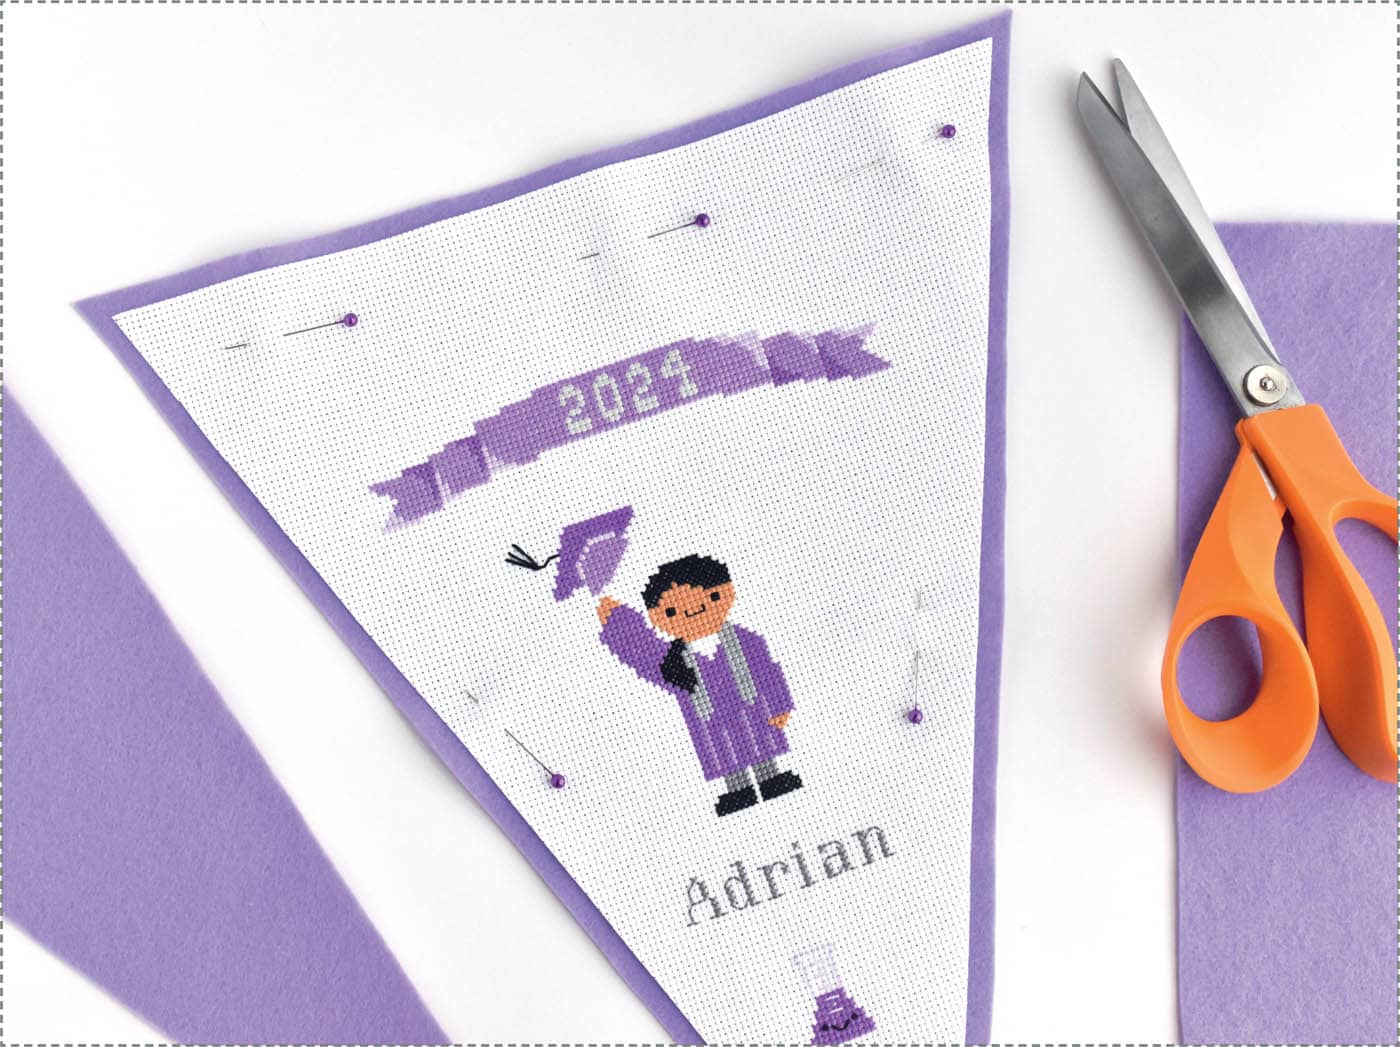
About the Sample Design
Because of the shape of the pennant, this project uses pattern elements that go from larger at the top to smaller at the bor you stitch the pennant, wattom. The top features the Ribbon Border (here) with the graduation year stitched inside. Under that is the Graduate Tossing Hat (here), but with the hairstyle from the Standing Graduate (here). They also have a graduation sash over the robe.
Under the graduate is the name, stitched with the Serif Alphabet (here). If it were a longer name, it would be better placed above the graduate for space. At the very bottom is the beaker mini motif (here). The overall size of the pennant is 11" x 14", so keeping the stitching away from the edges requires a little bit of planning, but the sample chart is a good guideline to follow.
STEP 1
Create and cross stitch the design for the pennant. After you stitch the pennant, wash and iron your cross stitch.

STEP 2
Trim the fabric down to 11” x 14”. Fold the bottom edge in half and crease it on the edge to find the middle. Use a ruler and pencil to draw a line from the top left corner down the bottom center, and do the same from the top right corner to the bottom center.

STEP 3
Cut the Aida fabric on the marked lines. Pin the cross-stitched fabric to the felt, and then trim the felt so there’s about ¼" showing on each side.
STEP 4
Cut four pieces of felt that each measure ½" x 2". Lay the pairs of felt strips to make Vs.
STEP 5
Layer the felt Vs between the Aida and the felt backing on the top edge, placing each set of strips 3 inches in from the sides.

STEP 6
Stitch around the three sides of the pennant with 3 strands of coordinating embroidery floss and running stitch.

