
CH. 4 BLACKSMITHING
Before modern-day grinders and power cutting tools, all metal knives were made through the art of blacksmithing. The local “smithy,” as blacksmith shops are known, was at one point an integral part of every town. Today, most people have never set foot inside a blacksmith shop, but the prevalence of the surname Smith is a relic of how common this trade used to be.
I was first introduced to the art of blacksmithing while apprenticing as a farrier in my early twenties. I was constantly impressed by the master blacksmiths I met. They could seemingly communicate with metal and will it into any shape they desired with a few well-placed hammer blows. Mastering the art of blacksmithing is a lifetime pursuit, but by learning just a few simple techniques, you’ll be able to start using this skill as part of your knifemaking process. This chapter is intended to give you some basic tools to start hammering.
WORKING IN THE SMITHY
HEATING THE STEEL
You have your work space all set up, your design laid out, and a piece of steel ready to go. It’s time to get that metal in the forge! Make sure all your tools are where you can have easy access to them, place your blade in the forge, and get it cranking.
I never quite understood the saying “Strike while the iron is hot” until I started blacksmithing. To properly work your blade, you’ll need to take it out of the forge when it’s at an appropriate temperature. While it’s possible to buy a thermometer for a propane forge, most people gauge the approximate temperature and the resulting workability by its color. Steel needs to undergo changes during heating to become malleable. If you try to hit a piece of steel that’s too cold, you’ll only be working the outer layers of the metal and you’ll get a mushrooming effect. In a worst-case scenario, you could even stress the steel to the point of breaking. It’s also possible to get too high of a temperature, which is most likely when using a coal forge. Thin edges, and particularly the point, are most vulnerable. If using a coal-fired forge, take care to arrange your coals so that you can lay your steel across the fire evenly. If you shove your point deep into the coals and crank the air, it’s possible to melt your tip completely off.
Keep an eye on your steel as it heats in the forge and wait for it to turn an orange color. Pay attention to how the color is changing when you start hammering. Once the steel dulls to a red, put it back in the fire to reheat. Make sure to keep watching the color of the steel, and never let it rest in the forge unattended. Extremely high temperatures can actually burn the carbon out of the surface layer of steel. If this happens, it’s no longer high carbon steel and, therefore, can’t be sharpened. Assuming the whole point of making a knife is to make a sharp cutting edge on a piece of steel, it’s a game-over scenario for the piece of metal you’re working on. While different steels can tolerate slightly different temperatures, I recommend erring on the side of caution. You don’t need to take your steel to the upper reaches of what it can tolerate to hammer it into shape. I try to prevent my steel from turning a bright yellow to white color, and if it starts throwing a bunch of little sparks like fireworks, you’re probably getting it too hot for your intended purpose.

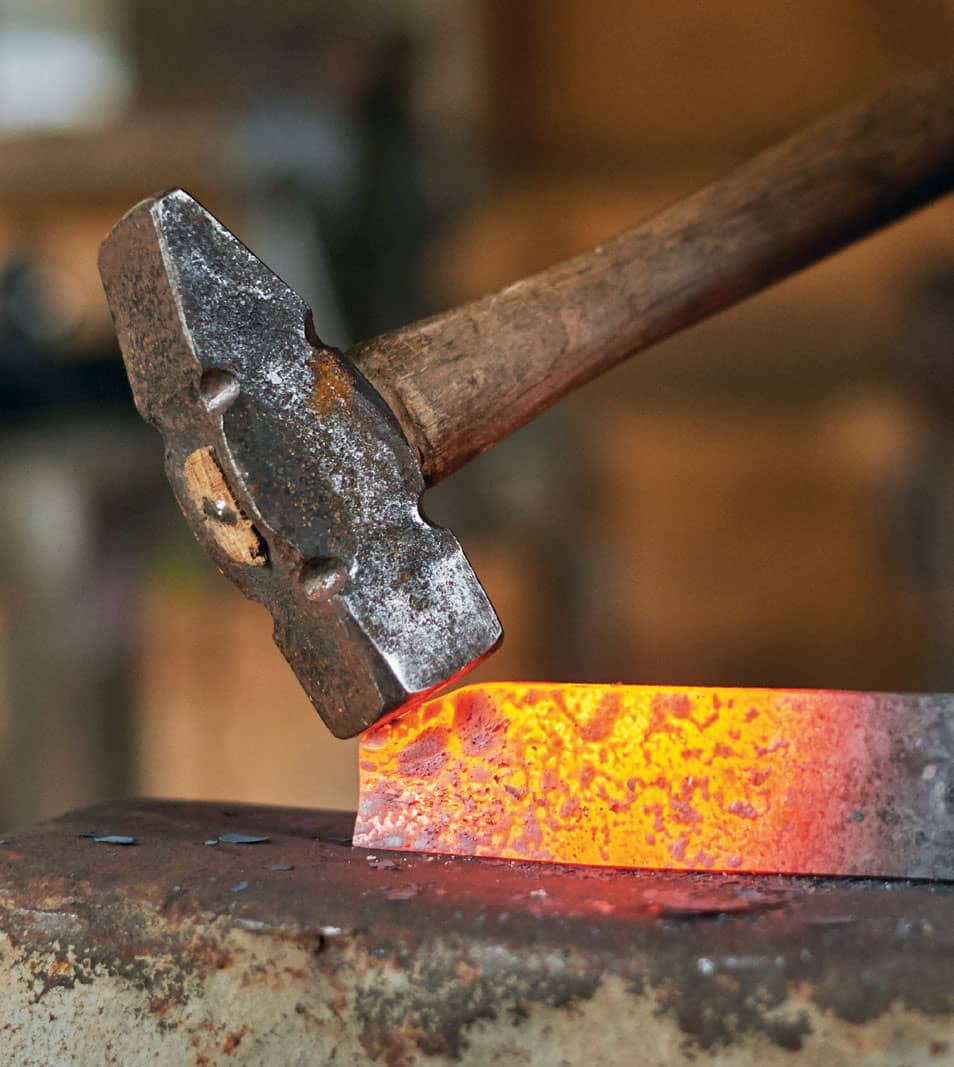
THIS STEEL IS READY TO FORGE. STEEL IS FORGEABLE BETWEEN A HOTTER YELLOW COLOR AND A COOLER RED COLOR. I RECOMMEND AIMING FOR AN ORANGE COLOR AND WORKING IT UNTIL IT COOLS TO A RED. WHILE IT CAN BE WORKED WHEN IT IS YELLOW, YOU WILL BE PUSHING THE RANGES OF APPROPRIATE FORGING TEMPERATURE. IT CAN BE HARD TO PUSH THIS BOUNDARY SAFELY AS A BEGINNER, SO PLAY IT SAFE TO AVOID ACCIDENTALLY OVERHEATING YOUR STEEL.

THIS COLOR CHART CAN BE USED TO JUDGE THE RELATIVE TEMPERATURE OF THE STEEL AND ITS RESULTING WORKABILITY.
MAKING A GAME PLAN
Before you start hammering, you need to come up with a game plan. Your steel will start to cool down immediately when you take it out of the forge, and every time you place it on the anvil, it rapidly draws heat away through conduction. This means you only have about six to eight good hammer strikes before you need to put it back in again to heat up. Use your time wisely! Take a good look at your steel and plan exactly where you’ll be hitting it before you even put it in the forge. Make a mental plan of the steps you’ll be taking so that you don’t have to waste any time trying to figure that out when your blade is heated and ready to work. If you do have to stop hammering for a moment, hold the steel up instead of letting it rest on the anvil to prevent unnecessary cooling.
I like to make my plan by thinking of the entire process in terms of a series of smaller projects. Instead of being overwhelmed by the overall goal of making a knife, I think of the individual blows I’ll use to start the tip or flatten the cutting edge. By focusing on each step as its own separate project, I can figure out a plan to most efficiently get from point A to point B.
HAMMERING
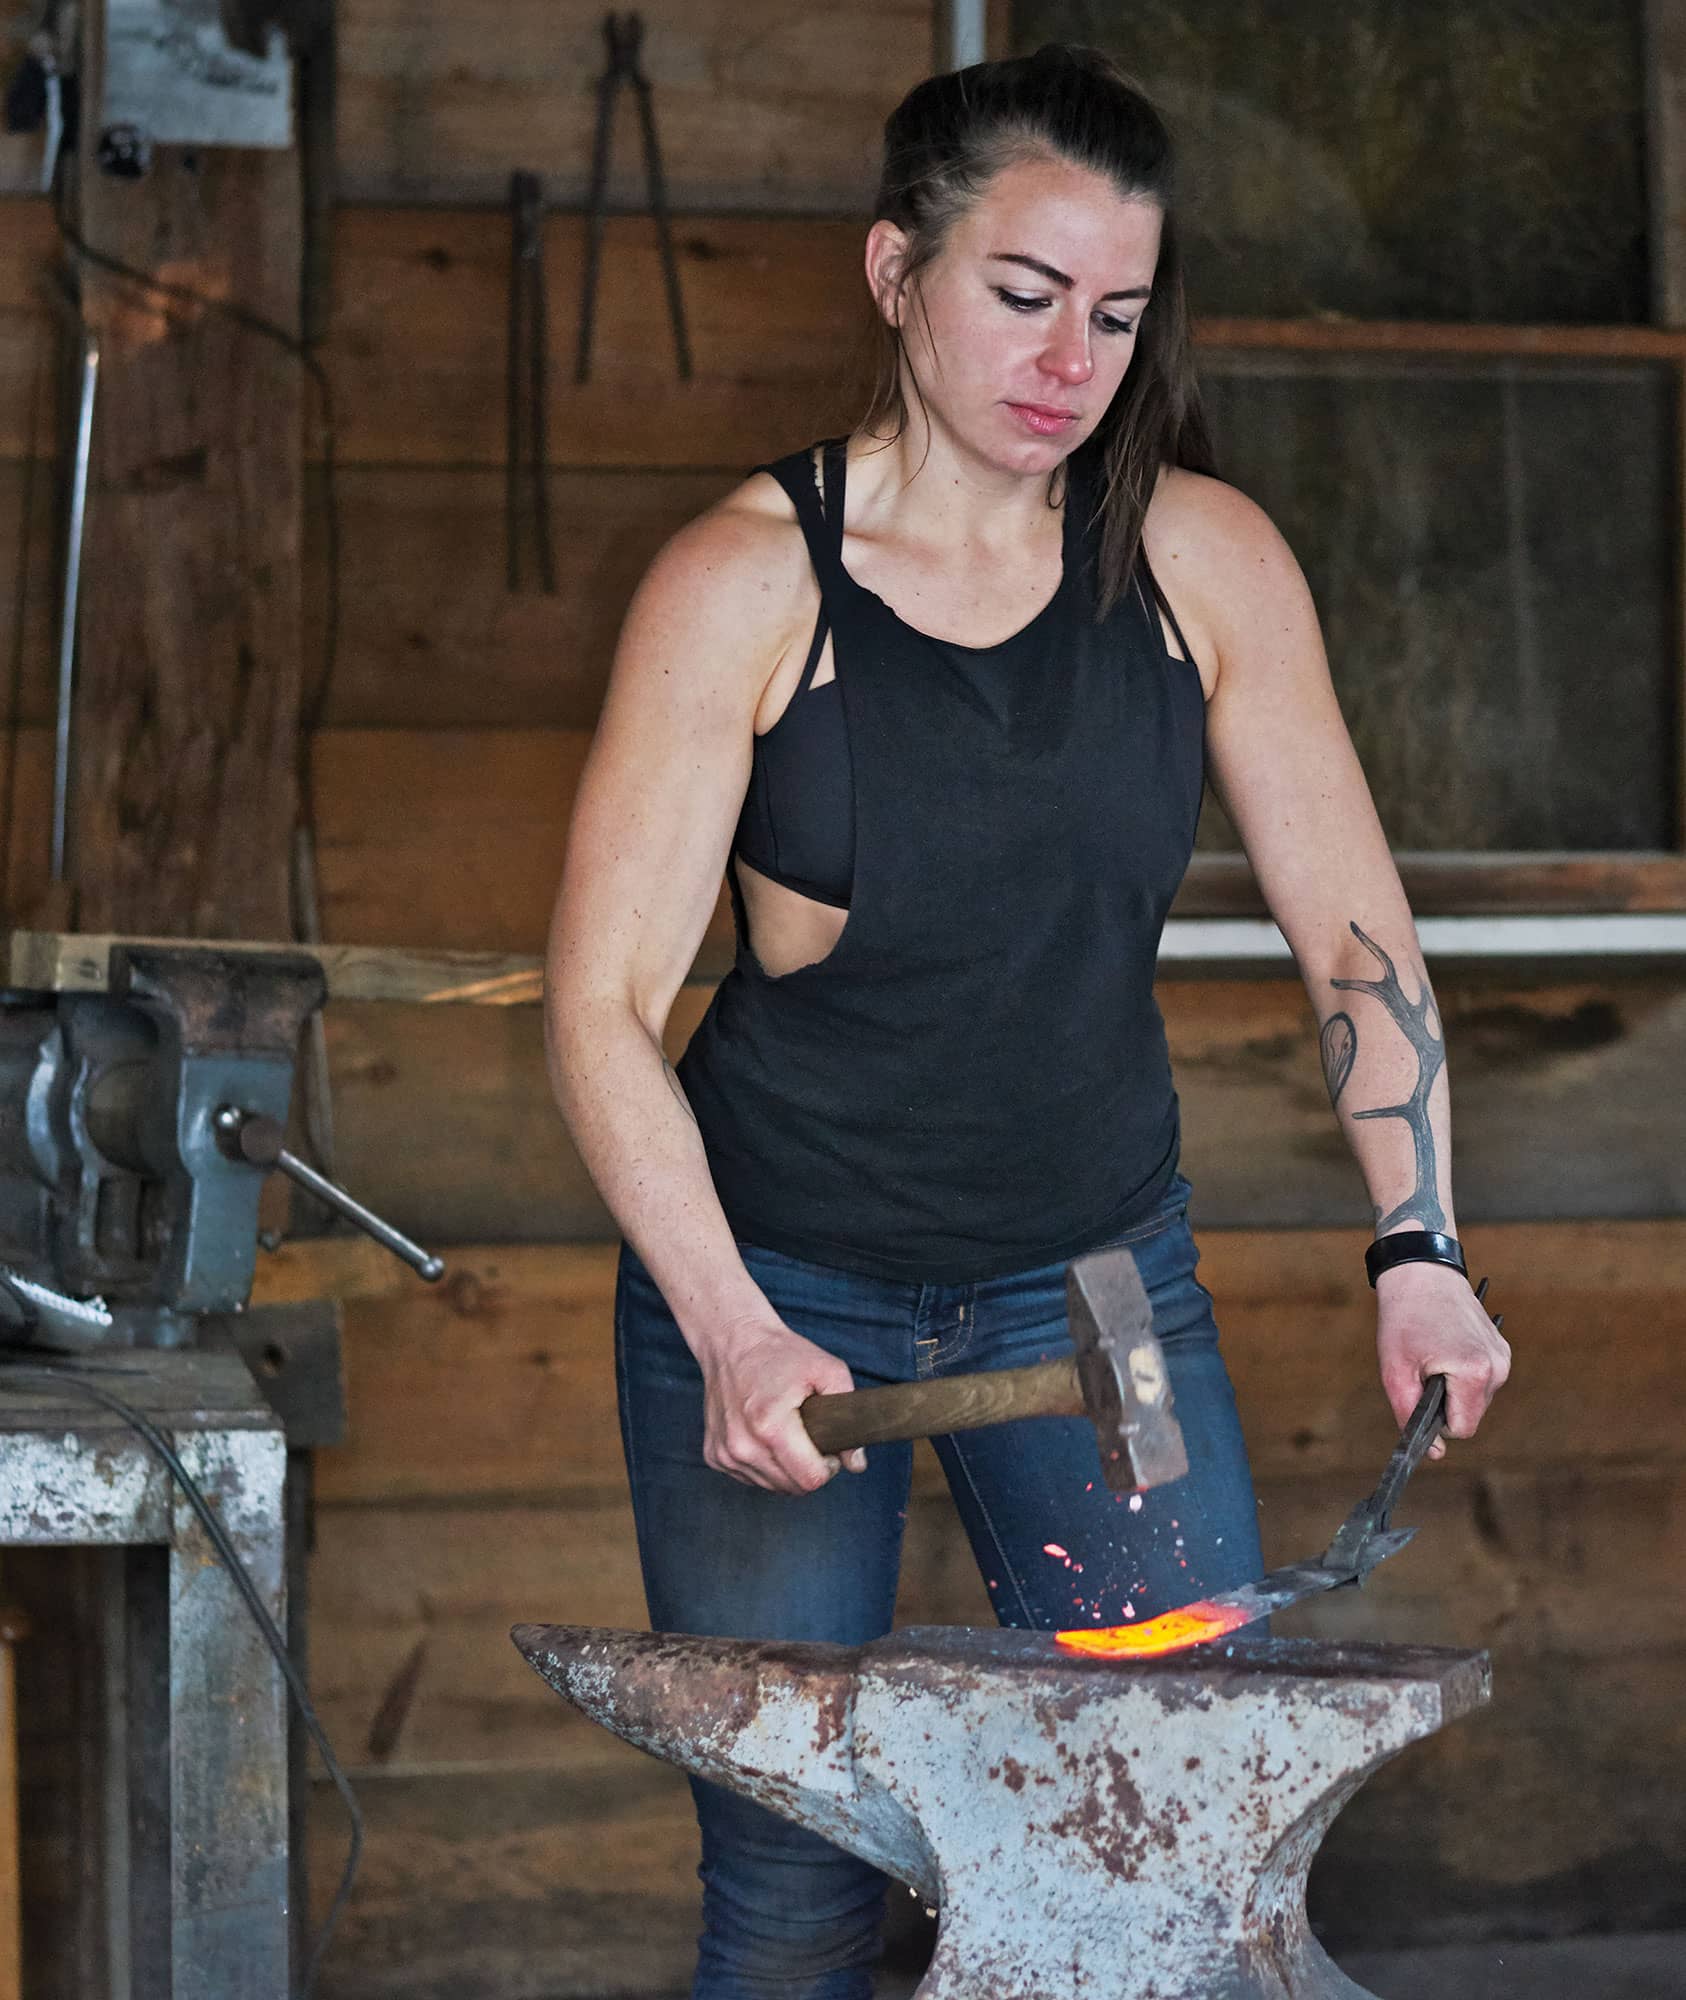
Now that you have your game plan, you’re ready to get to work. Grab your steel from the forge and place it on the anvil, holding it securely in your nondominant hand with your tongs. Pick up your hammer and get in your first strikes on your steel. Congratulations! You’re learning the ancient art of blacksmithing!
As you first start using the hammer, you’ll likely find yourself wanting to choke up on the handle to improve your accuracy. This is a useful skill when you have to make precision blows, but if you’re trying to move serious metal, it isn’t an efficient way of striking. As you gain confidence, try to move your hand back to get the benefit of using the entire length of the handle. This will help to make your blows more potent and will put less stress on your body. Try to use the weight of your hammer to your advantage. If you find yourself holding on to your hammer with white knuckles, figure out how to get more comfortable. Find a rhythm and swing with your hammer instead of fighting against it.

FIRE SCALE ON AN ANVIL. AS YOU’RE WORKING, YOU’LL SEE SMALL DARK FLAKES COMING OFF YOUR STEEL. THIS IS FIRE SCALE, AND IT WILL CAUSE POCK MARKS IN YOUR FINISHED KNIFE IF YOU CONTINUE TO WORK WITH IT ON THE ANVIL. TAKE THE TIME BETWEEN FIRING YOUR METAL TO BRUSH THE ANVIL CLEAN.
MOVING STEEL
It’s useful to think of the hot steel as clay. Imagine hitting clay with your hammer and what would happen to it as you delivered blows. While steel will be a lot harder to move than clay, the basic principles are the same. As you apply force, the malleable steel will move away from that force in the direction of least resistance. As you work, you will be adjusting where you are striking with your hammer as well as the direction of your strike. In this manner, you can control not only the direction of the force but where the steel will have a tendency to move by manipulating the path of least resistance.
As you work, the steel will eventually bend up at the ends, losing its flatness. It seems like common sense to want to hammer on the upturned ends to flatten the steel again, but this doesn’t allow you to apply the right kind of force. By flipping the steel over and striking it in the middle, both ends will be pushed flat against the anvil as the middle moves away from the force of your hammer. Keep an eye on the steel as you work. Use the last strike or two to ensure your steel stays as flat as possible.

PAY ATTENTION TO THE DIRECTION OF YOUR HAMMER BLOWS AND THE ANGLE AT WHICH THE FACE OF THE HAMMER STRIKES THE HOT STEEL. SMALL CHANGES CAN MAKE A BIG DIFFERENCE AND WILL DETERMINE EXACTLY WHERE THE FORCE FROM YOUR BLOW IS DIRECTED AND WHERE THE STEEL WILL MOVE.

FLATTENING STEEL BY USING THE HAMMER TO APPLY FORCE TO THE CENTER OF THE OPPOSITE SIDE
MAKING A HOT CUT
While forging, you may come to a point where you realize a whole piece of metal needs to be cut off the steel stock that you’re working. Instead of cooling down the metal and using an angle grinder or saw, you can do the work easily at the forge by using a hot cut hardy tool set into the hardy hole of your anvil. Take care to avoid hitting the hot cut hardy directly with your hammer, as you can damage both your hammer and the hardy. If you don’t have a proper anvil or a hardy cut, you can improvise this method using the edge of the anvil or a piece of steel with a ninety-degree edge.
MATERIALS AND EQUIPMENT
![]() steel stock
steel stock
![]() hammer
hammer
![]() tongs
tongs
![]() anvil
anvil
![]() forge
forge
![]() hot cut hardy
hot cut hardy
1. HEAT UP THE STEEL.
Heat up your steel in the fire until it reaches a bright yellow color. Using your tongs, remove the blade from the fire and place the point you want to cut on the hot cut hardy tool.
2. STRIKE THE STEEL OVER THE HARDY.
Use vertical hammer blows to strike the steel where it is lying on the hardy. When you see a dark line appearing where the hardy is contacting the steel, stop hammering immediately to avoid cutting all the way through. Make sure you don’t hit your hammer into the hardy cut. I use a different hammer made from softer brass to avoid damaging my forging hammer. You can make a hammer for your hardy cuts by drilling a hole into a piece of copper or brass rod and inserting a wooden handle.

THE DARK LINE INDICATING THE HARDY IS ALMOST THROUGH THE STEEL.
3. BEND THE STEEL UNTIL IT BREAKS.
Hang the cut end of the steel over the edge of the anvil. Strike the steel just beyond the cut, bending the steel at the breaking point. Keep flipping the steel over and striking the end to work the piece back and forth until it breaks.

STRIKING THE STEEL OVER THE EDGE OF THE ANVIL TO BREAK OFF THE END
KNIFE FORGING 101
Here’s where you take of all the basic skills of blacksmithing and try your hand at putting them together to make a knife. It’s important to remember that forging a knife is a skill that takes a lot of time and practice, so don’t get frustrated if you have a hard time getting the metal to do exactly what you want. You don’t have to be a master smith to make a great knife; in fact, some knifemakers never use the forge. Remember that the purpose of using the forge is to start shaping your blade so that you’ll need to spend less time tediously grinding away metal. But your knifemaking process doesn’t have to end here. Pace yourself while you’re learning, relax, and enjoy the process.
MATERIALS AND EQUIPMENT
![]() steel stock
steel stock
![]() tongs
tongs
![]() hammer
hammer
![]() anvil
anvil
![]() forge
forge
1. HAMMER IN THE TIP.
First, take a look at your steel and figure out where the tip of your blade will be. Heat the steel stock to working temperature. Hold it with the tongs on its side on the anvil, with the future cutting edge facing down. Hit the top corner at a forty-five-degree angle. As you strike, you’ll notice the steel mushrooming out. Flip it on its side on the anvil and hammer it flat again. Keep repeating this process until you have what looks like the profile of the knife tip pounded in. This “tip” will actually change position as you continue to move the metal, moving from the bottom of the blade to the top. The natural tendency of the metal is to push things away as it gets thinner, so as you pound in the cutting edge, this “false tip” will actually end up rising up to the top of the blade’s profile.
2. HAMMER IN THE CUTTING EDGE.
Look at your steel again and decide how long you want the cutting edge of your knife to be. Hold the blade over the edge of the anvil and hit the back of it with the hammer to make a small indented mark on the cutting edge side of the blade to designate the start of the handle. This will allow you to see the length of your future edge. Holding your steel flat on the anvil, pound along this edge. Flip the metal and hammer on the same part from the other side. This will cause the metal here to thin out, reducing the amount of material and starting the bevels of your knife. As you thin the edge, the tip will slowly move up into its proper place.
POUNDING IN THE TIP OF THE BLADE. NOTE THE DIRECTION OF THE APPLIED FORCE.
3. MAINTAIN THE FLATNESS OF THE STEEL.
As you make progress in your blade, keep an eye on its overall shape. In addition to maintaining overall flatness, you’ll have to work to keep the spine of your blade straight as well. As you notice it losing its straightness, flip the blade onto its edge so that the spine is on the anvil. Hammer into the cutting edge to correct this bend.

WORK TO THIN THE EDGE OF THE BLADE BY STRIKING ALONG THE CUTTING EDGE.
4. DEFINE THE TANG.
Once you have a rough blade shape, shift your attention to the handle area, or tang. Hold the blade on its edge, with the spine on the anvil. Hammer in the indent that marks the start of the tang to further form this separation, again alternating with strikes along the side of the blade to correct the mushrooming effect of your blows.
5. REFINE YOUR WORK.
By now, you should be able to see the shape of your blade starting to form. Use the techniques you’ve learned to try to target problem areas and further refine the profile of your knife. There’s no substitution for time and learning from your mistakes, so don’t be afraid to make them. It can be helpful to give your body and mind some time to soak in what you’ve learned and head back to the forge for your next knife. If you’ve had enough for one blade, you can switch to stock removal at any point. Pull your knife out of the forge, let it cool, and cycle your steel through the treatments of normalizing and annealing to prep your blade for finishing it at the grinder.

A HALF-FINISHED BLADE READY FOR THE GRINDER. IT’S POSSIBLE TO MOVE TO STOCK REMOVAL AT ANY POINT IN THE PROCESS. BEFORE YOU SHUT OFF THE FORGE, USE YOUR LAST FIRING TO FLATTEN THE STEEL AS MUCH AS POSSIBLE BEFORE TAKING IT THROUGH YOUR HEAT TREATMENTS.
NORMALIZING
Before you move on in the knifemaking process, it’s important to normalize your blade. The process of forging is very stressful on steel. The repeated cycles of heating and cooling, along with the physical rearrangement of the metal, wreaks havoc on the grain structure. Large or irregular grains can create weaknesses in your blade. This can lead to shattering or breaking during the process of making your knife—or later on while the blade is being used. By normalizing your steel, you can press the reset button on your steel’s grain and ensure this doesn’t happen.
To normalize 1084 steel, it is recommended to bring the steel through three different cycles of heating and cooling. Cycling the steel, at a lower temperature each time, will cause the grains to shrink further. After you let the steel cool completely from forging, heat it up to about 1500°F (816°C). If you don’t have a thermometer, use your magnet to test the relative temperature of your steel. Since 1084 will no longer be magnetic when it reaches 1350°F (732°C), you can continually check the steel until you notice this change. As you’re checking, take care to not leave the magnet in the heat for too long or it will lose its magnetism. Once you notice the steel no longer attracting the magnet, leave it in the heat for another twenty to thirty seconds so that the temperature rises to approximately 1500°F (816°C). Remove the blade from the heat and let it cool in still air.
Once it is cool, heat it again to 1350°F (732°C). This will be the exact point at which the steel loses its magnetism. Take note of the color the steel is at this temperature. Remove the blade from the heat and let it air cool.
Your third cycle will only bring the steel to 1200°F (649°C), just before it loses its magnetism. Keep watching the steel and try to remember the color that it was in the previous cycle. You’ll be looking for the steel to be a shade lighter than in the previous step. Estimate the steel’s temperature as closely as you can and pull it out of the forge before it loses its magnetism. Let it air cool once more.
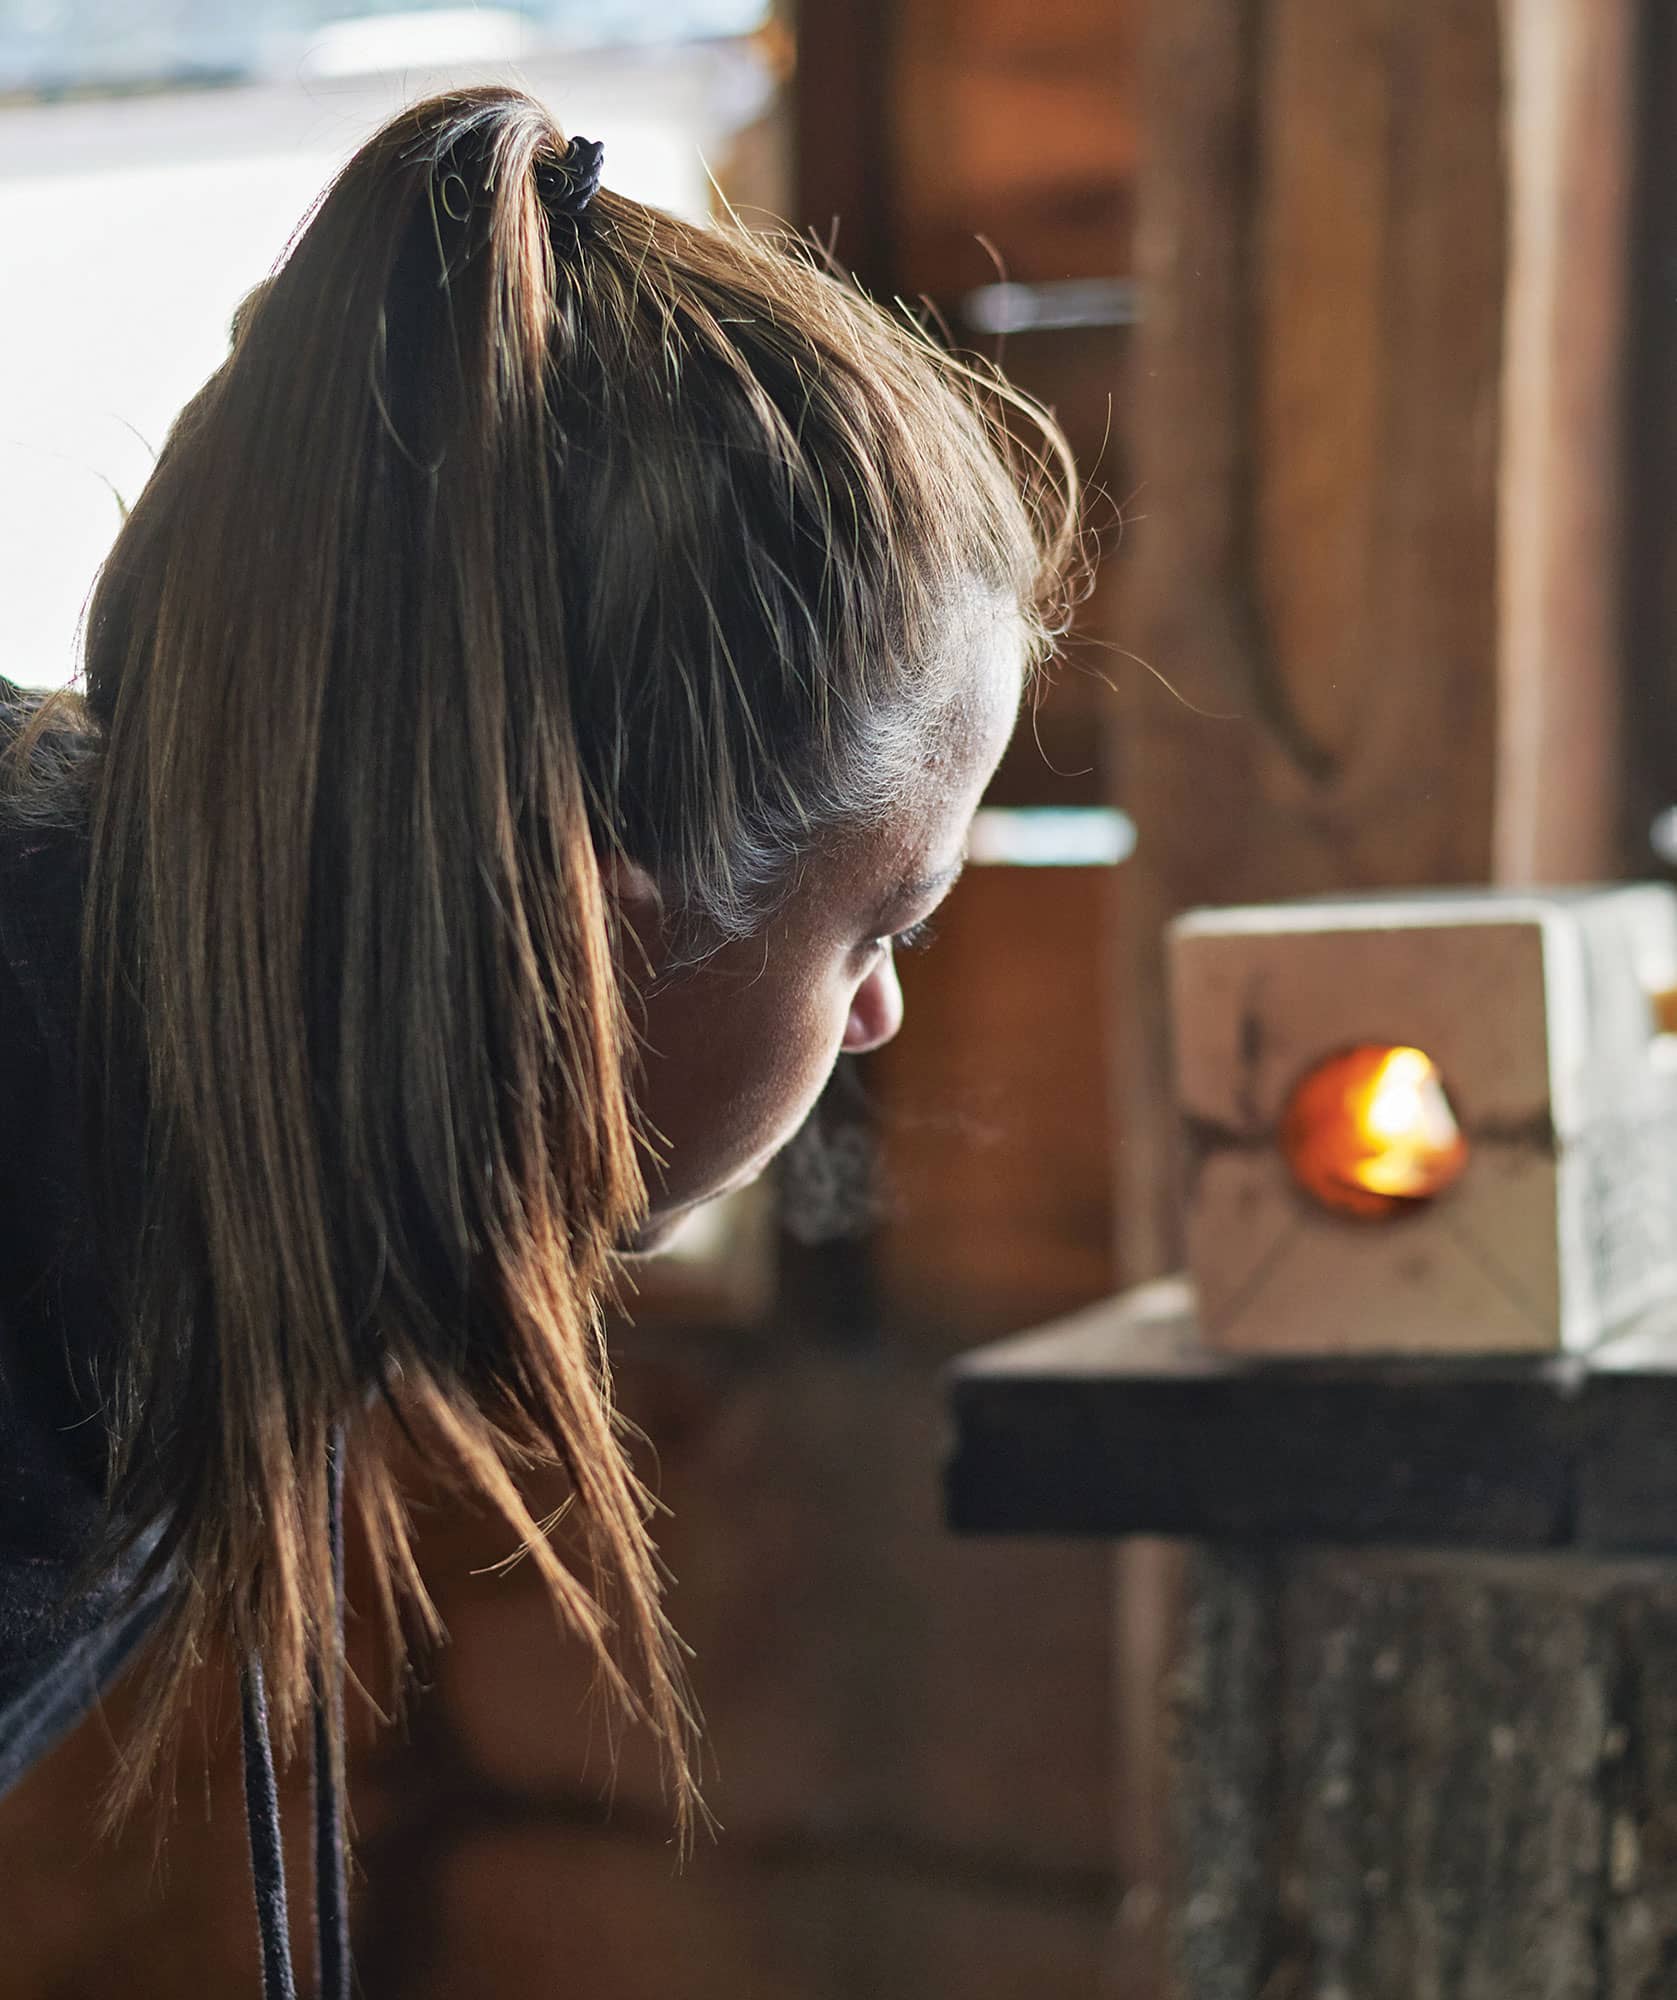
KEEPING A CLOSE EYE ON THE BLADE IN THE FORGE
ANNEALING
After the steel has been normalized, it will be relatively hard. Without further processing, it will be very difficult to work with tools. By annealing the steel, you bring some of the softness back while maintaining the homogeneous grain structure.
Put the steel in the forge and heat it to 1500°F (816°C), or slightly after it loses its magnetism. Instead of pulling the steel out to air cool as in normalizing, you’ll be cooling it at a very slow rate. The easiest way to accomplish this is by placing the blade into a container of insulating, fireproof material. Wood ash is easily obtainable and a great insulator. Another option frequently used by knifemakers is vermiculite. Vermiculite is a mineral often used in gardening and can be found at any store that sells gardening supplies. Allow the blade to cool overnight.
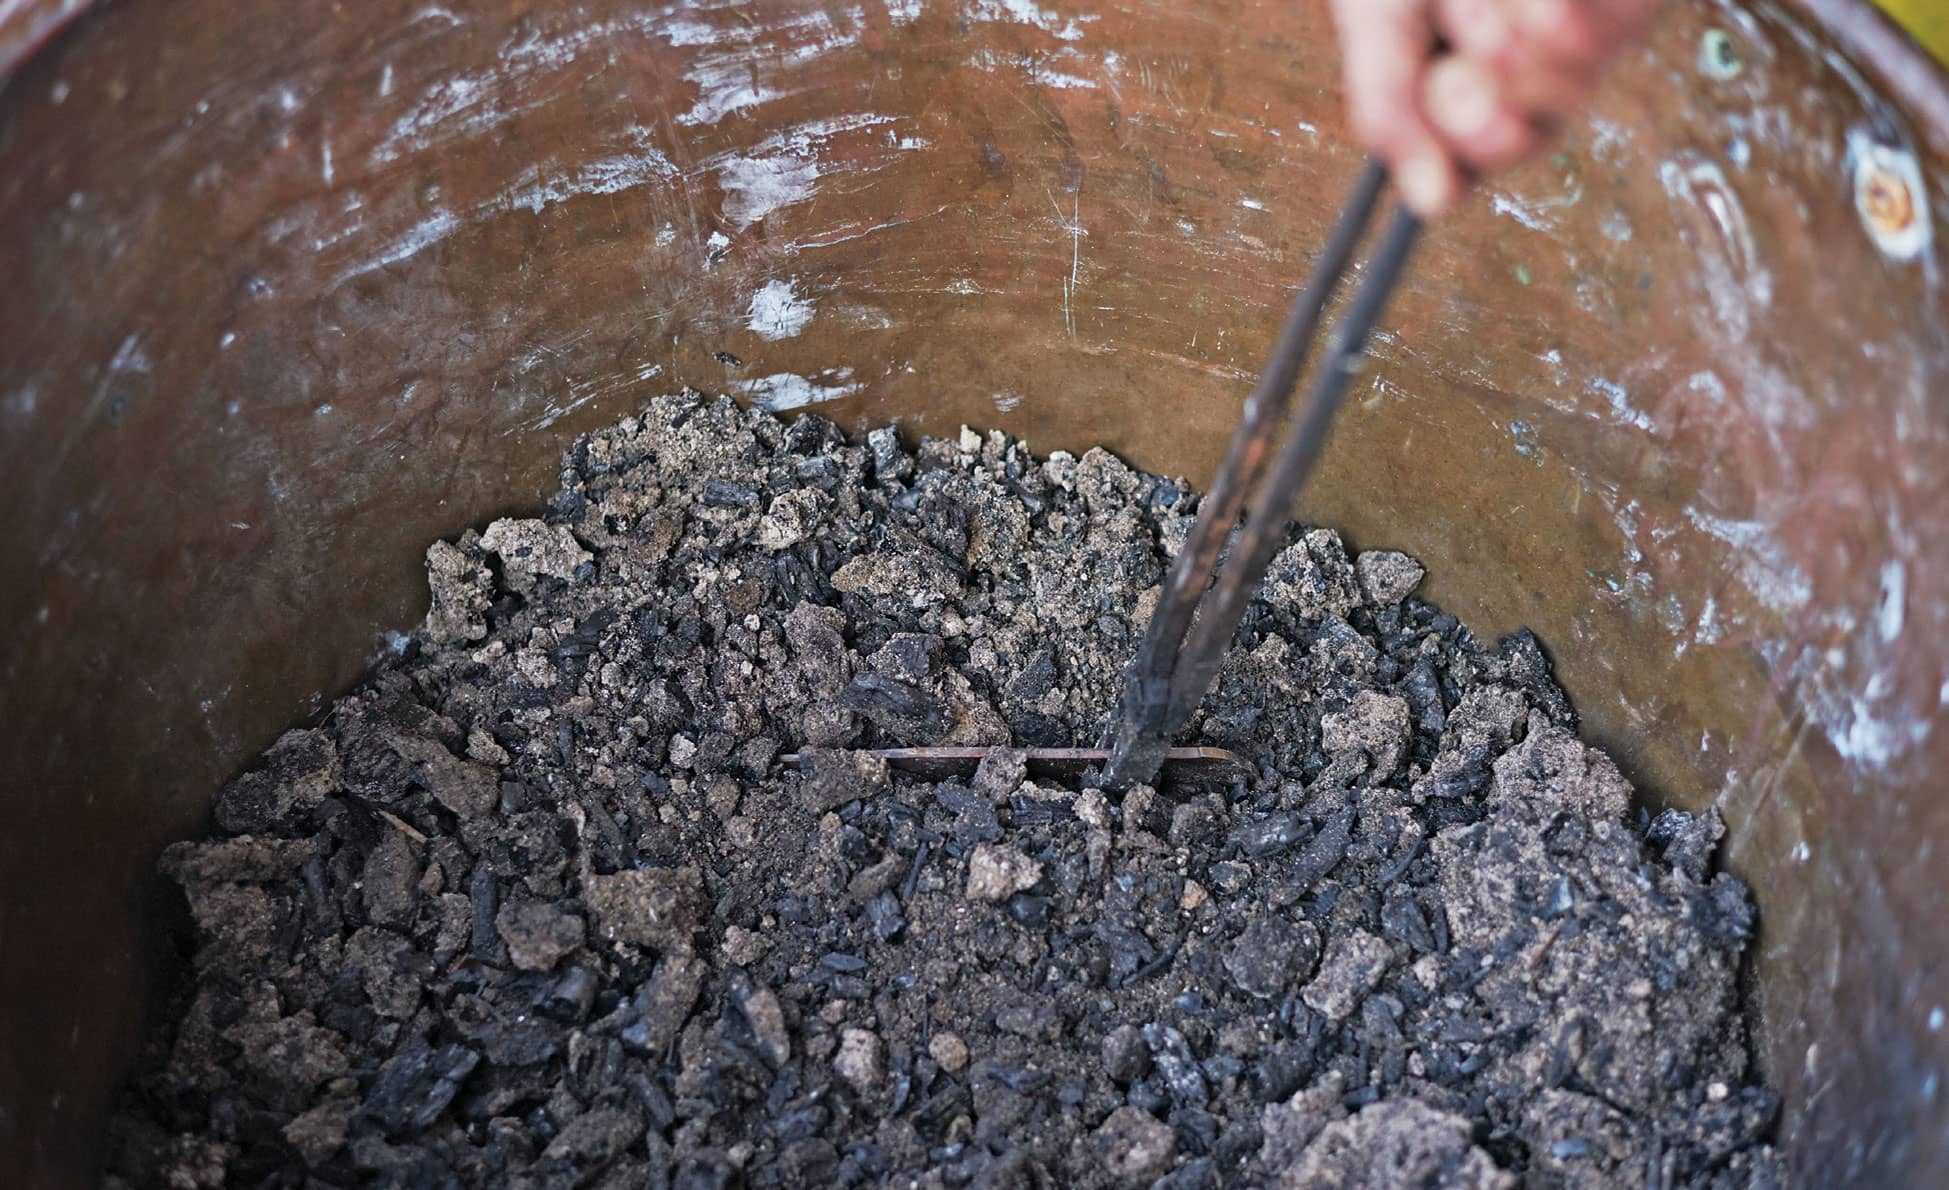
BURY THE BLADE COMPLETELY IN YOUR INSULATING MATERIAL.