
Now you are going to create a settings bundle so that the NextItemName preference can be changed from “Coffee Cup” to whatever string the user desires.
These days many designers consider settings bundles to be distasteful and most apps do not include a settings bundle. That said, many apps do have settings bundles, so it is a good idea to know how to make them.
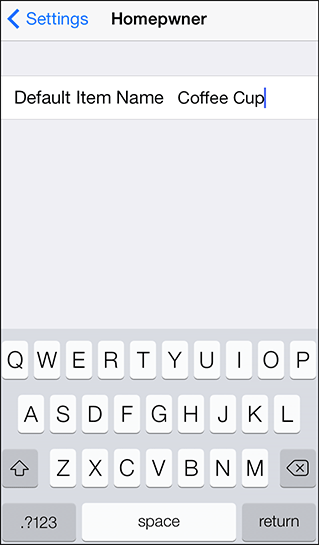
The phrase “settings bundle” makes it sound scarier than it is. The bundle is just a directory that holds a plist that describes what controls should appear in this view and what default each control is manipulating. You will pull the user visible strings (like the label “Default Item Name” in Figure 26.1) into a strings file that is localized for the user. Those strings files will also be in the settings bundle.
To create a settings bundle inside your app, open Xcode’s File menu and choose New → File.... Under the iOS Resources pane, choose Settings Bundle (Figure 26.2).

Accept the default name. Notice that a directory called Settings.bundle has been created in your project directory. It has a Root.plist file and an en.lprog subdirectory.
The Root.plist describes what controls will appear in your app’s settings pane. It contains an array of dictionaries; each dictionary represents one view (typically a control) that will appear on the pane. Every dictionary must have Type key. Here are the acceptable values for Type:
- PSTextFieldSpecifier
-
a labeled text field
- PSToggleSwitchSpecifier
-
a labeled toggle switch
- PSSliderSpecifier
-
a slider (not labeled)
- PSRadioGroupSpecifier
-
a list of radio buttons; only one can be selected
- PSMultiValueSpecifier
-
a table view of possibilities; only one can be selected
- PSTitleValueSpecifier
-
a title for formatting
- PSGroupSpecifier
-
a group for formatting
- PSChildPaneSpecifier
-
lets you move some preferences onto a child pane
Several of these appear in the default Root.plist. Take a look, then build and run Homepwner. As soon as Homepwner is running, go to the Settings app and look at Homepwner’s pane.
Back in Xcode, open Root.plist and reduce it to an array containing just one text field:
-
Set Identifier to NextItemName. This is the key for the default that is being set.
-
Set DefaultValue to Coffee Cup. This is what comes up if the is no value for Key in your app’s preferences plist.
-
Set Title to NextItemName. This is used to look up the title in the strings file.
Your settings should look like Figure 26.3.

Notice that you have been laying out a user interface using a plist file. When you create a settings bundle, you are not writing any executable code, and you are not creating any view controllers or other objects that you control. The Settings application will read your application’s Root.plist and will construct its own view controllers based on the contents of the plist file.
If you are creating a settings bundle for one of your apps, you will need to refer to Apple’s Settings Application Schema Reference for a complete list of all the keys/values that will work in this plist.
Inside your settings bundle is an en.lproj which will hold your English strings. You can delete all the key-value pairs and give the title for your text field:
"NextItemName" = "Default Item Name";
That is it. Build and run your application. It should use the item name from the Settings app whenever you create a new item.
One final point: when your defaults are changed (by your own app or the Settings app) an NSUserDefaultsDidChangeNotification will get posted to your application. If you want to respond to changes in the Settings app immediately, register as an observer of this notification.