5. Shopping in the PlayStation Store
In this chapter, you learn about accessing, downloading, and managing content—including games, apps, and videos—from the PlayStation Store.
• Downloading Games, Apps, and Videos
The apps that come preinstalled on your Vita and the PlayStation Vita Cards that you purchase in retail stores represent just a small fraction of the software and content available for your Vita. The PlayStation Store contains an ever-growing collection of free and paid content that’s ready for immediate download to your memory card. In this chapter, you learn the basic functionality of the PlayStation Store and how to add more content to your personal digital library.
Navigating the Online Shop
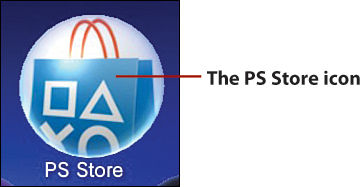
To access the PlayStation Store, make sure you are connected to the Internet and then tap or select the PS Store icon on the Home screen.
After you’ve selected the PS Store icon, the following options are available:
• Action icons—The three action icons include the following:
• Redeem Codes—Enables you to enter a prepaid redemption code for specific content (see “Adding Funds” later in this chapter)
• PlayStation Vita User’s Guide—Displays the PS Store–specific section of the online manual
• Refresh LiveArea Screen—Refreshes the content on this screen to display the latest information
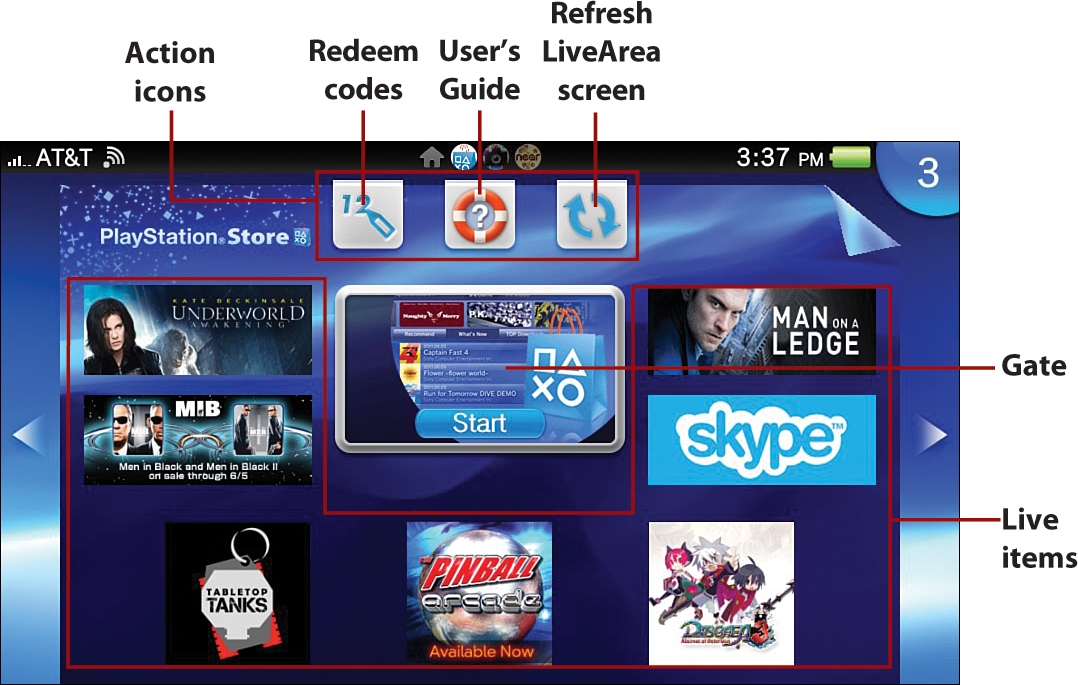
• Gate—Tap to enter the PlayStation Store.
• Live items—When you are signed into the PlayStation Network, recommended games, videos, and other types of content, known as live items, are regularly cycled in this area. Tap a live item to view its detailed information.
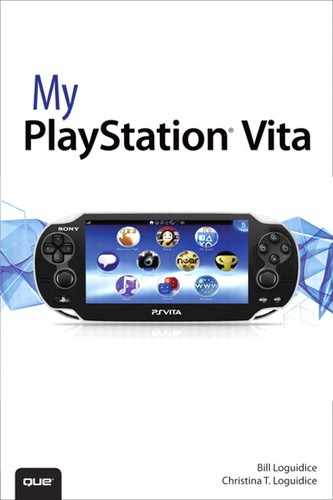
Examining the Store
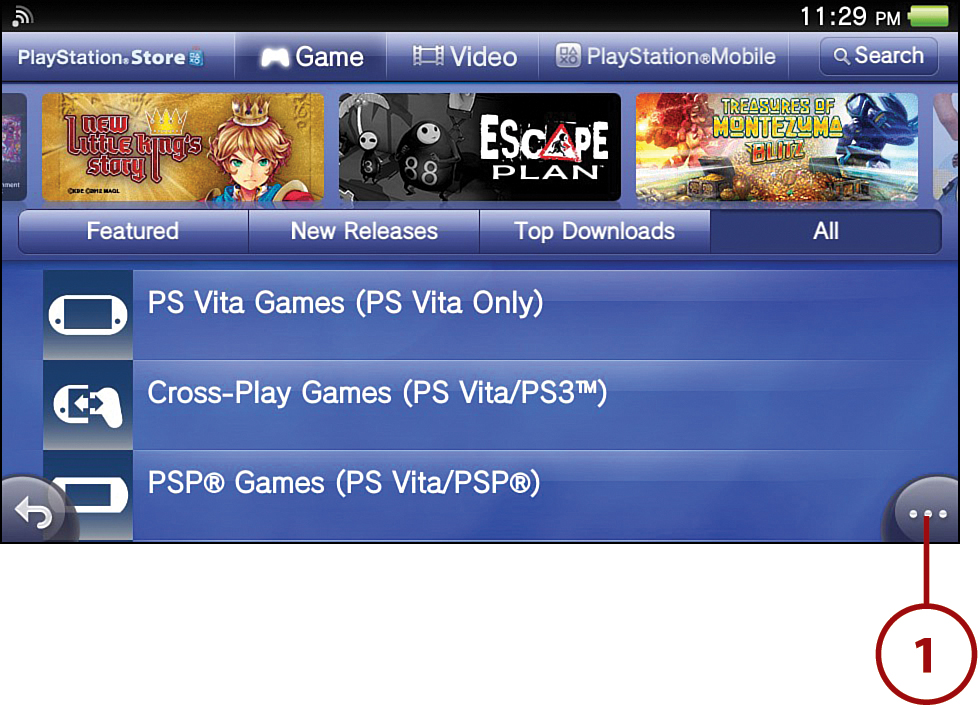
You must already be signed up and signed in to a PlayStation Network account to browse and download content on the PlayStation Store (see “PlayStation Network” in Chapter 3, “Settings and Networking on Your Vita”). After tapping the Gate to enter the PlayStation Store, you see the main store screen, which looks similar to the following:
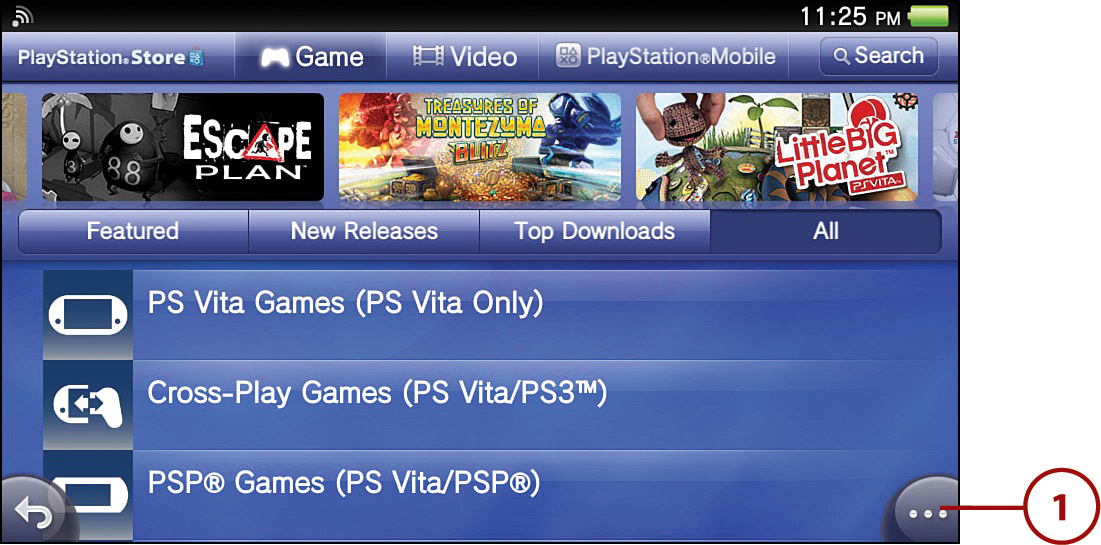
• Game store—Tap to browse for apps, games, demos, game add-ons, avatars, and game-related media, such as video trailers.

• Video store—Tap to browse for TV shows and movies to rent or own.
• Search—Tap to search for content within the active store, either Game or Video. Search terms can either be specific, like a title of a game or video, or broad, such as a genre, like “sports.”
• Live items—Recommended games, videos, and other types of content are cycled in this area, depending on which section of the store is active. Tap a live item to view its detailed information.
• Content lists—Lists of content that you can download for free or at the indicated cost.
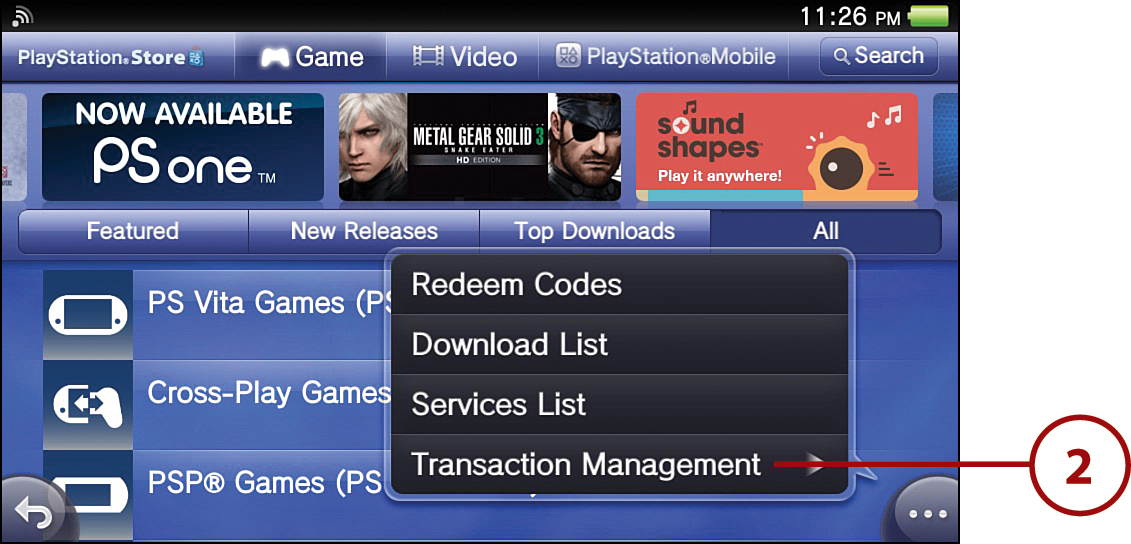
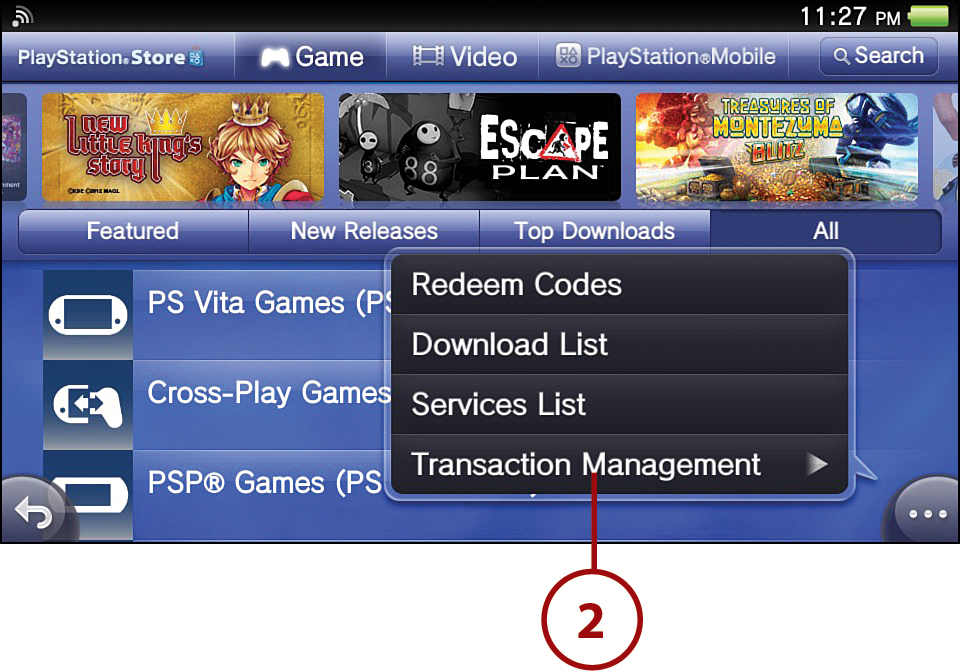
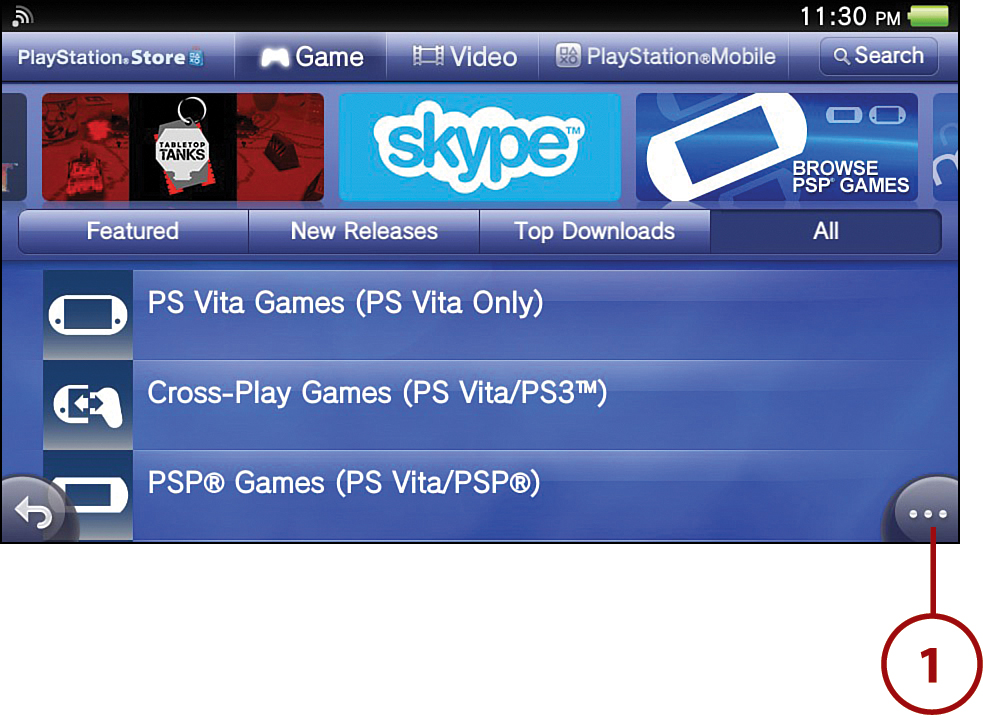
• Options—Tap for quick access to Redeem Codes, Download List, Services List, and Transaction Management options. See “Paying for Purchases” later in this chapter for information on each of these options.
Understanding Content Items
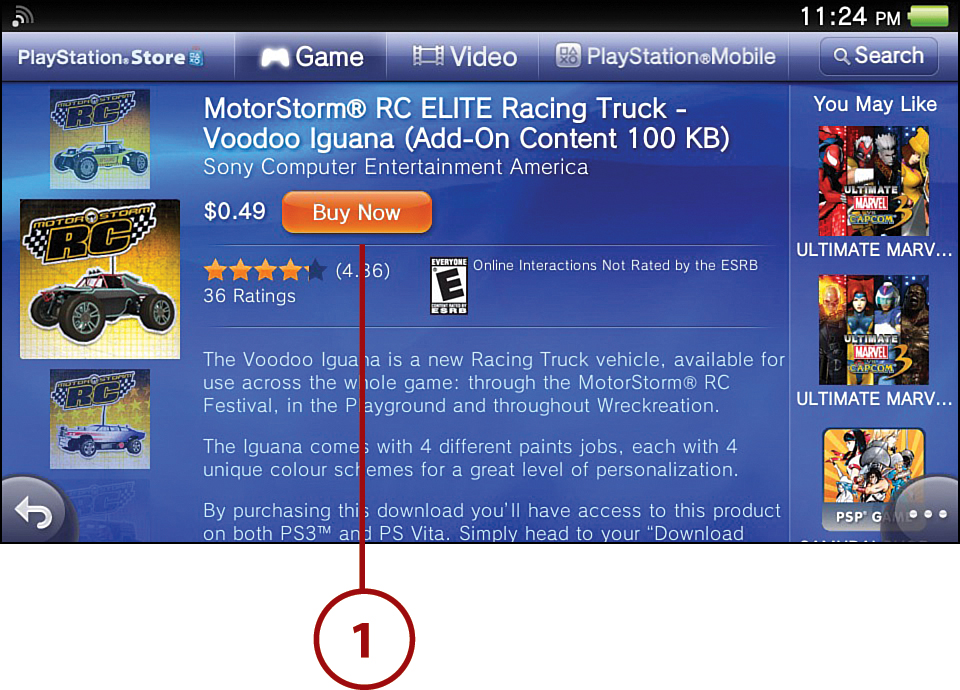
Tapping a content item in a list displays detailed information about the item. A typical content item detail breaks down as follows:
• Buy Now/Rent Now/Get Now/Download—The button label varies, depending on whether the content is available for purchase (own or rent) or a free download. You need to have a Wi-Fi connection to download items that exceed 20MB.

• Recommendations—This option displays an icon-based list of recommendations for other content you might be interested in.
• Purchased—This option displays a shopping bag icon if you have previously purchased the item. A blue shopping bag indicates content that you can purchase again. A red shopping bag indicates that you cannot purchase the content again, but you can download it again.
• Rating—This option is not shown in the previous figure. Tap Rate at the end of the item description and then drag the stars that appear to specify your rating of one to five stars for content you’ve purchased. The more stars, the higher the rating, which contributes to the overall average user rating for the item. When you rate an item, you can also give permission to publish the rating activity to Facebook.
Downloading Content
You can purchase and download demos, games, game add-ons, and other content from the Game section of the PlayStation Store. Similarly, you can rent or purchase standard-definition video content from the Video section of the PlayStation Store.
1. On the details screen of the content that you want to download, tap Buy Now, Download, Get Now, or Rent Now.
• If you tap Download or Get Now, downloading automatically begins, and you’re done with the download process.
• If you tap Buy Now or Rent Now, a purchase confirmation screen appears. Proceed to the next step.
2. Confirm the information displayed and then tap Confirm Purchase. After you’ve confirmed the purchase, downloading automatically starts.

To check the progress of a download or installation, press the PS button and then tap the notification indicator in the upper-right corner of the screen. Downloaded games and apps place their own icon on the Home screen, whereas downloaded videos appear within the Videos app, which is detailed in Chapter 11, “Viewing Video Content.”
Activating Your Vita on the PlayStation Network
Your Vita is automatically activated when you download or purchase content. The number of portable devices that can be activated for your PlayStation Network account is limited and differs for each type of content. If the purchase or download exceeds the activation limit for the content type, you see a message, and your action is blocked. To download or purchase the content when this occurs, you must first deactivate a different device that is linked to and activated on your account. After the other device is deactivated, you can download or purchase the intended content. See “PlayStation Network” in Chapter 3 for more information.
Paying for Purchases
To purchase content or services from the PlayStation Store without a redemption code, you must add funds to the wallet of your PlayStation Network account. A single wallet is provided for each master account.
For extra security, you can set your Vita to require your PlayStation Network password at the time of purchase, right before the purchase confirmation screen appears. To set a purchase password, do the following inside the PlayStation Store:
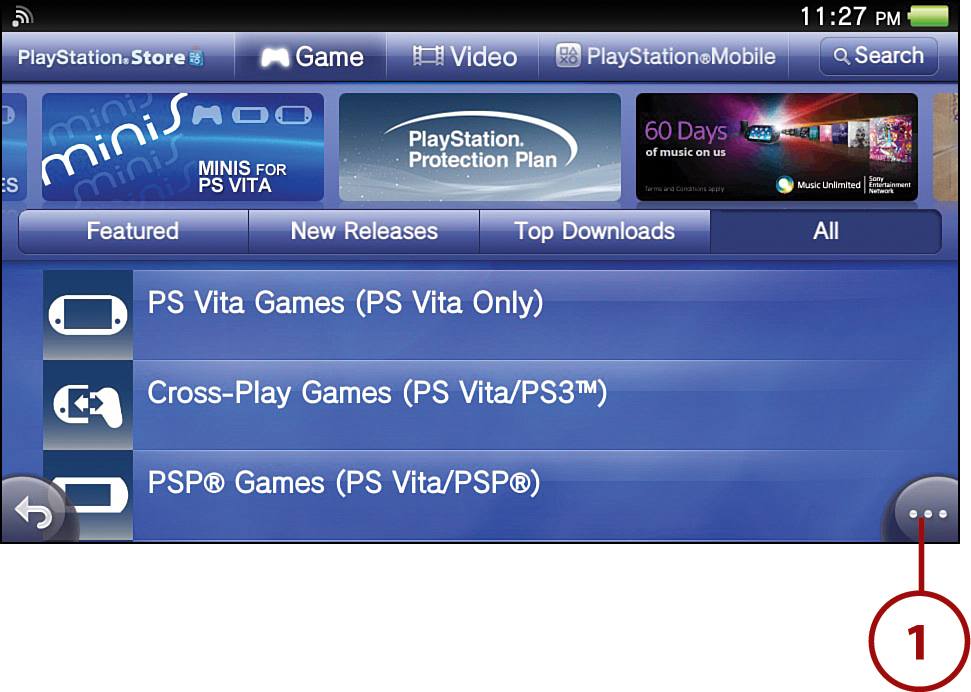
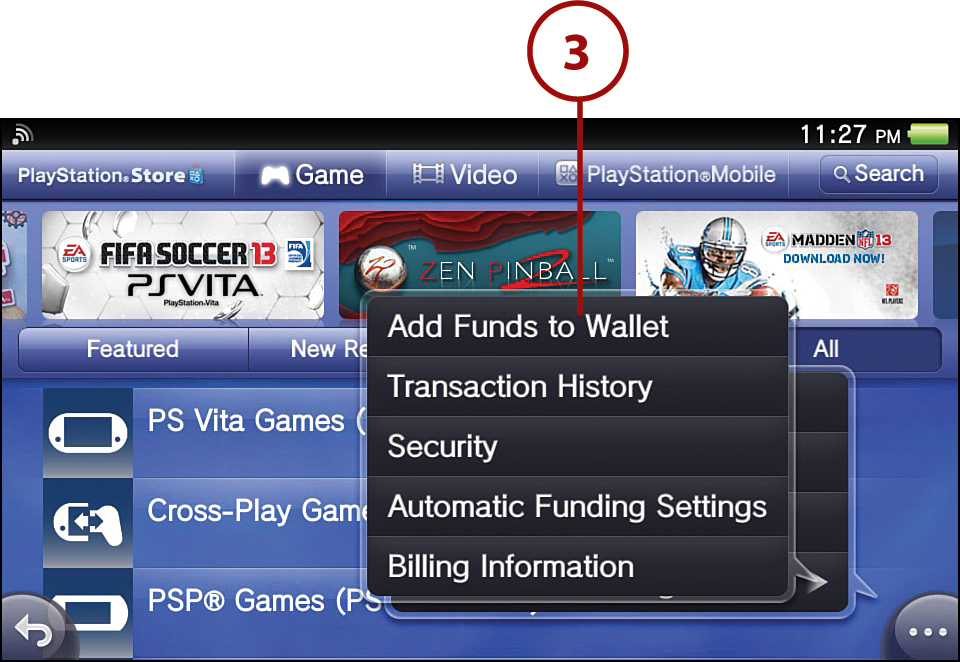
1. Tap Options.
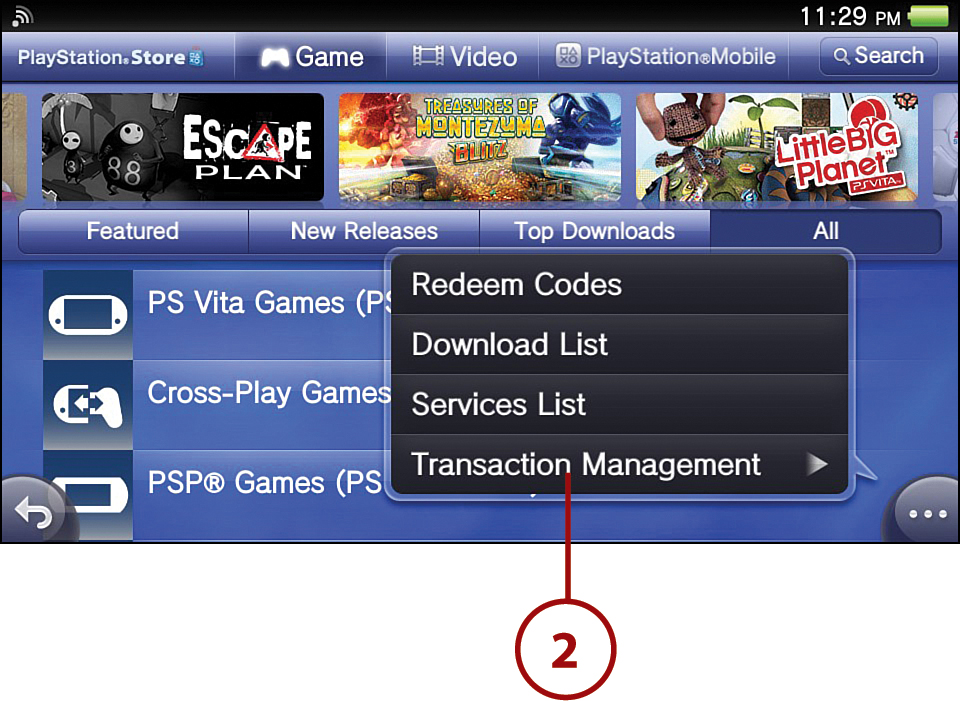
2. Select Transaction Management.
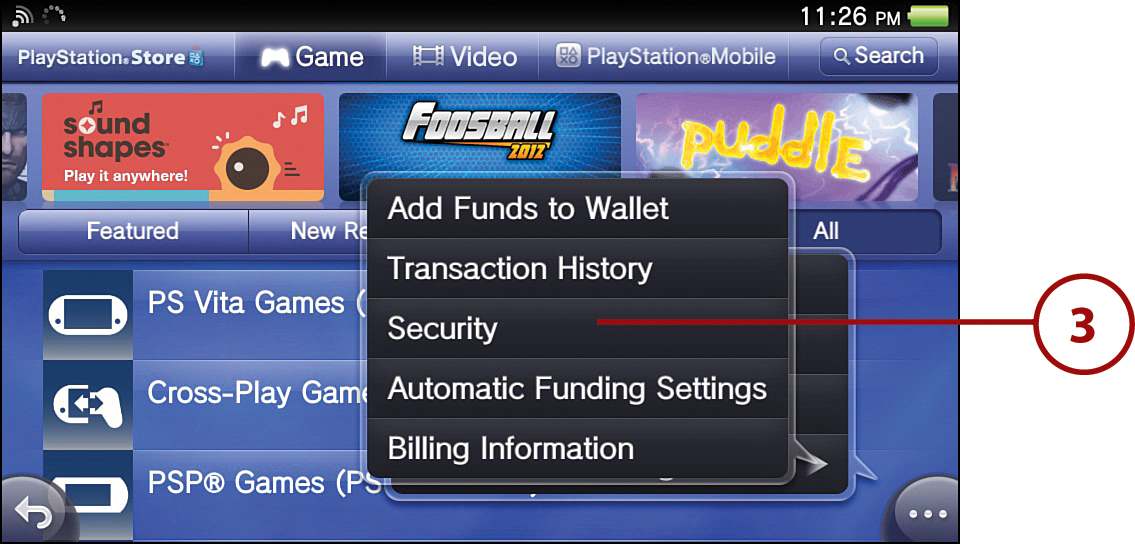
3. Tap Security.
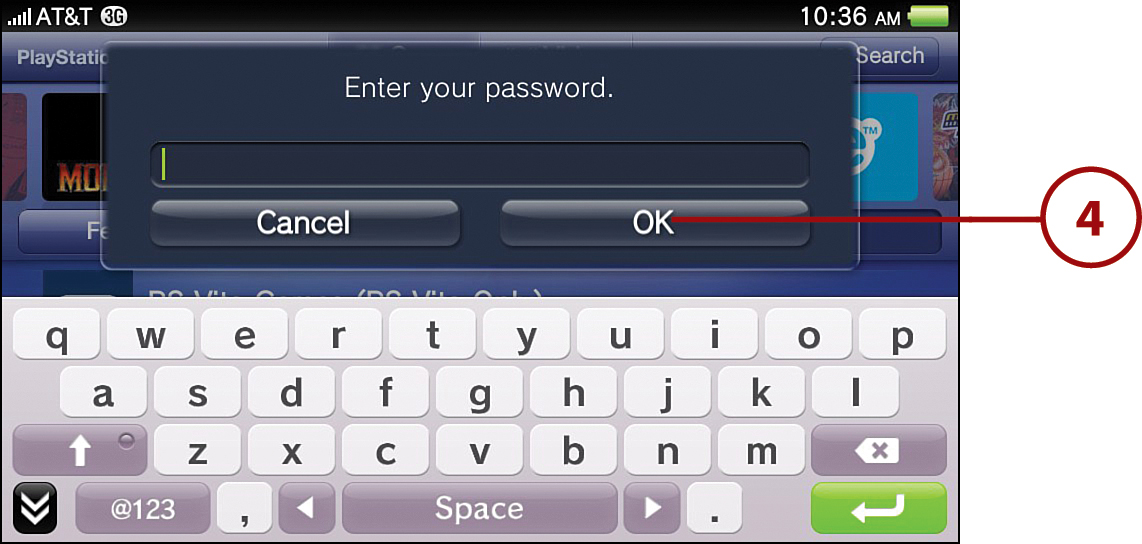
4. Enter your PlayStation Network password. Tap OK.
5. Tap the checkbox to set a check mark for Require Password at Checkout.
6. Tap Confirm to password protect your purchases.

Adding Funds
You can add funds to your PlayStation Network wallet using a credit card, a prepaid PlayStation Network card, or a promotion code. To add funds using a credit card, do the following within the PlayStation Store:
1. Tap Options. If you’re using a PlayStation Network card or promotion code, skip to step 4, otherwise, proceed to the next step.
2. Select Transaction Management.
3. Tap Add Funds to Wallet. The minimum funding amount is $5.00 and any unused funds are non-refundable and remain in the wallet to go towards future purchases. Proceed to step 5.
4. Tap Redeem Codes.

5. Follow the remaining onscreen instructions to finish adding funds to your wallet.
Keeping Those Subscriptions in Check
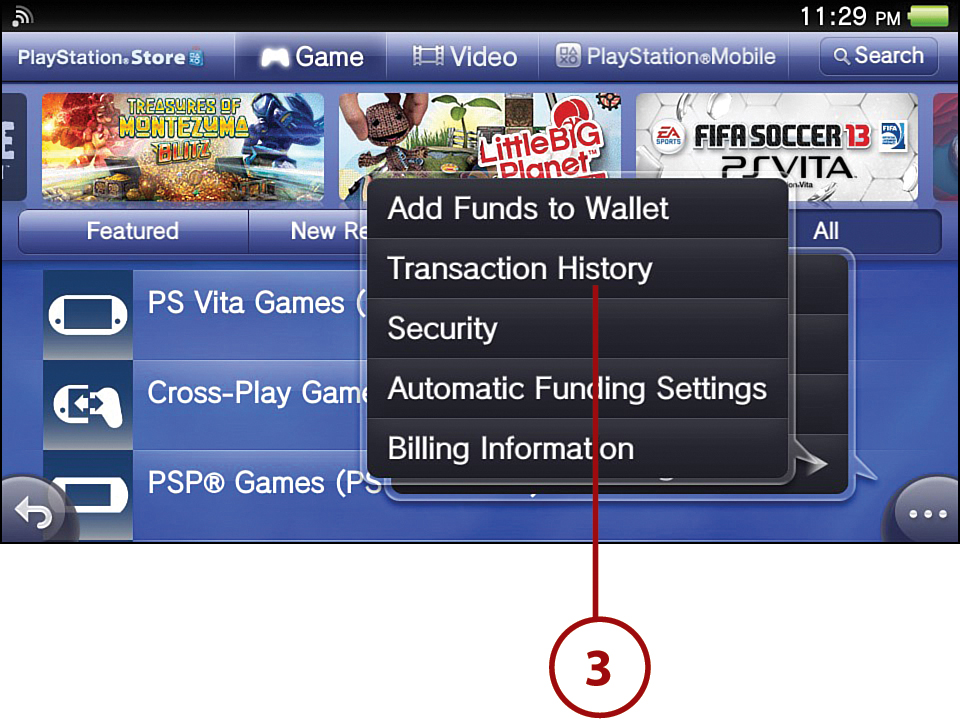
When you purchase a subscription, Automatically Add Funds is turned on by default. When the subscription in question comes up for automatic renewal, funds are added to the wallet if there are insufficient remaining funds to cover the cost of the next renewal. You can change this setting by tapping Options, Transaction Management, Subscription Settings. You can check which services you’re subscribed to by tapping Options, Services List.
Managing Sub Account Funds
A Sub account holder cannot add funds to a wallet, but that type of account can be authorized by the Master PlayStation Network account holder to use the associated wallet to pay for products and services on the PlayStation Store. (See “PlayStation Network” in Chapter 3 for more on the Master and Sub account relationship.) To set a monthly spending limit for Sub accounts that have already been set up, do the following:
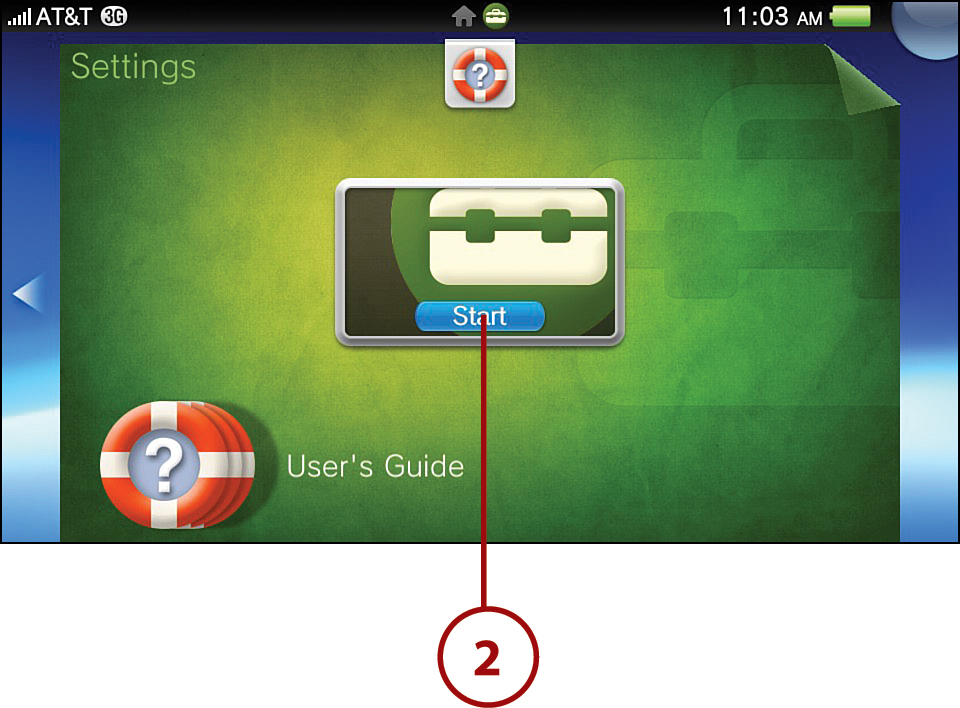
1. Tap Settings.
2. Tap Start.
3. Tap PlayStation Network.

4. Tap Sub Account Management.
5. Set the desired spending limit.
Checking PlayStation Store Usage
You can check the history of your PlayStation Store activities, including what you’ve downloaded, which services you’ve used, and what funds you’ve added to your wallet.
1. Tap Options.
2. Tap Transaction Management.
3. Select Transaction History.
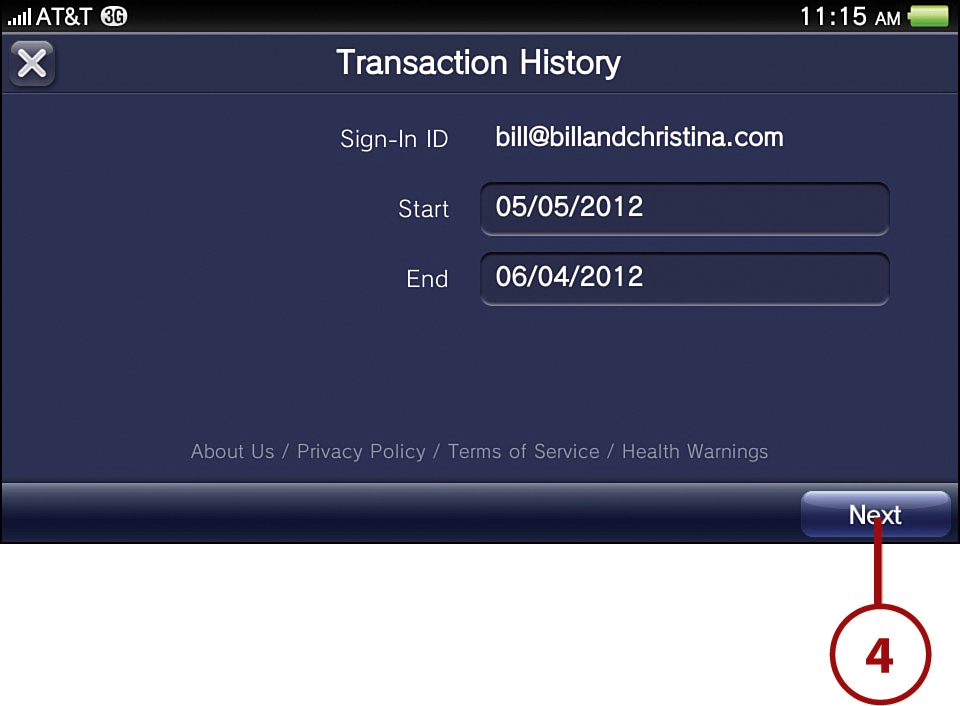
4. If you have multiple accounts and are signed into the Master account, select a sign-in ID; otherwise, tap Next.
5. Tap a transaction item to see detailed information.
6. When you’re finished reviewing the transactions, tap X to exit.

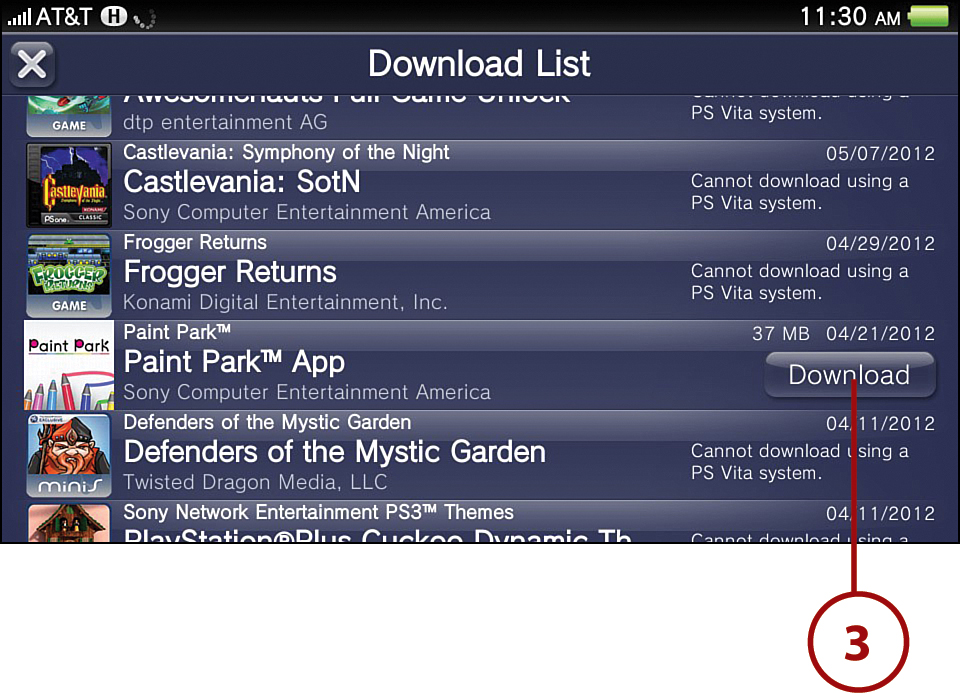
Redownloading Content
As part of your transaction history, your PlayStation Network account keeps track of everything you’ve downloaded with the account across all of your Sony Entertainment Network systems. Except for purchases from the Video store, you can download all Vita-specific content again as long as it doesn’t exceed the activation limit for the content type.
1. Tap Options.
2. Tap Download List.
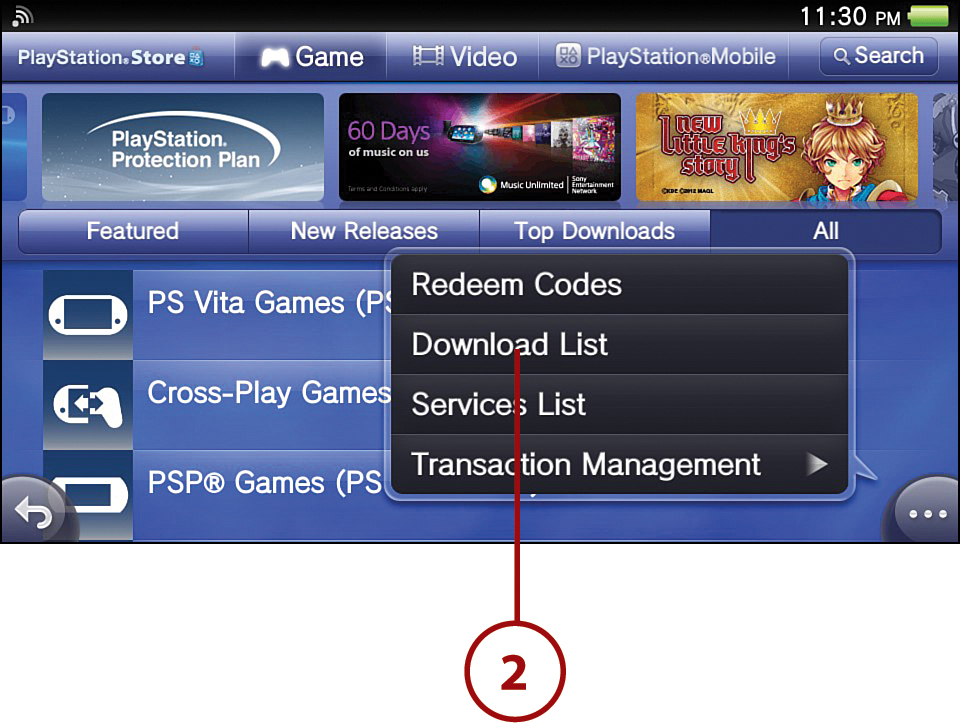
3. Previously downloaded content across all of your PlayStation Network account-specific systems is listed. Tap Download to redownload a Vita-specific item.