
Chapter 16
Developing Full-Featured Web Parts
IN THIS CHAPTER
The ASP.NET 2.0 Portal Framework and the SharePoint 2007 object model make it easier to develop full-featured Web Parts. This chapter shows you how to extend your Web Parts so that they are more interactive to the user and better integrate into your enterprise.
Web Part Properties
Out of the box, the WebPart class provides you with a lot of the functionality needed to integrate with the ASP.NET 2.0 Portal Framework and SharePoint 2007. There are too many properties to list in this book (and why reiterate the documentation), so this section shows you how to write custom properties for Web Parts.
Customizing Web Parts with Properties
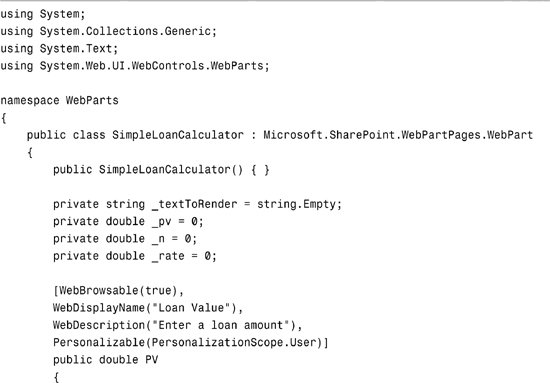
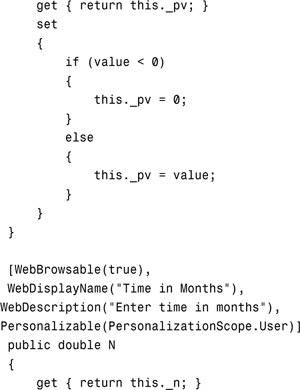
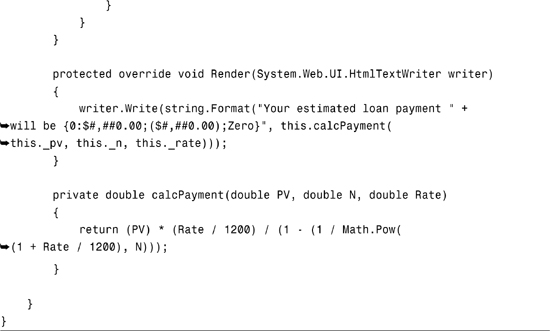
The first thing that you can do to enhance your Web Parts is add properties to your Web Part classes. This allows you to provide either Web Part administrators or users of the Web Part the ability to very easily apply custom settings to Web Parts on the page. The syntax for creating a Web Part property is exactly the same as creating a property on any other class, with the addition of one or more Web Part–specific attributes. Listing 16.1 illustrates a Web Part that calculates a simple estimated payment for a loan. It uses properties to allow the user to configure values for Loan Value, Number of Months, and Interest Rate. When the Web Part renders, it calculates the values that the user provides and renders the estimated monthly payment.
Listing 16.1. SimpleLoanCalculator Web Part

Note
Note that, as in the previous chapters, the Assembly that contains this code has been signed and will be installed into the Global Assembly Cache (GAC) on the SharePoint server.
The code in Listing 16.1 is very similar to the code that you have already seen in previous examples in Chapter 14, “ASP.NET Server Control Primer,” and Chapter 15, “Introduction to Web Parts,” with the following attributes that have been used to describe each of the public properties: WebBrowsable, WebDisplayName, WebDescription, and Personalizable.
Attributes
The WebBrowsable attribute allows your property to be exposed to the ASP.NET 2.0 Portal Framework (in an Editor Zone) and SharePoint 2007. In addition, you might have other properties that can be set dynamically in code that you don’t want exposed to your SharePoint users, so configuring a property as WebBrowsable is not required for every property in your Web Part, just the ones that you want to provide to the user.
Whereas the WebBrowsable attribute allows you to determine whether a user sees a property, the WebDisplayName and WebDescription attributes allow you to customize “what” the user sees. A lot of times, we, as developers, come up with brilliant names for objects in our classes, which might not mean anything to the users of our systems. For example, in Listing 16.1, notice the property called “PV”, which has a WebDisplayName of “Loan Value” and a WebDescription of “Enter a loan amount”. Although “PV” might or might not have a meaning with your users, the WebDisplayName “Loan Value” is much more obvious to the user what value you are actually looking for. By using the WebDescription attribute, you can provide a more detailed description to the user that will be displayed in a ToolTip when the user hovers over the property in the Modify Shared Web Part frame.
The Personalization attribute allows you to specify how your data is scoped. You can scope your data so that changes affect either a single user or all users of your control. This is accomplished via the PersonalizationScope enumeration. In Listing 16.1, all three properties are scoped to the user. Figure 16.1 illustrates the SimpleLoanCalculator Web Part as it is rendered by SharePoint. Also notice the Modify Shared Web Part frame and how the control’s properties can be configured.
Figure 16.1. Configuring the SimpleLoanCalculator control.

Your Web Part properties will render differently, depending on how they are declared. Primarily, your properties will render a TextBox so that you can type in a text value for your property and it will get saved, if it is a valid value for the property (for example, string data can’t be saved to a numeric data type). The two exceptions that will not render as a TextBox in the page designer are bool and enum data types. Bool renders as a CheckBox and enum renders as a DropDownList. This is something that you want to keep in mind, especially if you are looking for specific data from the user, instead of having them type in a free-form TextBox. The next example looks at adding an enum property to the SimpleLoanCalculator Web Part.
Picking Property Values from a List
Often, you are looking for specific information from your users who are personalizing Web Parts and can’t accurately capture that data with a property that gets rendered as a free-form TextBox. Any property that you declare that returns an enum data type automatically gets rendered as a DropDownList control. Taking the SimpleLoanCalculator, for example, you might want to store information about what time of month the user intends to pay his loan payment. All that is required is to declare an enum called PayDate and set up a property to get and set the PayDate value, as illustrated in the following code example:
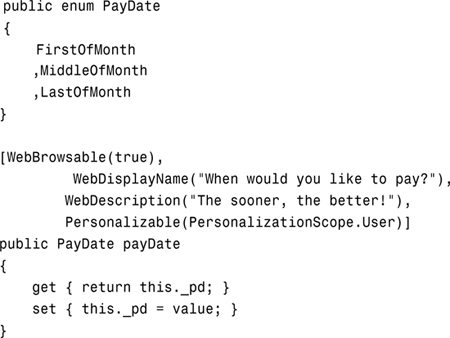
Figure 16.2 illustrates the drop-down list that gets rendered in the Modify Shared Web Part frame.
Figure 16.2. Selecting a property as a DropDownList.

Interactive Web Parts
Most of the custom Web Parts that you will write will need to do more than just output text and maintain state for property values. Although this is important knowledge for creating Web Parts, it isn’t enough when you need to create a Web Part that integrates with your current systems. The ASP.NET 2.0 Portal Framework and SharePoint 2007 object model provide a lot of functionality that you can use to integrate your systems into SharePoint. This section shows you how to build a Web Part that integrates with an existing system: the AdventureWorks sample database. Although the following example is very simple, it provides the knowledge required to extend the functionality into your own systems.
Because there is currently not a formal designer-based tool available for creating custom Web Parts, you must consider a lot of things before you begin. First, what functionality does your Web Part need to provide your users? This is an important and seemingly obvious question, but the functionality that is required affects what controls, methods, and properties you will implement to deliver a working solution to your users. In addition, you need to consider how your page will be laid out because depending on the complexity of the Web Part’s layout, a considerable amount of code must be written and maintained to provide a clean look and feel to your Web Parts.
Because of these complexities, the example that is used in this section is simple: Provide users with the ability to execute a Structured Query Language (SQL) statement against any specified database and display the results in a grid. Although it might not be something that is immediately usable in your environment, you will learn how to add standard .NET controls to your Web Part, provide a layout in which to display the controls, and handle postbacks from within your Web Parts. Figure 16.3 illustrates the final Web Part (called the SQLExecute Web Part) that will be built during this section of the chapter.
Figure 16.3. SQLExecute Web Part in SharePoint 2007.

Although the layout is simple, a considerable amount of code is required by the requirements that have been defined.
Caution
As with any control, it is best to render the contents inside of a table so that its contents will line up properly when rendered. The code that is required to properly output a table can get quite cumbersome, so it is best to comment your code very carefully during this process so that it will be easily maintained in the future.
Before looking at an actual Web Part, take a quick look at a simple Web Part template (Listing 16.2) that can be used as a base for creating custom Web Parts.
Listing 16.2. Web Part Template

The Web Part template can be used to get started creating custom Web Parts because it defines a common framework that you can use to build a Web Part. You must override two events if you plan to add any web controls (for example, Button, TextBox, GridView) to your Web Part: CreateChildControls and Render.
Because there is not a designer available that will create this code for you, when you are developing Web Parts, it is best to think like you would if you were designing a web page—you just have to create the code manually instead of having Visual Studio do it for you. With that in mind, you will use the CreateChildControls method exactly like a web page (.aspx) uses the Init event; you need to instantiate any custom web controls that you want to place in your Web Part, configure their properties, and add them to the Web Part’s control collection.
The Render event is used to render your Web Part in the user’s browser. Because Render controls everything that gets pushed down to the user, you will quickly see code stack up in this event. As you will see in Listing 16.3, the Render method outputs a table with two columns and four rows, but requires about 30 lines of code to make this possible.
Listing 16.3 illustrates the SQLExecute Web Part class file.
Listing 16.3. SQLExecute Web Part
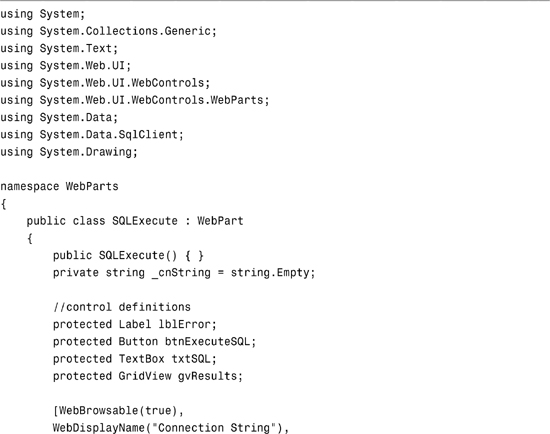


The code in Listing 16.3 defines one property named CNString and four controls, which are listed in Table 16.1.
Table 16.1. SQLExecute Web Part Controls

Notice that the controls are defined as protected member variables so that if any class is derived from the SQLExecute Web Part class, these controls will be made available in the derived class. In addition, it is a best practice to instantiate these controls in the CreateChildControls event, instead of in their declaration.
The CreateChildControls event is used to initialize all of the web controls that will be used by your Web Part and add them to the Web Part’s controls collection. Take a look at the following code excerpt, which is taken from the CreateChildControls event of the SQLExecute Web Part:
//textbox
1: txtSQL = new TextBox();
2: txtSQL.Width = Unit.Pixel(400);
3: txtSQL.Height = Unit.Pixel(200);
4: txtSQL.TextMode = TextBoxMode.MultiLine;
5: this.Controls.Add(txtSQL);
Note that the line numbers are for reference only. The first thing you must do is instantiate your control, which is demonstrated in line 1 of the code, where a new instance of a TextBox control is created. Lines 2–4 are examples of setting the TextBox’s properties, which control what type of TextBox will be used by your Web Part. Finally, and most important, you need to add each web control to your Web Part’s Controls collection, as in line 5 of the code excerpt. This registers your control object with your Web Part and allows it to properly render the control, as well as maintain the registered control’s ViewState and associated events (for example, a button’s click event), which is very important when your control does a postback.
Handling Postback
Chances are likely that at some point, your Web Part will need to perform a postback to provide the user with feedback when they interact with your Web Part. You can use the following checklist to ensure that your controls handle postbacks elegantly.
- Define your web control with the public or protected access modifier.
- Override your Web Part’s
CreateChildControlsevent.a. Instantiate your web control.
b. Configure your web control’s properties.
c. Add any event handlers to your web control.
d. Add your web control to the
Controlscollection of your Web Part.
A good example of a control in the SQLExecute Web Part that follows all of these rules is the button control that is used to execute the given SQL statement. The following code provides an example of all five of the rules:
//button
btnExecuteSQL = new Button();
btnExecuteSQL.Text = "Execute SQL";
btnExecuteSQL.Click += new EventHandler(btnExecuteSQL_Click);
this.Controls.Add(btnExecuteSQL);
The code is again taken from the CreateChildControls event of the SQLExecute Web Part from Listing 16.3. Notice that an event handler is attached to the Click event of the button just before the button control is added to Web Part’s Controls collection. If you forget to add the button control to the Web Part’s Controls collection, the Click event handler (btnExecuteSQL_Click) never gets fired. This is a common mistake made by Web Part developers, so this is one of the first things you should look at if your web control’s event handlers are not getting fired.
Including JavaScript
Often, you might want to include some JavaScript with your Web Part to provide client-side validation before a postback happens in your control. You can easily add client script by either using the Page.ClientScript class or adding client-side event handlers to your controls. The following code excerpt is an example of attaching a client-side onclick event to the btnExecuteSQL button that will evaluate whether the user has entered text into the txtSQL TextBox:
//add JavaScript
1: StringBuilder sbJS = new StringBuilder();
2: sbJS.Append("if(document.getElementById(’");
3: sbJS.Append(txtSQL.ClientID);
4: sbJS.Append("’).value == ’’){alert(’You must specify a SQL statement’);return false;}");
5: btnExecuteSQL.Attributes.Add("onclick", sbJS.ToString());
Note that the line numbers are for reference only. When you are writing JavaScript that is being emitted by your Web Part (or page, or user control), it is important to keep in mind that you are creating this JavaScript on the server and it is being pushed to the client. This means that if you plan to reference any controls that are rendered on the client, you need to reference them by their ClientID property, as illustrated in line 3 of the preceding code example. This is because you can’t guarantee what the ASP.NET runtime will name your object when it gets pushed to the client. In this script, if the user hasn’t entered anything in the txtSQL TextBox and he clicks the Execute SQL Button, he receives a message telling him to specify a SQL statement. In addition, notice that if the user receives the alert box, the script returns a value of false, which cancels the postback to the server, thus handling this validation completely client-side.
Summary
This chapter showed you how to extend Web Parts using properties that are configurable at runtime from within the ASP.NET 2.0 Portal Framework and SharePoint 2007. In addition, this chapter showed you how to use an external data source with your Web Parts so that you can write Web Parts that integrate into your enterprise systems.