
Now that we have developed the ACM solution in our development workspace, let's go ahead and export it and then import it to CRM Online.
Go to ACM | Settings | Solutions, double-click on the ACM Solution to open it, and then click on Export Solution on the toolbar. The Publish Customizations form will open. In order to include the latest customizations, it's recommended to publish all customizations before exporting the solution. To publish all customizations, simply click on the Publish All Customizations button. Then click Next.

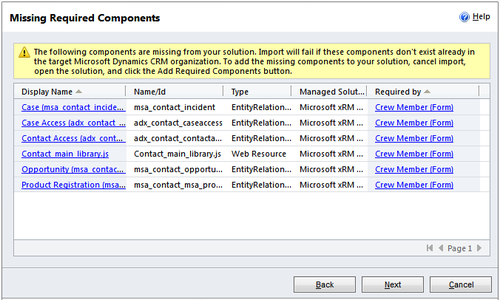
Microsoft Dynamics CRM 2011 has dependency tracking built into the product. If it detects a missing component, the Missing Required Components screen will tell us what is missing from this solution, as shown in the next screenshot. We can then go back and add the missing components to the solution and then export the solution again.
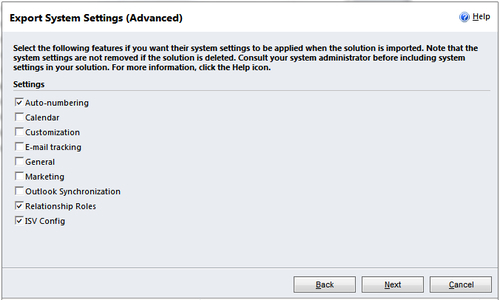
On the Export System Settings (Advanced) screen, as shown in the following screenshot, select the setting that you want to export. It is recommended that you do not export the system settings (Calendar, Customization, E-mail tracking, General, Marketing, Outlook Synchronization):
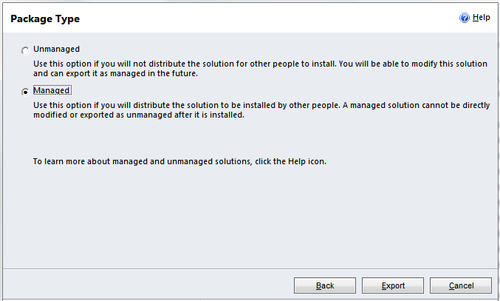
On the Package Type screen, as indicated in the following screenshot, export the solution as a managed solution, by selecting Managed. Next, click the Export button to export the solution.
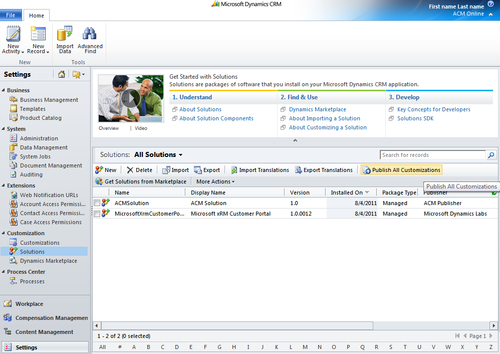
To import the solution to CRM Online, go to ACM | Settings | Solutions, and then click on Import Solution on the toolbar. First of all, import the Customer Portal solution, and then import the managed ACM solution.
Click Close and then refresh the page. You will see both solutions are applied on CRM Online.
Click the Publish All Customization on the toolbar to publish the customizations.
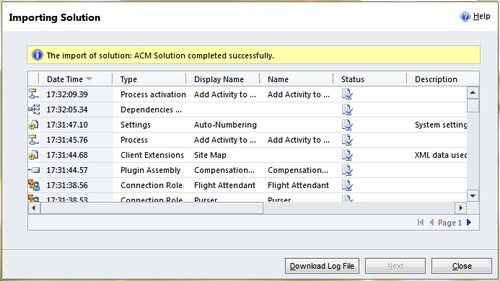
As a result, all customizations, including Processes and Plug-ins, are imported. However, note that you still need to register the Steps/Images for Plug-ins.