Frequently, raster data is made available in tiles. In fact, some consider the Murphy's Law of GIS to be that your study area lies at the intersection of four topographic quadrangles. In this situation, the input rasters will need to be combined into a seamless raster that covers the study area. When doing this, the individual input rasters must all be in the same coordinate reference system and have the same number of bands.
Assuming that these two conditions have been met, the Merge tool that can be found by navigating to Raster | Miscellaneous can be used to merge the individual rasters together. This tool is a GUI version of the GDAL_merge command-line tool. Overlap among the input rasters is allowed. If this happens, the data for the last image in the list will be used for the area of overlap. In the Merge dialog, you have the option to choose whether you wish to merge all the rasters in a folder, or you can pick individual rasters to merge. This provides a nice built-in batch-processing option. The following are the options for running the Merge tool:
- Depending on how your data is stored, you can choose one of the following options:
- Select Choose input directory instead of files.
- Click on the Select… button and select the individual rasters to merge. In the following example, the sample data items
35106-G4.tif,35106-G5.tif,35106-H4.tif, and35106-H5.tifare being merged. (Note that this data has a CRS of EPSG: 26913, so the project CRS should be set to this.)
- Name the output file by clicking on Select….
- If the rasters include a nodata value, you can select No data value and specify this value.
- If the input rasters cover the same geography but contain different bands of information, this tool can be used to create a multiband image. By choosing the Layer stack option, each input file becomes a separate band in a stacked image.
- The Use intersected extent option specifies the spatial envelope for the output. It defaults to the extent of the inputs.
- If the images include a color table that can be passed on to the output by choosing the Grab pseudocolor table from the first image option, this option assumes that the same color table is used for all the input rasters.
Note
Notice that the syntax equivalent to the
gdal_mergecommand line is displayed as you choose your merge options. If you are familiar with the GDAL command-line syntax, you can use theedit button ()to set the tool options by editing the command directly. For example, you could specify the output image format as a 16-bit integer by using the–ot Int16parameter. You could also specify the output pixel size with the–psparameter. The GDAL help page for this command can be found at http://www.gdal.org/gdal_merge.html.The Creation Options allow you to add your own command-line options and set parameters, such as the compression profile to be used on the output image.
The following screenshot shows the Merge command that is configured to mosaic the collection of input rasters. The equivalent command-line syntax is displayed in the window:

There are two additional tools in QGIS that can be used to create raster mosaics.
Tip
Both of these require the rasters to be merged and loaded into the QGIS map canvas. The first is the GRASS tool r.patch. It can be found by navigating to Processing Toolbox | Grass Commands | Raster | r.patch.
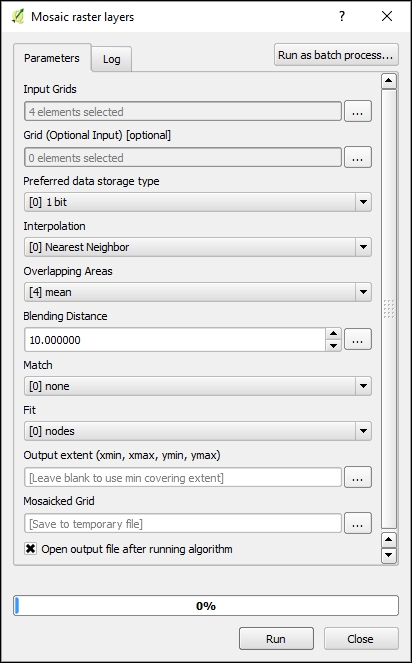
The second tool is the SAGA tool Mosaic raster layers. This tool can be found by navigating to Processing Toolbox | SAGA | Raster tools | Mosaic raster layers. This SAGA tool lets you determine how overlapping cells in the set of input rasters will be handled. You can choose to use the first value in the order of the grid list or the mean value. It also allows you to choose the interpolation method. See the following screenshot: