
The following task will take you through the transcoding of a video into HTML5 format using a shareware application called Easy HTML5 Video Convertor, which is available at http://www.easyhtml5video.com. It's available free for non-commercial use. To remove the logo or use it for commercial purposes, you will need to purchase a license (which is $49 for a single website and $69 for multiple sites at the time of writing).
Before we can convert the videos, you need to download a copy of Easy HTML5 Video Convertor for your platform—it is available for Windows as well as Apple Macs. Make sure you also have a copy of your raw video at hand, ready for conversion. For the purposes of this task, I will assume it is in the .mov format.
- The first step is to install the software; so let's go ahead and run the
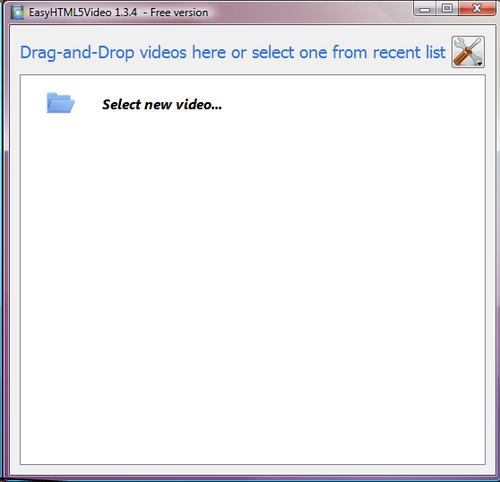
easyhtml5video-setup.exeprogram, accepting all defaults. - Double-click on it to open up EasyHTML5Video 1.3.4 – Freeversion and click on Select new video…, then drag and drop your video onto the screen that looks similar to the following screenshot:
- The screen will change to show the selected video and its properties, as shown in the following screenshot:
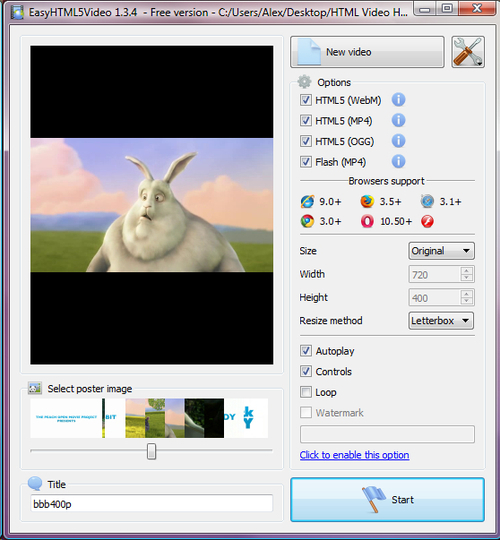
- For the purposes of this task, we need Easy HTML5 Video to export copies of the videos into all of the required formats—this includes Flash as the fallback format. The only change you need to make is to the poster image that you want to use—change the slider to an appropriate frame as shown in the following screenshot:
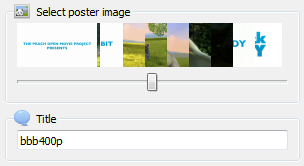
This will act as the image displayed before the video is started. We will take a look at poster images in more detail in the next chapter.
- We're going to keep the same filename as before, which will help with setting up the
<video>code later. So, go ahead and click on Start to begin the conversion process. At this point, you may want to go make a cup of coffee as the process will take quite a few minutes depending on the size of your video! - The final stage of the conversion process is to select where the content will be published. By default, the files will be placed into a folder called
EasyHTML5Videowithin yourDocumentsfolder (as shown in the following screenshot); you can store the files elsewhere if you wish to:
- Click onPublish. The file conversion process is now complete and an example of the video will start playing in your default browser. Also produced is a folder with some standard HTML5 video code that pulls in the appropriate video to play depending on which browser you use. We will take a look at that code later in this book.
Here we looked at how to simultaneously convert your video into formats suitable for playing using the new HTML5 <video> tags. EasyHTML5Video saves you a lot of hard work in the conversion process—it makes it a snap to convert the file into the right format, and automatically creates the basic code to allow basic playback in a browser.
In this example, we kept most of the settings at the defaults, which is perfectly acceptable for converting video files. You could also alter the size of the converted video if desired, or set it to automatically play when first shown (though this is not recommended as we will see in the next chapter).