
Now that we have our video in an HTML5 compatible format, and we can play it on our PC, we need to make it available for others to view. There are several options available to achieve this. In this task, we will look at two options, beginning with uploading to YouTube. In the second part of this task, we will focus on uploading videos to VideoBin.org.
For the purposes of this task, we're going to use one of the videos we converted from Task 1, so make sure you have this available.
In order to get the best results in the task to follow, you need to ensure that you use an HTML5 compatible browser. Also, you need to have a registered free account at YouTube and should have enrolled yourself in YouTube's HTML5 video trial at http://www.youtube.com/html5.
For the second part of this task, the only prerequisite to ensure optimal playback is that the video should be encoded to Ogg Theora format. This is to save bandwidth, although other formats can be used—VideoBin will automatically convert (or transcode) the videos on the fly. For the purposes of this task, I will assume you have used the video you converted in the previous task.
- Browse to http://www.youtube.com and sign in to your account, then click on Upload to begin the process, as shown in the following screenshot:

- We're going to upload one of the video files created from Task 1, so go ahead and click on Select files from your computer to choose a video, as shown in the following screenshot:

- YouTube will upload your video (as shown in the following screenshot)—the video can be up to a maximum of 15 minutes in length:

- YouTube will show a confirmation once the video has been uploaded. At this stage, you can set the visibility (or who will be able to see this video) as well as the title, description, and tags for your video, as shown in the following screenshot:

- You will notice a link under the name of the uploaded video—you can click on this link to see how your video will appear in YouTube as seen by other users:

An alternative to using YouTube is to use another service, where licensing is not so restrictive; one such service is VideoBin, hosted at http://www.videobin.org. In this part of the task, we will look at how to upload and access content from this service.
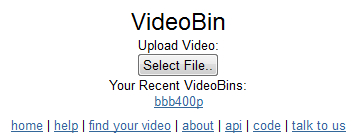
- Browse to http://www.videobin.org and click on Select File.. to browse to your video and then click on Upload, as shown in the following screenshot:
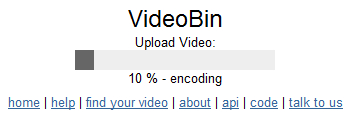
- VideoBin.org will display a running total for the conversion process:
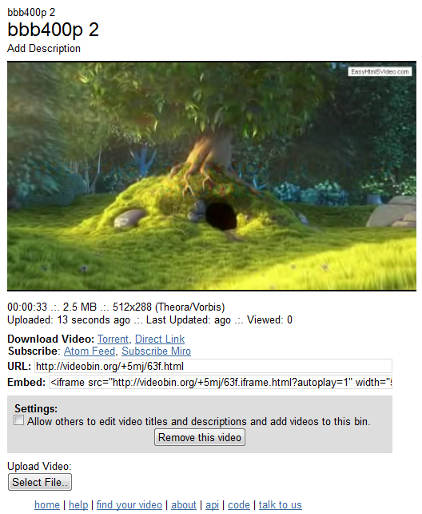
- Once converted, the video will be displayed on screen along with details regarding its site, location, and time so that you can then embed the URL into your site at will, as shown in the following screenshot:
YouTube has designed its upload process to be flexible and very easy to use. You can upload any of the HTML5 format videos (such as the ones we created from Task 1) as well as AVI, MPEG-PS, WMV, and FLV formats. When the file is uploaded, it is automatically transcoded into WebM format—this is effectively a free version of the VP8 format developed by On2 Technologies, which was subsequently bought out by Google in 2010.
At this stage, you will have a perfectly working video hosted on YouTube that is available for you to embed into your site in the normal manner.
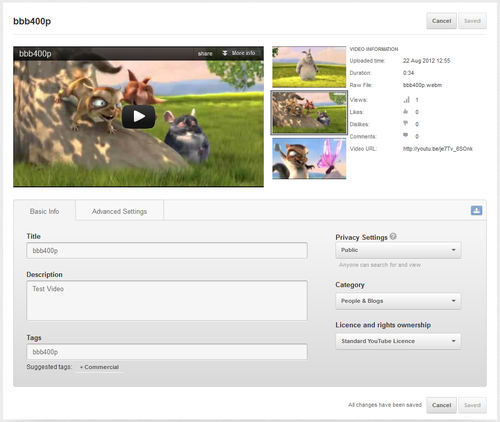
However, if you go to Video Manager from within YouTube, you can edit the settings assigned to this video such as Privacy, Video thumbnail, allowing Comments and ratings, depending on your own preferences, as shown in the following screenshot. You can even set Google Maps to show where you recorded your video!
In the second part of this task, we looked at using VideoBin.org—a free hosting service with a less restrictive licensing arrangement than YouTube. Written using Python and Django, converting videos through VideoBin.org has been designed to be kept simple, so that you can concentrate on hosting your main content without the worry of the additional demand or overheads of running a video on your own server. You will then be able to style your video player as you wish, using styles that fit in with your site; we will see how to do this later in this book.
The key thing to bear in mind is the format used—while the upload process is deliberately kept simple, you will notice a delay if the chosen video is not already using the Ogg Vorbis format. All uploaded videos are transcoded from their original format to Ogg Vorbis using ffmpeg2theora as part of the process.
In the next section, we will take a look at how to style your own video player, so that you can use your own styles that will fit in with your site's appearance.
Up until now, we've concentrated on preparing our video for use with the HTML5 video tags. Let us now turn our attention to how you can embed videos into your pages looking at the following sections:
- Comparing HTML5 video code with Flash
- Embedding videos using HTML5
- Adding more options to HTML5 video code
- Adding support for videos using mime types and codecs
- Support for cross-browser playback
- Some examples of prebuilt video players
- Adapting for iPads/iPhones/Android
Note
All the screenshots, throughout this section (unless stated otherwise), are taken from "Big Buck Bunny", movie available from the Peach Open Movie Project; the video is (c) copyright 2008, Blender Foundation at www.bigbuckbunny.org.