
In this recipe, we will show you how to bind an input value from a checkbox to a variable; so in effect, we now perform data binding from the UI to the code and have two-way data binding. You can find the code in the project pol_check.
- The script starts with
webindex.html, where a component with the namepol-checkis imported through the following line:<link rel="import"href="pol_check.html">
From this, we know that the component is defined in
pol_check.html, and the code behind it is in a file namedpol_check.dart. For a discussion of the other tags, refer to the first recipe. - The code for
pol-checkis defined inpol_check.dart:import'package:polymer/polymer.dart'; @CustomTag('pol-check') classPolcheck extends PolymerElement { @observable bool receive = false; Polcheck.created() : super.created(); } - The structure of the component is outlined in
pol_check.html:<link rel="import"href="packages/polymer/polymer.html"> <polymer-element name="pol-check"> <template> <div> Do you want to receive our jobs newsletter? <input type="checkbox" checked="{{receive}}"> </div> <div> You will receive the newsletter: {{receive}} <p>Confirmed:</p> <template if={{receive}}>You will receive the newsletter</template> <template if={{!receive}}>You will not receive the newsletter</template> </div> </template> <script type="application/dart" src="pol_check.dart"></script> </polymer-element>
The following screenshot is what you see when you run the app:
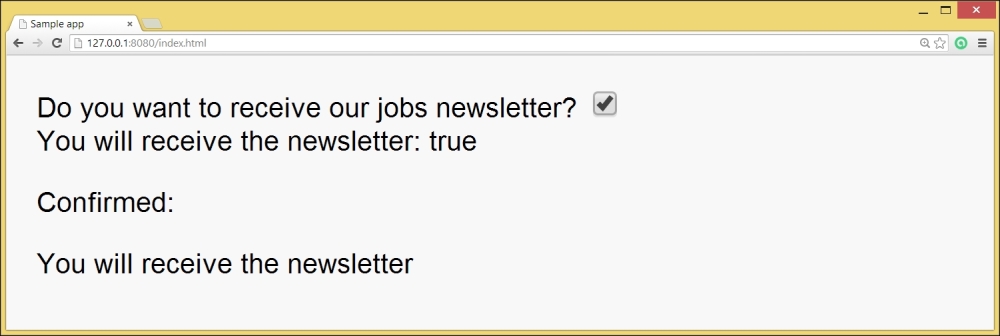
Two-way binding to checkboxes
In step 3, the value from the checked attribute of the checkbox is bound by the expression checked="{{receive}} to the variable receive. Through step 2, the value shows up in the simple {{receive}} expression on the page, but it is also used in template conditionals here.