
In this recipe, we show you how the data of a map can be displayed in a Polymer component. You can find the code in the project databinding_map.
- The script starts with
webindex.html, where a component with the namepol-mapis imported through the following line:<link rel="import"href="pol_map.html">
From this code, we know that the component is defined in
pol_map.html, and the code behind it is in a file namedpol_map.dart. For a discussion of the other tags, see the first recipe. - We define a map
companies, which we want to display in the filepol_map.dart:import'dart:html'; import'package:polymer/polymer.dart'; @CustomTag('pol-map') classPolmap extends PolymerElement { Map companies = toObservable({1: 'Google', 2: 'Microsoft'}); Polmap.created() : super.created() { companies[3] = 'HP'; } addcompanies(Event e, var detail, Node target) { companies[4] = 'Facebook'; companies[5] = 'Apple'; } }
- The structure of the Polymer component is outlined in
pol_map.html:<link rel="import"href="packages/polymer/polymer.html"> <polymer-element name="pol-map"> <template> <p><b>The list of companies: </b></p> <template repeat="{{key in companies.keys}}"> <p> {{key}}: {{companies[key]}}</p> </template> <button on-click="{{addcompanies}}">Add some companies</button> <p>My favorite company is: {{companies[1]}}</p> </template> <script type="application/dart" src="pol_map.dart"></script> </polymer-element>
The following screenshot is what the web page displays when the app is running and the button is clicked:
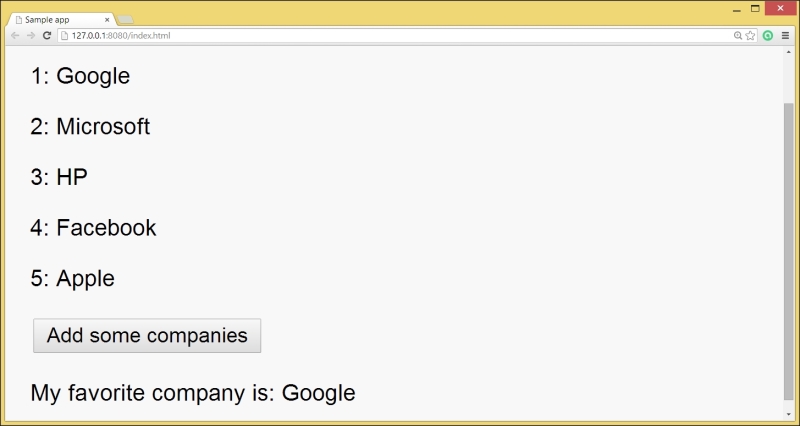
We want to view the contents of Map in our page. This is made possible in step 2 by using the toObservable function from the polymer package. This function converts a literal map to an Observable map. However, Mapcompanies is changed in the created event, which is called when the component is instantiated. Also, companies is changed by pressing the button, which calls the method addcompanies.
Step 3 shows how a template loop is created using <template repeat="{{key in companies.keys}}"> content </template>.
This means that for every key in the list companies.keys, the content inside the template (here, <p>{{key}}: {{companies[key]}}</p>) is rendered.
We could have also worked with companies.values, or any of the other map getters and methods such as companies.length. From the running app, as shown in the previous screenshot, we see that whenever the observed map is changed, these changes are reflected in the web page.