Formatting your text, headings, lists, and other page elements individually—as described in the previous couple of chapters—takes time that you may not have. And with so many choices in fonts, colors, and graphic ornaments, putting together a good-looking document can be overwhelming. No wonder so many people stick with Times New Roman body text and Arial headings! Fortunately, graphic designers at Microsoft have created themes, a new Word 2007 feature that lets you apply a complete, coordinated package of fonts, colors, heading styles, and more with a single click.
While themes are all about style and appearance, templates are about content. Part of Word for more than a decade, templates provide boilerplate text and blank spaces for you to fill with your own information. Templates also set you up with snappy graphics and consistent margins, indents, and paragraph formatting. A good template even provides cues to tell you what information you need to fill in the blanks.
Word’s themes and templates help you make your documents look like they came from a Fortune 500 company’s publications division. Even if you don’t know a font from a fondue, you can crank out professional looking business proposals, resumés, and more.
When you’re on deadline putting together, say, a business proposal, you don’t want to waste precious minutes worrying about fonts, heading colors, and the design of tables, charts, and graphs. Instead, simply choose a theme with a click of your mouse (Figure 5-1), and you’ve got a professional looking document.
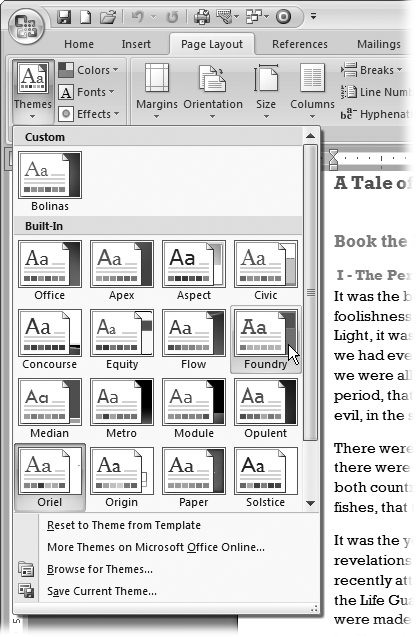
Figure 5-1. Word 2007’s themes are prepackaged collections of colors, fonts, and effects that work together to create attractive pages. Hold your mouse cursor over a theme to preview its effect on your document. Applying a theme is as simple as clicking the design you like best.
Themes are made up of three parts:
Colors. Each theme contains 12 colors, each of which is assigned to a specific document part. One color (usually black) is used for body text. Another color (dark blue, say) is used for Heading 1 paragraphs. Lesser headings—like Heading 2 and Heading 3—may use a lighter shade of the same color. Other complementary colors are used for accent and hyperlinks (links to the Internet).
Fonts. Each theme specifies one or two fonts—one for the body text and one for headings. Also known as typefaces, fonts define the actual shape of the letters on the screen and on the page. They have a subtle but significant effect on the appearance and feeling of a document. Some typefaces don’t always play well with others, but fortunately, you don’t have to worry about that when you choose themes, since their typeface combinations are always compatible.
Effects. Each theme uses one of Word’s 20 built-in graphic effects. These effects include design touches like shadows, line styles, 3-D, and so on. Most of these effects have more of an impact in PowerPoint presentations than in Word documents, but they come with the theme’s package.
When you choose a theme, you’re applying color, font, and effect formatting to the elements in your document (Figure 5-2).
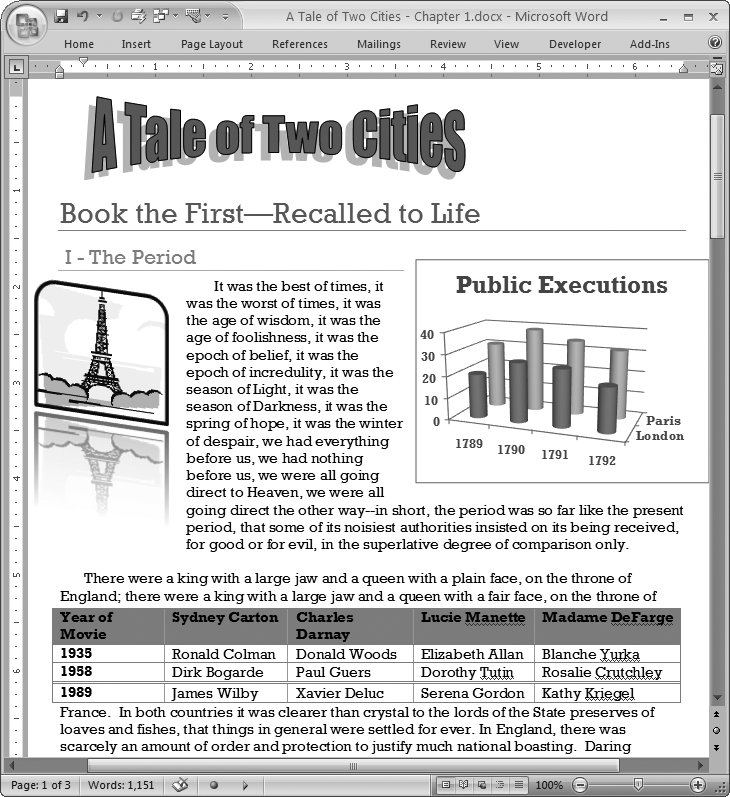
Figure 5-2. This document shows the Foundry theme in all its glory. The theme defines the fonts and the colors used for headings, chart objects, picture borders, and tables. As you can see, even with professionally designed themes, amateurish excess can still produce an ugly page.
Tip
If you use Excel or PowerPoint as well as Word, you’ll be glad to know that all Microsoft Office programs use the same themes. That makes it very easy to keep a consistent, professional look across all documents you create for a specific job or project. Figure 5-3 shows you an example.
Here are examples of the parts of your document that take their formatting cues from the selected theme:
Body text. Font, size, style, and color.
Headings. Font, size, style, and color.
Tables. Font specs (same as above), border and line styles, and colors.
Charts. Font specs, borders, lines, chart graphic styles, and colors.
Picture. Border colors.
SmartArt. Font specs, graphic colors.
Clip art. Major outline and border colors.
Drop caps. Font specs and color.
WordArt. Font colors change, but the actual typestyle remains the same.

Figure 5-3. Word, PowerPoint, and Excel share the same themes. This Word document (front) and PowerPoint presentation (rear) both use the Metro theme, giving them consistent typestyles and graphic specifications.
Note
For more on themes and Word’s various art options (SmartArt, clip art, WordArt, and more), grab a copy of Word 2007: The Missing Manual.
Here’s how to choose a theme for your document:
Go to Page Layout → Themes (or press Alt+P, TH).
The Themes menu is on the far left of the Page Layout tab (Figure 5-1). It’s like an artist’s palette where you see sample colors and typefaces. Themes are divided into two categories with Custom themes at the top and Built-In themes below.
If the themes aren’t all visible, drag the scroll bar on the right to get a better view.
In the lower-right corner, the three dots indicate that you can click that spot to drag the corner and resize the menu. If you’d rather have the menu stretch across the top of your window so you can see your document beneath, then just drag the corner.
With your mouse, point to a theme (but don’t click) to see a Live Preview.
The Themes menu uses Microsoft’s new Live Preview feature—all you have to do is point to a theme, and your document changes to show you how it will look using that theme. You can quickly view and compare the available choices. (See, computer games aren’t the only programs that use all of your computer’s graphics power.)
Once you decide on a theme, click to select it.
One click chooses a theme and applies formatting changes throughout your document. Headings, borders, and lines change color. Body text, headings, and title fonts also change (Figure 5-4).
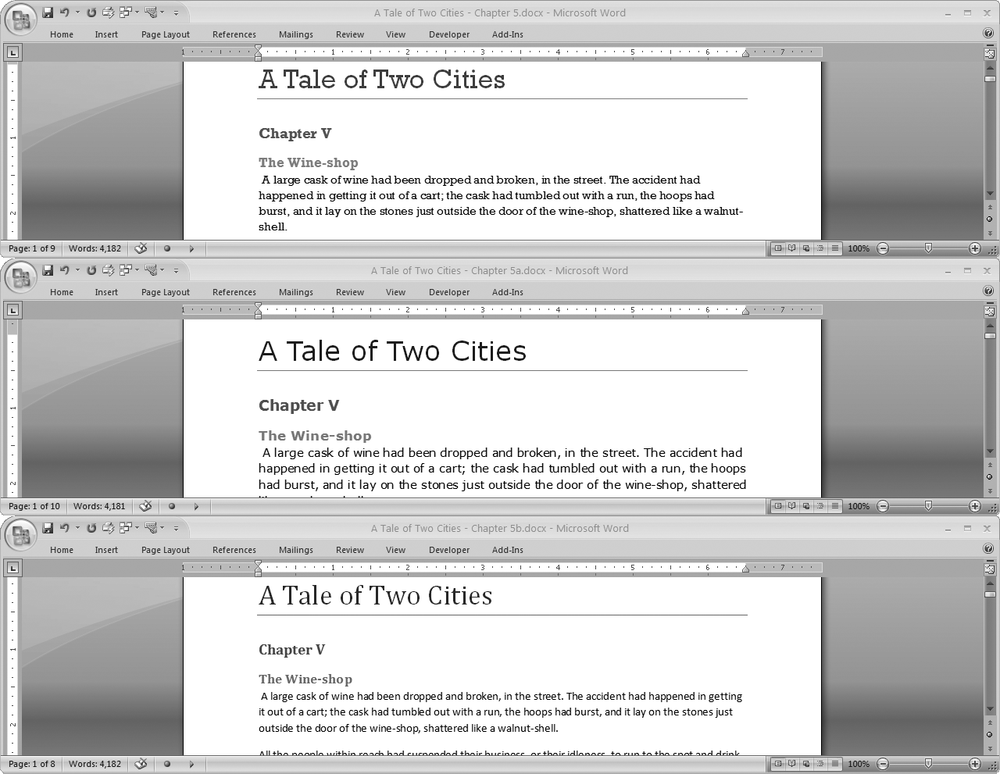
Figure 5-4. Here’s the same document with three different themes. On top is the Foundry theme with a font that looks a little like something that would come out of a typewriter. In the middle is the Aspect theme featuring Verdana—a modern looking sansserif type. On the bottom is the Office theme, ensconced in hues of Microsoft.
Word comes with 20 built-in themes, but you may still find yourself looking for more. Perhaps you work in an office on a computer that was set up by your employer, and someone has created official company themes that you need to use. If that’s the case, then you need to know where to look for those themes on your computer, especially if you (or someone you love) have inadvertently moved them. You can also look beyond your computer: Creative types are constantly coming up with new, exciting themes and sharing them on the Web.
Open the Themes menu (Page Layout → Themes → Themes or Alt+P, TH), and you find custom themes at the top of the list (Figure 5-5). Custom themes are ones that you or someone else created, and they’re stored in the Document Themes folder inside your Template folder (C:Documents and Settings[Your Name]TemplatesDocument Themes).
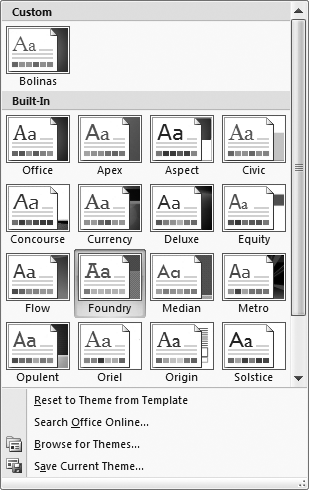
Figure 5-5. The Themes menu shows two types of themes—Built-In and Custom. Built-In themes are predesigned themes that come with Word. Themes that you or someone else created appear at the top of the list.
If themes are stored (or moved) somewhere else on your computer, then they won’t show up on the Themes menu, but Word can help you look for them. To search for themes, click the Browse for Themes button near the bottom of the Themes menu. The Choose Theme or Themed Document box opens. As shown in Figure 5-6, this standard Windows file box is set up to show you *.thmx, *.docx, *xlsx, and other file types that contain Office themes. The “Files of type” menu is set to Office Themes and Themed Documents, which acts as a filter, so the main window shows you only files that match these types (and folders that contain them).

Figure 5-6. If you click Browse for Themes, then you get a standard Windows file box. You can use this box to navigate through your system to seek out files that end in “.thmx.” And if you can’t find themes this way, see the box on Choosing a Template for another way to search.
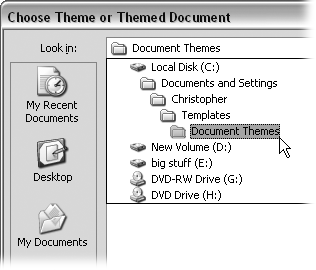
Figure 5-7. Word stores themes in a folder inside your Templates folder. Microsoft likes to hide this folder so you won’t find it with your other files in your My Documents folder. Instead, you must look in the Documents and Settings folder on your hard drive. On most computers that’s Local Disk (C:).
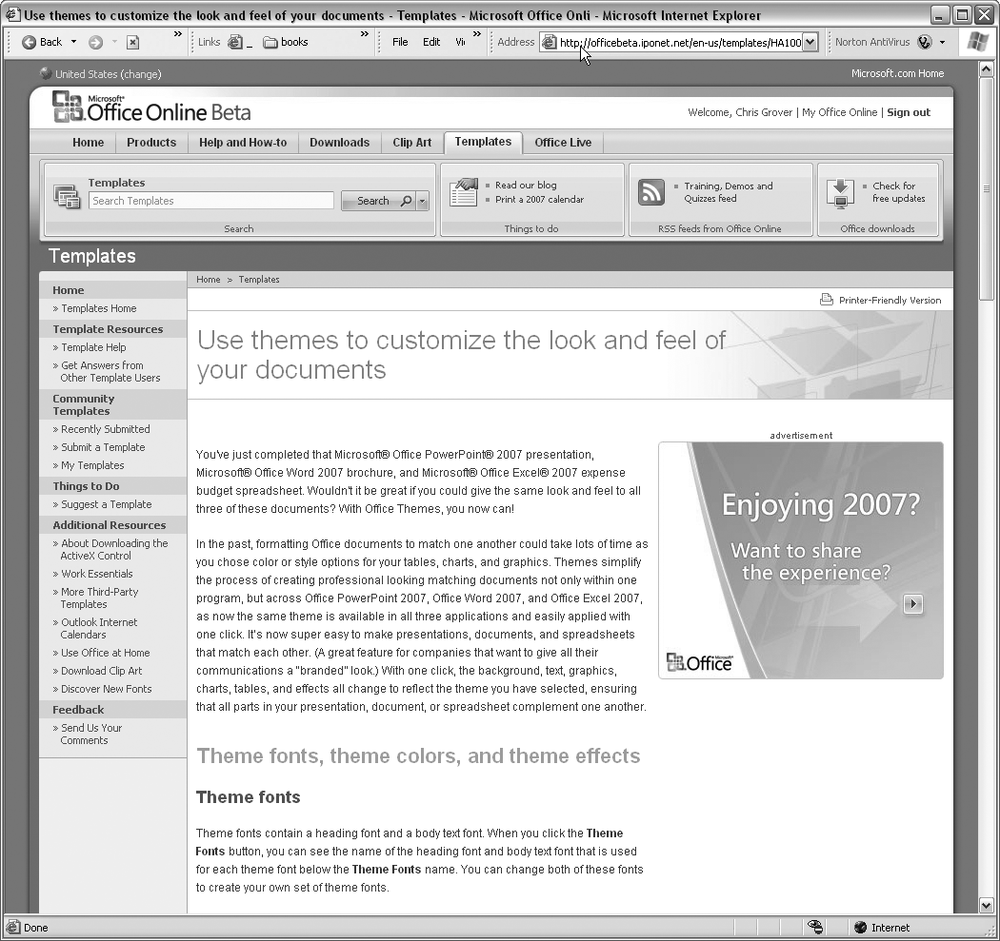
You can look for themes on the Internet, too. A good place to start is Microsoft Office Online ( www.microsoft.com/office ), shown in Figure 5-8. As time goes on, it’s likely that more themes, fonts, and colors will be available. And don’t forget to do a Google search. Type Office 2007 themes in Google’s search box, and you’ll see at least a half million entries.
When you use a template, you’re taking advantage of the work and wisdom of those who have gone before you. As the saying goes, “Why reinvent the wheel?” Microsoft must adhere to this philosophy because, in Word 2007, they’ve made templates an even more integral part of the program. Just look at the New Document dialog box (Alt+F, N). Your computer screen fills up with templates (Figure 5-9). You’ll find templates for resumés, newsletters, calendars, and greeting cards. The business category alone contains hundreds of templates. When you’re working on deadline or you need a professionally designed document, finding the right template to do the job will save time in the long run.
Here’s a partial sampling of the types of templates you’ll find. In the New Document dialog box, they appear alphabetically in the left panel:
Stationery and mailing. Business cards, greeting cards, envelopes, faxes, invitations, labels, letters, postcards.
General business. Contracts, forms, invoices, memos, minutes, purchase orders, receipts, reports, resumés, statements, time sheets.
Marketing. Award certificates, brochures, gift certificates, flyers, newsletters.
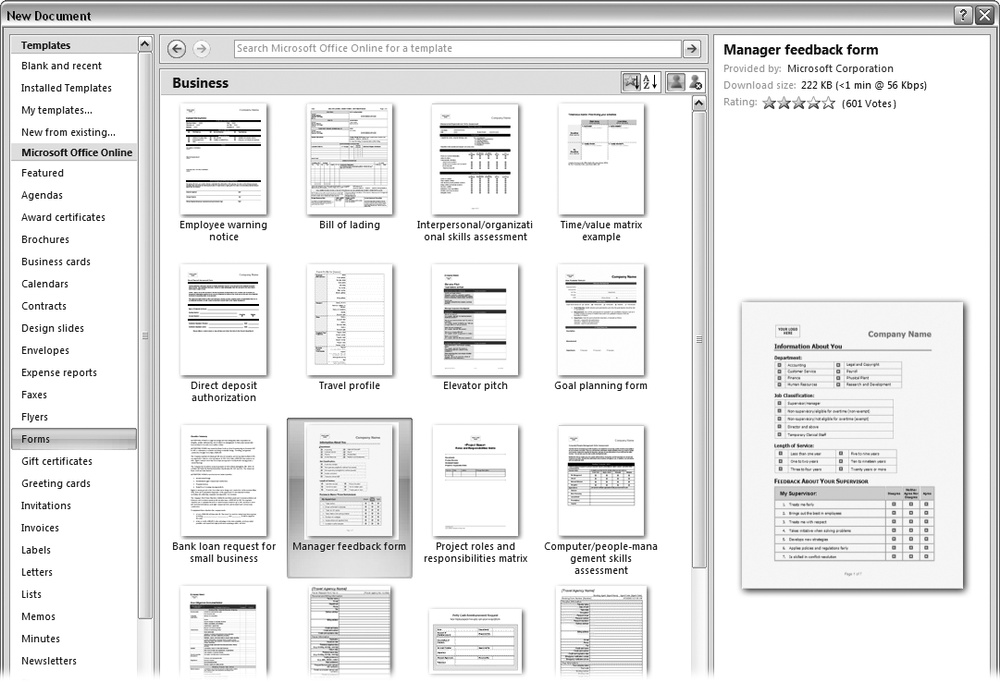
Figure 5-9. Open the New Document box and suddenly you see more than a dozen template options. The list on the left shows installed templates at the top. In the lower part of the list are hordes of templates that you can access from the Microsoft Office Online site.
If that’s not enough, in typical Microsoftian overkill there’s even a category called More Categories, where, believe it or not, you find 50 more categories, which run the gamut from Address Books, Games, and Paper Folding projects to Quizzes and Scorecards.
When you use a template, you’re not opening a template file, you’re opening a copy of it, sort of like pulling the top sheet off a pad of forms. The original template file remains untouched. Here are some of the goodies you’ll find in a new document you’ve opened from a template:
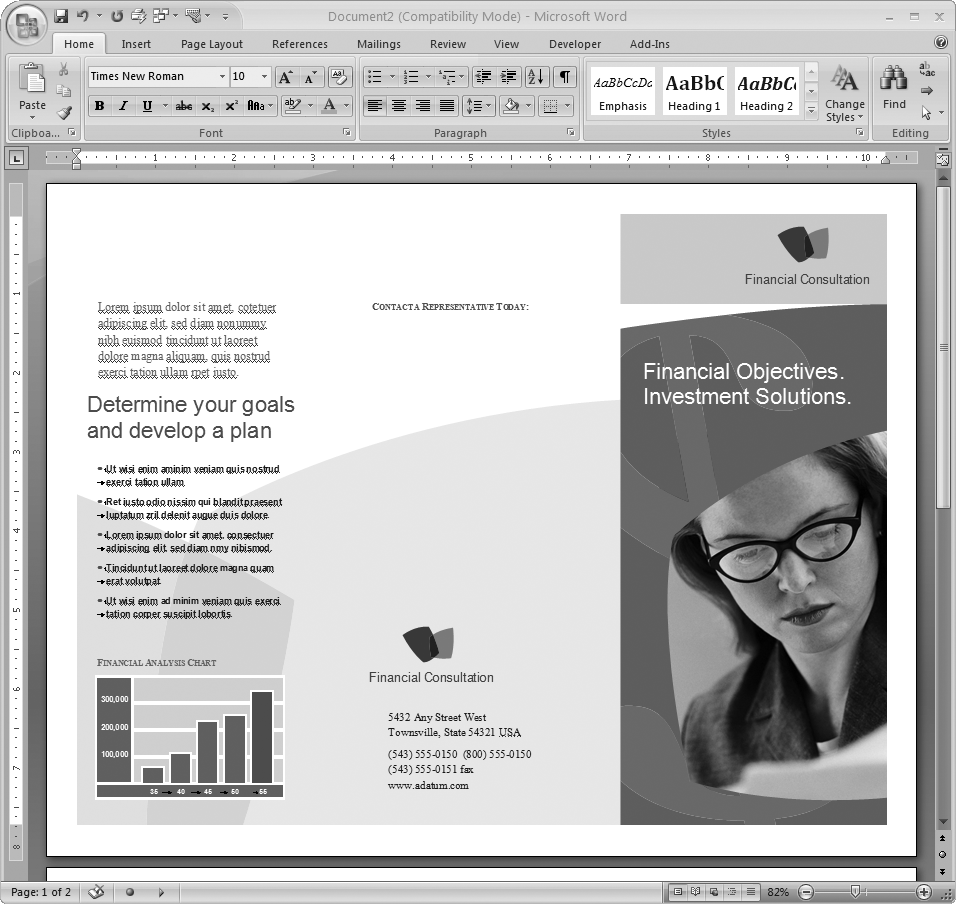
Graphics. Templates for brochures, business cards, greeting cards, and newsletters almost always include drawing, clip art, lines, and borders. Frequently you’ll find templates that include photos (Figure 5-10).
Formatting. Setting up the page formats, indents, and line spacing, and positioning every single bit of text on the page can be a big job. For projects like forms, purchase orders, and invoices, you may end up tearing your hair out. Fortunately, using a template is a lot easier on your scalp.
Boilerplate text. Often in templates the text is just there for position. You replace the text with your own words. However, some templates include boiler-plate text that you want to leave in place. Contracts, fax cover pages, forms, and even resumés may include body text or headings that you want to keep.
AutoText entries. Sophisticated templates sometimes add automated features like AutoText entries. A template designed to handle a common complaint may include a lengthy AutoText entry that begins, “We are so very sorry that the widget didn’t live up to your expectations.” To insert the diatribe, all you have to do is type sorry, and then press the F3 key.
Content controls. Some templates include widgets, like text boxes and drop-down menus, that let you create electronic forms in Word, just like the forms you fill out on Web sites.
Macros. Templates that include a lot of automatic features probably use macros—mini-programs that run inside Word documents—to create their magic. Macros let you run several commands with the click of a button or a keyboard shortcut.
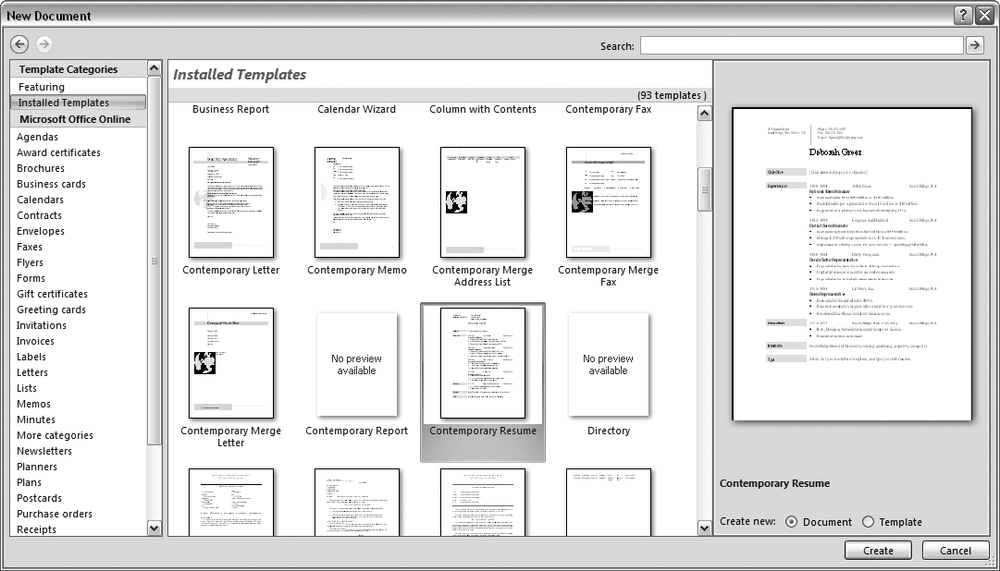
The New Document dialog box lets you access the hundreds of Office templates that are available online—many more than Word installs on your computer. If you have a computer with a cable or DSL Internet connection, then using an online template is almost as fast as using an installed one.
Here’s how to download a business card template and use it to create your own cards:
Go to Office button → New (or press Alt+F, N).
The New Document box opens, offering several ways to create a new document (Figure 5-9). To find a business card template, look to the Templates categories list on the left.
In the left panel, under the Microsoft Office Online heading, click “Business cards.”
Each category contains dozens of templates. When you select “Business cards,” you see cards for just about every industry on earth—except English Novelist (Figure 5-11).
Figure 5-11. Use the New Document box to see previews of templates before you download them for use. If you click one of the categories at left, then you see thumbnails and descriptions. Click a thumbnail to see a larger version in the preview window at right. Like what you see? Click the Download button.
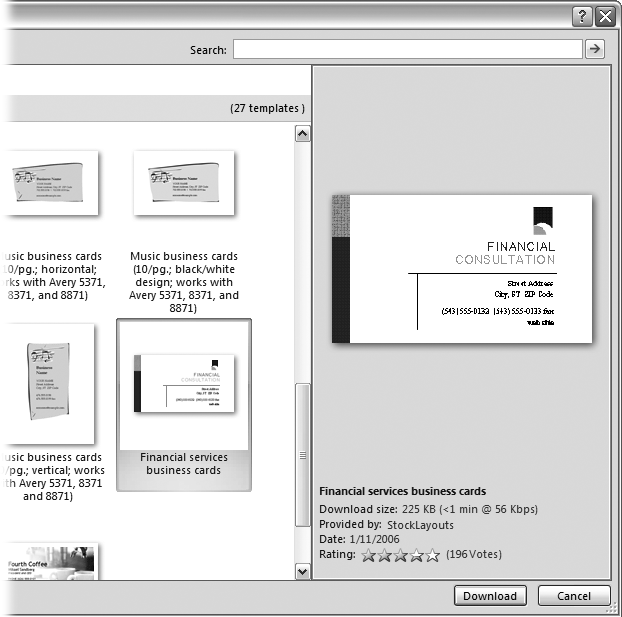
Scroll down the middle panel, and then click the “Financial services business cards” template to preview it in the rightmost panel.
The preview shows how your document will look. It creates 10 cards per page when you print on a full-sized sheet. You’ll find some additional details about the card below the preview panel. Note the file size is 225 KB. Even a 56 Kpbs (slow dial-up Internet access) takes less than a minute to download this template.
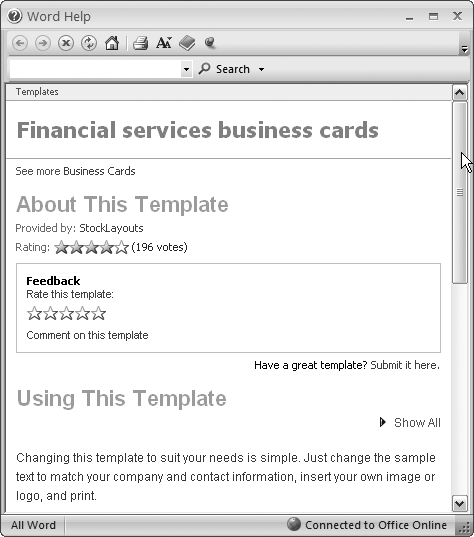
At bottom is a rating showing that this particular design has received four out of five stars, according to votes from 196 people like you. The rating system is a way for you to learn if a certain template has been helpful to others. You can vote on this template, too, as described in Figure 5-12.
In the middle panel, double-click the template to start the download.
If all goes well, then you see an alert box telling you that the download is taking place (Figure 5-13). When the download is complete, Word opens a new document based on the template.
Replace the boilerplate text with your own text.
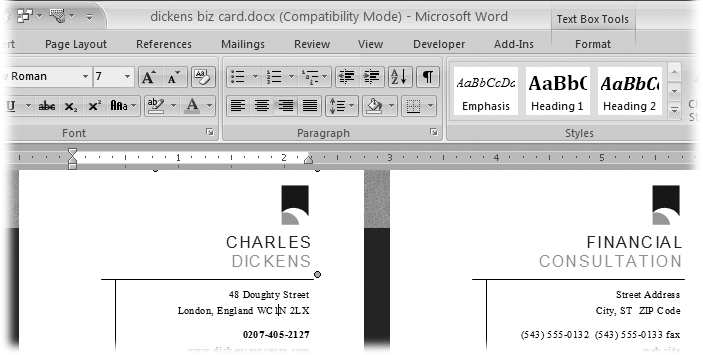
As with any template, you need to replace the boilerplate text with your own information. Figure 5-14 compares the newly inserted text next to the original template. In the case of the business cards, you need to copy (Ctrl+C) and paste (Ctrl+V) your text in each of the cards on the page.
Save the file with a new name.
When you’re happy with the changes, save your document in a folder where you can find it later.
Print the document.
When you’re ready, run the presses. You probably don’t want to print business cards on regular flimsy paper. Instead, you can find sturdier card stock at an office supply store. Avery, one company that makes labels and other forms, has several products for business cards including some with micro-perforated edges that give you a clean, professional result.
Using a template that’s already on your computer isn’t much different than using one of the templates from Microsoft Office Online (Figure 5-15). After you open the New Document box (Alt+F, N), click Installed Templates at the top of the left panel. The middle panel shows you thumbnails of all templates on your computer. (You won’t find as much variety here as you get online.)
You can preview the installed templates just like you did the online counterparts. Click a template thumbnail to preview it in the right panel. Using an installed template works exactly the same as using one from Microsoft Office Online, as described in the previous section, except that you skip the download process. Just double-click the template to open a new document from it, and then get to work as described starting in step 5 on Using Installed Templates.
After you’ve used a template, the next time you start a new document, you’ll see the template’s name in the Recently Used Templates list (Figure 5-16). The templates that you use most frequently end up as permanent members of this list—how’s that for handy?