
![]()
Migrate MongoDB Database to Cloud
In this chapter, you’ll see how to migrate a MongoDB database from your local computer to two cloud platforms, MongoHQ and MongoLab. Cloud computing typically means that hardware and software resources are available as services over a network (usually, the Internet).
I’ll show you how to migrate the MongoDB eshop_db database developed in Chapter 7 to the cloud, but you can use any other database as long as you follow the steps in order. It’s extremely easy to adapt the process to any other MongoDB database.
Migrating the MongoDB Database to the MongoHQ Cloud
The first cloud computing platform I’ll present is MongoHQ ( www.mongohq.com/home ). When you access this link, you should see something like what’s shown in Figure 9-1.
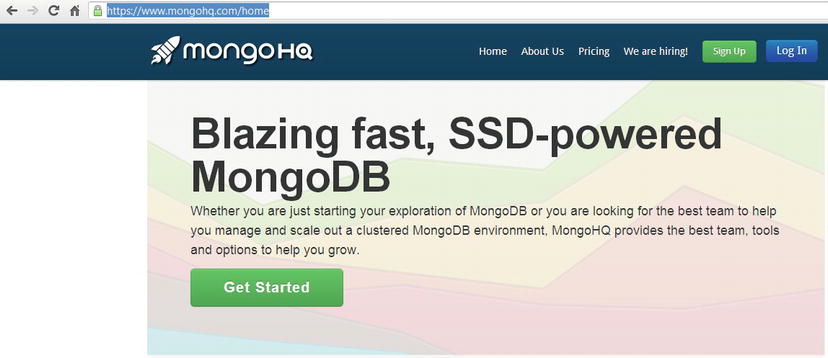
Figure 9-1. MongoHQ cloud platform—the home page
Suppose you have a MongoDB database on a local computer (for example, the eshop_db database) and you want it to run on the MongoHQ cloud platform. Here are the steps you need to follow:
- To create a free account, first press the Sign Up button. You’ll see a simple form like the one in Figure 9-2. Fill out the form and create the account (for this exercise, you can skip the credit card information).

Figure 9-2. MongoHQ cloud platform—creating a new account
- Use these credentials to authenticate yourself in the MongoHQ system. Enter your e-mail address and password and press the Sign In button, as shown in Figure 9-3.
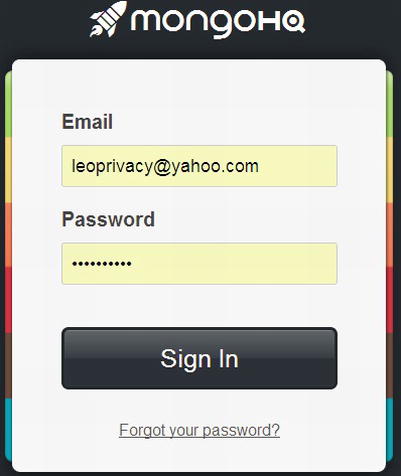
Figure 9-3. MongoHQ cloud platform—logging in
- After you log in, you’ll see the New Database panel, where you can choose a database type. For testing purposes, you can choose a free database, such as Sandbox or Azure Sandbox. Once you select a database type, additional information will be provided below it. As you can see in Figure 9-4, I chose Sandbox.

Figure 9-4. MongoHQ cloud platform—choosing the Sandbox database type
- After selecting the database type, scroll down and locate the Name your database input text field. Type the name of the MongoDB database exactly as you want it to appear in the cloud (see Figure 9-5). Then press the Create Database button and wait until the empty database is prepared for you.

Figure 9-5. MongoHQ cloud platform—naming your MongoDB database
- After a few seconds, the database should be ready. A popup will inform you that the database is empty, but you can copy an external database or a MongoHQ database or start creating collections. In addition, the popup displays the information you need to connect to the database either from the MongoDB shell or by using a MongoDB URI (see Figure 9-6). The MongoDB URI is specific to each user, which means you have to adjust each command to your own URI.

Figure 9-6. MongoHQ cloud platform—the MongoDB database is ready to use
- Right now, we don’t need this popup. To the left of it, locate the Admin tab under the Collections tab and open it. The Admin wizard provides all the operations available for working with the databases, including those from the popup.
- Now you have to create at least one user for your database. To do so, switch to the Users tab and fill in the fields, as shown in Figure 9-7. Press the Add user button.
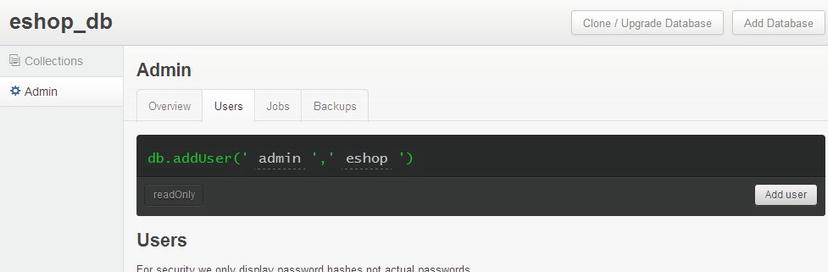
Figure 9-7. MongoHQ cloud platform—create a new user for the MongoDB database
- If the user is successfully created, you’ll see the entry, as shown in Figure 9-8.

Figure 9-8. MongoHQ cloud platform—the new user document
- So far, so good! Now you can export the eshop_db collections from your local computer to the brand-new eshop_db database created in the MongoHQ cloud. You can accomplish this task by using two MongoDB utilities: mongodump and mongorestore. Both are available as executables in the { MongoDB_HOME }/bin folder. Start the MongoDB server, open a shell command, and navigate to the /bin folder.
 Note You can find more information about the mongodump and mongorestore utilities in the MongoDB Manual at http://docs.mongodb.org/manual/reference/mongodump/ and http://docs.mongodb.org/manual/reference/mongorestore/.
 - Use the mongodump utility to export the eshop_db database content in binary format (you can get either JSON or CSV as the output format using the mongoexport command). The output of this utility should be stored in a separate folder. I specified a folder named eshop_tmp within the { MongoDB_HOME} folder (it will be automatically created). Here’s the complete command (shown also in Figure 9-9):
mongodump -h localhost:27017 -d eshop_db -o ../eshop_tmp
Figure 9-9. Exporting the eshop_db database in binary format (still on the local computer)
- The database, in binary format, can now be imported to the cloud using the mongorestore utility. Basically, mongorestore is used to import the content from a binary database dump into a specific database. Here’s the command (also shown in Figure 9-10):
mongorestore -h linus.mongohq.com:10039 -d eshop_db -u admin -p eshop ../eshop_tmp/eshop_db
Figure 9-10. Importing eshop_db database in the MongoHQ cloud
Each collection was successfully imported. You can see the names of the collections by navigating to the Collections tab, as shown in Figure 9-11.

Figure 9-11. The collections of eshop_db database listed in MongoHQ
Mission accomplished! The eshop_db database is in the MongoHQ cloud.
Notice that there are many other tasks you can accomplish in the Admin wizard: delete a database, clone a database, create a collection, and so on. Each task is pretty intuitive and assisted by friendly MongoHQ interfaces.
Migrating the MongoDB Database to the MongoLab Cloud
MongoLab (https://mongolab.com/welcome/) is the second cloud computing platform I’ll present in this chapter. When you access the link, you should see something like what’s shown in Figure 9-12.

Figure 9-12. MongoLab cloud platform - start page
We’ll start again from a MongoDB database, such as the eshop_db database, on a local computer. Again, you want to make it run on the cloud. Here are the steps to do this using MongoLab:
- To create a free account, first press the Sign Up button. You’ll see a simple form, such as the one in Figure 9-13. Fill out the form and create the account.

Figure 9-13. MongoLab cloud platform—creating a new account
- Use these credentials to authenticate yourself in the MongoLab system. Fill in the username and password and press the Log In button, as shown in Figure 9-14.
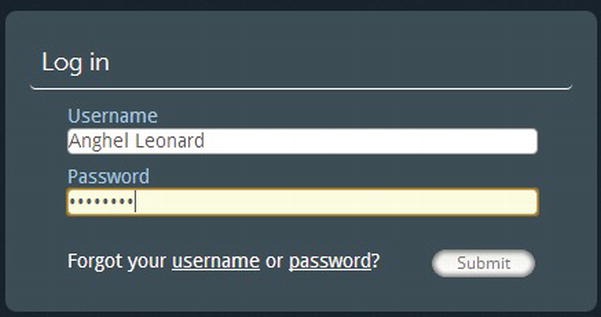
Figure 9-14. MongoLab cloud platform—log-in form
- After logging in, you’ll see the Databases administration panel where you can create new databases, remote connections, and dedicated clusters. For testing purposes, you can create a new MongoDB database by pressing the Create new button in the Databases section (see Figure 9-15).

Figure 9-15. MongoLab cloud platform—Databases section
- Next, you need to fill in some fields and make some selections in the Create Shared Plan database wizard. Start by typing the database name as eshop_db, then select the cloud provider. I just accepted the default. Select the free, shared plan because it’s perfect for testing purposes. Finally, create at least one user for this database by filling in the fields in the New database user section. I used admin for the username and eshop for the password. Press the Create database button (see Figure 9-16).

Figure 9-16. MongoLab cloud platform—creating a new MongoDB database
- After a few seconds the database is created and listed in the Databases section, as shown in Figure 9-17:

Figure 9-17. MongoLab cloud platform—the eshop_db database listed in MongoLab
- Select this database to see further details, such as the connection information, collections, system collections, users, stats, and so on (see Figure 9-18). This information is specific to your account.
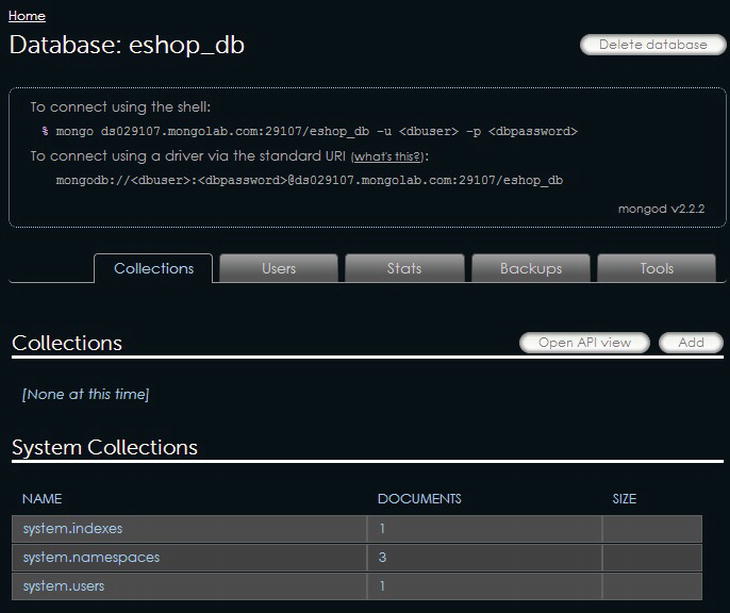
Figure 9-18. MongoLab cloud platform—the eshop_db database details
You’re ready to import the eshop_db database content to the MongoLab cloud. Just as you did earlier, you can use the mongodump and mongorestore utilities. Assuming you’ve already used mongodump to export the database content to binary format, all you need to do is call mongorestore based on the connection information listed under the database name, as shown in Figure 9-18. Here’s the mongostore command (also shown in Figure 9-19):
mongorestore -h ds029107.mongolab.com:29107 -d eshop_db -u admin -p eshop ../eshop_tmp/eshop_db

Figure 9-19. Importing the eshop_db database content in MongoLab cloud
A quick page refresh will reveal the imported collection under eshop_db, as in Figure 9-20.

Figure 9-20. The eshop_db database collections listed in MongoLab
Mission accomplished! The eshop_db database is now in the MongoLab cloud.
Notice that the Tools wizard provides detailed information about importing and exporting data in MongoLab. And in addition to mongodump and mongorestore, you can also access the mongoimport and mongoexport utilities.
Connecting to the MongoHQ or MongoLab Cloud Database
You can easily test the connection to the eshop_db database deployed to the MongoHQ or MongoLab cloud as long as you correctly integrate the connection data (host, port, user, and password) into the application context. The application in Listing 9-1 is based on the MongoDB Java driver. It connects to the eshop_db database and displays the collection sizes (the number of documents). Adjust the MONGO_* constants to correspond to yours if the provided values don’t work.
Listing 9-1. .Testing the Connectionto the eshop_db Database
package testcloudauth;

import com.mongodb.DB;
import com.mongodb.DBCollection;
import com.mongodb.Mongo;
import com.mongodb.MongoException;
import java.net.UnknownHostException;

public class TestCloudAuth {

    //for MongoHQ
    private static final String MONGO_HOST_HQ = "linus.mongohq.com";
    private static final int MONGO_PORT_HQ = 10039;
    private static final String MONGO_USER_HQ = "admin";
    private static final String MONGO_PASSWORD_HQ = "eshop";
    private static final String MONGO_DATABASE_HQ = "eshop_db";

    //for MongoLab
    private static final String MONGO_HOST_LAB = "ds029107.mongolab.com";
    private static final int MONGO_PORT_LAB = 29107;
    private static final String MONGO_USER_LAB = "admin";
    private static final String MONGO_PASSWORD_LAB = "eshop";
    private static final String MONGO_DATABASE_LAB = "eshop_db";

    public static void main(String[] args) {
        try {

            Mongo mongo_hq = new Mongo(MONGO_HOST_HQ, MONGO_PORT_HQ);
            DB db_hq = mongo_hq.getDB(MONGO_DATABASE_HQ);
            Mongo mongo_lab = new Mongo(MONGO_HOST_LAB, MONGO_PORT_LAB);
            DB db_lab = mongo_lab.getDB(MONGO_DATABASE_LAB);

            boolean auth_hq = db_hq.authenticate(MONGO_USER_HQ,
                                           MONGO_PASSWORD_HQ.toCharArray());
            boolean auth_lab = db_lab.authenticate(MONGO_USER_LAB,
                                           MONGO_PASSWORD_LAB.toCharArray());

            if (auth_hq) {

                System.out.println("Connected at MongoHQ:");
                DBCollection collection_categories_c_hq = db_hq.getCollection("categories_c");
                DBCollection collection_customers_c_hq = db_hq.getCollection("customers_c");
                DBCollection collection_inventory_c_hq = db_hq.getCollection("inventory_c");
                DBCollection collection_products_c_hq = db_hq.getCollection("products_c");
                DBCollection collection_orders_c_hq = db_hq.getCollection("orders_c");
                System.out.println("TOTAL DOCUMENTS IN categories_c (MongoHQ):" +
                                              collection_categories_c_hq.count());
                System.out.println("TOTAL DOCUMENTS IN customers_c (MongoHQ):" +
                                              collection_customers_c_hq.count());
                System.out.println("TOTAL DOCUMENTS IN inventory_c (MongoHQ):" +
                                              collection_inventory_c_hq.count());
                System.out.println("TOTAL DOCUMENTS IN products_c (MongoHQ):" +
                                              collection_products_c_hq.count());
                System.out.println("TOTAL DOCUMENTS IN orders_c (MongoHQ):" +
                                              collection_orders_c_hq.count());
            } else {
                System.out.println("Sorry, connection to MongoHQ (eshop_db database) failed ...");
            }

            if (auth_lab) {
                System.out.println("Connected at Mongolab:");
                DBCollection collection_categories_c_lab = db_lab.getCollection("categories_c");
                DBCollection collection_customers_c_lab = db_lab.getCollection("customers_c");
                DBCollection collection_inventory_c_lab = db_lab.getCollection("inventory_c");
                DBCollection collection_products_c_lab = db_lab.getCollection("products_c");
                DBCollection collection_orders_c_lab = db_lab.getCollection("orders_c");
                System.out.println("TOTAL DOCUMENTS IN categories_c (Mongolab):" +
                                              collection_categories_c_lab.count());
                System.out.println("TOTAL DOCUMENTS IN customers_c (Mongolab):" +
                                              collection_customers_c_lab.count());
                System.out.println("TOTAL DOCUMENTS IN inventory_c (Mongolab):" +
                                              collection_inventory_c_lab.count());
                System.out.println("TOTAL DOCUMENTS IN products_c (Mongolab):" +
                                              collection_products_c_lab.count());
                System.out.println("TOTAL DOCUMENTS IN orders_c (Mongolab):" +
                                              collection_orders_c_lab.count());
            } else {
                System.out.println("Sorry, connection to Mongolab (eshop_db database) failed ...");
            }
        } catch (UnknownHostException | MongoException e) {
            System.err.println(e.getMessage());
        }
    }
}
If the connection is successfully established, the output will be similar to what you see in Figure 9-21.

Figure 9-21. Output of the TestCloudAuth application
The complete source code for this application, called TestMongoHQAuth, is available in the Apress repository. It comes as a NetBeans project and was tested for the presented cases.
The same connection can be configured in Hibernate OGM via JPA or Hibernate Native API. For example, the persistence.xml file can be modified to connect to the eshop_db database under MongoHQ, like this:
...
<property name="hibernate.ogm.mongodb.database" value="eshop_db"/>
<property name="hibernate.ogm.mongodb.host" value="linus.mongohq.com"/>
<property name="hibernate.ogm.mongodb.port" value="10039"/>
<property name="hibernate.ogm.mongodb.username" value="admin"/>
<property name="hibernate.ogm.mongodb.password" value="eshop"/>
...
Summary
In this chapter, you saw how to migrate a MongoDB database from your local computer to the MongoHQ and MongoLab cloud platforms. In both cases, I used free accounts, and I exported the binary version of the eshop_db database modeled in Chapter 7 to the cloud. I used the MongoDB mongodump utility to obtain the binary version of this database, and the export was achieved using the MongoDB mongorestore utility. Moreover, you saw how to test the connection and do some queries against each cloud provider from a Java application. The application uses the Java MongoDB driver, but I also showed you how to configure the same connection using the JPA persistence.xml file.