
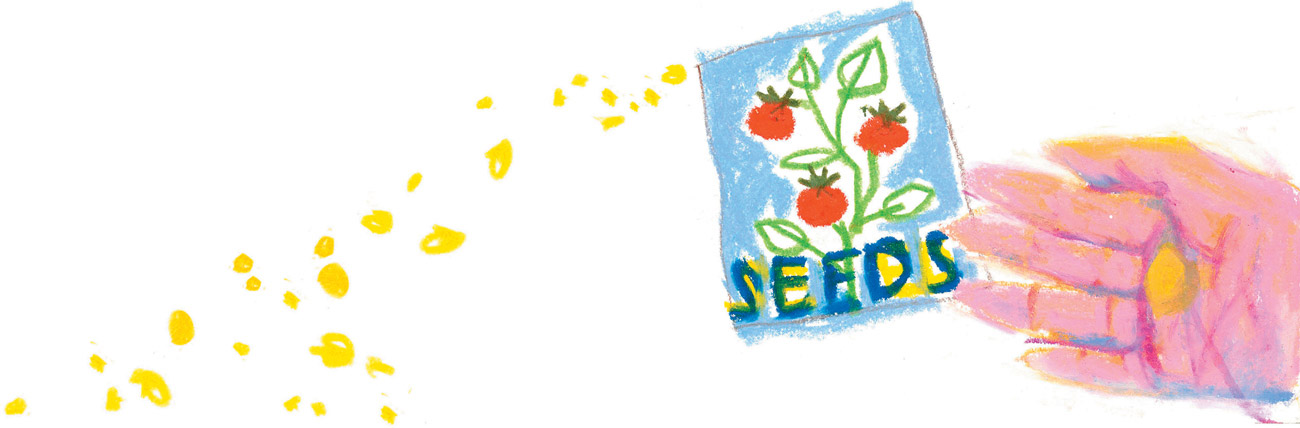
Seeds, by Kati Nawrocki, marker and crayon
As with any new journey that we take in our lives, it is important to prepare. Now that we’ve decided to get started on our One Drawing a Day adventure, the next step is to assemble the tools we’ll need to complete the exercises in this book. You can purchase them as you go along or take an afternoon at an art supply store and go on one big buying spree! Be sure to compare the prices in your local store with the prices you can find in online resources to get the best deal.
For the exercises in this book you will need the following: PENCILS Choose a range of at least six graphite pencils, from soft (6B) to hard (3H). Along with the pencils, it would be good to pick up a small sharpener and a kneaded eraser. You can also buy a small, battery-operated electric sharpener to use both at home and on location.
CHARCOAL Pick up a few charcoal pencils and a small box of compressed charcoal to use for some of the exercises in chapter two. You may also find a box of Conté crayons to be an interesting variation on the charcoal line. You can purchase small, pointed smudge sticks to use in addition to your finger for smearing the charcoal.
A small spray can of workable fixative will be useful to keep those charcoal and pastel drawings on the page; be sure to use the spray fix in a well-ventilated area, or outdoors, and don’t breathe in the fumes. Hairspray works well in a pinch.
FOUNTAIN PEN A fountain pen that uses cartridges is more convenient, especially for the location exercises we will be doing, although you can buy one with a refillable reservoir if you prefer. The prices of pens vary widely: A pen with a gold tip will be more flexible but also more expensive. If you are new to this, you might want to begin with a less expensive model or even buy several disposable fountain pens to play with. You can always go for a better grade of fountain pen once you are more familiar with it and have a better idea of what you prefer in the pen’s quality.
INK You’ll need at least one bottle of loose black ink, either waterproof or water soluble. The choice is yours; waterproof ink is thicker and may dry more quickly. For refillable fountain pens, always use water-soluble ink. This protects the pen’s interior and point from hardened ink residue. You may also want to invest in a professional pen-cleaning solution; a small jar is fairly inexpensive and will help you keep your pens in good shape.
NIB HOLDER AND NIBS You’ll need a crow quill or calligraphy dip pen and a range of nibs. Buy at least two holders and an assortment of nib sizes and styles to experiment with.
BAMBOO PENS A bamboo pen is carved from a piece of bamboo and gives a nice, graphic line. Buy at least three different thicknesses to play with.
WATERCOLOR PAINTS Purchase a small watercolor pan set and several individual tubes of watercolor paint. Choose a pan set that has a range of at least 12 colors; it doesn’t need to be expensive. When choosing your watercolor tubes, try a set or pick your own colors out. Choose at least one shade of each of the primary and secondary colors for mixing, and a few that appeal to you visually, to start (primary colors: red, yellow, blue; secondary colors: violet, orange, green). Purchase a tube of black and one of white, as well.
WATERCOLOR BRUSHES Buy a minimum of two: one small and one large. Buy a size in-between if you have the extra funds. Natural sable is my personal favorite, but the price can be prohibitive. Don’t hesitate to choose student-grade brushes to begin with: You can always upgrade them at a later time. It is also a good idea to purchase a small spray bottle that you can fill with water and spray mist your watercolor paints and/or paper during the process of painting.
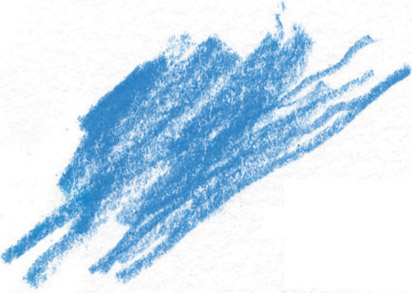
CRAYONS AND MAGIC MARKERS A small box of children’s crayons and a small selection of thick children’s Magic Markers will be used for one of the color exercises in the book. You can pick these up very inexpensively at most stationery stores or supermarkets.
WATERCOLOR CRAYONS It’s a good idea to have a set of water-soluble crayons to work with. Buy a small tin of at least twelve, or select your own colors to buy individually and make a set in a small plastic box.
PASTELS It would be good to purchase a small set of soft pastels in stick form: A box of at least twenty-four colors will give you a good range. In addition you may choose to purchase some pastels in pencil form; these can be really useful on location.
COLORED PENCILS A small set of colored pencils is also a must for these exercises. Try a few brands to find the softness you like; I prefer a softer line, but your taste may run to a harder one. You can buy these pencils in sets, but it is more personal if you choose the individual colors yourself and create a small kit in a pencil case. At least 15 pencils in different shades of the primary and secondary colors will give you a good range; you may also want to include a white and black pencil and a few grays. As a variation, you might purchase a few water-soluble pencils to throw into the mix.
OIL CRAYONS Oil-based grease crayons are terrific to work with, as they give an entirely different feel to your work than the water-soluble ones. Choose a set of at least twelve or select colors to buy individually and make your own set in a small plastic bag. You might also purchase a small container of turpenoid (a turpentine substitute) and an inexpensive brush to achieve some more painterly effects with these crayons. The coverage is very rich, and so is the color!
PAPER A simple white drawing paper that takes both wet and dry media will work best for most of the exercises in this book. Occasionally, special charcoal or watercolor papers are recommended—you can often buy these papers by the sheet at your local art store or online. See if you like the paper before you invest in a large pad of it! A small (9” × 12” [23 × 30 cm]) pad of tracing paper will come in handy as well.
EXTRAS Scissors, tape, and a small glue stick will be useful for the collage exercises in this book, as well as a small craft knife for fine cutting. Some of the exercises use the computer as an alternate to traditional cut and paste. If you have computer access, you might want to try a free online trial of a graphics program such as Photoshop to play with during our six-week journey. (If you don’t have computer access, traditional cut and paste will work just fine.)

Fountain pen, dip pen, bamboo pen, brush
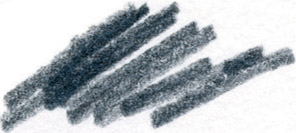
Graphite

Charcoal
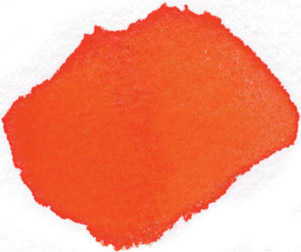
Watercolor
Colored pencil

Pastel
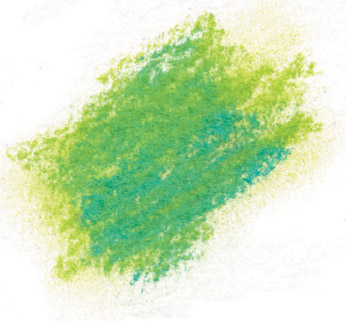
Oil pastel
Plastic bags and small jars with screw-top lids will come in handy for location work.
OTHER OPTIONS Not necessary for the exercises in this book, but you might want to try gouache paints, pan pastels, watercolor dyes, and oil sticks. These are for when you’ve completed the six weeks and are eager to try something else! The best part of working with art is that there are as many options as there are ideas.
Where to Work: Studio and Location
For the exercises in this book, you will be asked to work both in your home studio and on location. Here are some suggestions for setting up your home working space as well as a location-ready artist’s kit.
You don’t need to have a separate room in the house for your art studio, although if you do, that’s a luxury you should take full advantage of. It would be ideal, however, to have a small space where you can set up a workstation on a permanent basis. This keeps you from having to set up the space each time you want to work and take it down each time you’re finished. If you can’t afford to turn over a part of your living space to art, you can use your dining room or kitchen table. If you do that, though, it’s best to have a small box or bag that holds everything you need, including a plastic tablecloth, so your setup and takedown time will be minimal. Too much complication in your art setup will create an open door for procrastination to stroll through!
TABLE You’ll need a sturdy table to work on. Choose either a drafting table that tilts or a solid table with a flat surface. You’ll be painting and drawing on this surface, so think in terms of something that is easy to clean. Keep it simple, and don’t hesitate to look at student-grade furniture. You’ll also want to invest in a small self-healing cutting board to cut collage materials on without disturbing the surface of your drawing table. Most art supply stores carry them.
STORAGE Next to the table you will want a taboret or small cabinet to hold your art supplies and also provide a surface to put your tape dispenser and current project supplies on. You’ll also need small trays or boxes for crayons and jars or ceramic mugs to hold your pens, pencils, and brushes and a small jar for ink and one for water. Having a roll of paper towels stored in your work area is a good idea as well.
LIGHT Make sure your table is positioned to receive a good amount of light, either near a window or under a strong overhead light. In addition, you’ll need a small clamp-on lamp to focus even more light on your subject. Again, it is not necessary to spend a lot: An inexpensive student-grade lamp will do just fine.
SEATING Get a chair that you will be comfortable in to accompany your worktable. You don’t want to be squirming around and uncomfortable while creativity is happening!
If your work surface is the dining room or kitchen table, be sure to clear it off completely before setting up your work materials. Nothing distracts from our purpose more than mail, or yesterday’s leftovers, lying next to our art page.
Create a location kit. Use small plastic bags to put into a shoulder bag or get a small art-supply box—whichever you will be more comfortable with. Most art stores sell a small art-supply box with a handle, or you can use a fisherman’s tackle box or toolbox. My preference is to put my materials in plastic bags and throw them into a shoulder bag, as it feels more spontaneous. Also, I can easily adjust what supplies I need for a specific situation rather than lug all of my supply options in a tackle box each time. But your personal preference should rule here—you want to be as comfortable on location as you can be.
You’ll also need a drawing board and a few clips for attaching your paper or sketchbook to the board. A small Masonite board, about 17” × 11” (43 × 28 cm), should give you a nice mobile drawing surface to lean on when working, even those cases in which you may be forced to draw standing up.
Also extremely useful on location is a water pen—a small brush with an empty barrel to hold water for painting. It’s much more convenient and less likely to spill than a jar of water. Of course, if you prefer to use the jar, get a small plastic one that has a tight screw-on lid.
Fountain pens are generally more portable and convenient on location than a bottle of ink and a dip pen, but if you prefer the dip pen, make sure to put your ink in a jar with a lid that’s tight and an extra plastic bag for protection.
The rest of your supplies should be packed either in your supply box or separately in plastic bags; neatly, so you know where to find everything once you are out in the field. A few folded-up paper towels thrown in your bag for good measure will never cease to be of use on location.
Here are other things to consider packing in your location drawing kit: fingerless gloves and ear muffs for cold weather, a small clear rain poncho and portable umbrella for rainstorms, sunscreen, a bottle of water to drink and also to use for your art in a pinch, some small snacks, a little container of hand sanitizer, tape, and a business card that lets people know you are a location artist (in case you need permission to draw somewhere, or meet an admirer of your work).
You might also consider purchasing a small foldable stool to sit on. Many sporting goods stores make these for campers: It’s nice to always have the best seat in town! Make sure you buy a light one, as supplies can get heavy when you are carrying them around for hours.
Two other luxury options are a small digital camera for image backup and a small digital tape recorder to record your own thoughts on location, the words of someone you are drawing, or the ambient noise of a place. Sound is as much a part of the location experience as the visual. Lastly, be sure to bring a few tissues and Band-Aids for emergencies. Location work can be a little like camping—you never know what to expect!

Public painting event, location drawing by Veronica Lawlor, ink, watercolor, and crayon

Bethesda Terrace, Central Park, by Eddie Peña, pen and ink with wash