Blogs and wikis are two characteristic elements of interactive information shared on the Internet that is commonly referred to as Web 2.0. Blogs and wikis allow you to create and share information collaboratively on the web.
A blog is a site where you can share your ideas and work information in an informal format. Blogs provide a space where your colleagues can comment on your entries and have a dialogue with you about the ideas you share. Like a diary, the contributions to a blog are also dated records that show the development of ideas over time.
With SharePoint 2010’s blogs, you can add categories to blog entries to make it easier to find items on a common topic. Readers of a blog can add tags, alerts, and send links to inform others of items they find of interest on a blog. Tools to manage a blog are automatically provided when you create a blog.
Wikis are sites where information about a topic is collected from many sources and contributors. The most familiar example is the online encyclopedia, Wikipedia. The information can continually be updated and corrected with new information.
SharePoint wikis provide sites where the knowledge of an organization can be collected and organized. The tools in SharePoint for managing wikis allow you to create:
In this chapter, will see how you can create and customize your blog and wiki sites. We will discuss how you can allow others to contribute to the sites, and we will also take a look at how to manage your sites.
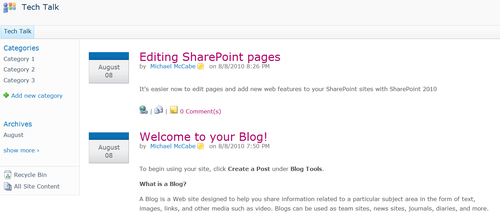
A blog is usually written by one author. The blog contains posts often made on a daily basis with the posts appearing in reverse chronological order.
Blogs can be used to share experiences, opinions, best practices, or lessons learned. The blog often takes on the character of its author, sometimes expressing a distinct point-of-view.
People who have permission to read and contribute to the blog can make comments on the author’s posts. Posts and comments are themselves lists that can be managed on the blog.
We will take a look here at creating a blog, contributing posts and comments, and managing blog lists.

You can contribute to your blog with posts. Others with permission can manage blog posts. Posts can be added by anyone with permission to read the blog, or permission can be given to post anonymously.
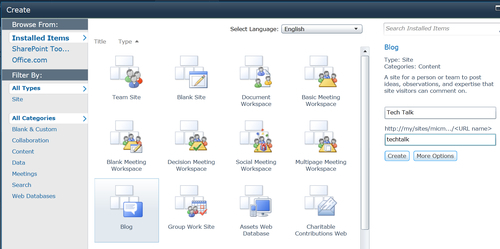
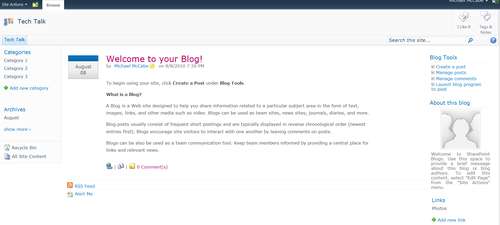
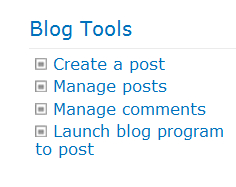
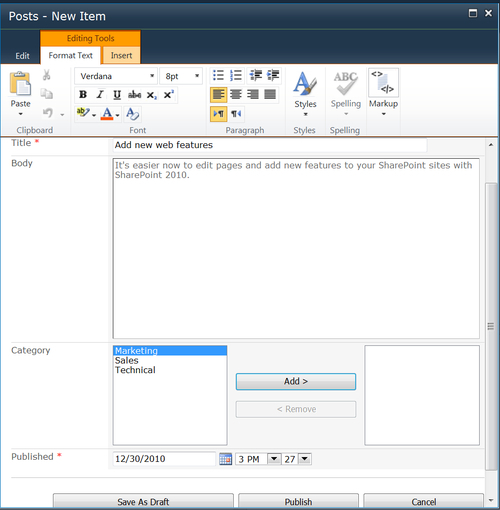
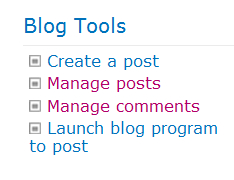
To create a post, first look for the Blog Tools list on your blog site, and then follow these steps:
Tip
Use Microsoft Word to create blog posts
By selecting Launch blog program to post from the Blog Tools menu, you can launch Microsoft Word. In Word, you will be able to use all of its formatting and style tools to enhance the look of your blog posts.
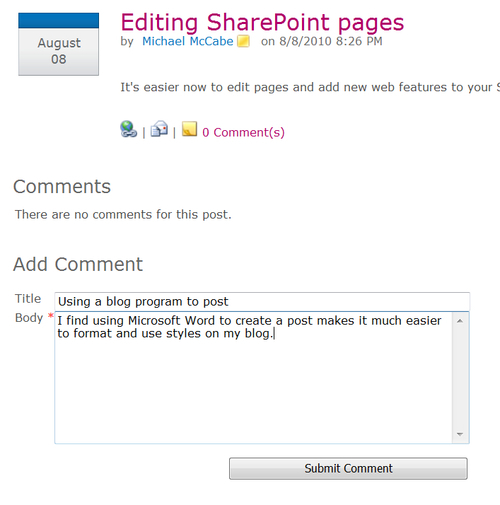
When someone adds a comment to a post, a comment count will appear below the original post. Comments can be read by clicking on Comment(s).
You can manage your blog posts and comments by choosing the appropriate links on the Blog Tools list.
For example, the Manage posts link opens the list of posts on your blog.
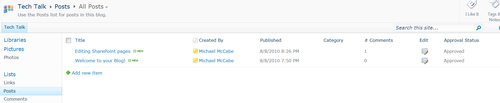
By clicking a link in the Edit column, you can open a form to edit your post.
This procedure is the same for managing comments. You would simply select Manage comments from the Blog Tools list, instead of Manage posts.
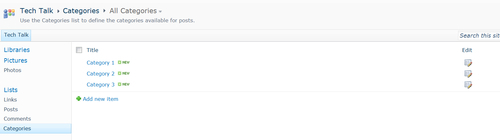
Categories are another easy way to manage your blog posts. Others can read posts grouped together in common categories, making it easier to see all contributions related to one topic.
Categories are kept in a list on a SharePoint blog. So, to edit categories you only need to click on the link under lists, and then edit or add categories as you need them.
You can then apply categories when you create or edit a post. As shown in the following screenshot, you can add or remove categories from the blog’s category list in the dialog box that appears.
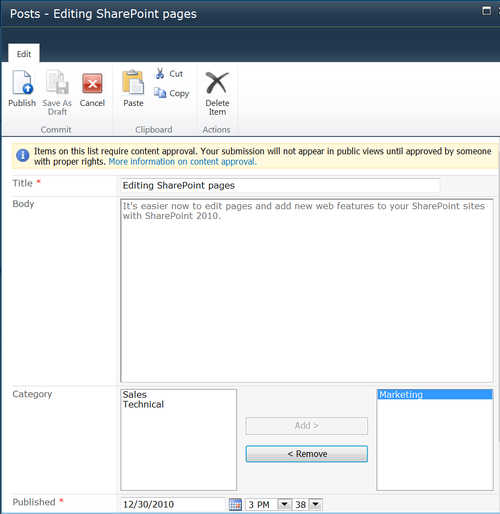
In the preceding screenshot, the information banner points out that the site owner has set up the site so that a site manager must approve posts to the site. Once a manager approves the post, it will be published to the site so others can read it.
Tagging is another tool for managing blog posts as well as other SharePoint sites. You can add a tag to a blog to help you remember links and organize sites. You can click the I Like It tag on a site, or click Tags & Notes to create your own tag. Your tags will be saved on your My Site for easy reference.
