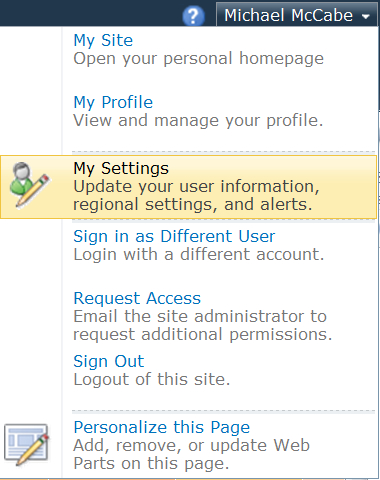
To create an alert, select the drop-down menu next to your name on your SharePoint site, as shown in the following screenshot, and choose My Settings:
On the screen that appears, you will see your user information for the site with three links:
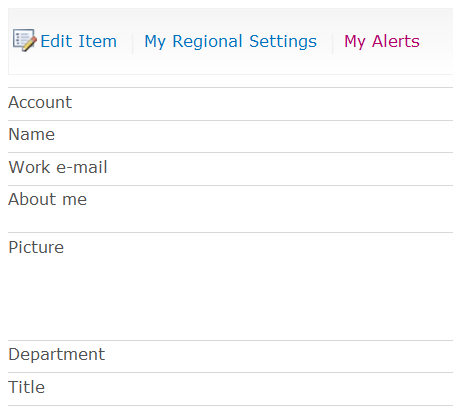
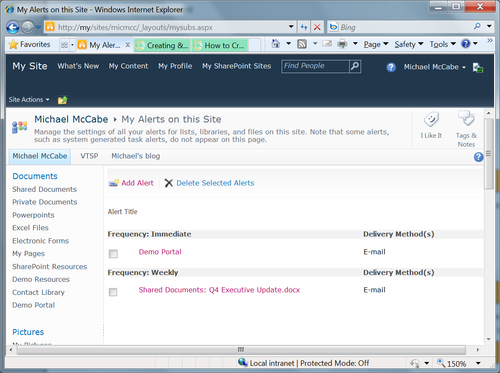
Selecting My Alerts will list any alerts you have already created. On that page, you will see two options:
- Add Alert
- Delete Selected Alerts
By choosing Add Alert and selecting the list or document library for which you want to create an alert, you open a page where you can select settings for the alert.
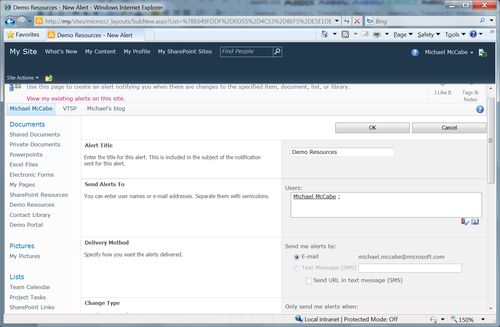
These settings include:
- Alert Title: By default, this will be pre-populated with the name of the document, list, or library for which you are creating the alert.
Tip
It is a good practice to change this so that the Alert Title clearly indicates the subject of the alert for others to easily understand when receiving alert notification. So, for example, change a default title such as Demo Resources to Alert: Changes to 'Demo Resources' library.
Note
Alerts can only be sent to known users; that is, users listed in Active Directory or a SharePoint user.
- When to Send Alerts: Immediately, daily, weekly.
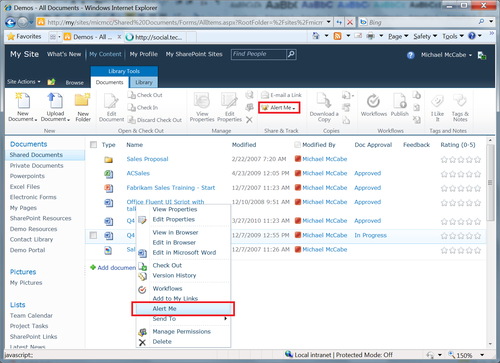
To add an alert to an individual document:
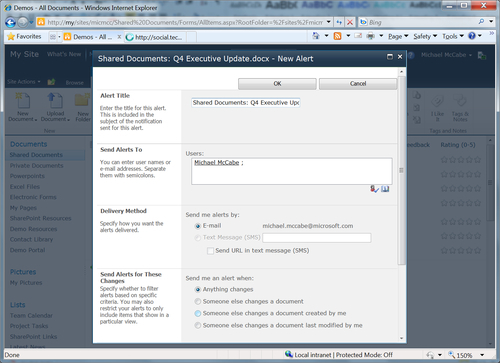
Then the dialog box to enter alert properties appears:
Tip
Notice the alert properties page opens as an overlay when you add an alert for an individual document, rather than opening a separate web page as is the case when you add an alert to a library or list.
The overlay opens quicker and provides the underlying view of the library or list where the document is stored.
Enter your selections with the options, as we described them previously for libraries. In this case, the alert will only apply to the individual document, not the entire library.