
Before any apps can be created, the development environment has to be set up and the software downloaded and installed.
Before we start creating any Android apps, we need to get our tools in place using the installer from Xamarin.
- Go to http://xamarin.com/download:

- Enter your details for registration.
- Click on the Download Xamarin for Windows or Download Xamarin for OS X links, depending on the operating system you are using.
- Once the download has completed, launch the installer, following the on-screen instructions. Setup will continue to download and install all the required components:

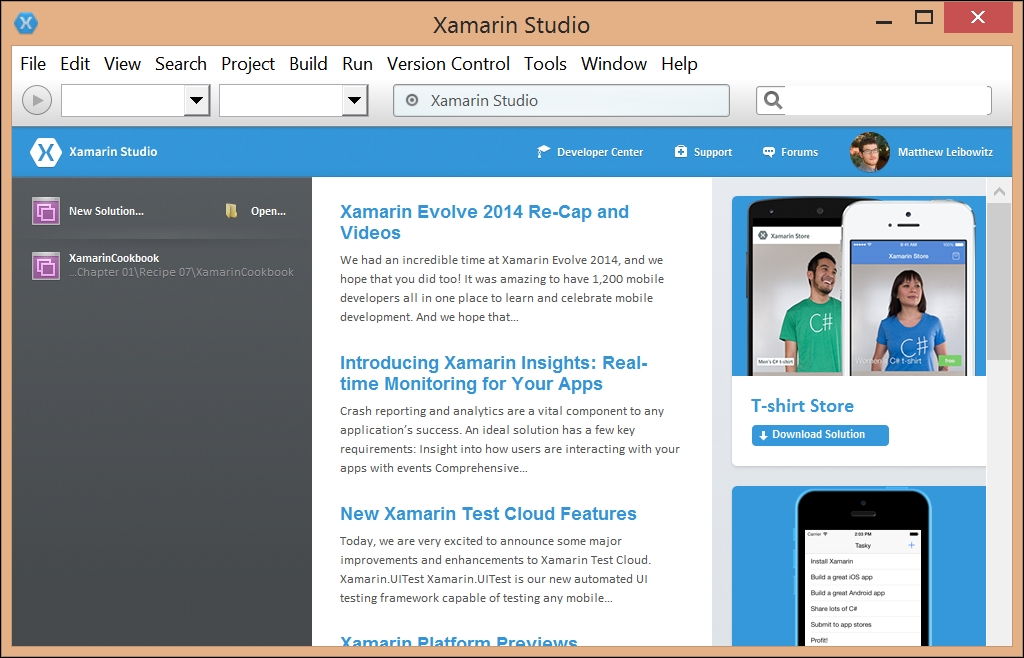
- Once the installer has finished, you should have a working installation of Xamarin Studio, the IDE designed for cross-platform development.
Creating Xamarin.Android projects is very simple!
- Open Xamarin Studio.
- Select File, then New, and then Solution…:

- Select C#, then Android, and then Android Application:
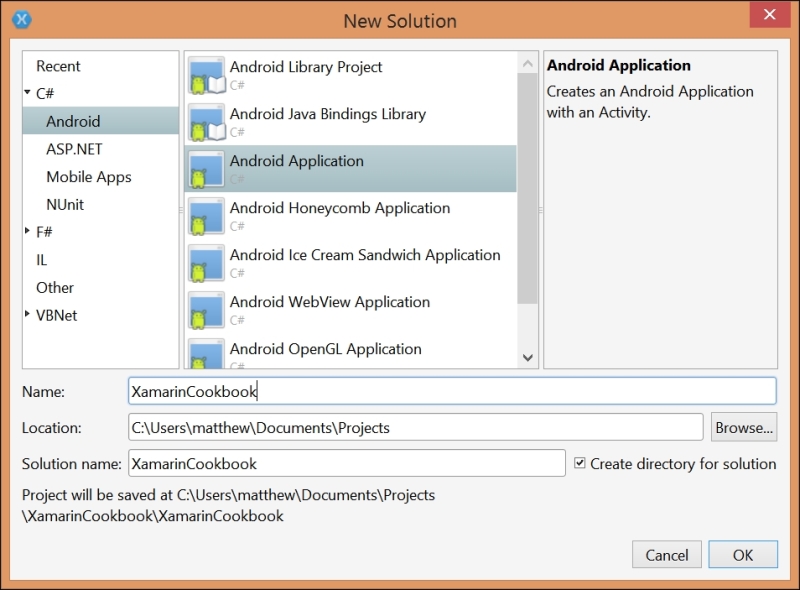
- Enter a name for your app, for example
XamarinCookbook. - Click on OK.
- We now have a fully functional Xamarin.Android app, which can be deployed to a device or an emulator.
- In the target device dropdown, select either an emulator or your device (if you have attached an Android device).
- Finally, click on Run and the app will install and launch.
Xamarin.Android allows us to write native Android apps using .NET and C# or F#. Xamarin.Android does not abstract or emulate any Android features. Rather, it is an alternate programming language available for the development of Android apps.
Some of the benefits of using Xamarin.Android are found in the small things. For example, if we are using Android Studio or Eclipse, we will have to make changes in AndroidManifest.xml. If we are using Xamarin.Android, we can do much of this work by using the familiar attributes.
To add the <activity> element into the manifest with Xamarin.Android, we add the [Activity] attribute on an activity as follows:
[Activity(
  Label = "My App",
  MainLauncher = true,
  Icon = "@drawable/icon")]
public class MainActivity : Activity
{
}
This will create a section in ApplicationManifest.xml at compile time, as highlighted in the following code:
<activity android:label="My App"
  android:icon="@drawable/icon"
  android:name="mynamespace.MainActivity">
  <intent-filter>
    <action android:name="android.intent.action.MAIN" />
    <category android:name="android.intent.category.LAUNCHER" />
  </intent-filter>
</activity>
If we want to add permissions to our app, all we need to do is add this:
[assembly: UsesPermission(Manifest.Permission.Camera)]
There are many other attributes that help us build the manifest file, such as the [Service] and [IntentFilter] attributes.