

First Day of Snow, by Michele Bedigian, charcoal pencil
DAY 24
“Those who know me and know my work will recognize the theme of the garden as a metaphor for paradise [home]. I remember eating strawberries, gooseberries, currants, plums, peaches, apples, and hazelnuts directly from the bush as a kid playing in our home garden. This page is part of an ongoing project on the history of feminism—notice the woman busy working the earth. It also makes me want to start a victory garden and eat freshly harvested collard greens!”—Kati
EXERCISE 24
Pick up some richly colored pastels and create a drawing of your home garden. If you live in an urban area, you might find out where there is a public garden you could draw in; most cities have at least one. Let the richness of the pastels affect your drawing. Look for color shapes and keep the design somewhat simplified, as Kati has done. You may or may not want to include the gardener! Choose a nice sunny day so you can experience the feeling of being in the middle of nature. Keep it loose: No need to get into a lot of tight details. Look at the broad shapes of the plants and put them down, then add leaf or vegetable shapes on top of that. It might make sense to start with the lighter colors and then build the darker shades on top. Feel free to use a cheaper white paper if more expensive textured paper inhibits you. The idea is to play with the pastels and experiment with the result.
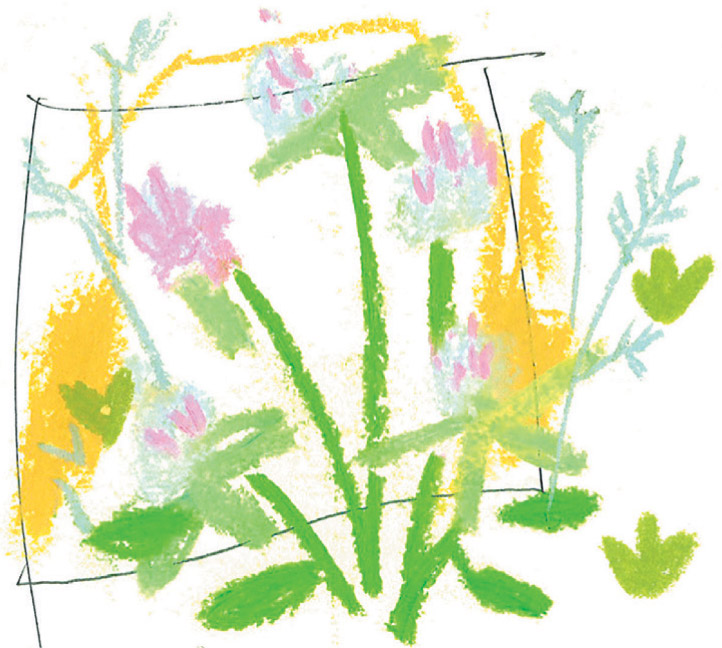
Clover, pastel
VARIATION
Try drawing individual plants. Use the pastels for line, shape, or a combination of both. Find out the names of the plants you’re drawing. If this is your own garden, these drawings might make nice tags to attach to produce that you give to family and friends.
Again, the key to this is playing and not worrying about the artistic outcome. Just relax and enjoy an afternoon spent in a garden.
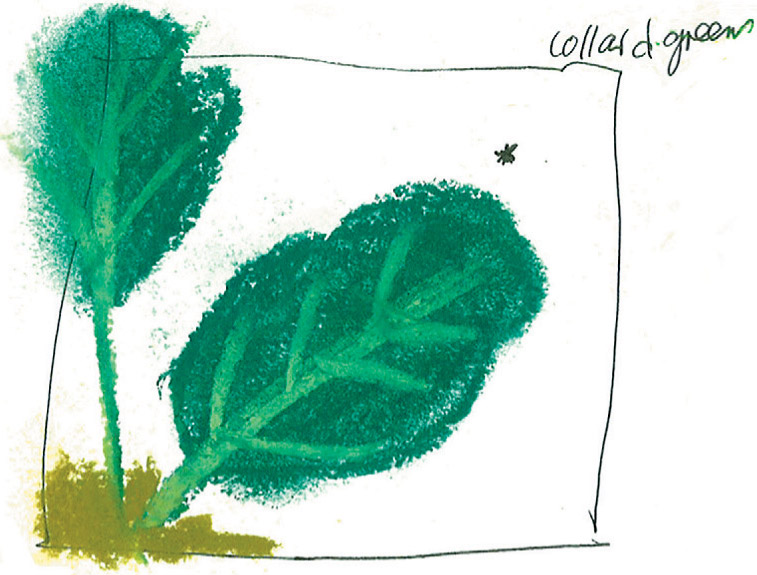
Collard greens, pastel

Garden and strawberry plant, pastel
DAY 25
“Here is a drawing I made of my son playing in our backyard with his favorite toy, rocks.”—Greg
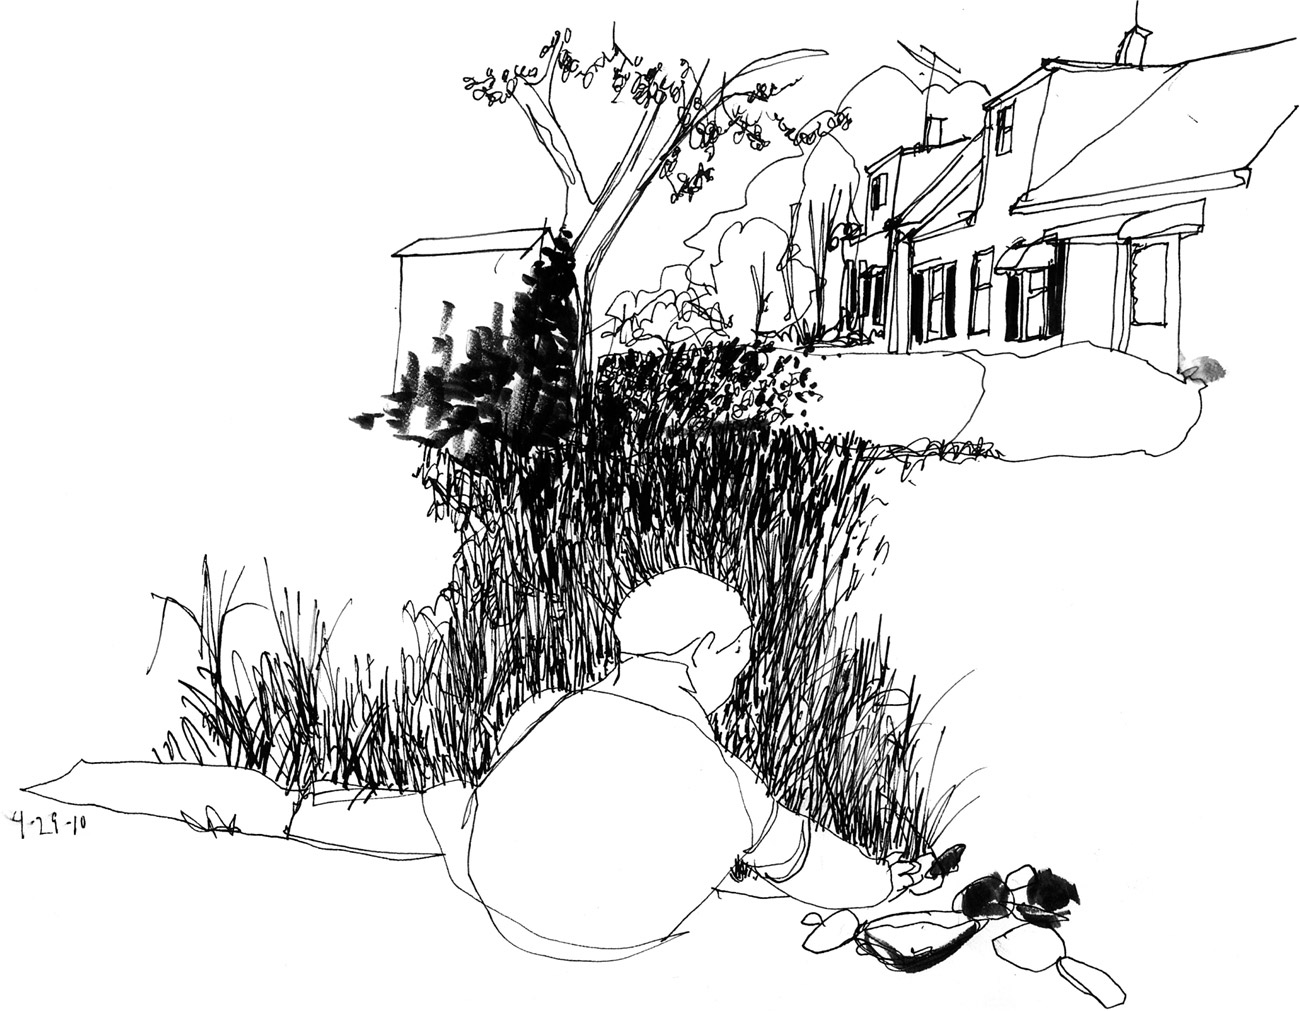
James playing in the yard, pen and marker
EXERCISE 25
Everyone takes a million photographs of children, especially in those first five years when they are growing and changing so rapidly. Why not create drawings of the little ones instead? What a beautiful and sensitive way to remember this special time in their lives.
For this exercise, make a drawing of your young child at play. Use a fountain pen or razor-pointed marker and/or a brush marker for both speed and clarity. After all, you need to capture the scene quickly, before nap time rolls around! It would be nice to include the context of where your child is playing, as Greg has done with his backyard in this illustration. If you are not a parent, or your children have grown, draw a friend’s child or a niece, nephew, or grandchild! A drawing such as this makes a wonderful gift.
VARIATION
For a variation, you might choose to draw the child when he or she is asleep or in a quiet mood, as Eddie has done at right with these two drawings of his children. Having a quieter subject to work from allows you to slow down the pace of the drawing. You might try using charcoal or a Conté crayon, for more sensitivity with this approach.
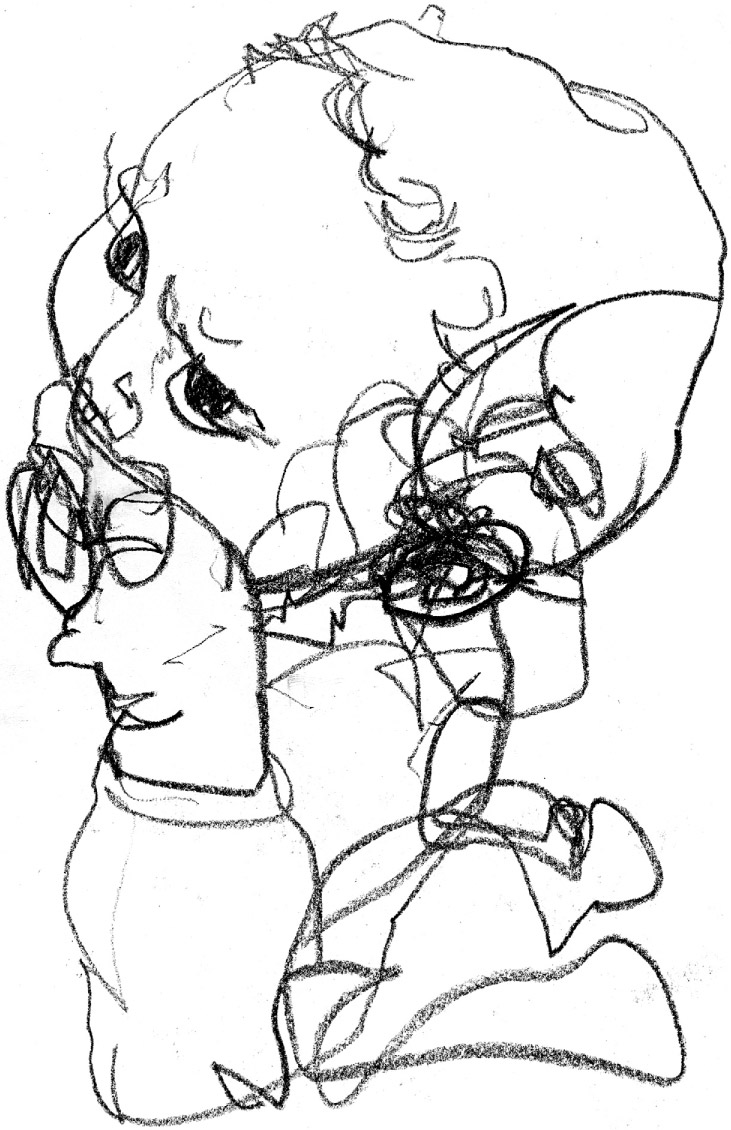
Noah, charcoal pencil
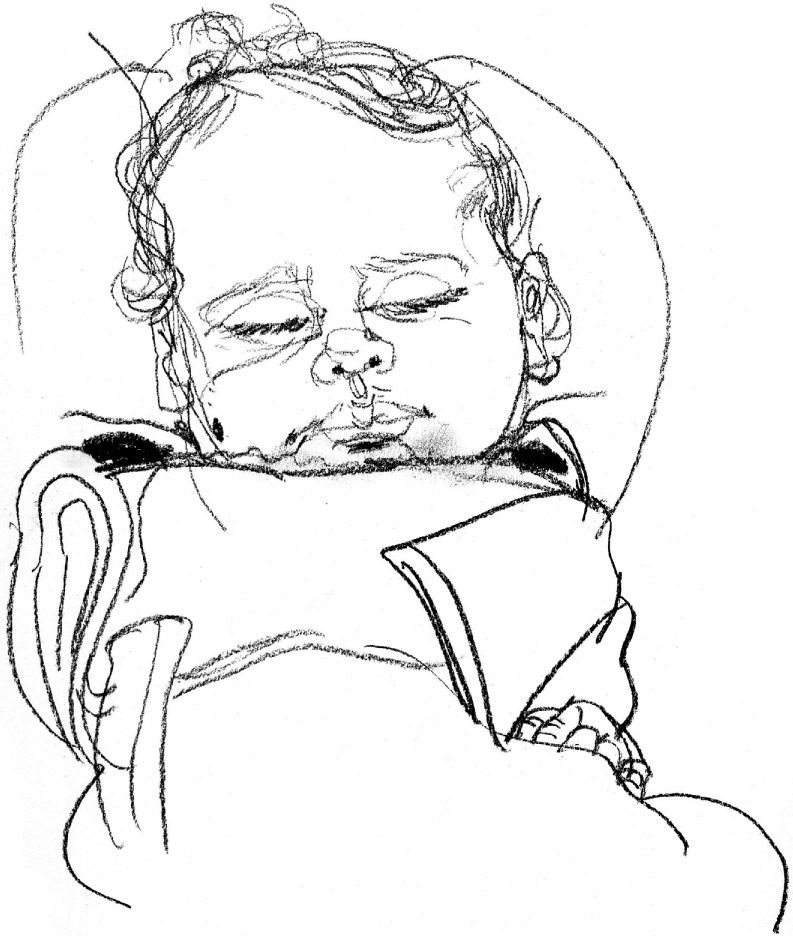
Aryanna sleeping, charcoal pencil
DAY 26
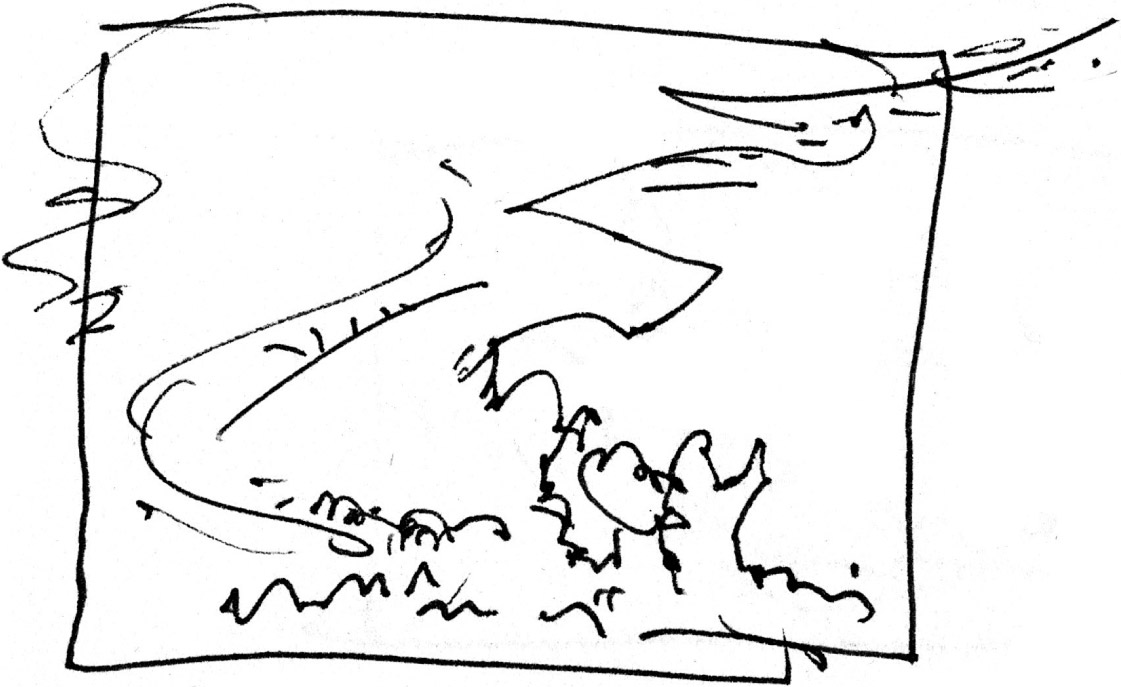
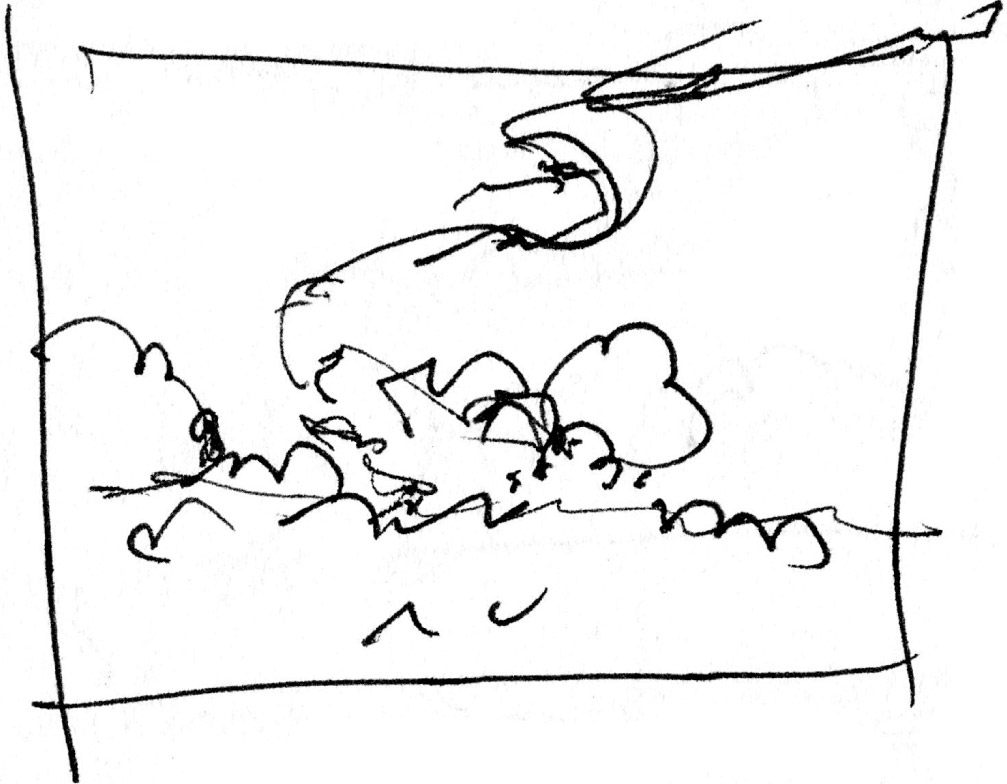
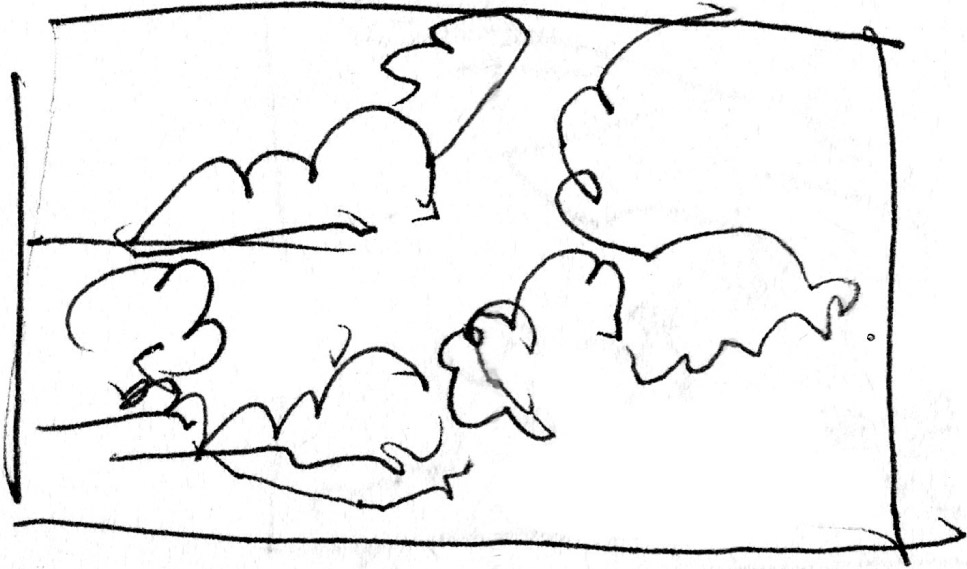
“I love the clouds in Florida, in the southern United States. They feel kind of spiritual to me, and from another world. I did these cloud drawings for an animation project that I have had under the bed for a long time. I made them while driving [I was in the passenger seat], so in addition to the horizon changing rather quickly the clouds were also changing form as we drove along. I just kept flipping the page and drawing the clouds to capture how grand they were.”—Dominick
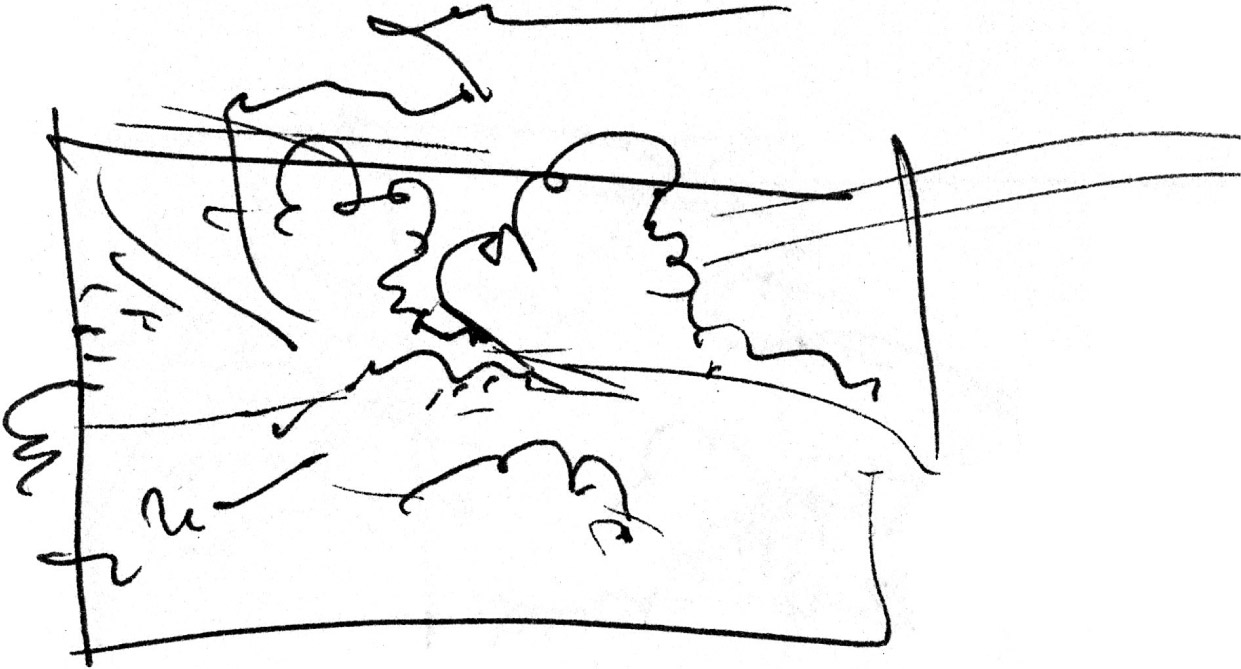
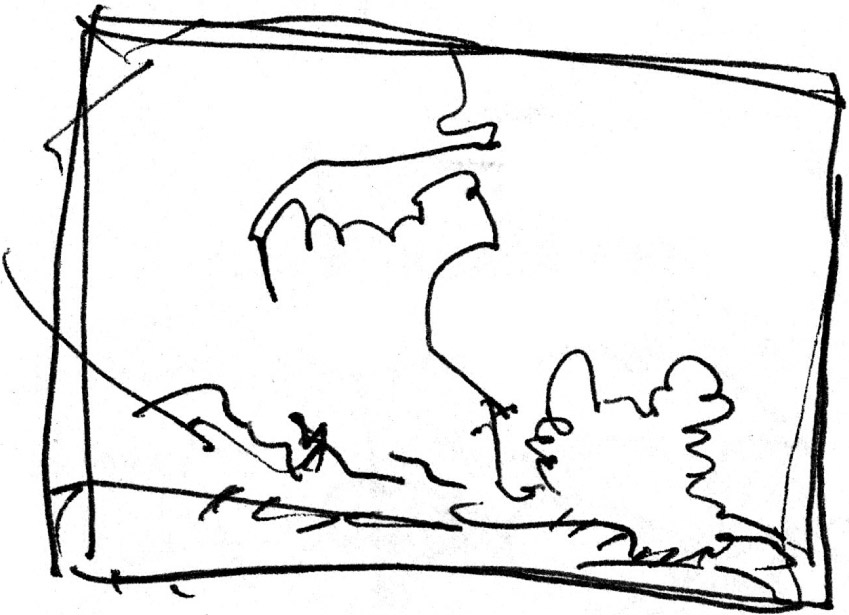
Cloud thumbnails, pen and ink
EXERCISE 26
Today is an exercise in relaxing, daydreaming, and drawing the clouds! Choose an appropriate day, weather-wise, and take your pad into your backyard or a local grassy area. Bring a fountain pen and paper with you, as well as a blanket. Lie back, look up at the sky, and make a few thumbnails of the pictures the clouds present to you, as Dominick has done here. If you see images in the clouds, jot them down, or you may simply enjoy the abstract shapes they create.

Color clouds, watercolor and pastel
VARIATION
You may choose to bring some color along on this trip as well. Try a mix of watercolors and pastels to help capture that floating, yet very solid, feeling that the clouds often have. It would be interesting to see how the clouds from your home compare with the somewhat dreamy clouds of the southeastern United States!

DAY 27
“Harvesting my garden is really a lot of fun. The whole family gets involved in picking the vegetables, and then we sit down for dinner. The experience is lovely.
“Here is a study for a painting of a bowl of freshly picked veggies: string beans, tomatoes of all shapes and sizes, cucumbers, squash, and a purple pepper on top.”—Despina
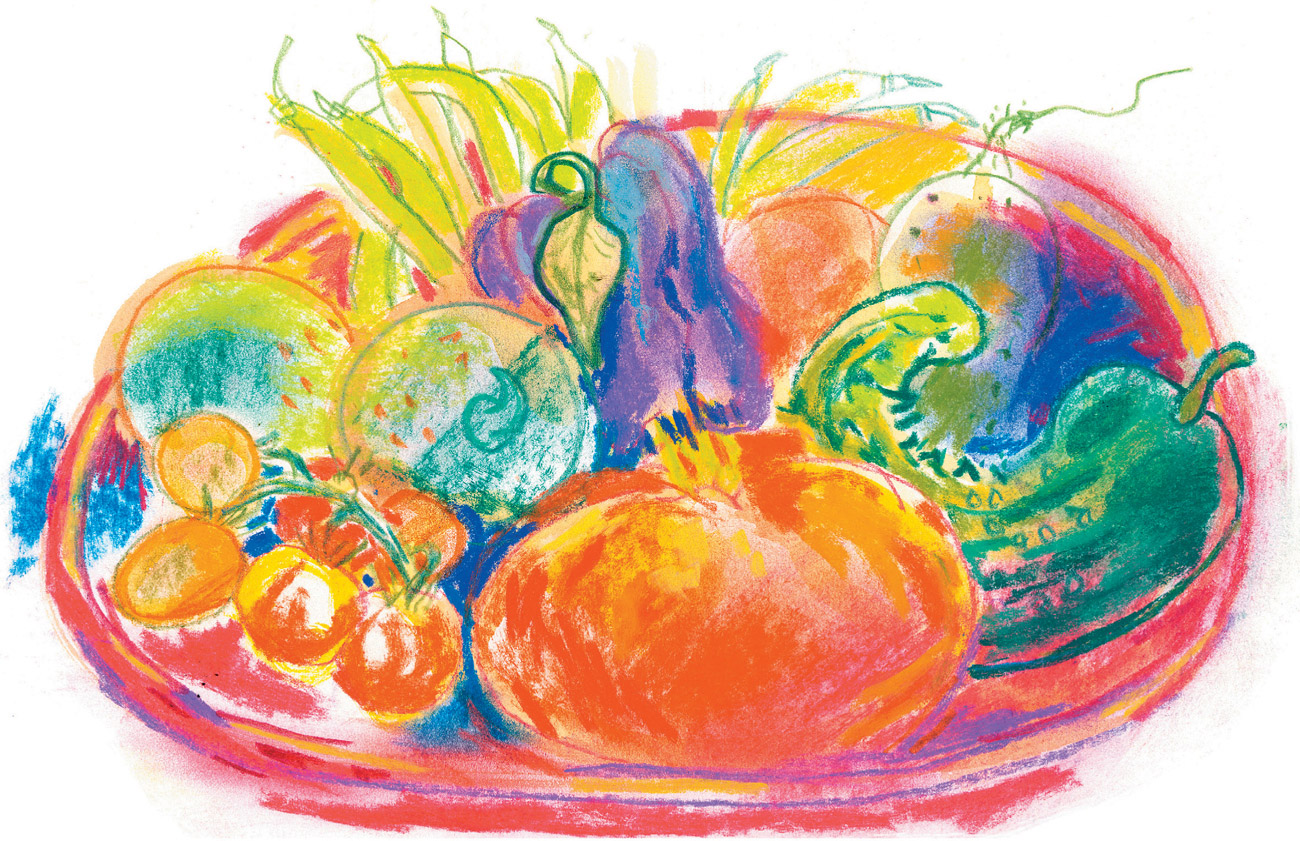
Still life of vegetables, watercolor, colored pencil, and pastel
EXERCISE 27
Go into your garden, or your refrigerator, and pick out a nice selection of fresh fruits and vegetables. Arrange them in a beautiful bowl and get out your colors.
Use watercolor, pastel, and colored pencils to make this drawing. Try drawing some rough shapes with the colored pencil, painting some large color shapes with the watercolor, and then adding the pastel for heft. Work back and forth between the pastel and colored pencils; there are no rules to this. Mix colors to see what effects you get. Sometimes, putting opposing colors of the color wheel against each other can create a vibrant feel.
Pick your colors by mood as much as by looking at what’s in front of you. Just because a tomato is red doesn’t mean you have to draw it that way—think of the multiple colors that Vincent Van Gogh used in his paintings. If it was good enough for Vincent, why couldn’t it work for you?
A thicker piece of paper will stand up to the pastel, but try one without a lot of tooth so you can get a smoother color down. Layering the colors adds depth; if you spray fix your drawing midway, you can add more layers of pastels and pencil. Don’t be afraid to overwork it; the idea is to discover what assortments of shape, line, and overlays work for you. Making a little ratatouille when you’re finished drawing might be a nice idea, too.
VARIATION
You might also enjoy trying a little abstraction with your bowl of fruits and vegetables, as in my drawing of mangoes below. Take the shapes of the fruits or veggies and play around with design. Repeat the shape, make it larger, make it smaller, let the colors run one into the other. I did this piece with watercolor and colored pencil, but you could also use pastel. The idea is to take the structure of whatever veggie you’re drawing, break it apart, and reassemble it in the way you like. Scale, color, repetition, cropping, richness of color and texture: All of these ideas can lend themselves to an abstract drawing. Have fun!
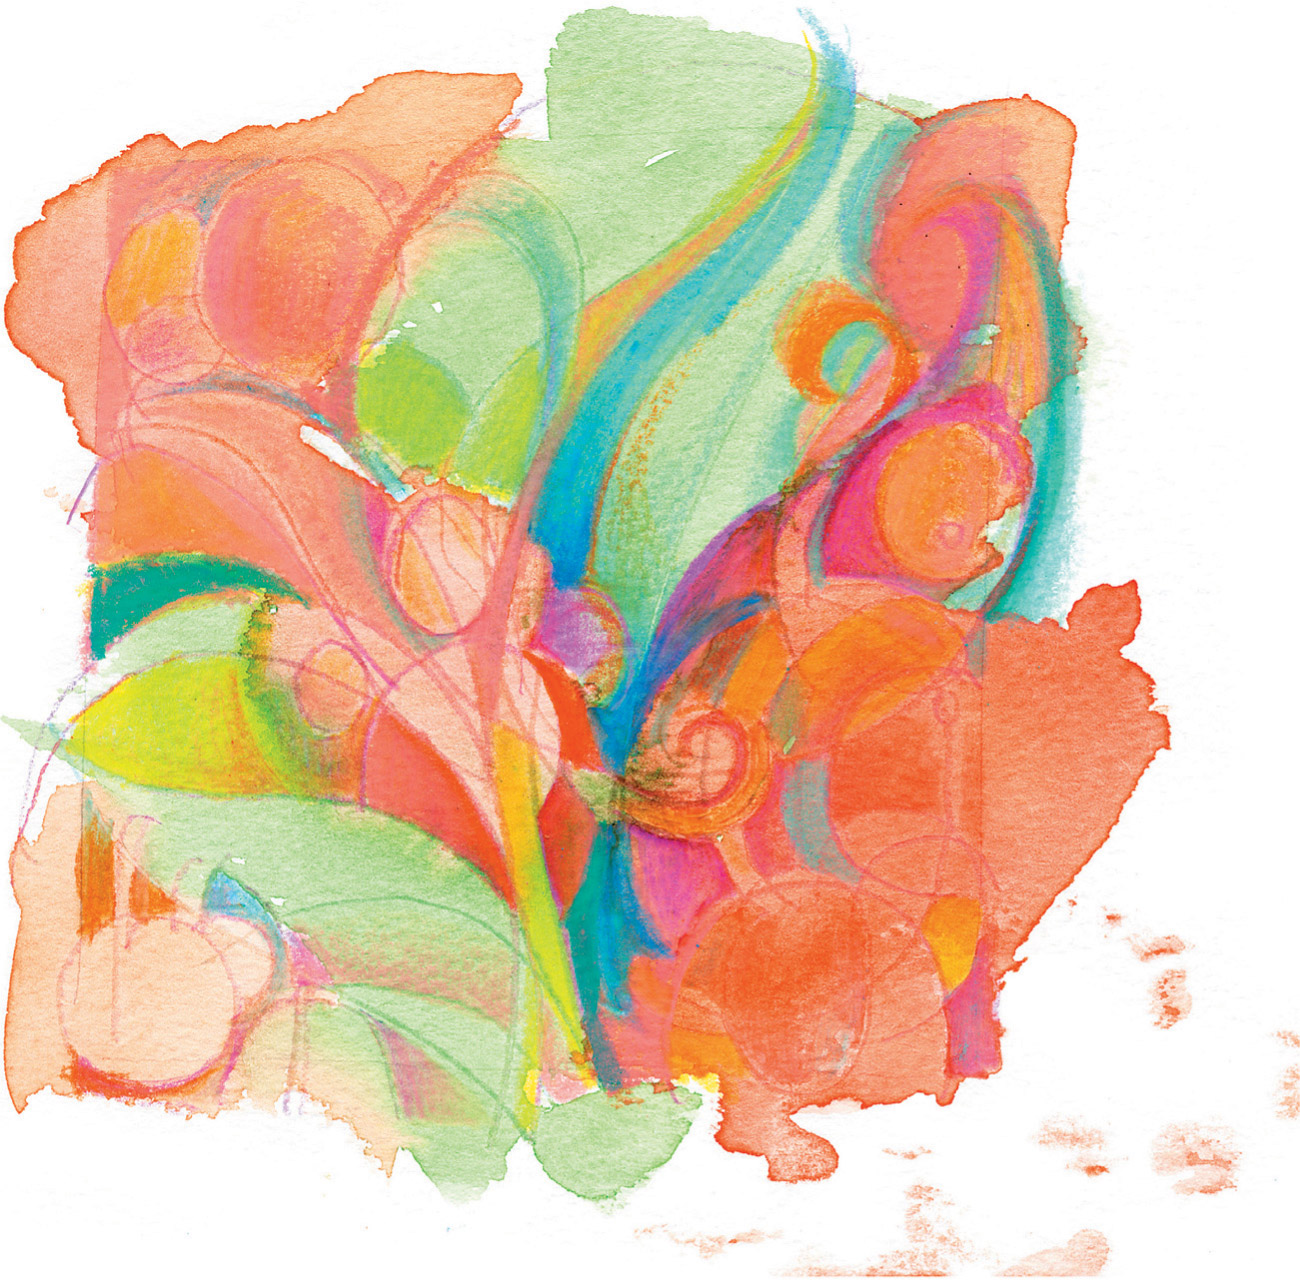
Mango memories, watercolor and colored pencil
DAY 28
“Harvest time, to me, means time for some good ole homemade apple pie! On a crisp fall day, what could be better? Here is my personal recipe and a few drawings to go with it. Hope you enjoy the results of your baking!”—Michele
Recipe ingredients:
1 recipe pastry for a 9” (22.9 cm) double-crust pie
1/2 cup (112 g) unsalted butter
3 tablespoons (24 g) all-purpose flour
1/4 cup (60 ml) water, room temperature
1/2 cup (100 g) granulated sugar
1/2 cup (115 g) brown sugar, lightly packed
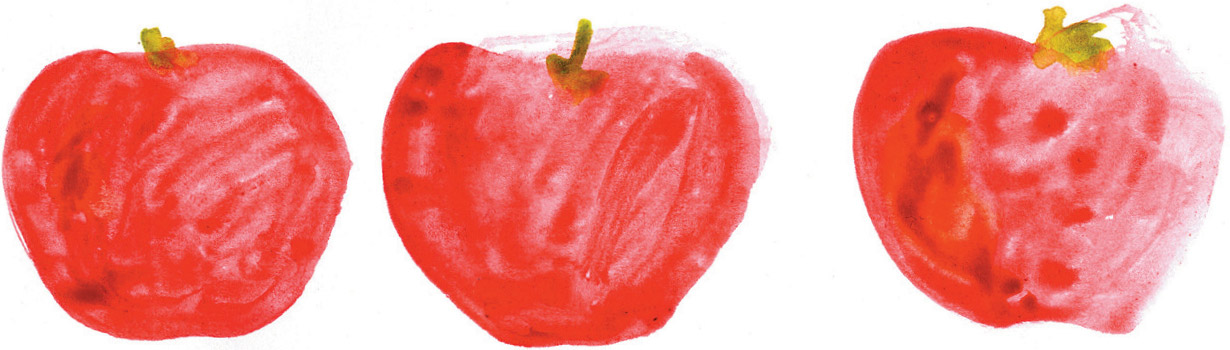
8 Granny Smith apples peeled, cored, and sliced
Directions:
Preheat oven to 425°F (220°C, or gas mark 7)
Melt the butter in a sauce pan. Stir in flour to form a paste. Add water and sugars. Bring to a boil. Reduce temperature and simmer.
Line a pie pan with crust. Fill with apples, mounded slightly. Cover top with a lattice work crust. Gently pour the sugar mixture over the crust. Pour slowly so it does not run off.
Bake 15 minutes in preheated oven. Reduce the temperature to 350° F (180°C or gas mark 4) and continue baking for 35 to 45 minutes or until apples are soft, and crust is lightly browned.
EXERCISE 28
Following the recipe at left, bake an apple pie and create a watercolor illustration of the finished pie, while you enjoy a slice of your efforts. Begin by mixing some colors that feel right, to create an abstract pattern in roughly the shape of the pie. Then, using a dry brush, pick a darker color to create the line work. Then merge the two images together into one picture using your computer or color copier. Combine your illustration with a copy of this recipe and give it out to friends and family. If you truly don’t like baking, buy an apple pie to draw from (and eat!) and create the same illustrated recipe sheet. No one has to know you didn’t do the baking yourself, unless you choose to tell (your secret is safe with us). You can substitute your own recipe too, of course, and a little ice cream for some à la mode never hurt anyone either.
Recipe, Michele’s apple pie
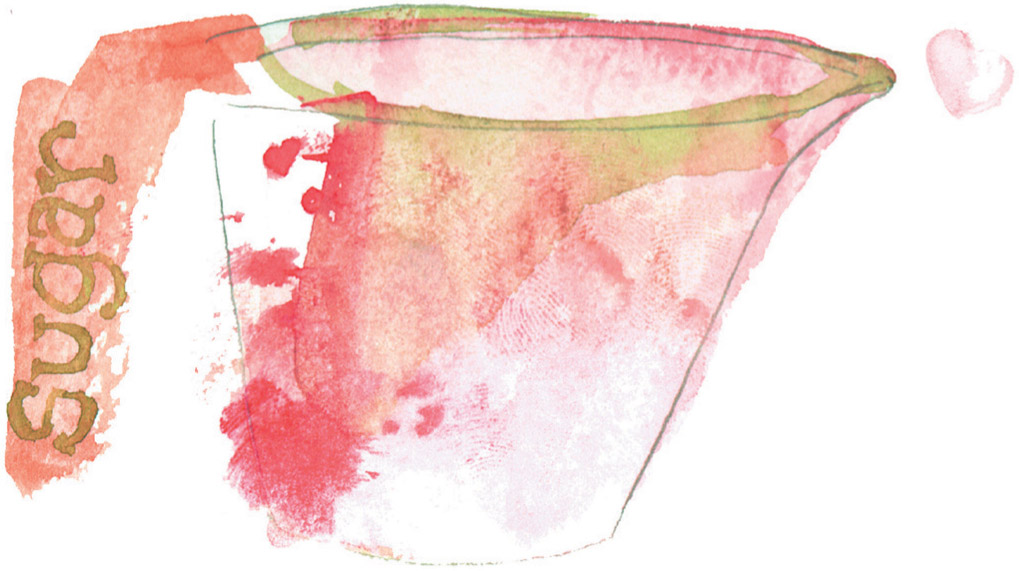
Sugar, pencil and watercolor
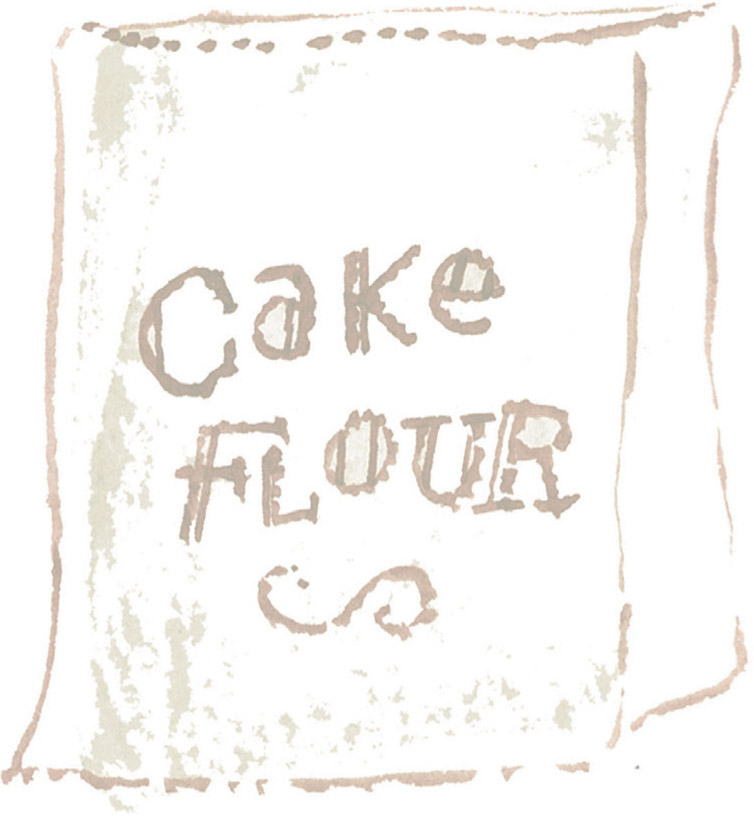
Flour, watercolor
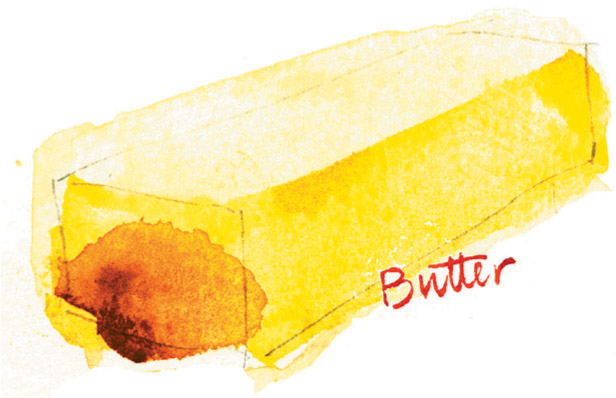
Butter, watercolor
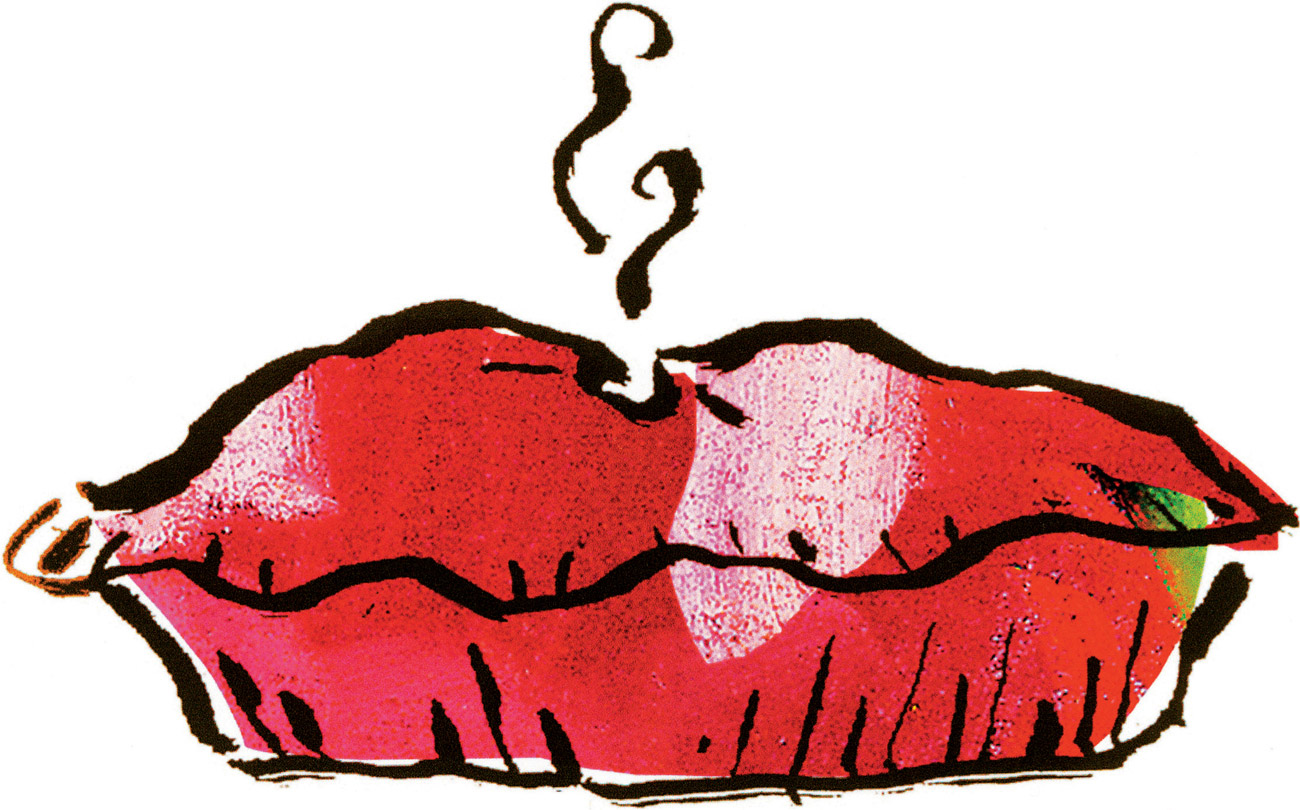
Apple pie, watercolor and digital art