Lesson Files | Lessons > Lesson_10 > 10Source Text.pages Lessons > Lesson_10 > 10Spotlight & Classes.pages Lessons > Lesson_10 > 10Gym Newsletter_FINAL.pages Lessons > Lesson_10 > Artwork Lessons > Lesson_10 > 10Chart.numbers |
Time | This lesson takes approximately 60 minutes to complete. |
Goals | Use a Pages template Replace placeholder text Edit placeholder images Resize an object Use a mask to crop an image Flow text and wrap text around objects Format text using styles Export to PDF |
In Pages, a powerful layout mode allows you to create beautifully designed brochures, flyers, and newsletters. Its contextual format bar, rich graphics support, and robust selection of Apple-designed templates give you many options to use in creating your page layouts.

In this lesson, you will open a Pages newsletter template and populate it with content as a newsletter for members of a gym. Then you will export the document as a PDF file that is ready for Internet distribution.
Pages offers 14 newsletter templates in a variety of styles that you can browse in the Template Chooser. A cover-page thumbnail allows you to preview each layout style, but you can also skim the pointer over each template to see more of each template’s pages. A template contains several layout options for interior pages that can be further modified to match your specific needs.
Let’s start by choosing a template.
Choose File > New from the Template Chooser.
Because you are about to build a newsletter, let’s explore the newsletter templates in Pages.
For this exercise, choose the Page Layout group, then the Newsletters category. Skim your pointer over each template to see the page designs it offers.
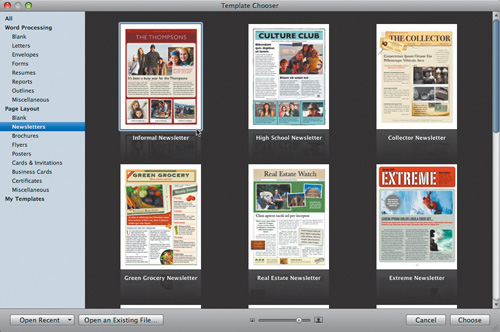
Choose the Informal Newsletter template and click Choose to open a new document based on the template.
Choose File > Save and name the file Gym Newsletter.pages. Store the file in the Lesson_10 folder on your local hard drive.
Most templates include several page designs that help you quickly format your document. These layouts often contain placeholders for text, images, tables, charts, and other formatting options you may want to use. The newsletter you are designing in this lesson requires a total of four pages. By choosing the template, you’ve already chosen a suitable layout for the first page; now let’s choose the layouts for the other three pages.
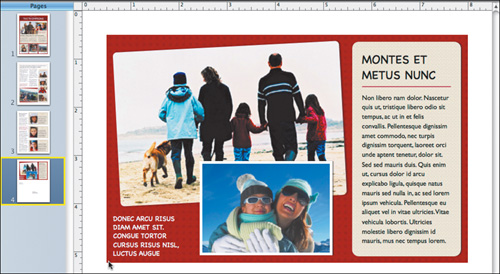
On the toolbar, click the Pages button, and choose a page design from the pop-up menu. For this newsletter, choose the 2 Column with Sidebar layout.

This design works well for a single story with some extra information next to it.
Add two more pages to the layout: Sidebar & 3 Notecards and Mailer.
The Sidebar design is well-suited for short stories, and the Mailer design is meant for the back cover of a newsletter.
Choose File > Save to save your document.
Similar to the word processing templates, page layout templates in Pages use Lorem Ipsum placeholder text. You’ll add your own text to a page by replacing this text.
In the thumbnail view, choose the Page 1 thumbnail.
If you can’t see thumbnails, click the View button in the toolbar and choose Page Thumbnails. Let’s customize the title page of the newsletter.
Double-click the title text (which currently reads THE THOMPSONS).
Type member news.
Select the smaller text at the top of the page (which currently reads ANNUAL UPDATE).
Type sound mind & body gym.

In the upper left corner of the page, double-click the date to select it.
Choose Insert > Date & Time to change the date on the document.
The current date is inserted automatically. However, because you’re preparing the gym newsletter for September delivery, you’ll want to change that date.
Double-click the newly added date to select it.
Click the Calendar icon; then choose September 1, 2009.
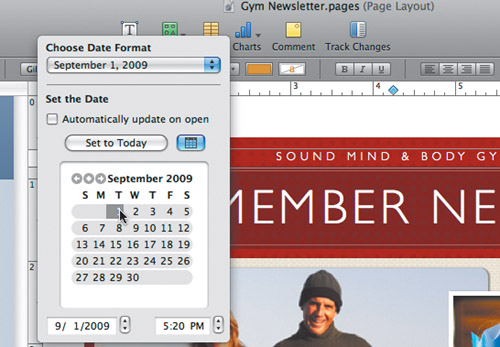
From the Choose Date Format pop-up menu, choose September 1, 2009.
This changes your date’s appearance to the desired format.
Click an empty area of the canvas to close the calendar.
The date is now properly formatted; however, the graphic additions to the masthead aren’t really appropriate for a gym newsletter. Let’s remove them.
Click the outside edge of the rightmost fleur-de-lis; then Command-click the fleur-de-lis on the left.
Both objects are now selected and highlighted with bounding boxes.

Choose File > Save to capture your work so far.
You are now ready to add content to the first page of your newsletter. Several objects can be added to a Pages document, including text boxes, photos, shapes, tables, and charts. As you add more objects to a page, you can adjust the layout to maintain an orderly look that improves the readability.
Let’s start by adding the first story to your newsletter, replacing the placeholder text. You can choose to type text directly into any text box, or you can insert text from a document file. First, let’s simplify the front-page layout by removing some unnecessary graphic placeholders.
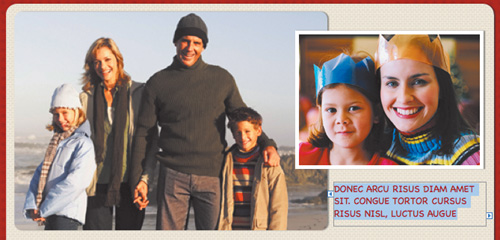
Click outside the page (in the white area); then drag to select the three photos and captions at the bottom of the page.

Press Delete to remove the placeholder images.
You now have more room for your first story. Remember, you can easily modify any Pages template to serve your own needs.
Click the bottom edge of the tan rounded rectangle to select it.

Click the center resize handle and drag the edge of the rounded rectangle to extend the box to the bottom of the page.

Click the main text box to select it.
Drag the resize handle at the bottom of the text box so that it fills more of the page, as shown in the following figure.
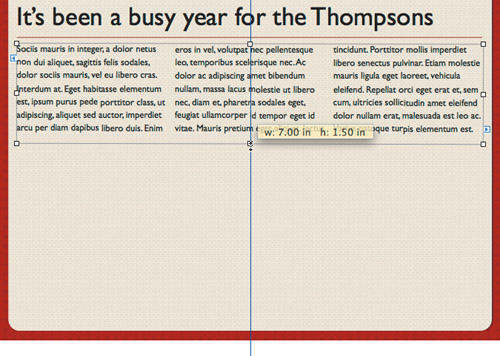
Before
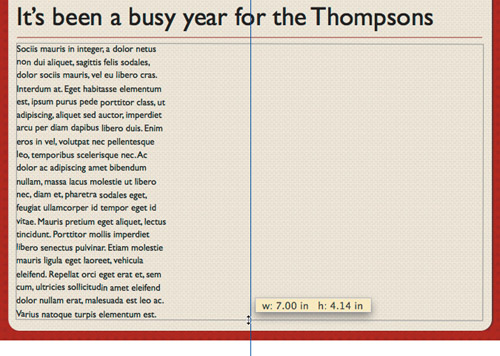
After
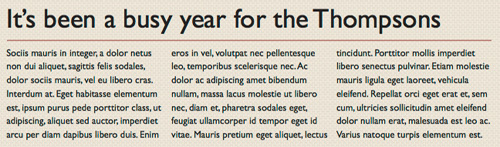
You can replace the default headline with one of your own.
Double-click the headline placeholder text. It currently reads, It’s been a busy year for the Thompsons.
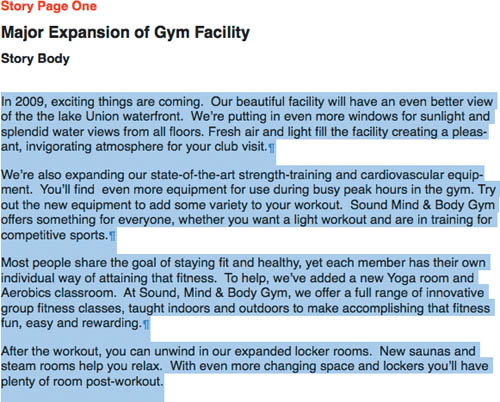
Type the following text: Major Expansion of Gym Facilities in 2009.
Click an empty area of the page to deselect the text box.
Tip
You can press Command-Return to stop editing a text box object. Pages exits the text editing mode and selects the box as an object.
While you could type your articles directly into Pages, to speed up the rest of the text entry for this exercise, you’ll cut and paste the articles from a Pages document.
In the Lesson_10 folder, open 10Source Text.pages.
You’ll start by copying the photo caption text from the source document onto your Clipboard.
In the Pages source document, select the photo caption text and choose Edit > Copy.
Return to your Pages newsletter and select the text in the photo caption area on page 1.
Choose Edit > Paste and Match Style.
This copies the text from your Clipboard yet maintains the formatting on the template page. The end of the text is cut off, however, because the text is too long to fit in the text box.
Click in an empty area of the page to deselect the text box.
Pages puts a + (plus sign) at the bottom of the text box to indicate the presence of overflow text. The text box contains too many characters to display completely at its current size. The text box must be made larger or the text must be made smaller—or both—so that the entire text can be seen.
Click the + symbol and drag down to resize the text box. Stop dragging when all the text is visible in the box.

Return to the source text document. Select the main story text and copy it.
Return to your newsletter. Double-click the story text to select it.
Choose Edit > Paste and Match Style to paste the text into your story text box.

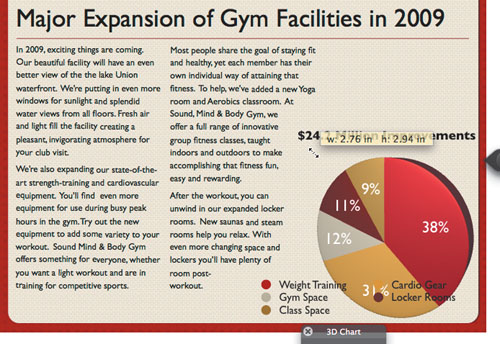
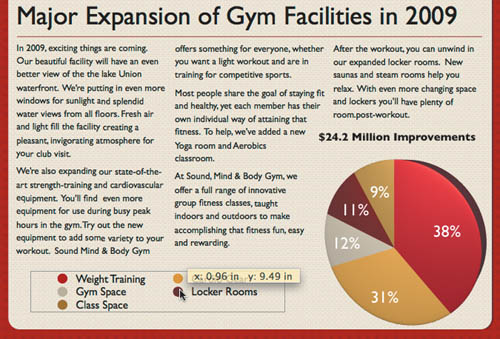
The text fills only the first two columns. You’ll fill the third-column space with a chart graphic that illustrates the improvements being made to the gym. You can copy a chart from a Numbers document and add it to your Pages newsletter.
More Info
When a story spans multiple text boxes or pages, you can link text boxes, which causes overflow text to automatically flow to the next text box. You will explore this feature in Lesson 11, but it can also be useful when laying out a multipage document such as a newsletter.
You often may want to add a chart or graph to a Pages document to help illustrate numerical information. Numbers is a spreadsheet application included with iWork ’09 that can display data in easy-to-understand visual formats such as pie charts. You’ll explore the application in depth starting in Lesson 13, “Spreadsheet Essentials.” For this exercise, let’s just copy a chart from a Numbers document. Because Numbers is part of the iWork suite, it is easy to copy data between Numbers and Pages.
Tip
If a chart doesn’t already exist, you can create it in Pages. In the toolbar, click the Charts button and choose a chart type. Enter your data into the Chart Data Editor window and format using the Chart inspector.
In the Finder, navigate to the Lesson_10 folder.
Double-click the file 10Chart.numbers to open the spreadsheet in Numbers.
Click the chart and then Shift-click the legend to select them both.

Choose Edit > Copy; then return to Pages.
Choose Edit > Paste to paste the chart and legend into your newsletter.
When the chart is added to the page, the text partially wraps around the chart and is partially hidden. Let’s resize and reposition the chart.
Drag the chart and legend toward the bottom of the page.

Press Command-Shift-A to deselect all elements on the page.
Click the chart to select it by itself. The resize handles reappear for the chart.
On the chart, drag the upper left corner handle down and to the right to make it smaller. Resize so the chart’s width is approximately 2.76 in. Then drag the chart to the bottom right of the page, as shown in the following figure.
The text and other elements automatically reflow.
Note
The circular refresh button next to the chart allows you to update its data. Pages maintains a link to the original Numbers document. If you change the original chart in Numbers, you can click the update button in Pages to force the chart to update and display the new data.
The chart is now an appropriate size for the layout, but it overlaps the legend and makes it difficult to read. You can fix this by repositioning the legend.
Drag the chart legend to the left and place it below the article text.
The text automatically reflows to make room for the object because object wrapping is turned on for the pasted chart. You can control how text flows around a graphic or turn wrapping off by using the Wrap inspector.
Choose File > Save to save your work.
You’ve added the story and headlines to the first page of the newsletter and inserted a chart; let’s add more visual interest by inserting photos. You can add images to your Pages document in several ways, including using the Media Browser, which functions just as it does in Keynote. (For more details, see Lesson 3, “Adding Video and Animation.”) For this exercise, we’ll assume that you have not added photos to your iPhoto library, so you’ll navigate to them manually.
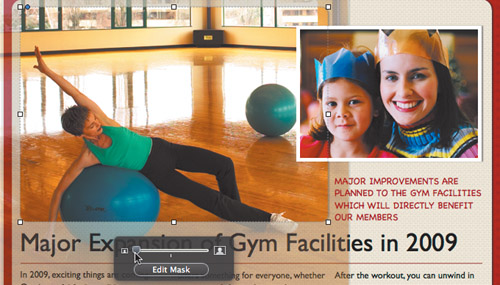
Select the large photo on page 1 (the image of the family).
Choose Insert > Choose.
A file browser dialog opens.
Navigate to your Lesson_10 folder. Open the Artwork folder and choose 01 Yoga Class.tif. Click Insert.
The photo is scaled and added into your page layout.
The photo appears cropped to match the shape defined in the template. However, the image hasn’t been edited. Part of the image is simply hidden behind a mask. iWork uses masks to conceal portions of an image without permanently altering them. Masks allow you additional flexibility when altering image size, shape, and placement.
Let’s work with this image to focus on the subject.

Click the Edit Mask button to resize the image within the mask and adjust the position of the mask.
Drag the scale slider to enlarge the image within the mask.
The image changes size and remains contained within the mask.
The image still shows too much of the windows at the top and doesn’t center on the subject. You should move the focus to the important parts of the image.
Drag the image up to reposition it within the mask and hide the windows.
The subject now receives much more attention in the shot.

Ghosted parts of the photo indicate areas of the image that exist outside the mask. These ghosted areas won’t display in your final newsletter.
Click the Edit Mask button to reapply the mask to the image.
The ghosted areas disappear, leaving just the part of the photo within the mask visible.
Now that you’ve replaced one photo, you can place a second photo on the page.
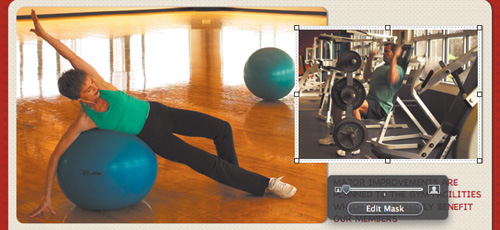
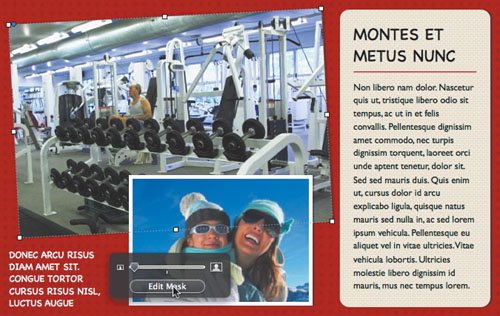
Click the second placeholder image to select it.
Choose Insert > Choose, and choose Lesson_10 > Artwork > 02 Weight Equipment.jpg.
The second photo is added to the page. It appears a little washed out compared with the first. Thanks to the image-adjustment tools in Pages, this is an easy fix.
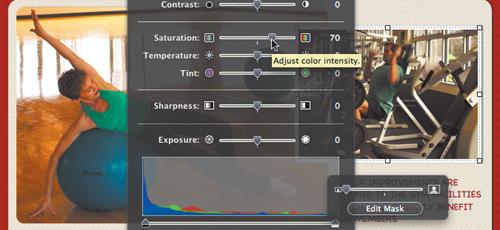
Choose View > Show Adjust Image.
The Adjust Image window appears. The tools contained here allow you to fine-tune an image’s appearance. The tools are similar to the adjustment commands available in iPhoto.
Drag the Saturation slider to the right to increase the color intensity.
A value of 70 boosts the color in the image to more closely match the color in the first photo. The colors in the image now have greater richness and depth.
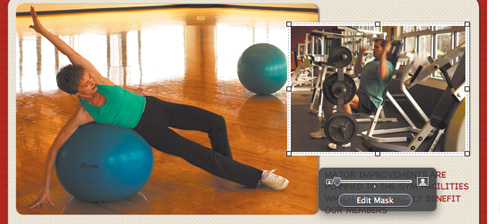
Click the Enhance button to adjust the contrast within the image.
The computer attempts to properly balance the relative amounts of light and dark.
Close the Adjust Image window.
Save your document.
Now that you’ve had some practice, you’ll find that completing the newsletter is a much easier task. The newsletter has three additional pages. Although each page has a unique layout, all of them can be completed using techniques similar to those you used to customize page 1.
Select the thumbnail image of page 2 to switch to that page.
Click the large camping photo and choose Insert > Choose. The Lesson_10 > Artwork folder should still be visible in the dialog. Select 03 Trainer.tif and click Insert.
The new picture replaces the placeholder image.
Using the techniques you’ve already learned, replace the four images on the right by inserting the following images from top to bottom:
04 Boot Camp.jpg
05 Cardio Machines.jpg
06 Basketball.tif
07 Circuit Training.jpg

Before image replacement

After image replacement
Now you’ve added all the photos on the second page, you can complete the page by adding new text. All of the text you need can be found in the 10Source Text.pages document. Be sure to use the Paste & Match Style command.
Select the text for the photo caption on the main image and replace it by typing personal training has become a cornerstone of the health and fitness industry.
Select the headline and replace it by typing Finding and Working with a Qualified Personal Trainer — The Key to Reaching Your Long-term Fitness Goals.
Replace the text for the main story (it begins with Personal training, once thought…).
The article is added to the page, but it wants a little additional formatting.
Select the phrase, Tips on Choosing Trainers.

In the format bar, click the Bold button to add visual emphasis to the text.
Let’s cleanly split the text across the two columns. This will help balance the text on the page.
In the last line of the fourth paragraph, click between the terms courses for and continuing education credit.
Choose Insert > Column Break to split the columns at the insertion point.

The text is now properly divided between the two columns.
Replace the text for the four photos on the right of the page with the following:
Fall Fitness
Boot Camp
Cardio Gear
Basketball
Weight Training
You can copy and paste the new text (choosing Edit > Paste and Match Style to keep the template styles) or simply type it directly into the layout.
Note
Pages underlines Cardio in red to indicate that it may be misspelled. Some slang or jargon words might not be in your computer’s dictionary. You can choose to ignore a spelling warning if you know a word is spelled correctly. Alternatively, you can add the correct spelling to your dictionary. To do so, select the word; then right-click and choose Learn Spelling from the shortcut menu.
For reference, compare your document with this completed page.
Don’t worry if items are not an exact match; just do your best to have a neat and organized presentation of the information on the page.

Good work—you’ve successfully customized a Pages template that started out as a family newsletter and turned it into a professional-looking commercial document to distribute among gym members.
Sometimes, you’ll want to combine an existing Pages document with another Pages document. Using Pages to copy a page from one document to another can save you time, compared with cutting and pasting individual elements or redesigning an entirely new page. For your gym newsletter, let’s replace page 3 with a previously laid-out page from another Pages document.
Open Lesson_10 > 10Spotlight & Classes.pages.
Click the page’s thumbnail and choose Edit > Copy.

Return to the active newsletter document.
Click the page 3 thumbnail and press Delete. An alert dialog appears to confirm that you want to delete the page.
Click Delete.
Choose Edit > Paste to add the page to the newsletter document.
You have successfully completed three of the four pages of your gym newsletter. The fourth page is a mailer page, which is designed for addressing the newsletter.
To complete the layout of the fourth page, let’s replace the placeholder photos. By now, you should be quite comfortable with the process of adding your own images to a template.
Click the thumbnail for page 4.
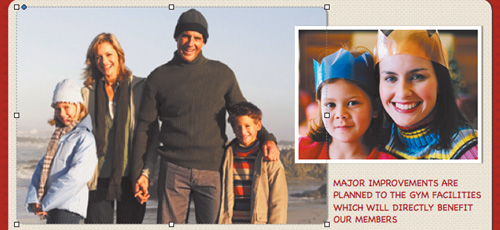
Click the larger picture of the family walking to select it.
Choose Insert > Choose and choose Lesson_10 > Artwork > 08 Weights.jpg. Click Insert.

The new photo replaces the placeholder image. However, the shot is a bit loose and doesn’t focus on the action.
Double-click the photo to edit it.
Drag the resize handle and reposition the image so that it is better masked. When you’re done, click the Edit Mask button. You can use the following figure as a visual guide.
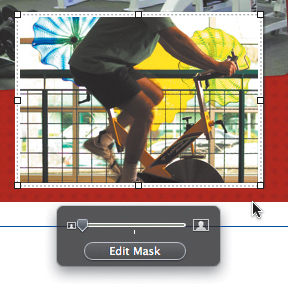
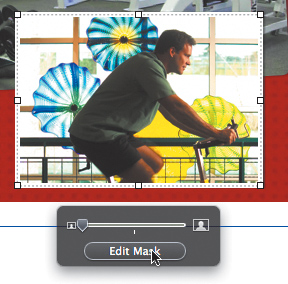
Select the second image on the page and replace it with Lesson_10 > Artwork > 09 Bike.jpg.
The default placement masks the figure poorly and hides the rider’s head.
Click the Edit Mask button and drag the image so that it is better framed. When you’re finished, click the Edit Mask button to exit.
Before
After
In the lower left corner of the main photo, select the caption.
Save your work.
You are almost done with the layout of this Pages document. Let’s quickly add your last story so that you can proof the document and output a PDF file for the web.
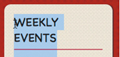
Click the story headline and type WEEKLY EVENTS.
The text is a little too large and wraps to a second line, which leaves a bad break in the line and a lot of empty space. You can reduce the text a little so that it fits on one line.
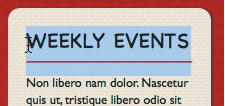
Drag through the headline to select it.
Press Command- − (minus sign) to reduce the text by one point size. The text now fits on a single line and looks cleaner.
Before
After
Return to the source text document and copy the page 4 story text to your Clipboard.
This time you are going to retain the formatting of the copied text.
Return to your Pages newsletter and click the placeholder text to select it. Choose Edit > Paste to insert the new text.
The new text is added to the Pages document with its existing formatting, including bold text. Additionally, the web URL is automatically formatted when Pages detects a properly formatted web address. However, in this case, you want to remove the formatting so that the URL appears as plain (unlinked) text.
Click within the text box (but not on the web link, or else you’ll go to the website).
Press the arrow keys to move the insertion point until the web link is selected.
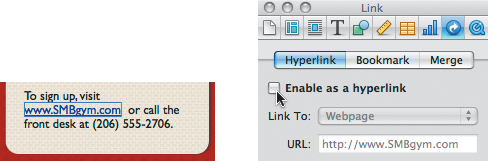
Open the Link inspector and deselect the “Enable as a hyperlink” checkbox.
The last area on the page that requires reformatting is the address field. You will want to replace the text with the correct business address. Additionally, you can enhance the address field by adding a business logo.
Replace the return address in the template with the following:
Sound Mind & Body Gym
437 North 34th Street
Seattle, WA 98103
Click the right edge of the text box, and drag the resize handle to make it bigger. This will allow more room for the logo.

This newsletter will be distributed primarily online. Therefore, the mailing address area is going to be used only occasionally for sending a few copies.
Select the addressee name text box and press Delete.
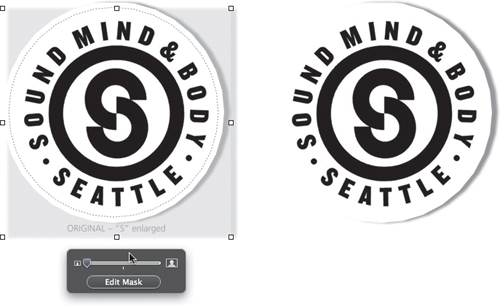
You can still add a logo to the page. However, the logo you’ll use has some extraneous text beneath it. By masking the image, you can hide the unnecessary text.

Throughout this lesson, you’ve only added images to placeholders. Pages offers a free-form graphics canvas, however, so you can add more images to your layout and create additional masks to define image borders. The logo has a circular shape, so let’s create a circular mask to hold it.
Click an empty area on page 4 to make sure that nothing is currently selected.
In the toolbar, click the Shapes button and choose an oval.

A shape is added to the center of the page. The circle can be sized to either an oval or a circle.
Shift-drag a corner handle to make the circle smaller. Size the circle to a diameter of about 1.00 inches.
Holding down the Shift key while dragging retains the original proportions of the image and, in this case, retains the circular shape.
In the Wrap inspector, select “Object causes wrap.”
You will reposition the circle to jut into the address field. Let’s make it easier to accurately position the logo.
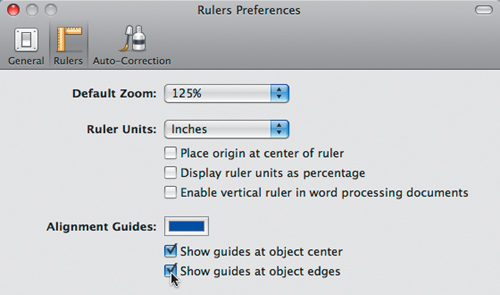
Choose Pages > Preferences, and choose Rulers.
Select the “Show guides at object edges” checkbox.
This will display pop-up guides to help you position the logo.
Close the Preferences window.
Reposition the circle on the page to closely match the following figure:
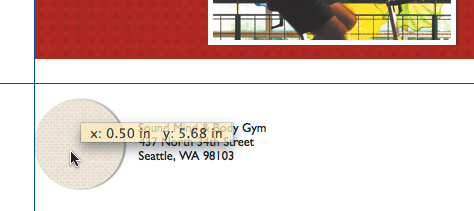
The alignment guide will show you when the edge of the circle is aligned with the edge of the newsletter content. Now that the circle is on the page, you can use it to mask your logo to a clean shape.
Switch to the Finder. Open the Lesson_10 > Artwork folder and drag 10 Logo.jpg on top of the circle in the Pages document.
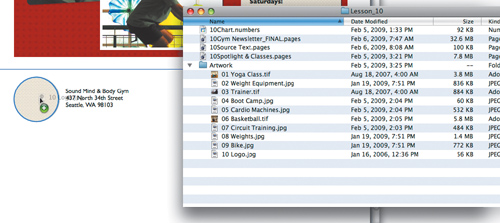
The logo is added to the page and is masked by the circle. Still, you’ll want to adjust it within the mask.
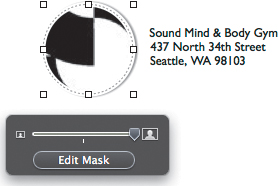
Click the Edit Mask button. Drag the scale slider and resize the logo so that it fits within the circular mask. Then drag the logo to reposition it within the mask.
Click the Edit Mask button to apply the mask.
The logo has an unnecessary drop shadow and stroke. You can easily remove these.
Verify that the logo is selected, and in the format bar, deselect the Shadow checkbox.
In the format bar, set the stroke to None.

Save your document.
You can compare your work with 10Gym Newsletter_FINAL.pages, a completed version of the newsletter in the Lesson_10 folder.
Congratulations! Your gym newsletter is complete. It is now time to save it in an Internet-ready format. By sending a newsletter over the Internet, you can save a lot of postage costs. Using the PDF format ensures that your document maintains its appearance, no matter what hardware displays it; and it can be printed or viewed by Mac, Windows, and even Linux users.
Click the PDF button to choose that format.
From the Image Quality pop-up menu, choose Better; then click Next.

The menu offers three quality choices: Good, Better, and Best. When choosing one of these, you will want to consider a balance between file-size constraints and image quality. Choosing Better balances a compact Internet-friendly file size with image quality that is suitable for printing.
Name the document SMB_GYM_FALL09_WEB.pdf and save the file to the Lesson_10 folder.
When choosing a filename, avoid spaces and long names if your file is meant to be downloaded. The name you entered here identifies the company and the year, and indicates that the file is optimized for the web.
Click Export to write the PDF file to the save location.
You can now send your newsletter to others as a PDF file as an email attachment or by posting it to a website.
Close and save your Pages document.