8. Tuning In to Music
In this chapter, you learn all about the Xbox Music app and how to use it to enhance your entertainment experience, as well how to play music CDs via the Audio CD Player app.
→ Accessing Xbox Music and Xbox Music Pass
→ Understanding the Xbox Music Interface
You might not immediately think of music when contemplating your Xbox One’s capabilities, but your console enables you to enjoy music in multiple ways, from streaming songs from your PC or from Xbox Music’s catalog of more than 30 million songs, to watching more than 92,000 music videos via Xbox Music, to simply inserting your favorite audio CD. In addition, with a Music Pass, you can also download music to your other devices, including those on Android- and iOS-based platforms, for offline use. In this chapter, you learn how to tap the full potential of your console’s musical offerings.
Accessing Xbox Music and Xbox Music Pass
Xbox Music is Microsoft’s cloud-based music service and, at the time of this writing, it’s the only music service available on the Xbox One. So, there’s not Spotify, LastFM, etc. Boo!
Fortunately, Xbox Music, which replaces Zune, Microsoft’s previous music service, isn’t half bad. Zune included a series of hardware devices and streaming services that were featured prominently on the Xbox 360.
Through Xbox Music, you can play free streaming radio, obtain paid music subscription services, and purchase music individually. But before you can fully partake in Xbox Music, you need an Xbox Live Gold membership and a Music Pass. Here’s what this pass gives you:
• The ability to download as much music as you want from the Xbox Music Store and to listen to it without being interrupted by advertising.
• The ability to play your downloaded music on your computer and then sync it with up to four devices to play offline; these devices can use Windows, Android, or iOS operating systems.
• The ability to stream your own music from your PC. Yes, you actually need a Music Pass to do this. Some people have found workarounds, but they don’t work smoothly.
• The ability to watch music videos on your Xbox One.
You can purchase a 1-month Music Pass for $9.99 or sign up for an annual membership for $99.90 (which is the most economical option if you plan on using the service a lot, averaging $8.33 per month). You can also buy gift cards at outside retailers like Amazon.com for other time intervals, such as a 3-month pass for $29.97.
Not Sure Whether to Invest in a Music Pass?
You can still explore what Xbox Music has to offer, even without a Music Pass. As long as you have an Xbox Live Gold membership, you can stream 15 tracks for free without the Music Pass. If you want to get a better sense of the service, you can also sign up for a 1-month free trial.
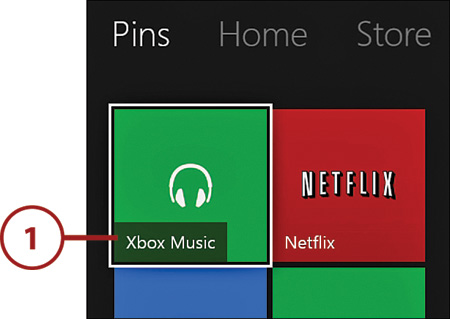
1. Sign in to the account you want to use and then select the pre-pinned Xbox Music tile from the Pins section of the Home screen.
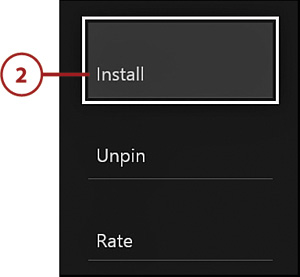
2. Select Install.
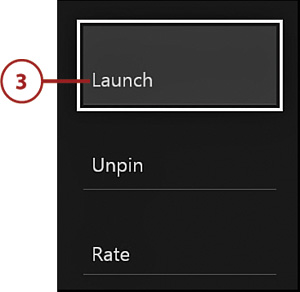
3. Select Launch.
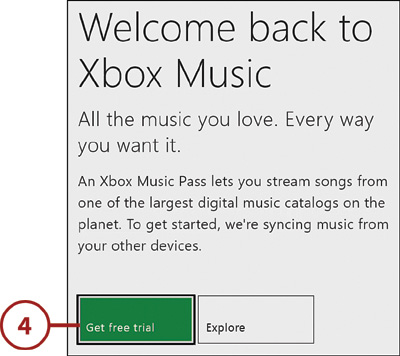
4. Decide whether to Get Free Trial or to Explore. If you decide on the free trial, proceed to the next section in this chapter “Sign Up for an Xbox Music Pass.”
Sign Up for an Xbox Music Pass
If you want a 1-month free trial of the Music Pass, keep in mind that you have to enter your credit card information; Microsoft will automatically renew your subscription unless you cancel it before the end of the trial period. To get the trial, follow these steps:
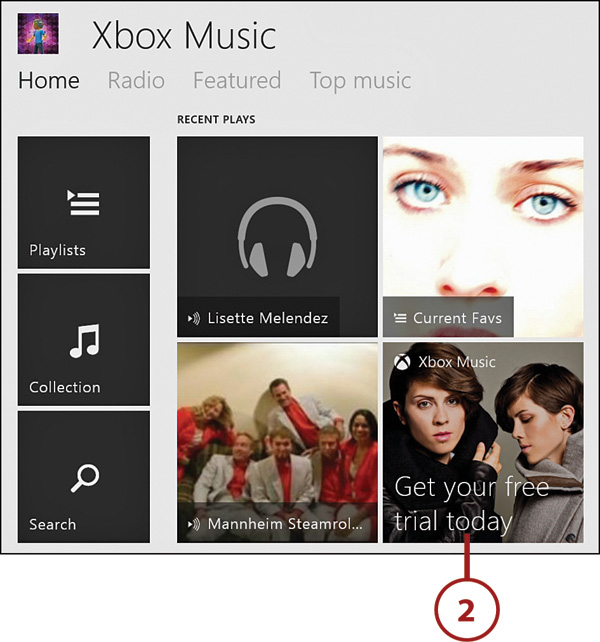
1. Sign in to the account for which you want to obtain Xbox Music and then go to the Xbox Music app; if you haven’t moved the app, it appears under the Pins section of the Home screen.

2. Select the Get Your Free Trial Today tile from the Xbox Music screen.
3. At the Subscription page, select Free Music Pass Trial. If you prefer to get a paid membership, choose between the 1-month and 12-month pass, or if you have an Xbox Music Pass gift card, you can select Use a Code.

4. Select Add a Credit Card.

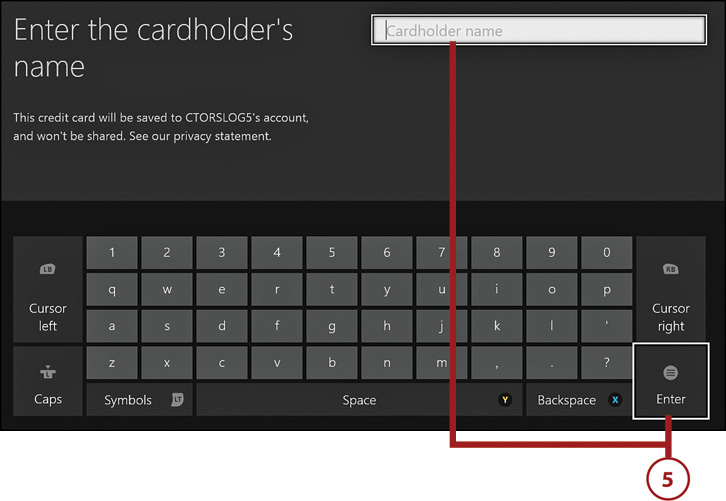
5. Use the onscreen keyboard to input the cardholder’s name and then select Enter. Do the same with the screens that follow for your credit card number (enter without any spaces), expiration date, security code (appears on the back of the credit card), street address, city, state/province, postal code, phone number, and email address.
6. Confirm your billing information and select Save Info.

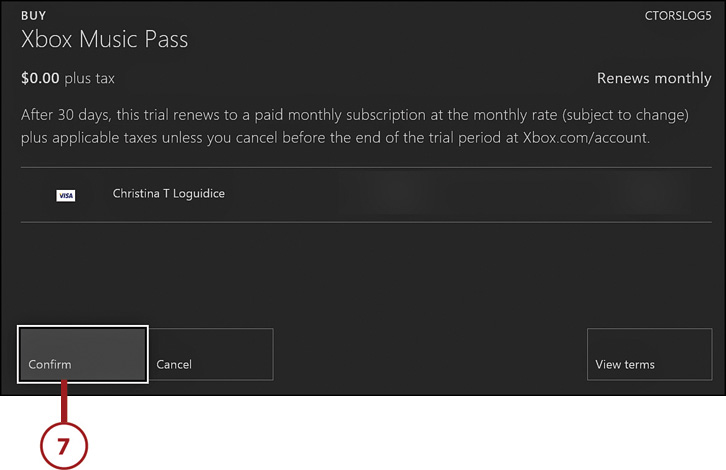
7. At the Buy Xbox Music Pass screen, select Confirm.
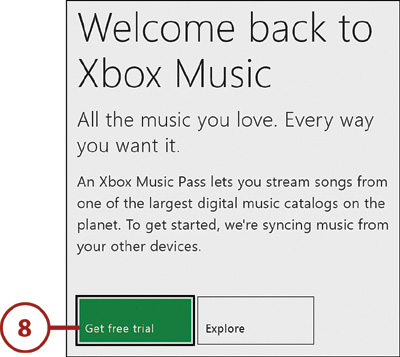
8. Select Get Free Trial or Get Started. You’re now in Xbox Music.
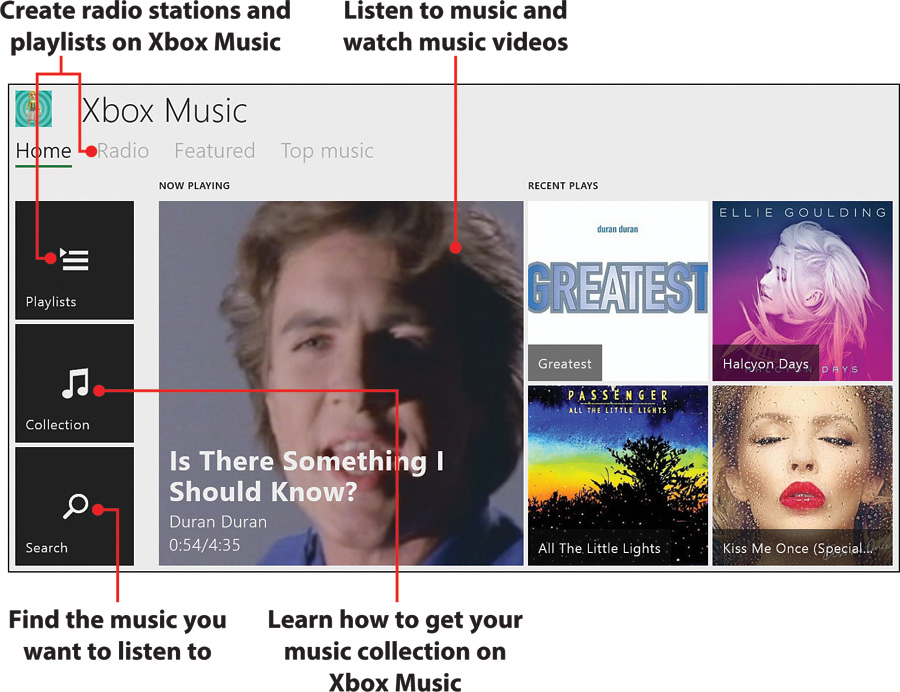
Understanding the Xbox Music Interface
The Xbox Music app interface is clean and straightforward. The following options are available to you:
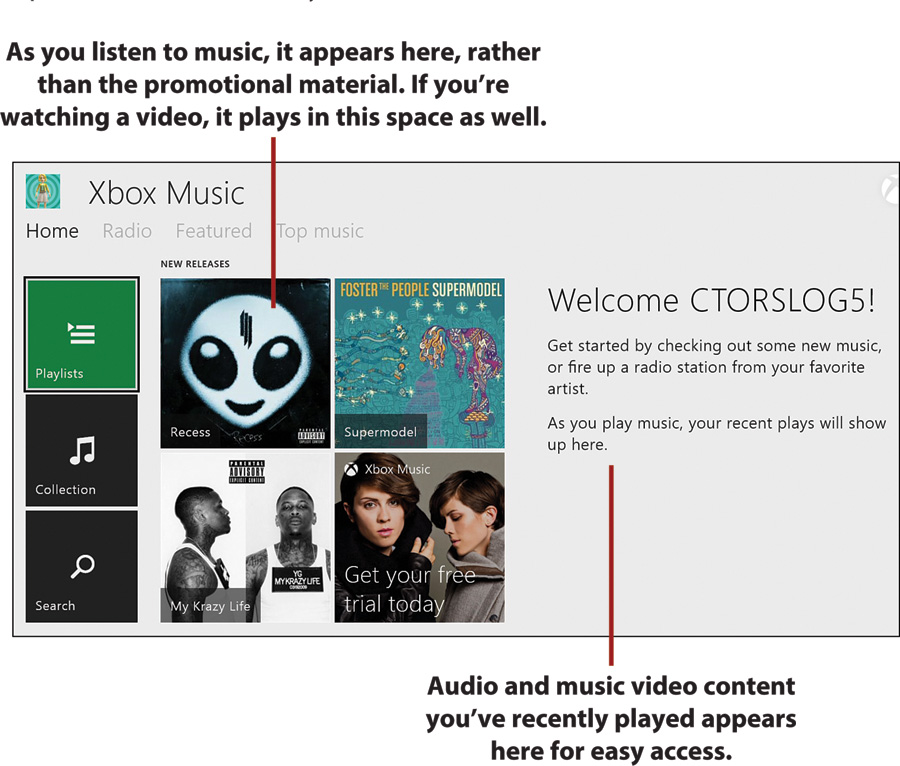
• Home—This is the main screen from which you access all of Xbox Music’s main features, which are described in the following bullet points.
• Radio—Select this option to create a radio station, which uses a favorite artist or group to create a station that includes music by that artist/group as well as similar artists. This is a good way to discover new music. If you don’t care for a song that’s playing, you can skip it. If fact, you can skip songs as many times as you want. For more on radio stations, see the “Create a Radio Station” section later in this chapter.
• Featured—Select this option to find new albums and new music videos. If you don’t find what you’re looking for, you can also conduct a search.
• Top Music—Select this option to access top music and top videos, which can be sorted by songs, albums, artists, and genre. If a song has an associated video and you select it, you can opt to have Xbox automatically play the video for the song.
• Playlists—Here, you can access your playlists or create them. Playlists are a group of songs that are played together, sort of like compilation CDs. For example, you can create a playlist that contains your favorite songs, another to listen to while you’re working out, and another to listen to while gaming. They’re a great way for you to organize songs you like into whatever collections you want. The playlists you create automatically sync to your cloud collection so they are available from all of your devices. For more on playlists, see the “Create a Playlist” section later in this chapter.
• Collection—You can add favorite songs from the service to a personal collection, which show up here and are available from other Xbox Music-enabled devices.
• Search—Select this to launch the onscreen keyboard to search for the music you want.
Controlling the Music and Video Playback Menus
As any song or video is playing, you can pull up playback controls by pressing the Menu button on your controller. This also pulls up a menu of options, depending on where you’re launching it from.
The playback options are the same whether you’re listening to a song or watching a video. As expected, the left stick or D-pad moves between the various options, and the A button selects a highlighted option. Pressing the B button closes the playback menu. The following playback options are available:
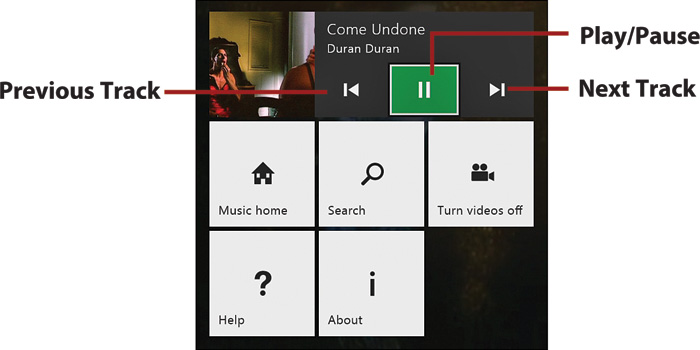
• Play/Pause—Select this icon to play or pause the current song.
• Previous Track—If there’s a previous song/video, selecting this icon goes back one song/video. Otherwise, it restarts the current song/video.
• Next Track—If there’s a next song/video, selecting this icon goes to the next song/video.
Another Way to Move Between Tracks
If you don’t like a particular song, you don’t have to launch the playback menu to move to the next one. Simply use your right trigger on your controller to go to the next track or your left trigger to go to the previous track.
• Music Home—This option brings you back to the Xbox Music Home screen. It’s part of the menu when you launch it from Now Playing (what’s currently playing).
Don’t See Music Home?
This option appears only when you launch the playback menu from Now Playing. If you launch it from the Home screen, a Now Playing tile appears.
• Search—Select this option to launch the onscreen keyboard to search for music.
• Now Playing—This option only appears when you launch the playback menu from the Home screen. It exits the playback menu and brings you back into Now Playing.
• Turn Videos On/Off—You can opt to play videos if they’re available. If this tile says Turn Videos Off, you have videos enabled. If you don’t want to watch any music videos, this tile says Turn Videos On.
• Help—This option opens a Help menu that provides information about Xbox Music, how to play music and videos, how Xbox Music Pass works, and how you can manage your music collection.
• About—This option provides copyright and legal information for the music you have playing.
Create a Playlist
Playlists are a great way to enhance your music experience, and it can be fun putting together all kinds of compilations. To create a playlist, follow these steps:
1. Sign in to the account you want to use and, from the Home screen, launch the pre-pinned Xbox Music tile.

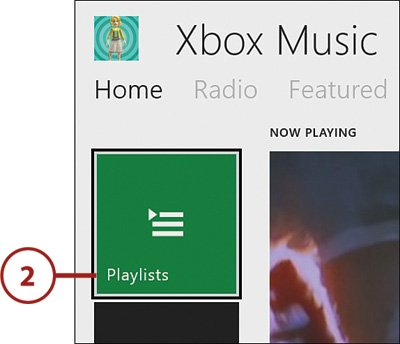
2. Select Playlists.
3. Select Create New Playlist.

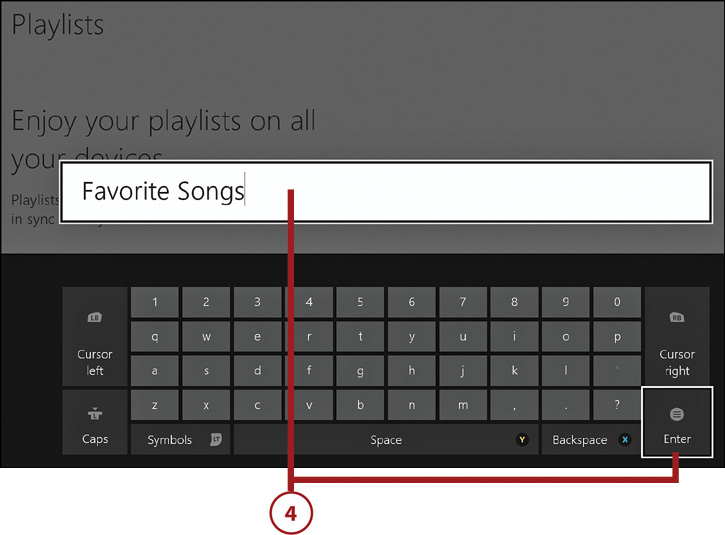
4. Give your playlist a name and select Enter.
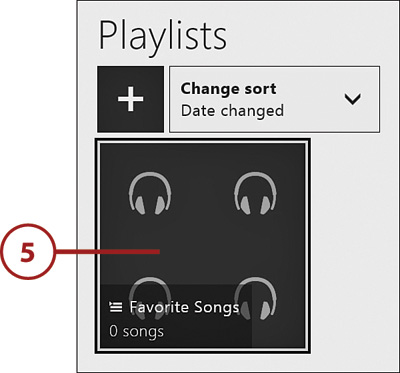
5. Select the playlist you just created.
6. Start adding music to your playlist by selecting Browse My Albums (only available if you’ve synced your collection) or Browse Catalog (brings you to the store). You can also go back to the Home screen and browse the various categories there, including Top Music and Featured.

7. Once you find a song or album you want to add, select the + Add Song tile.
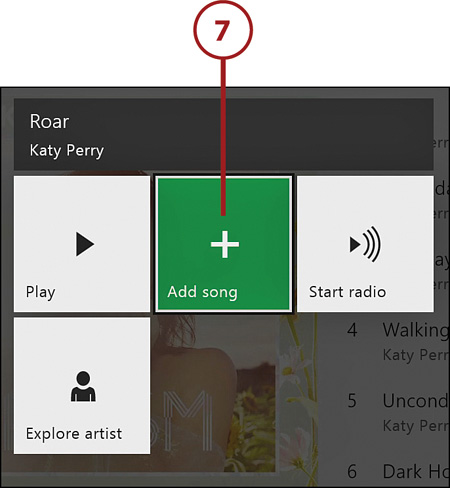
8. Select your playlist from the options and then keep adding songs to your playlist until you’re happy with it.

Create a Radio Station
If you don’t have any playlists, are in the mood to listen to a completely different genre of music, or want a more random, radio-like feel, you can instead create a radio station. In addition, with an Xbox Music Pass, you can avoid those pesky commercials. Follow these steps:
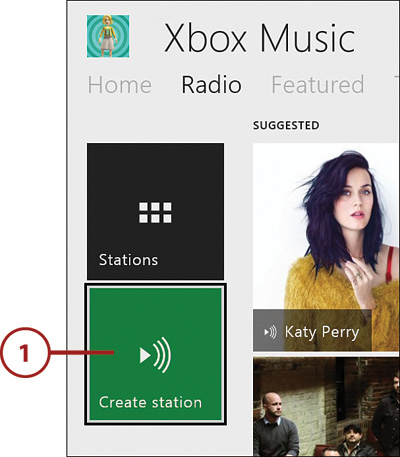
1. When in Xbox Music, go to the Radio tab and select Create Station.
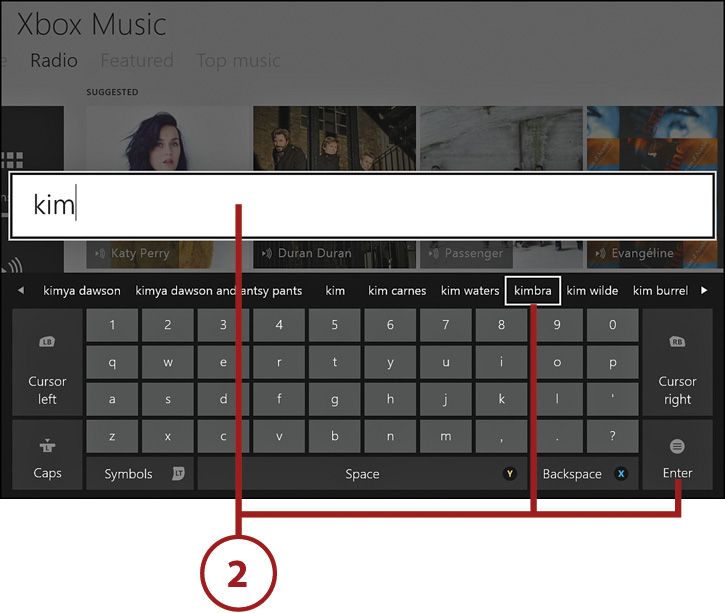
2. Enter the name of an artist and select Enter or choose from the autogenerated options should you see the artist you want. For this example, enter “kim” and select the “kimbra” option.
3. Select the artist you want from the results. Xbox Music now picks music related to Kimbra and your radio channel starts playing.

Streaming Your Personal Music Library
You can stream music to your Xbox One from a Windows 7 or later computer to Xbox Music. You can also do the same from most Android or iOS mobile devices using Skitfa, a free app that can stream from the mobile device, a network location, or a computer that is connected to the same network.
The music-streaming process works the same as it does for streaming videos and photos; see the sections “Stream Videos and Photos from Your Computer” and “Stream Videos from a Mobile Device,” in Chapter 7, “Viewing Videos and Video Content.” The only difference is that you run Xbox Music (rather than Xbox Video) and instead of selecting a video file, you select an audio file.
Playing Your Music CDs
If you don’t want to sign up for Xbox Music or just want to listen to your own music, you can play your music CDs on your Xbox One. However, unlike on the Xbox 360, you can’t rip music to your console’s hard drive. The music CD needs to remain inserted in your console for it to play. This is a bummer if all your games are on disc, but if you have a digitally downloaded game you can simultaneously play your music CDs while gaming.
Before you can play your own music CDs, you’ll need to install the Audio CD Player. At the time of this writing, the Audio CD Player only supports standard audio CDs. It doesn’t support MP3s or nonstandard audio formats.
1. When at the Home screen, insert a music CD into your Xbox One.
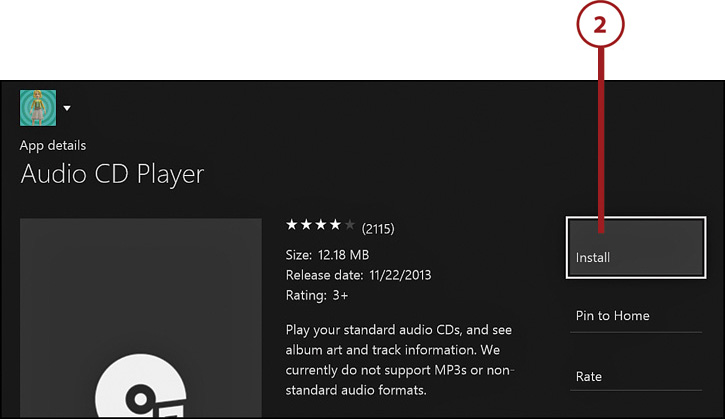
2. You now see an Audio CD Player screen. Select Install.
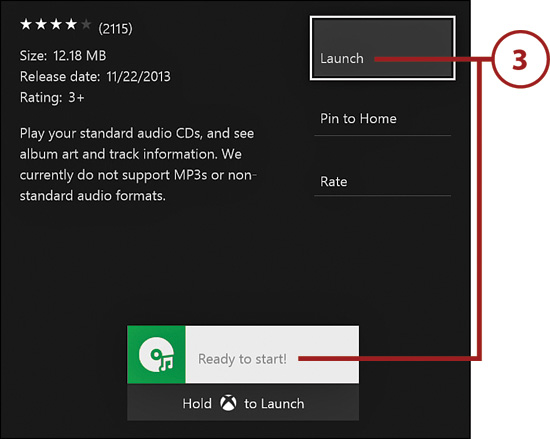
3. Once the download finishes, select Launch, or briefly hold the Xbox button on your controller when you see the onscreen launch notification.
4. Your music CD now starts playing.
Pin the Audio CD Player for Easy Access
If you plan to use the Audio CD Player a lot, be sure to pin it to the Home screen.
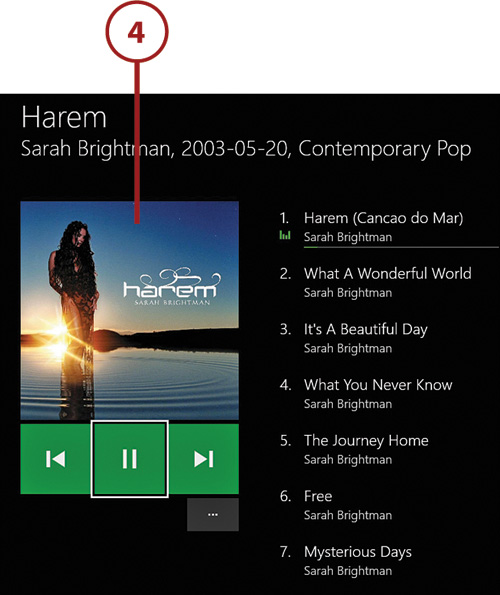
Understanding the Audio CD Player Interface
The Audio CD Player interface is very simple, as it only gives you basic controls and information on your CD’s contents. The controls are the same as outlined in “Controlling the Music and Video Playback Menus” section earlier in this chapter. For quick reference, the Audio CD Player’s functionality is also shown in the image below.
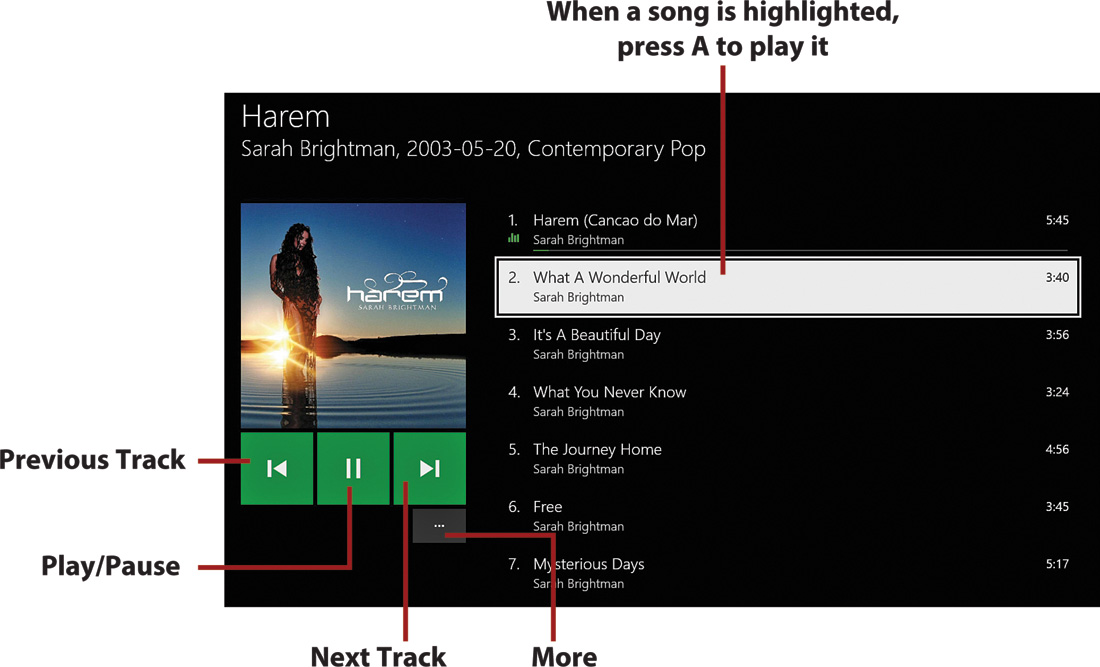
When you select More, the following options are available:
• Turn Shuffle On—Select to play your songs in random order.
• Turn Repeat On—Select to have your CD repeat once it’s done looping through.
• Go Back—Select to go back to the Audio CD Player Interface.
