
10. Working with Slideshows and Compositions
What You’ll Do
Adding a Slideshow or Composition
Removing Photos from a Slideshow
Repositioning Slideshow Elements
Editing Slideshow Thumbnail States
Choosing Slideshow Transition Options
Choosing Slideshow Autoplay Options
Enabling and Disabling Slideshow Parts
Introduction
Slideshows are great for showcasing photographs at online portfolio sites, but they’re also commonly used at news sites and online stores. You might think that setting up slideshows like these would be difficult, but it’s actually very easy when you use the slideshow and composition widgets available in Muse.
The prebuilt slideshow and composition widgets are available via the Widgets Library panel. You can add one by dragging it from the Widgets Library panel onto the page. In this chapter, you will learn how to customize the prebuilt slideshow widgets to better suit the overall design of your site.
You will learn how to add and delete slideshow images, as well as how to resize and reposition the hero images and image thumbnails. In addition, you will learn how to edit and reformat slideshow text objects and apply rollover functionality to slideshow thumbnails.
The final sections of the chapter explain how to choose slideshow options, such as those for transition and autoplay. They also explain how to enable or disable the lightbox feature and show or hide various slideshow parts, such as the slide counter, close button, or caption.
Adding a Slideshow or Composition
Slideshows are commonly used in online portfolios to show examples of an artist’s work. You’ll also find slideshows at many popular news sites to display the latest headlines. Slideshows are even used at online shopping sites to display photos of a product taken from different angles. Thankfully, Muse makes adding slideshows to your sites incredibly easy via widgets and the Widgets Library panel. To add a prebuilt slideshow or composition widget, all you need to do is click and drag the item from the Widgets Library onto the page. You can then customize the slideshow to suit your website’s design by resizing, repositioning, and editing the widget contents.
Drag-and-drop the Slideshow or Composition widget
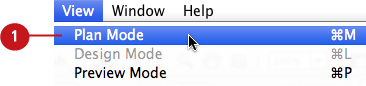
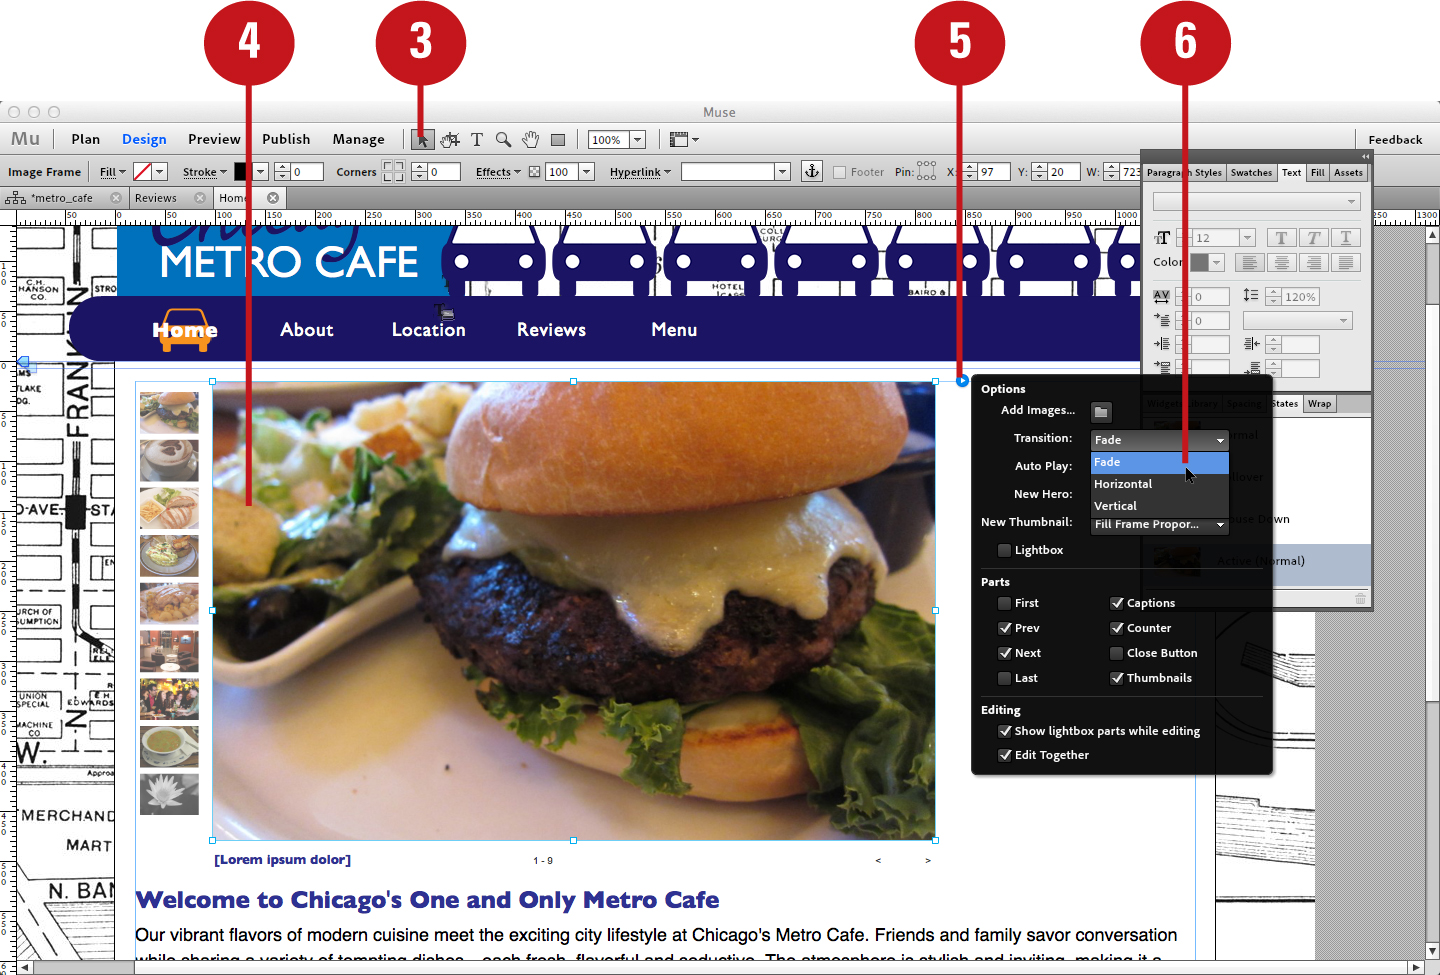
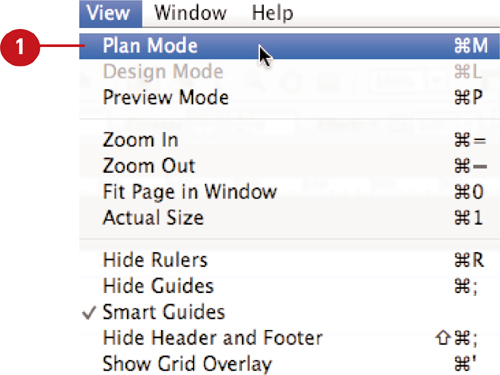
![]() Choose Plan Mode from the View menu.
Choose Plan Mode from the View menu.

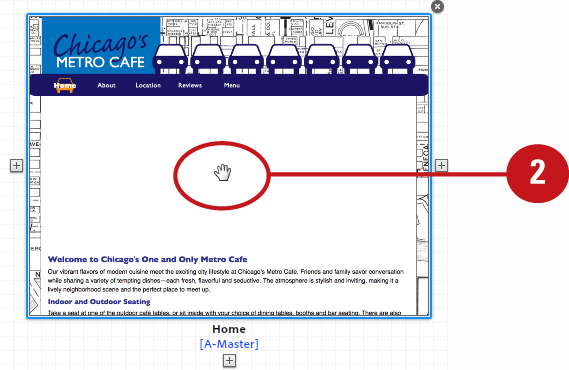
![]() From the sitemap, double-click the thumbnail of the page you’d like to add a slideshow to.
From the sitemap, double-click the thumbnail of the page you’d like to add a slideshow to.
Muse opens the page in Design Mode.
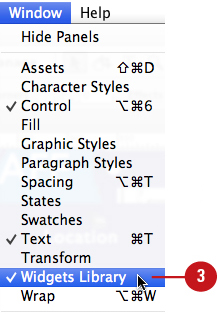
![]() If it’s not visible already, choose Window > Widgets Library to display the Widgets Library panel.
If it’s not visible already, choose Window > Widgets Library to display the Widgets Library panel.
![]() Click the right-facing arrow next to Compositions or Slideshows in the Widgets Library panel.
Click the right-facing arrow next to Compositions or Slideshows in the Widgets Library panel.
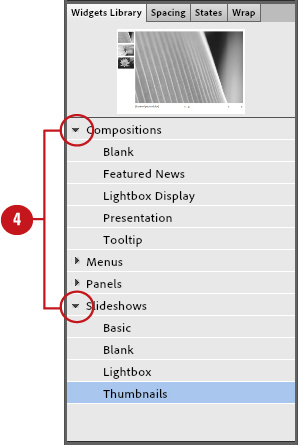
Muse displays the available widget options, including Blank, Featured News, Lightbox Display, Presentation, and Tooltip (Compositions); and Basic, Blank, Lightbox, and Thumbnails (Slideshows).
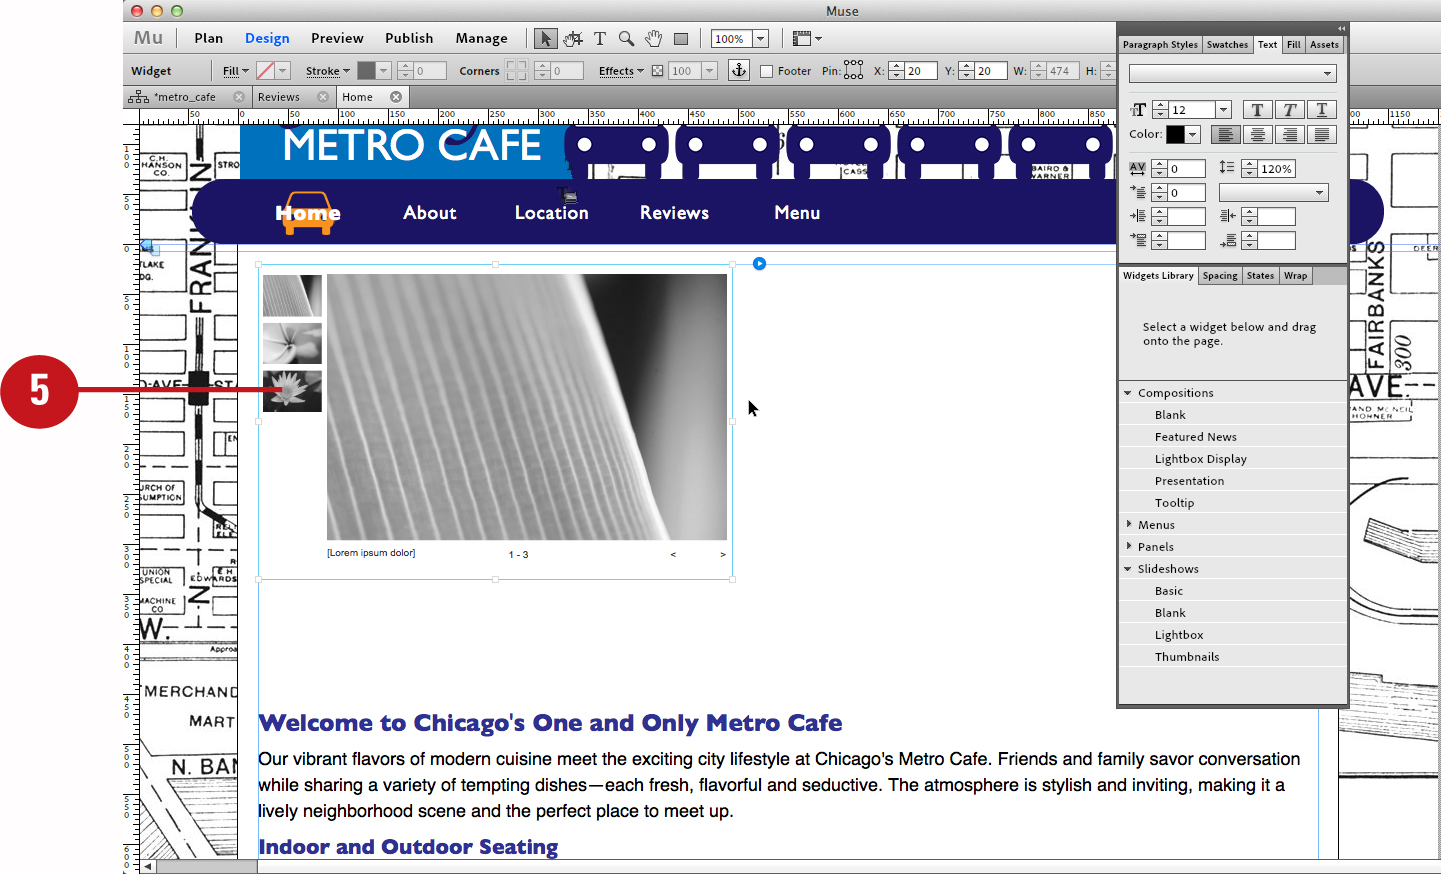
![]() Click and drag the Slideshow widget from the Widgets Library panel onto the page.
Click and drag the Slideshow widget from the Widgets Library panel onto the page.
The Widgets Library panel also includes menus and panels. You can also drag prebuilt menu and panel widgets from the Widgets Library panel onto a page (see Chapter 4 “Adding Navigational Content”).
Placing Photos in a Slideshow
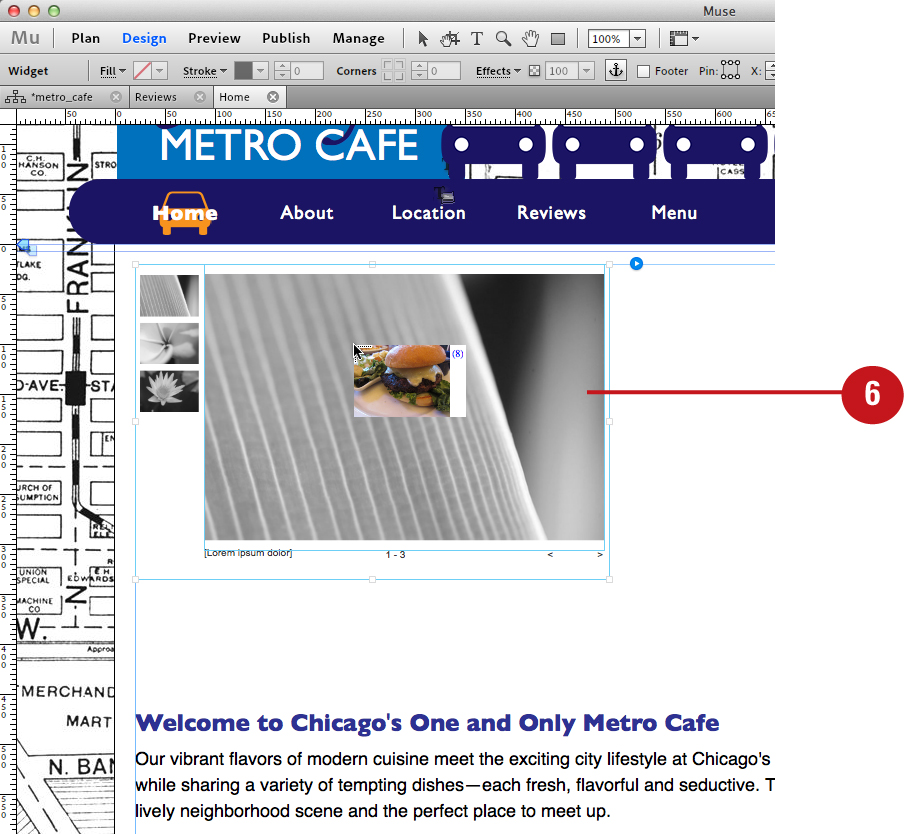
The prebuilt slideshow and composition widgets in Muse come equipped with placeholder photographs. You can easily remove these photos and include photos of your own. To do so, choose the Place command, or click the Add Images button in the slideshow Options panel. By default, when you add slideshow images, Muse crops the hero and thumbnail images differently. Hero images fit the frame proportionally (leaving white space in the frame), while thumbnail images fill the frame proportionally (cropping the image to fill the frame). You can change these frame options in the slideshow Options flyout window, accessible by clicking the blue arrow to the right of the widget.
Choose the Place command
![]() Choose Plan Mode from the View menu.
Choose Plan Mode from the View menu.

![]() From the sitemap, double-click the thumbnail of the page whose slideshow you’d like to edit.
From the sitemap, double-click the thumbnail of the page whose slideshow you’d like to edit.

Muse opens the page in Design Mode.
![]() Choose File > Place to access the Import dialog box.
Choose File > Place to access the Import dialog box.

![]() Using the Import dialog box, navigate to the slideshow images on your system disk. Shift-click to select multiple consecutive images; Cmd-click (Mac) or Ctrl-click (Win) to select multiple non-consecutive images.
Using the Import dialog box, navigate to the slideshow images on your system disk. Shift-click to select multiple consecutive images; Cmd-click (Mac) or Ctrl-click (Win) to select multiple non-consecutive images.
![]() Click Select to close the Import dialog box and import the images.
Click Select to close the Import dialog box and import the images.

![]() To place the images, click the loaded place cursor on the slideshow widget.
To place the images, click the loaded place cursor on the slideshow widget.
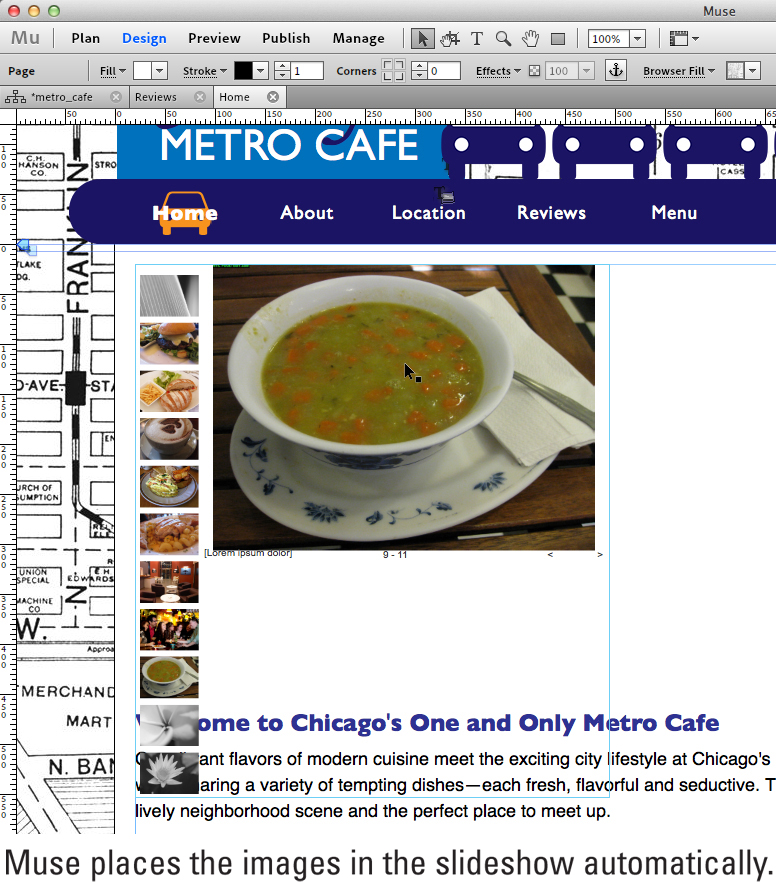
By default, Muse automatically sizes the images to fill the slideshow thumbnail frames and fit the hero frame.
Click the Add Images button
![]() Choose Plan Mode from the View menu.
Choose Plan Mode from the View menu.

![]() From the sitemap, double-click the thumbnail of the page whose slideshow you’d like to edit.
From the sitemap, double-click the thumbnail of the page whose slideshow you’d like to edit.

Muse opens the page in Design Mode.
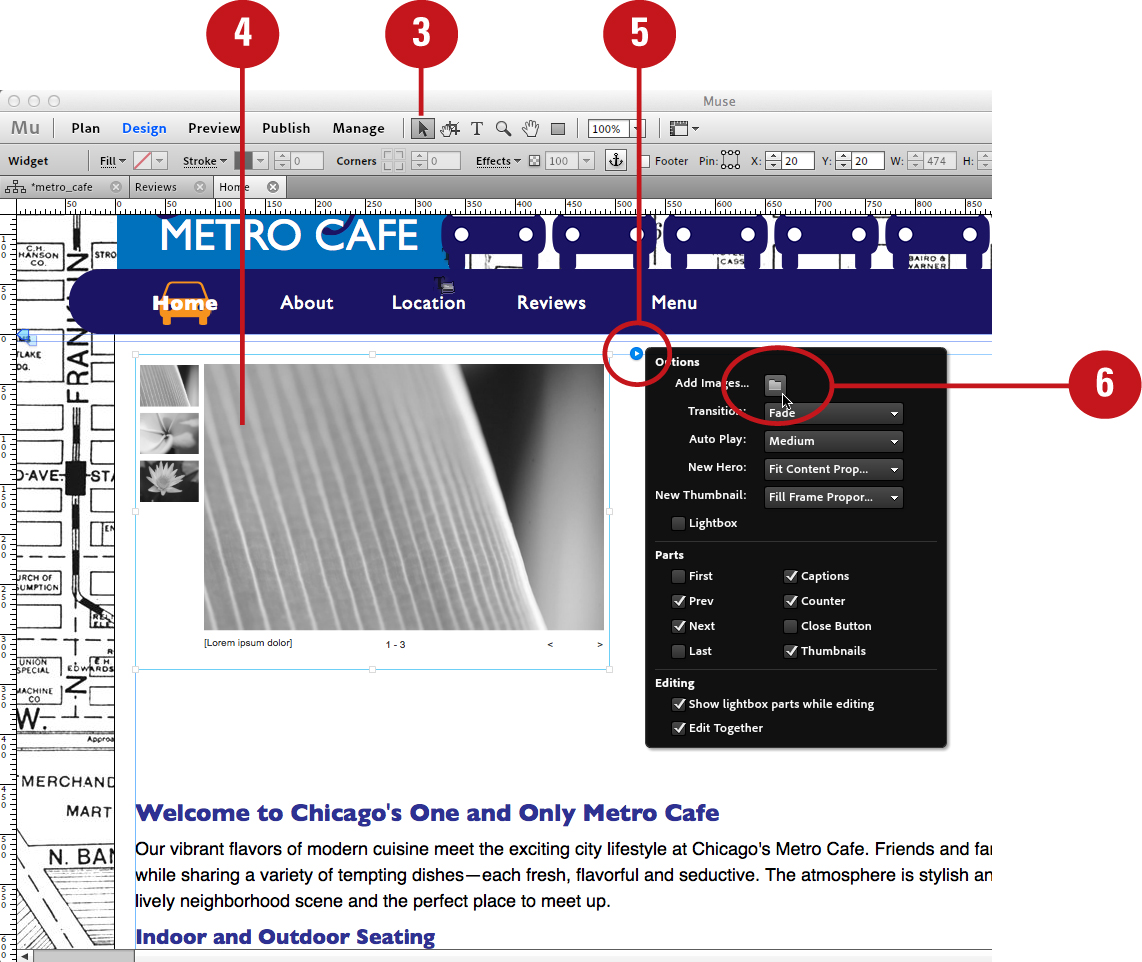
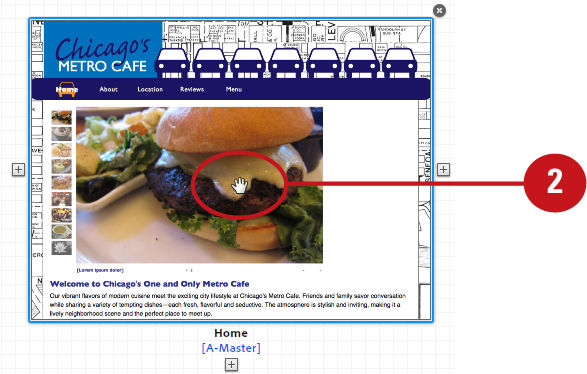
![]() Click the Selection Tool icon at the top of the Design Mode interface.
Click the Selection Tool icon at the top of the Design Mode interface.
![]() Click anywhere on the slideshow widget to select it.
Click anywhere on the slideshow widget to select it.
![]() Click the right-facing arrow that appears in the upper-right corner of the selected slideshow widget.
Click the right-facing arrow that appears in the upper-right corner of the selected slideshow widget.
Muse displays a flyout Options panel.
![]() In the flyout Options panel, click the Add Images button.
In the flyout Options panel, click the Add Images button.
Muse displays the Import dialog box.
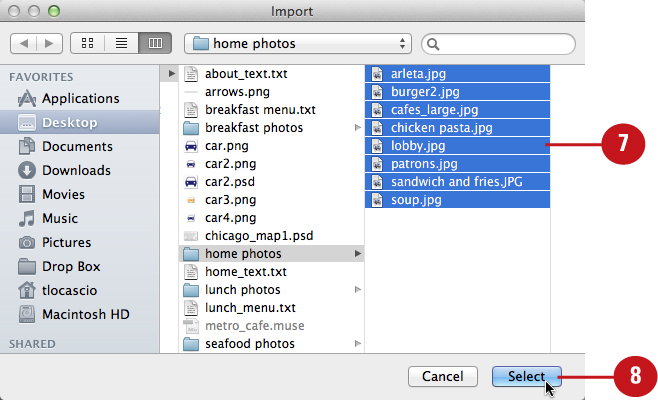
![]() Using the Import dialog box, navigate to the slideshow images on your system disk. Shift-click to select multiple consecutive images; Cmd-click (Mac) or Ctrl-click (Win) to select multiple non-consecutive images.
Using the Import dialog box, navigate to the slideshow images on your system disk. Shift-click to select multiple consecutive images; Cmd-click (Mac) or Ctrl-click (Win) to select multiple non-consecutive images.
![]() Click Select to close the Import dialog box and place the new images in the slideshow.
Click Select to close the Import dialog box and place the new images in the slideshow.

By default, Muse automatically sizes the images to fill the slideshow thumbnail frames and fit the hero frame.
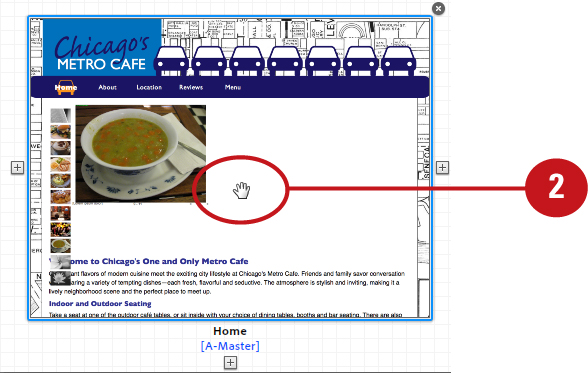
Removing Photos from a Slideshow
One of the first things you’ll want to do when creating a slideshow is to delete the placeholder photographs that are part of the slideshow or composition widget. As you customize your slideshow, you may also decide to remove some images of your own. To delete a photo from a slideshow or composition, select the image thumbnail or hero image with the Selection tool and press Delete or Backspace (Win). Doing so removes both the thumbnail image and its frame container.
Delete the selected slideshow image thumbnail
![]() Choose Plan Mode from the View menu.
Choose Plan Mode from the View menu.

![]() From the sitemap, double-click the thumbnail of the page whose slideshow you’d like to edit.
From the sitemap, double-click the thumbnail of the page whose slideshow you’d like to edit.
Muse opens the page in Design Mode.
![]() Click the Selection Tool icon at the top of the Design Mode interface.
Click the Selection Tool icon at the top of the Design Mode interface.
![]() To select the image you’d like to remove from the slideshow, click its thumbnail three times, or click the hero image twice.
To select the image you’d like to remove from the slideshow, click its thumbnail three times, or click the hero image twice.
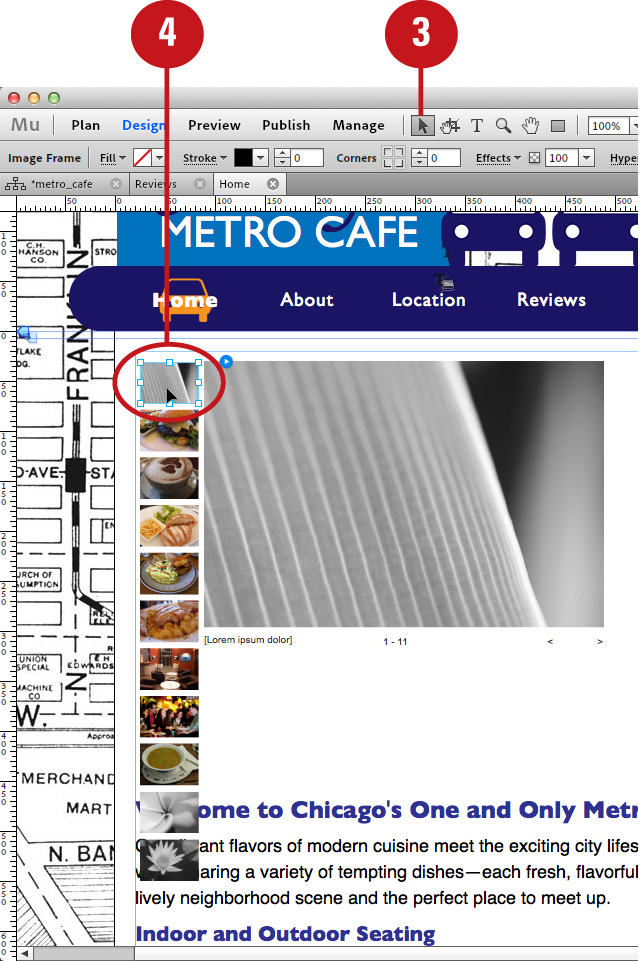
![]() Press Delete or Backspace (Win).
Press Delete or Backspace (Win).

Muse removes the image from the slideshow.
You can also add object formatting to slideshow images. To do so, select the slideshow image with the Selection tool and choose the object attributes, such as stroke, effects, and opacity from the Control panel.
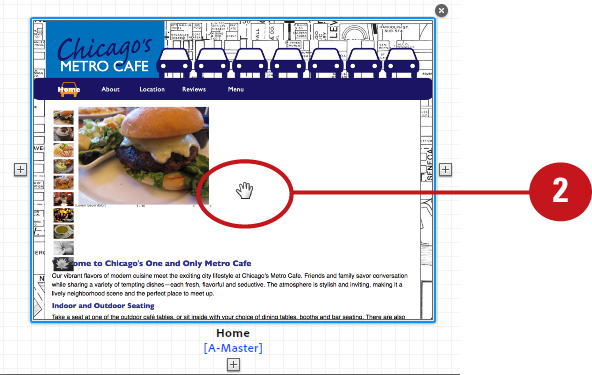
Resizing Slideshow Images
One of the great things about working with slideshow and composition widgets is that you can easily customize them to better suit your website design. For example, you may want to resize the hero image to be bigger and the thumbnails to be smaller, or vice versa. Resizing slideshow image frames is no different from resizing any other frame in Muse. To resize both the image and its frame container proportionally, click and drag any corner selection node.
Drag a side or corner node with the Selection tool
![]() Choose Plan Mode from the View menu.
Choose Plan Mode from the View menu.

![]() From the sitemap, double-click the thumbnail of the page whose slideshow you’d like to edit.
From the sitemap, double-click the thumbnail of the page whose slideshow you’d like to edit.
Muse opens the page in Design Mode.
![]() Click the Selection Tool icon at the top of the Design Mode interface.
Click the Selection Tool icon at the top of the Design Mode interface.
![]() To select the slideshow image you’d like to resize, click its thumbnail three times, or click the hero image twice.
To select the slideshow image you’d like to resize, click its thumbnail three times, or click the hero image twice.
![]() Click and drag any corner or side node to resize the selected slideshow image.
Click and drag any corner or side node to resize the selected slideshow image.
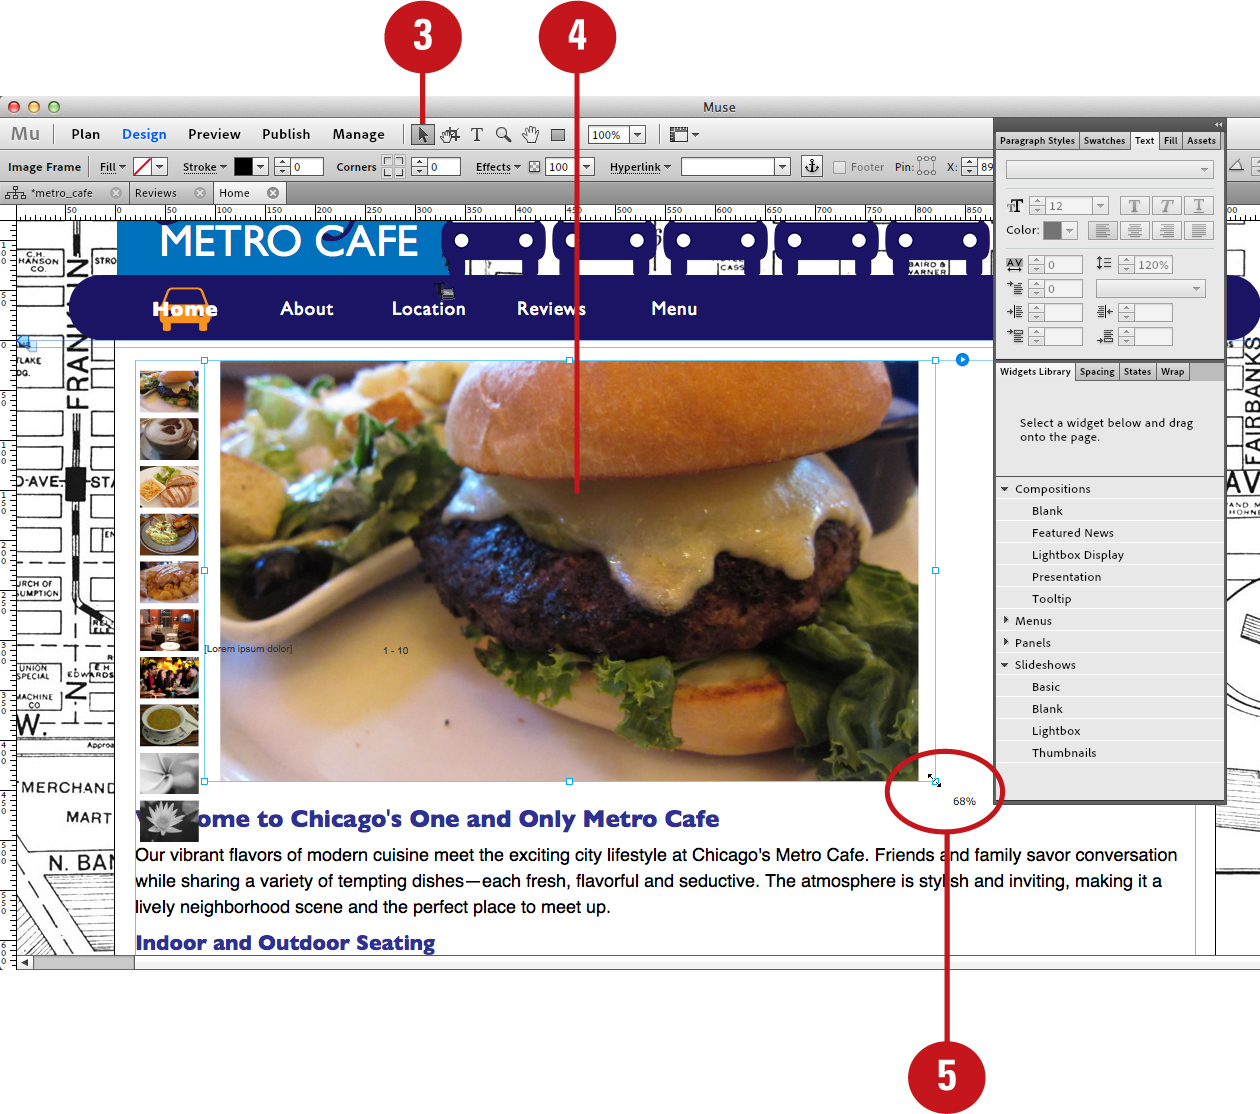
As you resize the image, Muse displays the current scale percentage next to the Selection tool cursor.
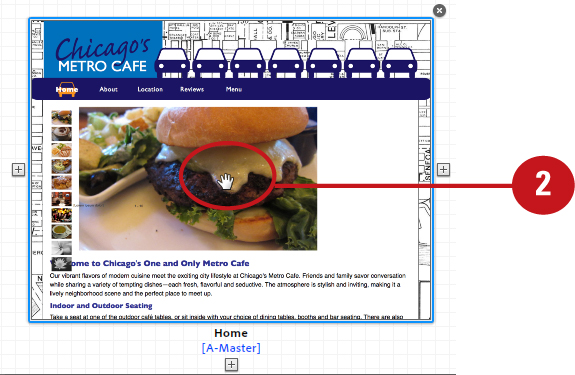
Repositioning Slideshow Elements
All widget slideshow elements, such as the image thumbnails, the hero image, the caption, the previous and next buttons, and any additional parts you’ve made visible from the slideshow Options window, can be selected and repositioned. By default, these slideshow elements are all grouped together; however, Muse enables you to select each one from within the group and move it to a new location on the page. When you deselect the repositioned object, it still remains in the group.
Click and drag slideshow elements
![]() Choose Plan Mode from the View menu.
Choose Plan Mode from the View menu.

![]() From the sitemap, double-click the thumbnail of the page whose slideshow you’d like to edit.
From the sitemap, double-click the thumbnail of the page whose slideshow you’d like to edit.
Muse opens the page in Design Mode.
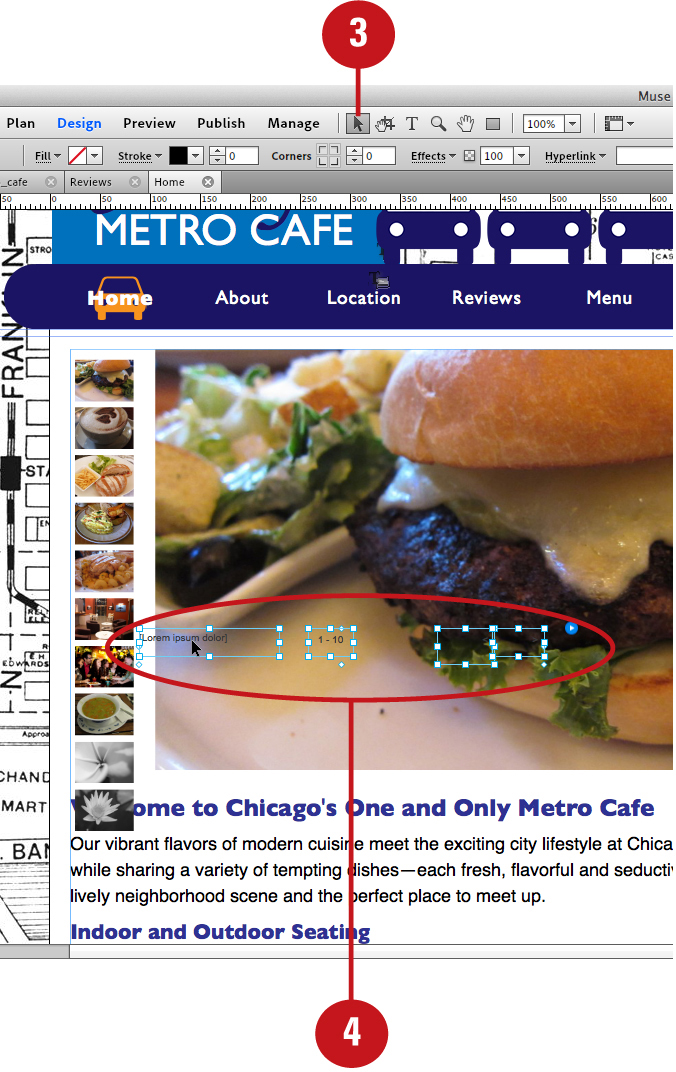
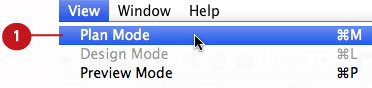
![]() Click the Selection Tool icon at the top of the Design Mode interface.
Click the Selection Tool icon at the top of the Design Mode interface.
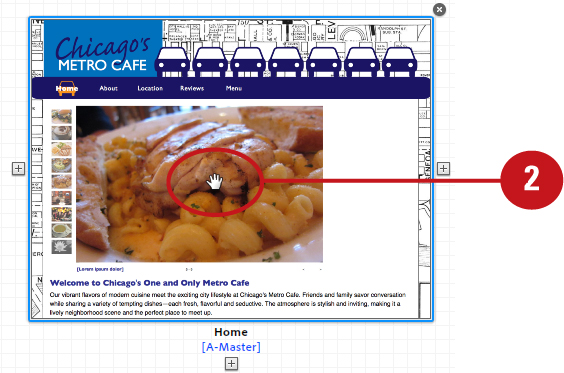
![]() To select the slideshow object you would like to reposition, click it with the Selection tool.
To select the slideshow object you would like to reposition, click it with the Selection tool.
Depending on which slideshow object you are trying to select, you may have to click two or three times with the Selection tool.
![]() Click and drag to reposition the slideshow object.
Click and drag to reposition the slideshow object.

Editing Slideshow Text
The sample text that appears in captions for widget slideshows and compositions is also entirely editable. You can enter new text, resize and reposition text frames, and apply different text formatting or styles. Note that as you edit related slideshow text objects, such as the Prev and Next buttons, the changes are automatically applied globally. This is because the Edit Together option is enabled by default in the slideshow Options window, accessible by clicking the blue arrow to the right of the widget.
Edit slideshow text and formatting
![]() Choose Plan Mode from the View menu.
Choose Plan Mode from the View menu.
![]() From the sitemap, double-click the thumbnail of the page whose slideshow you’d like to edit.
From the sitemap, double-click the thumbnail of the page whose slideshow you’d like to edit.

Muse opens the page in Design Mode.
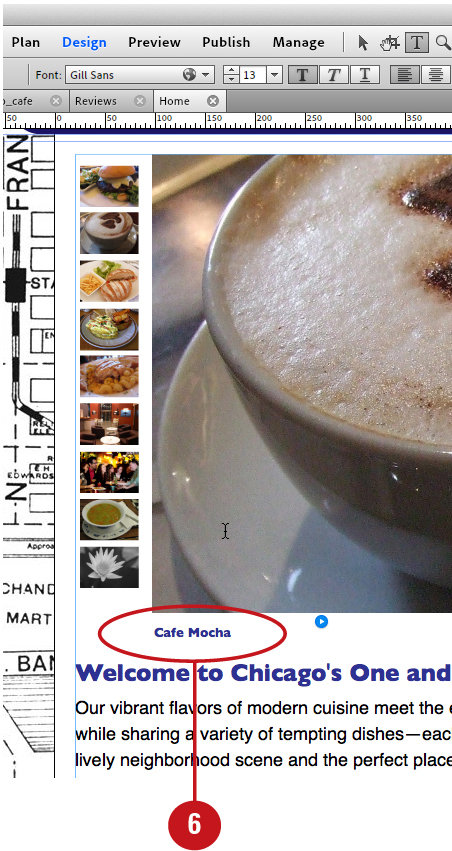
![]() Click the Text Tool icon at the top of the Design Mode interface.
Click the Text Tool icon at the top of the Design Mode interface.
![]() To select the text you would like to edit, click and drag over the characters with the Text tool cursor.
To select the text you would like to edit, click and drag over the characters with the Text tool cursor.
![]() Enter new formatting attributes in the Control panel or Text panel.
Enter new formatting attributes in the Control panel or Text panel.

![]() Enter new text for the caption.
Enter new text for the caption.
See Chapter 7, “Working with Text,” to learn more about applying text attributes.
Editing Slideshow Thumbnail States
Slideshow thumbnails can also include rollover functionality. You can edit rollover states for a thumbnail by selecting it and clicking one of the four states from the States panel (Normal, Rollover, Mouse Down, and Active). You can then choose specific appearance attributes for each state from the Control panel. Note that as you apply edits to a thumbnail state, the changes are automatically applied to all of the thumbnails in the slideshow. This is because the Edit Together option is enabled by default in the slideshow Options window, accessible by clicking the blue arrow to the right of the widget.
Edit rollover states with the States panel
![]() Choose Plan Mode from the View menu.
Choose Plan Mode from the View menu.

![]() From the sitemap, double-click the thumbnail of the page whose slideshow you’d like to edit.
From the sitemap, double-click the thumbnail of the page whose slideshow you’d like to edit.
Muse opens the page in Design Mode.
![]() Click the Selection Tool icon at the top of the Design Mode interface.
Click the Selection Tool icon at the top of the Design Mode interface.
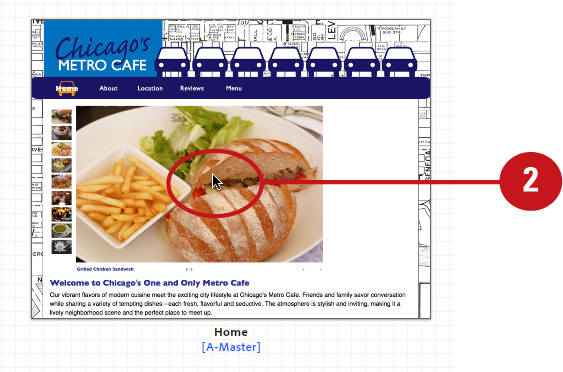
![]() Triple-click one of the slideshow thumbnails to select it.
Triple-click one of the slideshow thumbnails to select it.

![]() Choose Window > States to display the States panel.
Choose Window > States to display the States panel.

![]() Click the Normal state in the States panel.
Click the Normal state in the States panel.
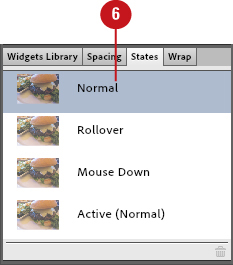
![]() From the Control panel, choose the preferred normal state attributes, such as Opacity, Stroke, and Effects.
From the Control panel, choose the preferred normal state attributes, such as Opacity, Stroke, and Effects.
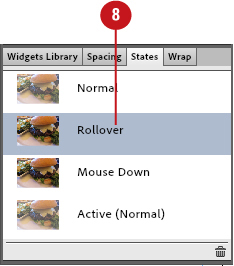
![]() Click the Rollover state in the States panel.
Click the Rollover state in the States panel.
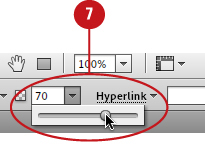
![]() From the Control panel, choose the preferred rollover state attributes, such as Opacity, Stroke, and Effects.
From the Control panel, choose the preferred rollover state attributes, such as Opacity, Stroke, and Effects.

![]() Click the Mouse Down state in the States panel.
Click the Mouse Down state in the States panel.
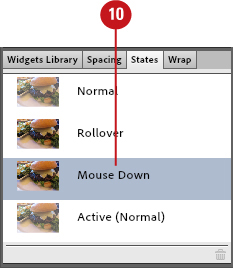
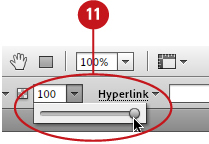
![]() From the Control panel, choose the preferred mouse down state attributes, such as Opacity, Stroke, and Effects.
From the Control panel, choose the preferred mouse down state attributes, such as Opacity, Stroke, and Effects.
![]() Click the Active state in the States panel.
Click the Active state in the States panel.
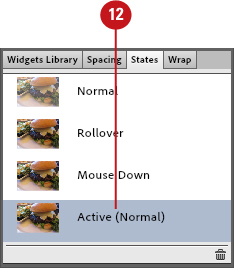
![]() From the Control panel, choose the preferred active state attributes, such as Opacity, Stroke, and Effects.
From the Control panel, choose the preferred active state attributes, such as Opacity, Stroke, and Effects.

Muse updates the different thumbnail rollover states.
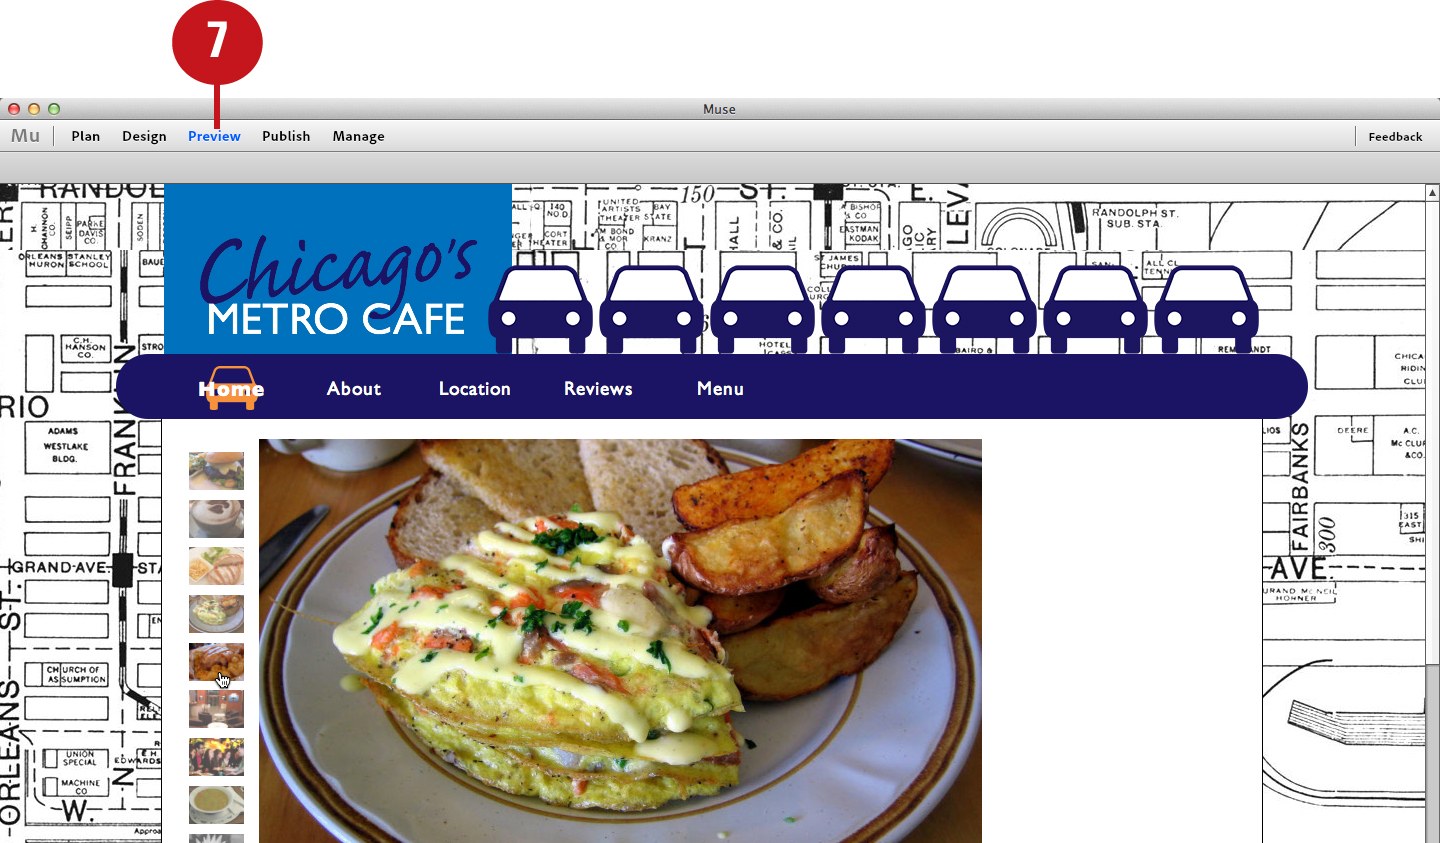
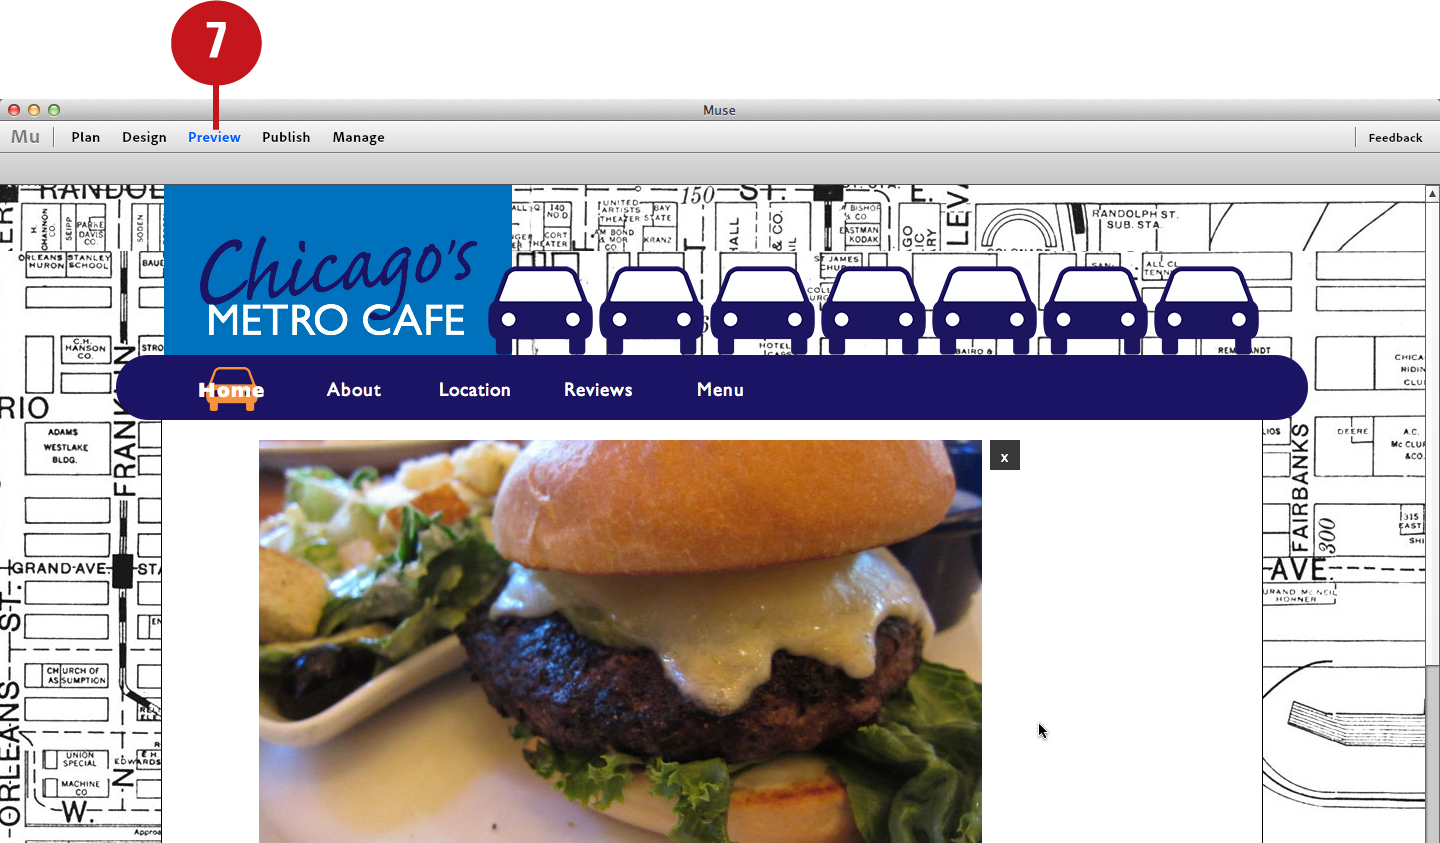
![]() Choose View > Preview Mode or click the Preview button located in the upper left of the Design Mode interface.
Choose View > Preview Mode or click the Preview button located in the upper left of the Design Mode interface.
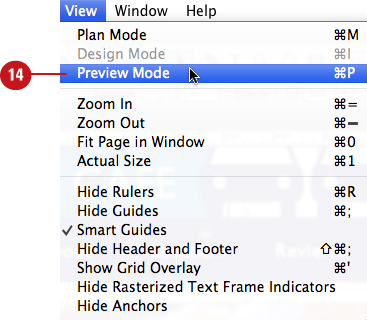
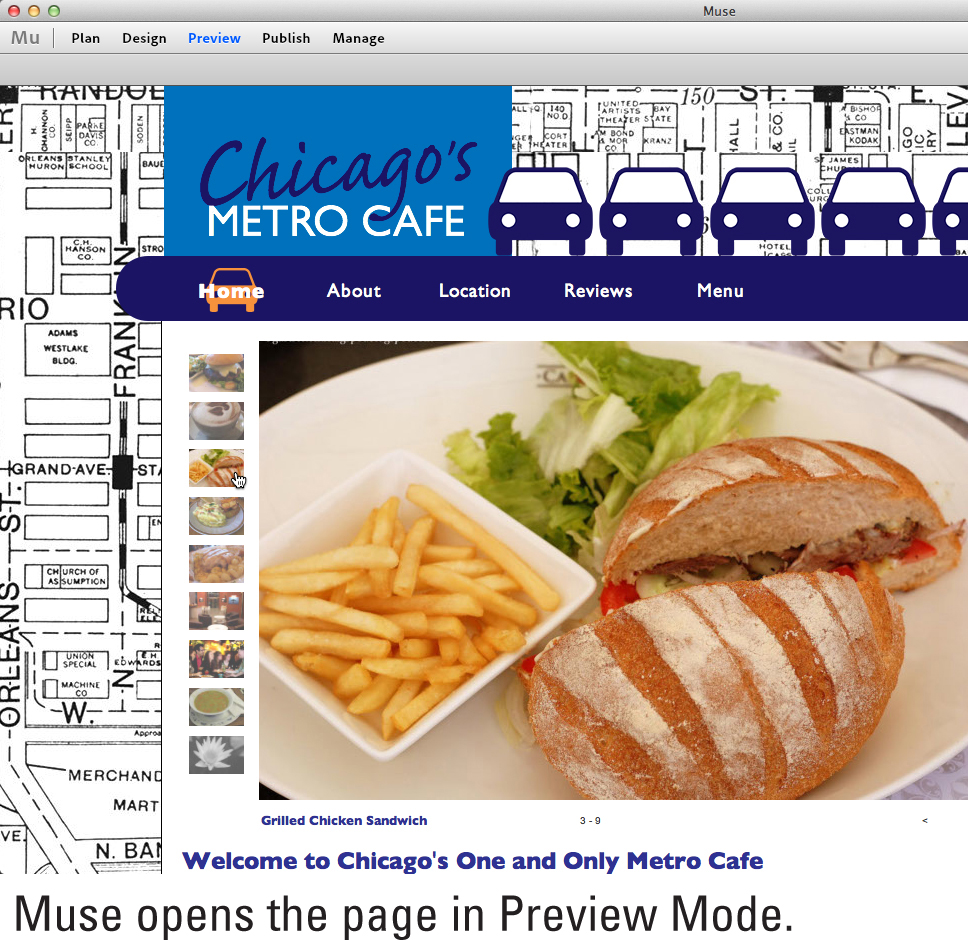
Muse opens the page in Preview Mode, where you can preview the new thumbnail rollover states.
Choosing Slideshow Transition Options
Muse also enables you to control the way the images transition from one to another when playing the slideshow. By clicking the right-facing arrow that appears in the upper-right corner of a slideshow, you can access the Options flyout window. Here you can choose a transition option from the Transition list. Options include Fade (the default option), Horizontal, and Vertical.
Choose a transition option from the Transition list
![]() Choose Plan Mode from the View menu.
Choose Plan Mode from the View menu.
![]() From the sitemap, double-click the thumbnail of the page whose slideshow you’d like to edit.
From the sitemap, double-click the thumbnail of the page whose slideshow you’d like to edit.
Muse opens the page in Design Mode.
![]() Click the Selection Tool icon at the top of the Design Mode interface.
Click the Selection Tool icon at the top of the Design Mode interface.
![]() Click anywhere on the slideshow widget to select it.
Click anywhere on the slideshow widget to select it.
![]() Click the right-facing arrow that appears in the upper-right corner of the selected slideshow widget.
Click the right-facing arrow that appears in the upper-right corner of the selected slideshow widget.
Muse displays a flyout Options panel.
![]() In the flyout Options panel, choose a transition option from the Transition list. Options include Fade, Horizontal, and Vertical.
In the flyout Options panel, choose a transition option from the Transition list. Options include Fade, Horizontal, and Vertical.
![]() Choose View > Preview Mode or click the Preview button located in the upper left of the Design Mode interface.
Choose View > Preview Mode or click the Preview button located in the upper left of the Design Mode interface.
Muse opens the page in Preview Mode, where you can preview the new slideshow transitions.
Choosing Slideshow Autoplay Options
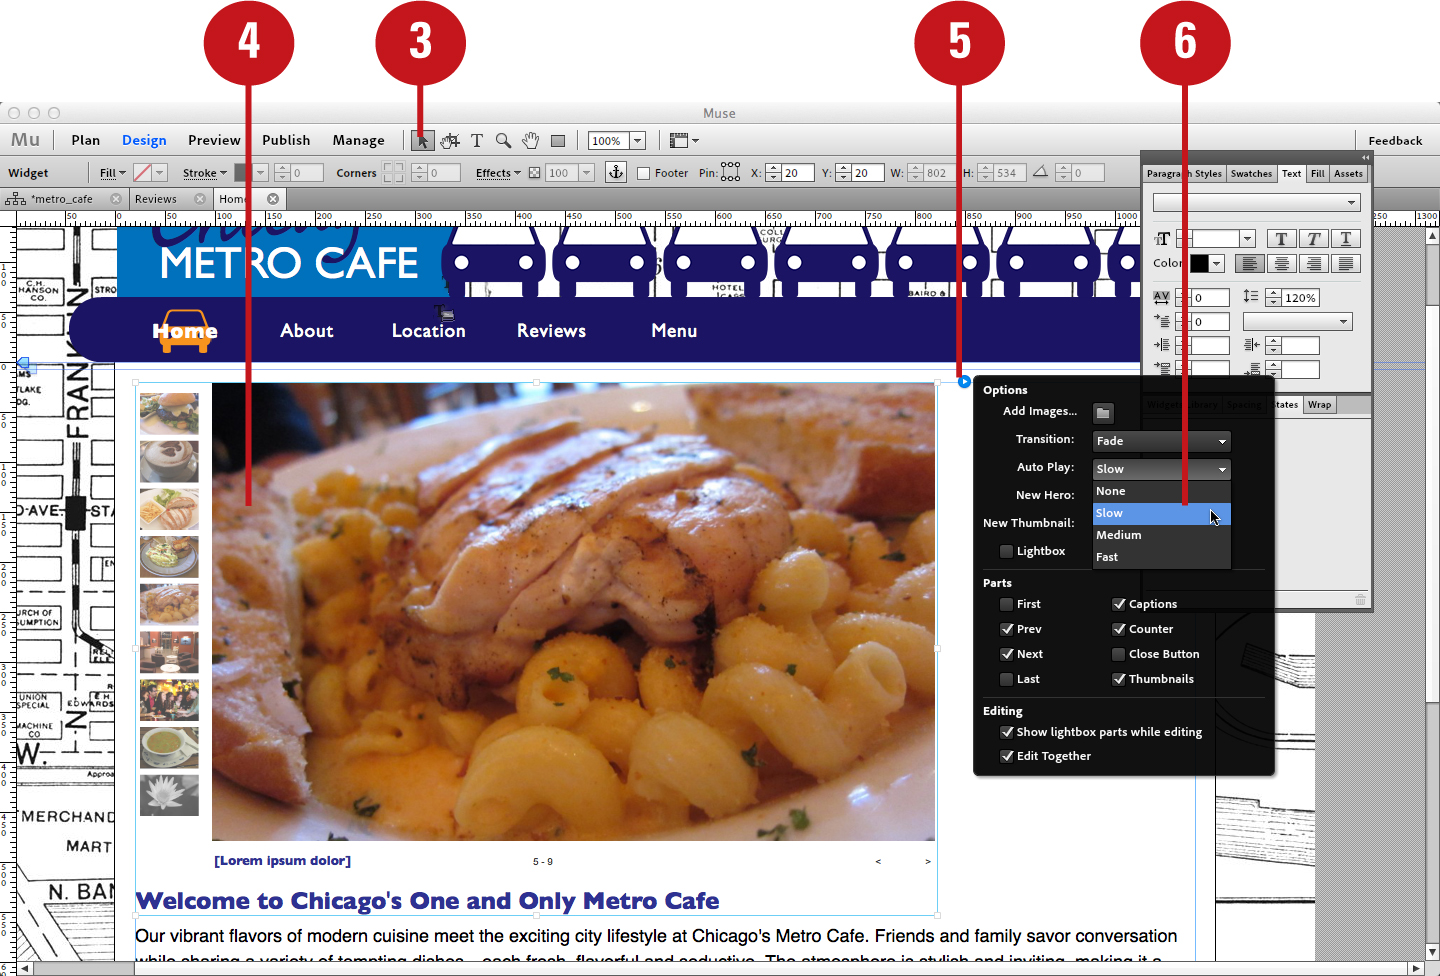
You can control the speed at which each image displays in the slideshow by choosing an Auto Play option. To access these options, you must display the Options flyout window. You can do so by clicking the right-facing arrow in the upper-right corner of a selected slideshow. From the Auto Play list in the Options window, you can choose None, Slow, Medium (the default), or Fast.
Choose an Auto Play option from the Auto Play list
![]() Choose Plan Mode from the View menu.
Choose Plan Mode from the View menu.

![]() From the sitemap, double-click the thumbnail of the page whose slideshow you’d like to edit.
From the sitemap, double-click the thumbnail of the page whose slideshow you’d like to edit.
Muse opens the page in Design Mode.
![]() Click the Selection Tool icon at the top of the Design Mode interface.
Click the Selection Tool icon at the top of the Design Mode interface.
![]() Click anywhere on the slideshow widget to select it.
Click anywhere on the slideshow widget to select it.
![]() Click the right-facing arrow that appears in the upper-right corner of the selected slideshow widget.
Click the right-facing arrow that appears in the upper-right corner of the selected slideshow widget.
Muse displays a flyout Options panel.
![]() In the flyout Options panel, choose a transition option from the Auto Play list. Options include None, Slow, Medium, and Fast.
In the flyout Options panel, choose a transition option from the Auto Play list. Options include None, Slow, Medium, and Fast.
![]() Choose View > Preview Mode or click the Preview button located in the upper left of the Design Mode interface.
Choose View > Preview Mode or click the Preview button located in the upper left of the Design Mode interface.
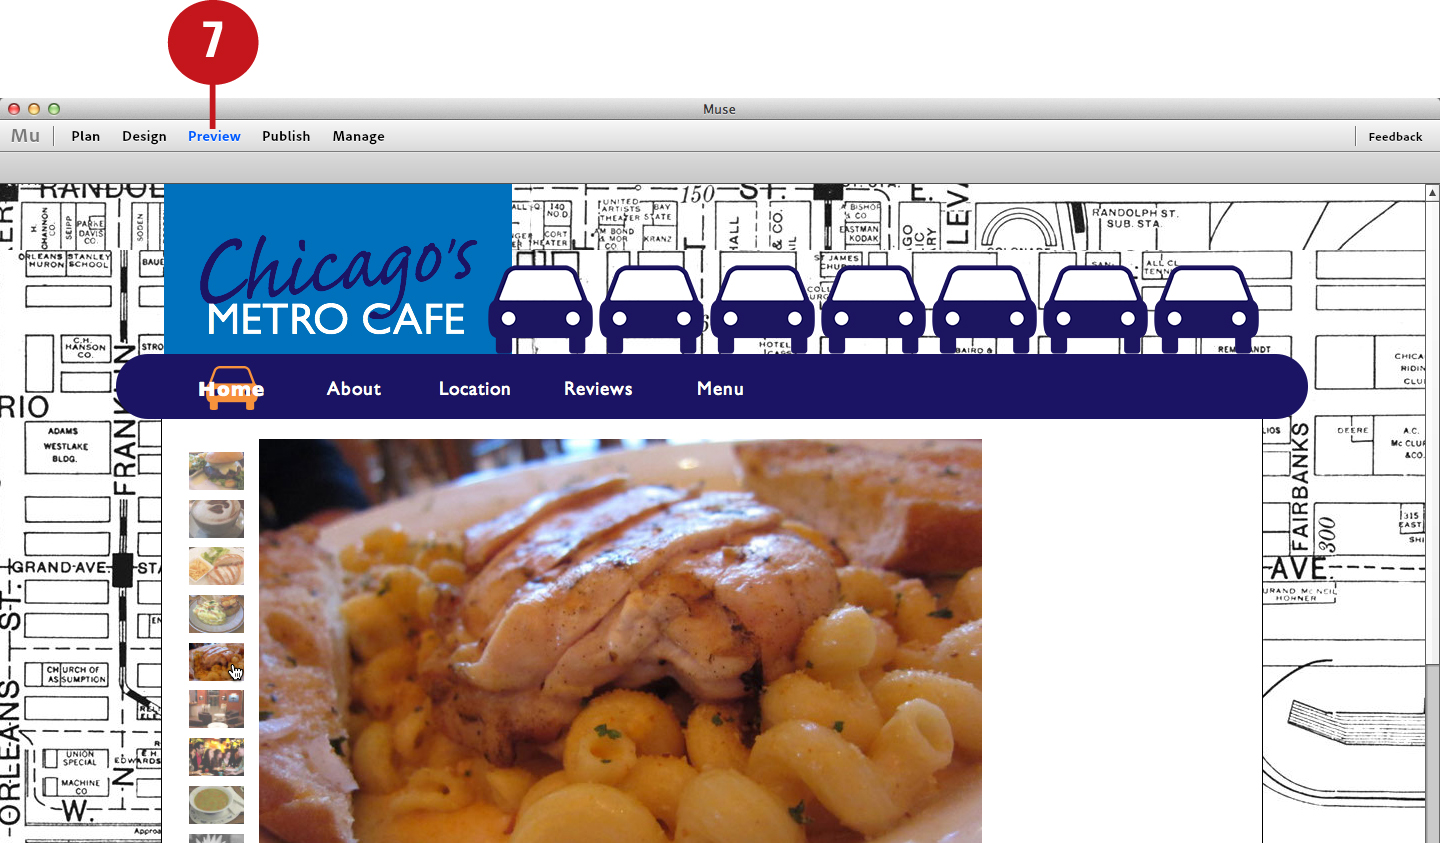
Muse opens the page in Preview Mode, where you can preview the new auto play options.
Enabling the Lightbox Option
When you enable the Lightbox feature in Muse, the slideshow behaves differently during playback. With Lightbox enabled, the entire web page is dimmed during playback, except for the slideshow hero. This puts extra emphasis on the images you are showcasing. You can enable the Lightbox feature from within the slideshow Options window.
Enable the Lightbox option in the Slideshow Options window
![]() Choose Plan Mode from the View menu.
Choose Plan Mode from the View menu.
![]() From the sitemap, double-click the thumbnail of the page whose slideshow you’d like to edit.
From the sitemap, double-click the thumbnail of the page whose slideshow you’d like to edit.

Muse opens the page in Design Mode.
![]() Click the Selection Tool icon at the top of the Design Mode interface.
Click the Selection Tool icon at the top of the Design Mode interface.
![]() Click anywhere on the slideshow widget to select it.
Click anywhere on the slideshow widget to select it.
![]() Click the right-facing arrow that appears in the upper-right corner of the selected slideshow widget.
Click the right-facing arrow that appears in the upper-right corner of the selected slideshow widget.
Muse displays a flyout Options panel.
![]() Enable the Lightbox option in the flyout Options panel.
Enable the Lightbox option in the flyout Options panel.
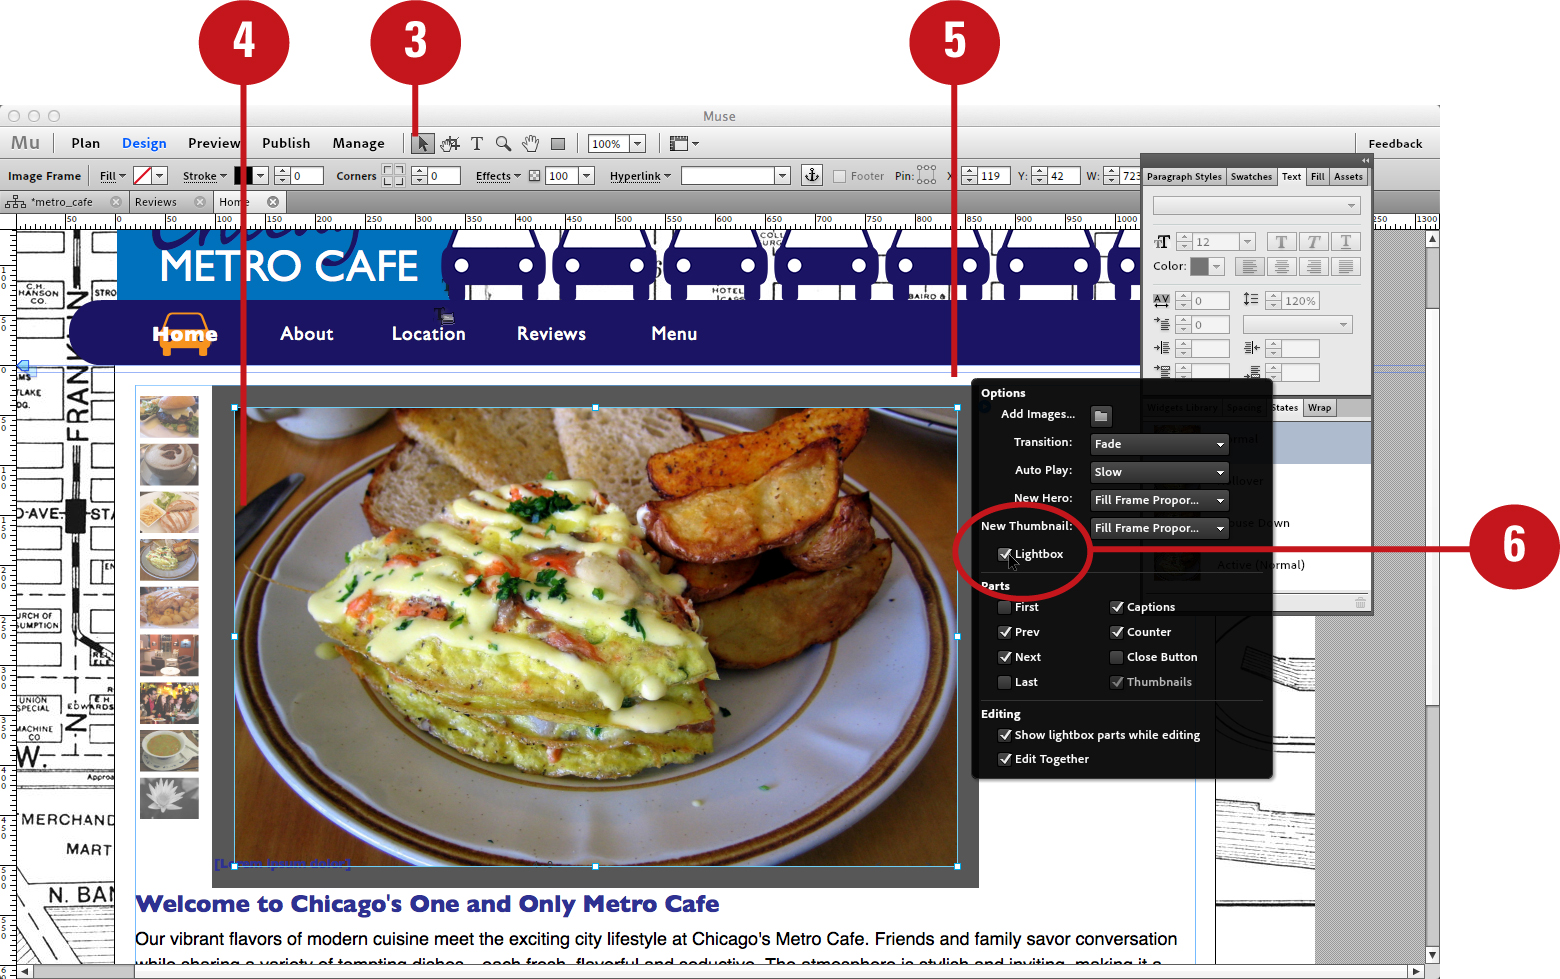
Enabling the Lightbox option may require that you reposition or resize certain slideshow parts, such as captions, prev and next buttons, and the counter.
![]() Choose View > Preview Mode or click the Preview button located in the upper left of the Design Mode interface.
Choose View > Preview Mode or click the Preview button located in the upper left of the Design Mode interface.

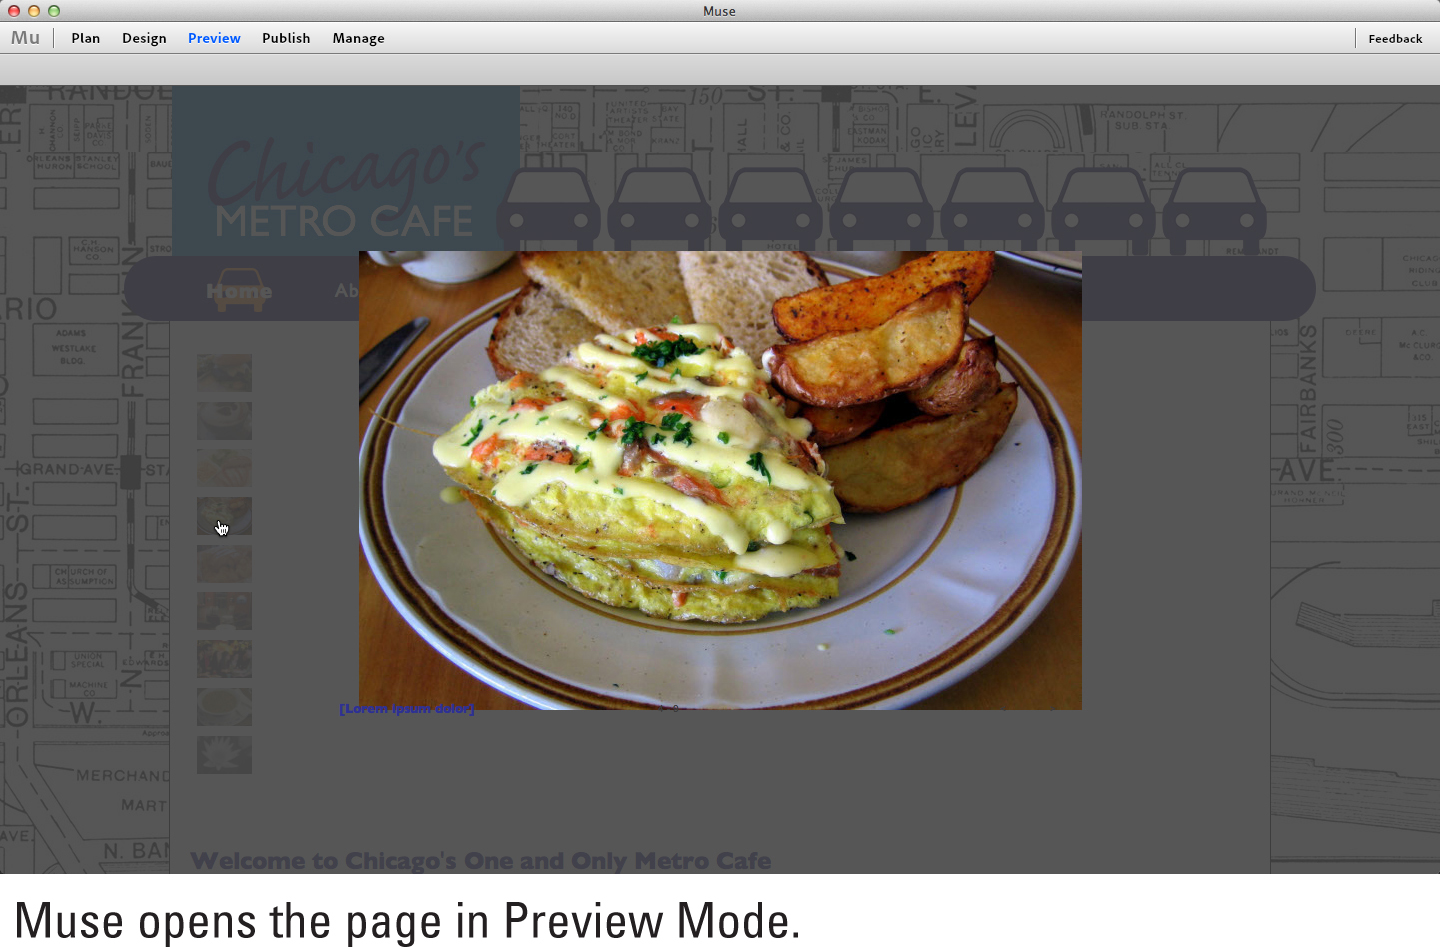
Muse opens the page in Preview Mode, where you can test the functionality and appearance of the lightbox.
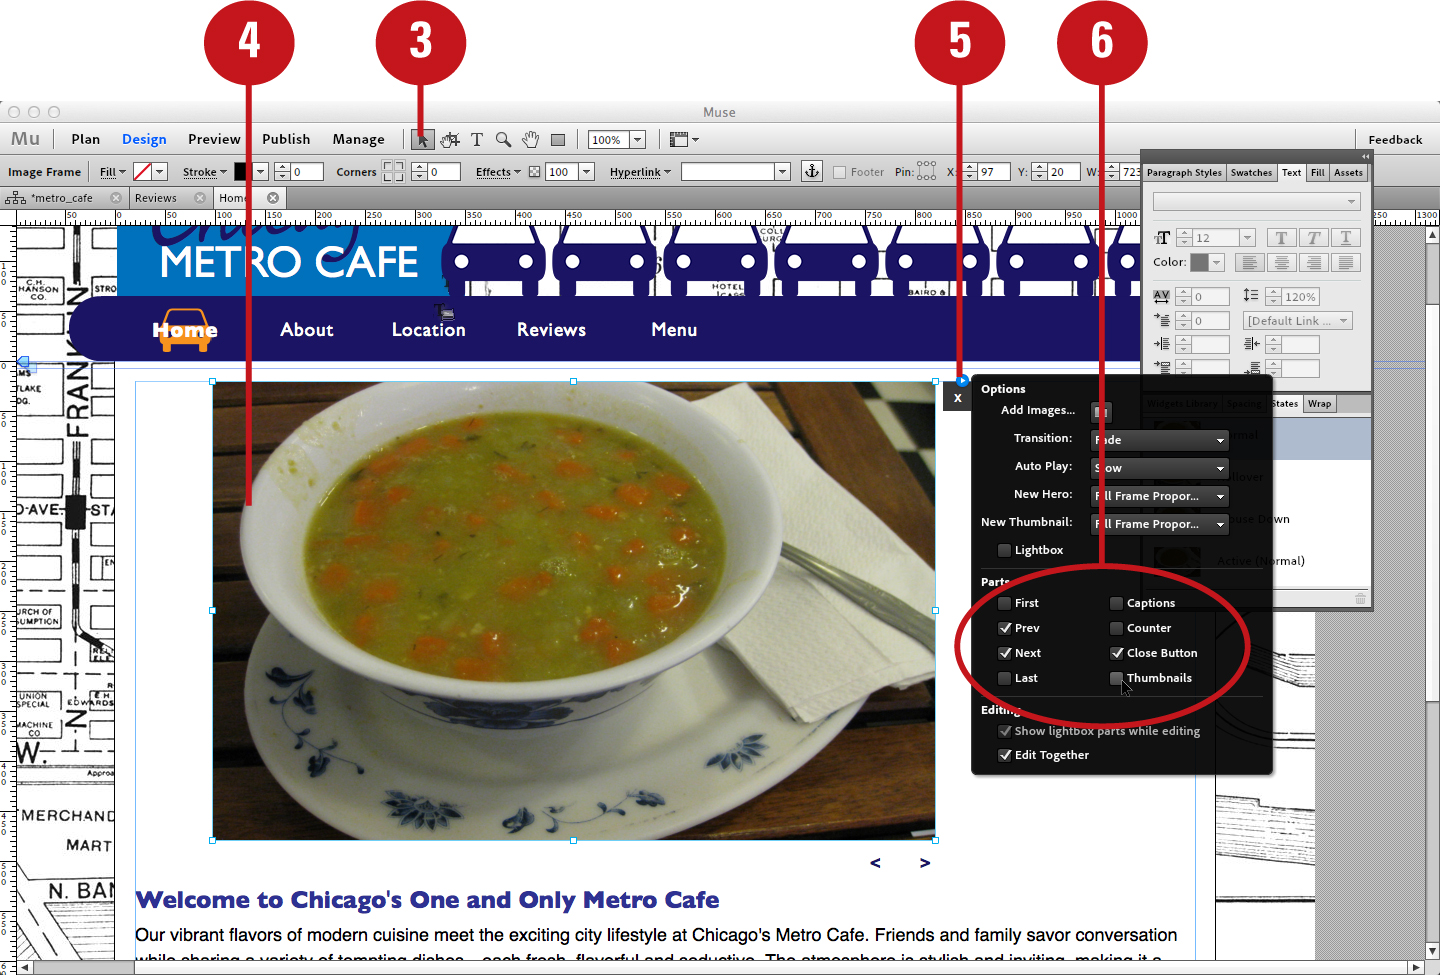
Enabling and Disabling Slideshow Parts
Different slideshow widgets display different items, such as thumbnails, previous and next buttons, captions, and a counter. You can control which items are displayed by placing a check next to each one in the Parts section of the Slideshow Options window. Other items you can include in your custom slideshows are first and last buttons and a close button.
Choose a transition option from the Transition list
![]() Choose Plan Mode from the View menu.
Choose Plan Mode from the View menu.

![]() From the sitemap, double-click the thumbnail of the page whose slideshow you’d like to edit.
From the sitemap, double-click the thumbnail of the page whose slideshow you’d like to edit.

Muse opens the page in Design Mode.
![]() Click the Selection Tool icon at the top of the Design Mode interface.
Click the Selection Tool icon at the top of the Design Mode interface.
![]() Click anywhere on the slideshow widget to select it.
Click anywhere on the slideshow widget to select it.
![]() Click the right-facing arrow that appears in the upper-right corner of the selected slideshow widget.
Click the right-facing arrow that appears in the upper-right corner of the selected slideshow widget.
Muse displays a flyout Options panel.
![]() In the Parts section of the flyout Options panel, place a check next to each item you would like to include in the slideshow.
In the Parts section of the flyout Options panel, place a check next to each item you would like to include in the slideshow.
![]() Choose View > Preview Mode or click the Preview button located in the upper left of the Design Mode interface.
Choose View > Preview Mode or click the Preview button located in the upper left of the Design Mode interface.
Muse opens the page in Preview Mode, where you can test the functionality and appearance of the slideshow parts.