
7. Working with Text
What You’ll Do
Importing Text by Copying and Pasting
Applying Bold, Italic, and Underline Attributes
Inserting Left and Right Margins
Adding Space Before and After a Paragraph
Introduction
Working with text in Muse is very similar to working with text in Adobe InDesign and Illustrator. If you’re a designer who is already familiar with formatting text in these Creative Suite applications, then you’ll feel right at home with formatting text in Muse.
In this chapter, you’ll learn how to import text into a layout using the Place command, as well as by copying and pasting it from other applications, such as Microsoft Word, or even Adobe InDesign. You’ll also learn how to select individual text characters with the Text tool.
This chapter also explains how to apply formatting attributes to text. This includes character attributes, such as font size, style options (bold, italic, underline), text alignment, color, and letter spacing. It also includes paragraph attributes, such as leading, paragraph indents, margin spacing, and spacing before and after.
You’ll also learn the difference between applying web safe fonts and system fonts to your text. Muse makes it easy for you to apply browser-friendly fonts to your body text, but you also have access to all other fonts loaded on your system.
Importing Text by Copying and Pasting
One of the easiest ways to import text into a layout is by copying and pasting it from a separate application, such as Microsoft Word, Adobe InDesign, or even a web browser. To do so, open the file in its native application and copy it to the Clipboard. When you return to Muse, choose the Paste command from the Edit menu. Muse automatically places the copied text into a frame and applies default character and paragraph formatting.
Copy text to the Clipboard
![]() Choose Plan Mode from the View menu.
Choose Plan Mode from the View menu.

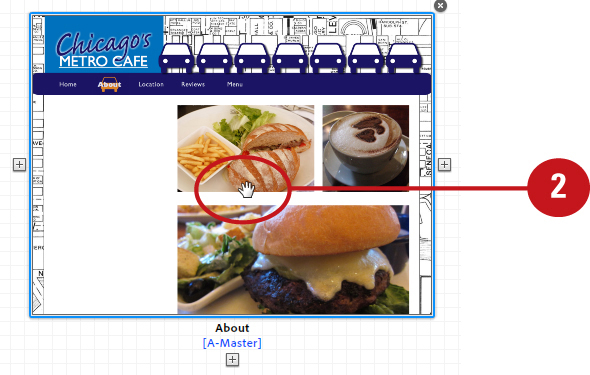
![]() Double-click any page or master page thumbnail from the sitemap.
Double-click any page or master page thumbnail from the sitemap.

Muse opens the page in Design Mode.
![]() Select the text from its native application, such as a Microsoft Word, Adobe InDesign, or even a website displayed in your default browser.
Select the text from its native application, such as a Microsoft Word, Adobe InDesign, or even a website displayed in your default browser.
![]() Copy the text to the Clipboard by choosing Edit > Copy.
Copy the text to the Clipboard by choosing Edit > Copy.

![]() Paste the text into the Muse layout by choosing Edit > Paste.
Paste the text into the Muse layout by choosing Edit > Paste.

Muse automatically creates a text frame and places the copied text using default character and paragraph formatting.
Placing Text
Another way to import text into your layouts is by using the Place command. Just as you can use the Place command to import graphics, you can also use it to import text. However, in order to do so, the text must be saved in the .TXT format—not .RTF (Real Text format) or .DOC (Microsoft Word document). After you select the .TXT file with the Import dialog box, click the loaded place cursor anywhere on the page. Muse automatically creates a text frame and places the text with default character and paragraph formatting applied.
Choose the Place command
![]() Choose Plan Mode from the View menu.
Choose Plan Mode from the View menu.

![]() Double-click any page or master page thumbnail from the sitemap.
Double-click any page or master page thumbnail from the sitemap.

Muse opens the page in Design Mode.
![]() Choose File > Place to access the Import dialog box.
Choose File > Place to access the Import dialog box.

![]() Using the Import dialog box, navigate to the .TXT file on your system disk. Click the .TXT file to select it.
Using the Import dialog box, navigate to the .TXT file on your system disk. Click the .TXT file to select it.
![]() Click Select.
Click Select.

You can only import text files saved in the .TXT file format, not Microsoft Word (.DOC) or Real Text (.RTF).
![]() Click the loaded place cursor anywhere on the page to place the text.
Click the loaded place cursor anywhere on the page to place the text.

Muse automatically creates a text frame and places the text using default character and paragraph formatting.
Selecting Text
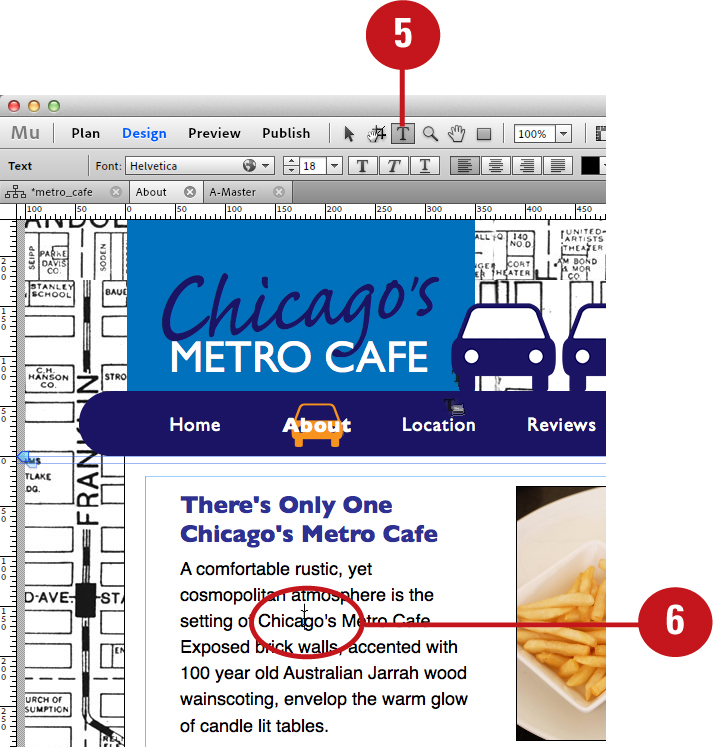
To apply formatting to all of the text in a frame, you can select the frame with the Selection tool and then apply the attributes. However, if you’d like to apply formatting to specific characters within the frame, then you must first highlight those characters with the Text tool. To do so, click and drag over the characters with the tool, and then apply the formatting attributes.
Highlight text with the Text tool
![]() Choose Plan Mode from the View menu.
Choose Plan Mode from the View menu.

![]() From the sitemap, double-click the thumbnail of a page containing text you’d like to select.
From the sitemap, double-click the thumbnail of a page containing text you’d like to select.
Muse opens the page in Design Mode.
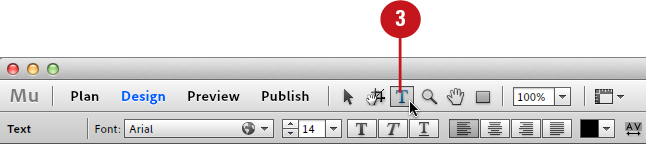
![]() Click the Text Tool icon at the top of the Design Mode interface.
Click the Text Tool icon at the top of the Design Mode interface.
![]() Click and drag over the text characters with the Text tool cursor.
Click and drag over the text characters with the Text tool cursor.

Muse highlights the characters as you drag to let you know they are now selected.
Choosing a Web Safe Font
The Font list in Muse is broken up into two sections: web safe fonts and system fonts. Web safe fonts are accessible across both platforms (Mac and Windows) and will load in any browser. System fonts are the fonts you currently have activated on your system. These fonts are not web safe. As a result, Muse converts them to graphics when you export the site. Web safe fonts are best used for body copy throughout your layouts.
Choose a web safe font from the Font list
![]() Choose Plan Mode from the View menu.
Choose Plan Mode from the View menu.

![]() From the sitemap, double-click the thumbnail of a page you’d like to add web safe text to.
From the sitemap, double-click the thumbnail of a page you’d like to add web safe text to.

Muse opens the page in Design Mode.
![]() Click the Text Tool icon at the top of the Design Mode interface.
Click the Text Tool icon at the top of the Design Mode interface.

![]() Click and drag over some existing text characters with the Text tool cursor.
Click and drag over some existing text characters with the Text tool cursor.
![]() Choose a web safe font from the Font list in the Control panel or Text panel.
Choose a web safe font from the Font list in the Control panel or Text panel.

Web safe fonts always appear at the top of the Font list. Muse also displays a globe icon next to the chosen font to let you know that it is web safe. If you do not see the globe icon, then you have chosen a system font. Muse converts all system fonts into graphics when you export the site.
Choosing a System Font
System fonts are the fonts you currently have activated on your system. They always appear at the bottom of the Font list and are not web safe. This means that they are not accessible across both platforms (Mac and Windows) and will not load in every browser. Because of this, Muse converts them to graphics when you export the site. Whenever you use a system font, Muse displays a system font icon in the bottom-right corner of the text frame to remind you that the text will be exported as a graphic. System fonts are best used for text objects that also serve as graphic elements in your site design.
Choose a system font from the Font list
![]() Choose Plan Mode from the View menu.
Choose Plan Mode from the View menu.
![]() From the sitemap, double-click the thumbnail of a page you’d like to add text to.
From the sitemap, double-click the thumbnail of a page you’d like to add text to.

Muse opens the page in Design Mode.
![]() Click the Text Tool icon at the top of the Design Mode interface.
Click the Text Tool icon at the top of the Design Mode interface.

![]() Click and drag over some existing text characters with the Text tool cursor.
Click and drag over some existing text characters with the Text tool cursor.
![]() Choose a system font from the Font list in the Control panel or Text panel.
Choose a system font from the Font list in the Control panel or Text panel.

System fonts always appear at the bottom of the Font list and are not web safe. If you do not see the globe icon next to the font name in the Control panel, then you have chosen a system font. Muse converts all system fonts into graphics when you export the site. As a result, the more system fonts you use, the longer it will take for the page to load in a browser.
Changing Text Size
The Size field in the Control panel (and Text panel) enables you to specify how small or large you would like text objects to appear in your layout. To adjust the size of the text, select the text object or individual text characters, and enter a value in the Size field. You can also adjust the size value in 1-point increments by clicking the up/down arrows to the left of the Size field, or choose a preset size from the drop-down list.
Enter a value in the Size field
![]() Choose Plan Mode from the View menu.
Choose Plan Mode from the View menu.

![]() From the sitemap, double-click the thumbnail of the page containing text you’d like to edit.
From the sitemap, double-click the thumbnail of the page containing text you’d like to edit.

Muse opens the page in Design Mode.
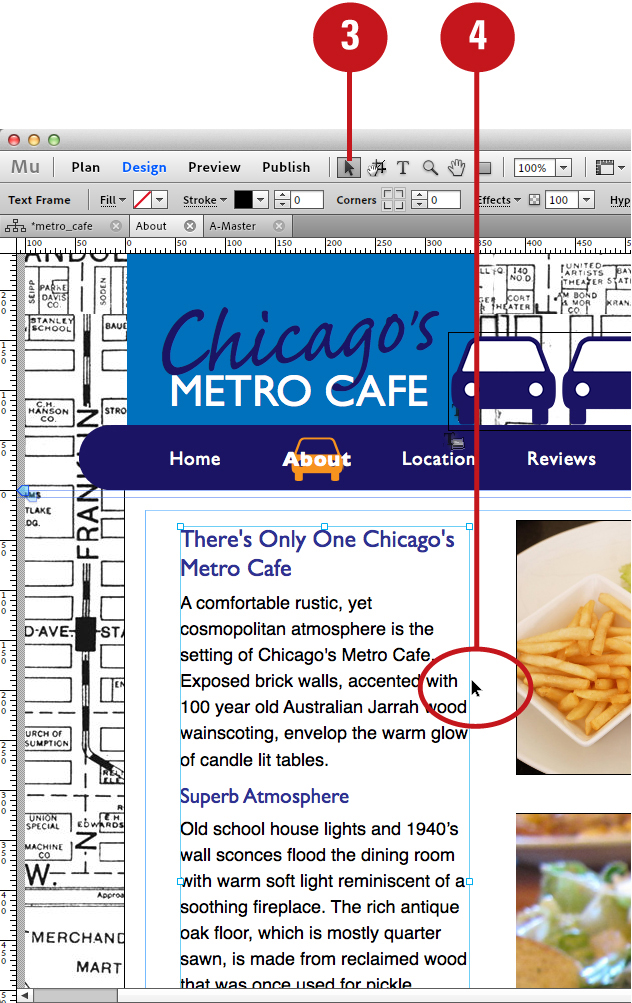
![]() Click the Selection Tool icon at the top of the Design Mode interface.
Click the Selection Tool icon at the top of the Design Mode interface.
![]() Select the text frame by clicking it with the Selection tool.
Select the text frame by clicking it with the Selection tool.

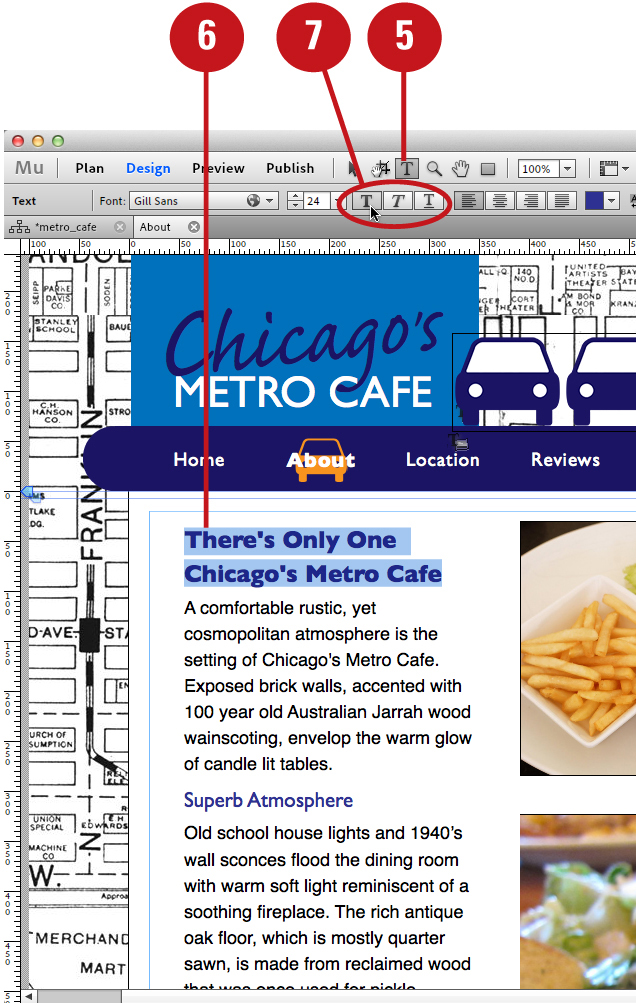
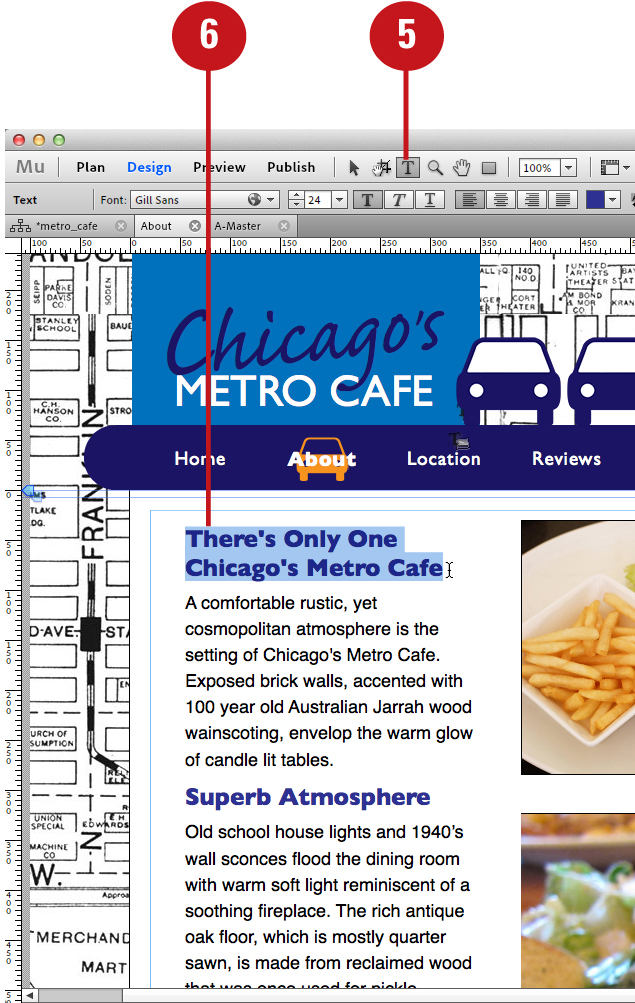
![]() Click the Text Tool icon at the top of the Design Mode interface.
Click the Text Tool icon at the top of the Design Mode interface.
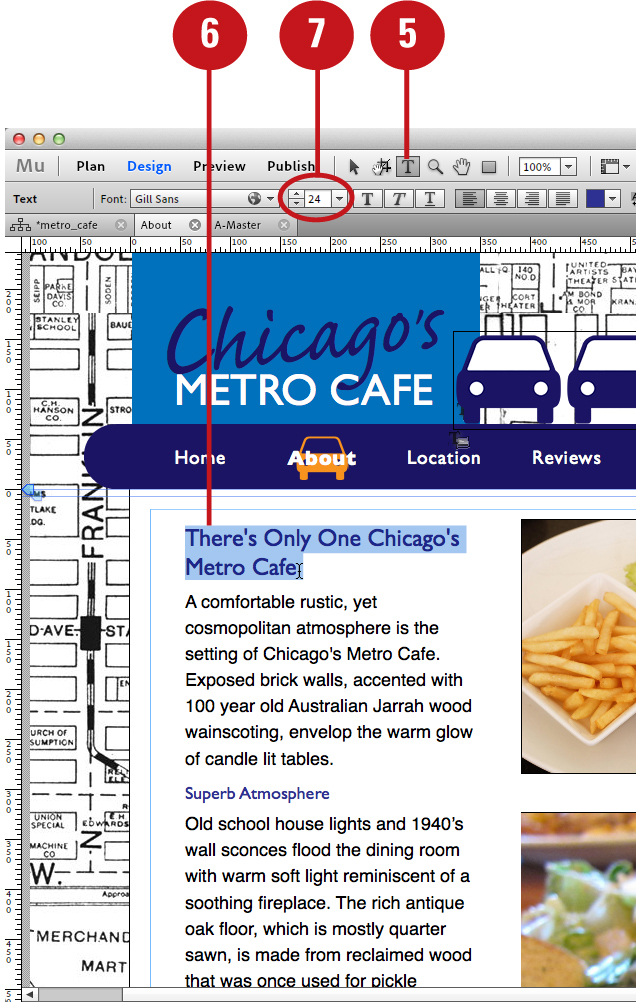
![]() Click and drag over some existing text characters with the Text tool cursor.
Click and drag over some existing text characters with the Text tool cursor.
![]() Enter a size for the text in the Size field of the Control panel or Text panel.
Enter a size for the text in the Size field of the Control panel or Text panel.
Muse applies the new size setting to the selected text.
You can also adjust text size with keyboard shortcuts. To adjust the text size in 2-point increments, select the text and press Cmd+Shift+>/< (Mac) or Ctrl+Shift+>/< (Win). The greater than key increases the point size; the lesser than key decreases the point size.
Applying Bold, Italic, and Underline Attributes
The font style buttons located in the Control panel (and Text panel) enable you to apply a bold, italic, and underline effect to selected text objects. These options are best used with web safe fonts to add emphasis to certain words within a larger body of text. They are also useful for creating hyperlink styles (see Chapter 9 “Adding Hyperlinks”) and menu rollover states (see Chapter 4 “Adding Navigational Content”).
Click the font style buttons
![]() Choose Plan Mode from the View menu.
Choose Plan Mode from the View menu.

![]() From the sitemap, double-click the thumbnail of the page containing text you’d like to edit.
From the sitemap, double-click the thumbnail of the page containing text you’d like to edit.

Muse opens the page in Design Mode.
![]() Click the Selection Tool icon at the top of the Design Mode interface.
Click the Selection Tool icon at the top of the Design Mode interface.
![]() Select the text frame by clicking it with the Selection tool.
Select the text frame by clicking it with the Selection tool.
![]() Click the Text Tool icon at the top of the Design Mode interface.
Click the Text Tool icon at the top of the Design Mode interface.
![]() Click and drag over some existing text characters with the Text tool cursor.
Click and drag over some existing text characters with the Text tool cursor.
![]() Click the Bold, Italic, or Underline buttons in the Control panel or Text panel.
Click the Bold, Italic, or Underline buttons in the Control panel or Text panel.
Muse applies the new style setting to the selected text.
Changing Text Alignment
By clicking the text Alignment buttons located in the Control panel or Text panel, you can specify how the selected paragraphs should be aligned. Options include Align Left (flush left/ragged right), Align Center (ragged left and right), Align Right (flush right/ragged left), and Align Justify (flush left and right). You can also change text alignment by using keyboard shortcuts. To do so, select the text and press Cmd+Shift+R (Mac) or Ctrl+Shift+R (Win) to align right; press Cmd+Shift+L (Mac) or Ctrl+Shift+L (Win) to align left; press Cmd+Shift+C (Mac) or Ctrl+Shift+C (Win) to align center.
Click the Alignment buttons
![]() Choose Plan Mode from the View menu.
Choose Plan Mode from the View menu.

![]() From the sitemap, double-click the thumbnail of the page containing text you’d like to edit.
From the sitemap, double-click the thumbnail of the page containing text you’d like to edit.

Muse opens the page in Design Mode.
![]() Click the Selection Tool icon at the top of the Design Mode interface.
Click the Selection Tool icon at the top of the Design Mode interface.
![]() Select the text frame by clicking it with the Selection tool.
Select the text frame by clicking it with the Selection tool.

![]() Click the Text Tool icon at the top of the Design Mode interface.
Click the Text Tool icon at the top of the Design Mode interface.
![]() To apply an alignment option, click one of the Alignment buttons in the Control panel or Text panel. Options include: Align Left, Align Center, Align Right, and Align Justify.
To apply an alignment option, click one of the Alignment buttons in the Control panel or Text panel. Options include: Align Left, Align Center, Align Right, and Align Justify.

Muse applies the new alignment setting to the selected text.
Changing Text Color
Not only can you use the Color Picker to apply fill and stroke colors to rectangles, but you can also use it to colorize selected text. To access the Color Picker as a flyout window, click the Text Color swatch located in the Control panel or Text panel. The default text color is black, but you can apply a different color in several different ways using the Color Picker. You can choose a preset color swatch, drag the Hue slider and click in the color field, enter a hexadecimal code, enter values in the RGB field, or use the Sample Color tool to access a color from anywhere on the page.
Choose a text color with the Color Picker
![]() Choose Plan Mode from the View menu.
Choose Plan Mode from the View menu.

![]() From the sitemap, double-click the thumbnail of the page containing text you’d like to edit.
From the sitemap, double-click the thumbnail of the page containing text you’d like to edit.
Muse opens the page in Design Mode.
![]() Click the Selection Tool icon at the top of the Design Mode interface.
Click the Selection Tool icon at the top of the Design Mode interface.
![]() Select the text frame by clicking it with the Selection tool.
Select the text frame by clicking it with the Selection tool.

![]() Click the Text Tool icon at the top of the Design Mode interface.
Click the Text Tool icon at the top of the Design Mode interface.
![]() Click and drag over some existing text characters with the Text tool cursor.
Click and drag over some existing text characters with the Text tool cursor.
![]() Choose a text color with the Color Picker via any of the following methods:
Choose a text color with the Color Picker via any of the following methods:
• Enter values into the RGB fields.
• Enter a hexadecimal code in the Hex# field.
• Click a swatch from the saved color swatch list.
• Drag the Hue slider up or down to select a color hue. Then click in the color field to the right of the Hue slider to determine the saturation and brightness of the selected color.
• Click the Sample Color Tool icon. To sample a color for the text, proceed to click anywhere on the page—including in a placed photo or graphic.

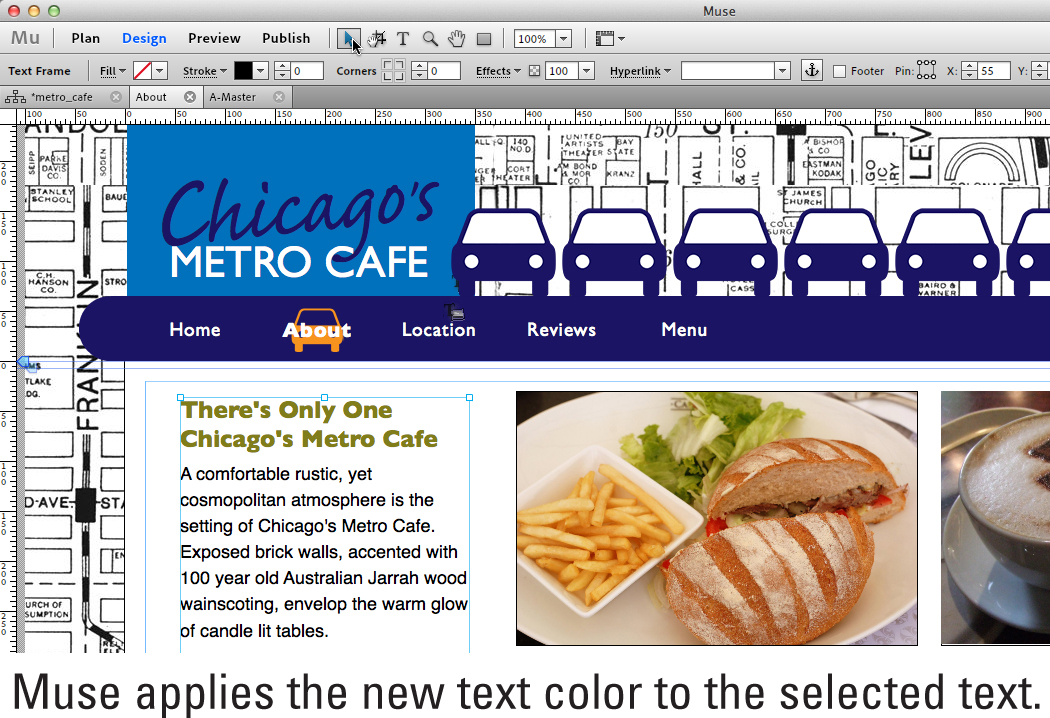
Click away to apply the new text color.
Muse applies the new text color to the selected text.
Changing Letter Spacing
You can adjust letter spacing, also referred to as kerning, by entering a value in the Letter Space field of the Control panel or Text panel. The default letter spacing value is zero. By entering positive values, you can spread the letters further apart. By entering negative values, you can bring them closer together. You can also change the letter spacing between two specific characters by placing the Text tool cursor between them and entering a value in the Letter Space field. Note that adjusting letter spacing adds a significant amount of code to your site. The more letter spacing you apply, the longer it will take for the page to load into a browser.
Enter a value in the Letter Space field
![]() Choose Plan Mode from the View menu.
Choose Plan Mode from the View menu.

![]() From the sitemap, double-click the thumbnail of the page containing text you’d like to edit.
From the sitemap, double-click the thumbnail of the page containing text you’d like to edit.

Muse opens the page in Design Mode.
![]() Click the Selection Tool icon at the top of the Design Mode interface.
Click the Selection Tool icon at the top of the Design Mode interface.
![]() Select the text frame by clicking it with the Selection tool.
Select the text frame by clicking it with the Selection tool.

![]() Click the Text Tool icon at the top of the Design Mode interface.
Click the Text Tool icon at the top of the Design Mode interface.
![]() Enter a spacing value for the text in the Letter Space field of the Control panel or Text panel.
Enter a spacing value for the text in the Letter Space field of the Control panel or Text panel.

Muse applies the new letter spacing to the selected text.
You can also adjust letter spacing with keyboard shortcuts. To adjust letter spacing in 1-point increments, place the Text tool cursor between the characters and press Option-left/right arrow key (Mac) or Alt-left/right arrow key (Win). The left arrow key brings the characters closer together; the right arrow key moves them further apart.
Changing Leading
You can adjust the amount of space between lines of a paragraph, also referred to as leading, by entering a percentage value in the Leading field of the Control panel or Text panel. The default leading value is 120%. By entering higher values, you can increase the space between lines; by entering lower values, you can decrease it. You can also adjust the leading value in 1-point increments by clicking the up/down arrows to the left of the Leading field.
Enter a value in the Leading field
![]() Choose Plan Mode from the View menu.
Choose Plan Mode from the View menu.

![]() From the sitemap, double-click the thumbnail of the page containing text you’d like to edit.
From the sitemap, double-click the thumbnail of the page containing text you’d like to edit.
Muse opens the page in Design Mode.
![]() Click the Selection Tool icon at the top of the Design Mode interface.
Click the Selection Tool icon at the top of the Design Mode interface.
![]() Select the text frame by clicking it with the Selection tool.
Select the text frame by clicking it with the Selection tool.

![]() Click the Text Tool icon at the top of the Design Mode interface.
Click the Text Tool icon at the top of the Design Mode interface.
![]() Click and drag over some existing text characters with the Text tool cursor.
Click and drag over some existing text characters with the Text tool cursor.
![]() Enter a leading value for the text in the Leading field of the Control panel or Text panel.
Enter a leading value for the text in the Leading field of the Control panel or Text panel.

Muse applies the new leading value to the selected text.
You can also adjust leading with keyboard shortcuts. To adjust the text size in 2-point increments, select the text and press Option-up/down arrow key (Mac) or Alt-up/down arrow key (Win). The down arrow key brings the lines closer together; the up arrow key moves them further apart.
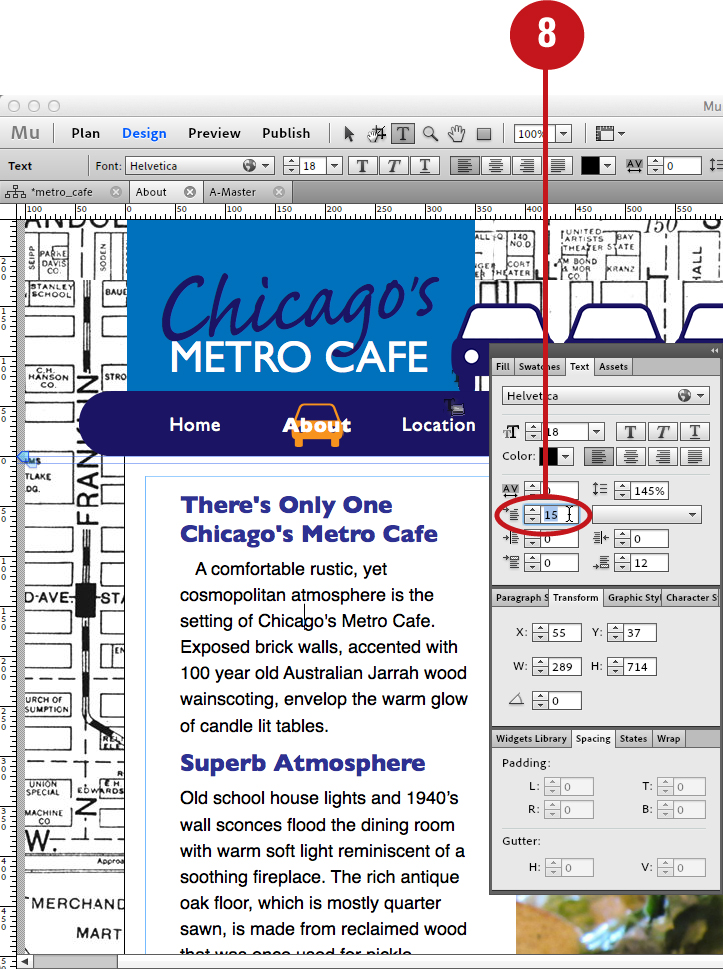
Inserting a Paragraph Indent
You can place an indent on the first line of a paragraph by selecting the text object and entering a value in the Indent field of the Text panel. The default indent value is zero (no indent). By entering positive values, you can indent the first line of the paragraph inward (to the right); by entering negative values, you can indent the first line outward (to the left). You can also adjust the indent value in 1-point increments by clicking the up/down arrows to the left of the Indent field.
Enter a value in the Indent field
![]() Choose Plan Mode from the View menu.
Choose Plan Mode from the View menu.
![]() From the sitemap, double-click the thumbnail of the page containing text you’d like to edit.
From the sitemap, double-click the thumbnail of the page containing text you’d like to edit.

Muse opens the page in Design Mode.
![]() Click the Selection Tool icon at the top of the Design Mode interface.
Click the Selection Tool icon at the top of the Design Mode interface.
![]() Select the text frame by clicking it with the Selection tool.
Select the text frame by clicking it with the Selection tool.

![]() Click the Text Tool icon at the top of the Design Mode interface.
Click the Text Tool icon at the top of the Design Mode interface.
![]() Insert the Text tool cursor in the paragraph you would like to indent.
Insert the Text tool cursor in the paragraph you would like to indent.
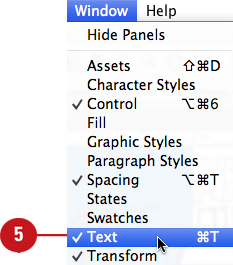
![]() Choose Window > Text to display the Text panel.
Choose Window > Text to display the Text panel.

![]() Enter a value for the paragraph indent in the Indent field of the Text panel.
Enter a value for the paragraph indent in the Indent field of the Text panel.
Muse applies the paragraph indent to the selected text.
Inserting Left and Right Margins
You can add space on either side of a paragraph by selecting the text object and entering a value in the Left Margin and Right Margin fields of the Text panel. The default margin values are zero (no margin). By entering positive values in the Left Margin field, you can move all lines of the paragraph inward (to the right); by entering negative values, you can move all lines outward (to the left). The opposite occurs when entering positive and negative values in the Right Margin field. You can also adjust the margin values in 1-point increments by clicking the up/down arrows to the left of the Margin fields.
Enter a value in the Left Margin/Right Margin field
![]() Choose Plan Mode from the View menu.
Choose Plan Mode from the View menu.

![]() From the sitemap, double-click the thumbnail of the page containing text you’d like to edit.
From the sitemap, double-click the thumbnail of the page containing text you’d like to edit.

Muse opens the page in Design Mode.
![]() Click the Selection Tool icon at the top of the Design Mode interface.
Click the Selection Tool icon at the top of the Design Mode interface.
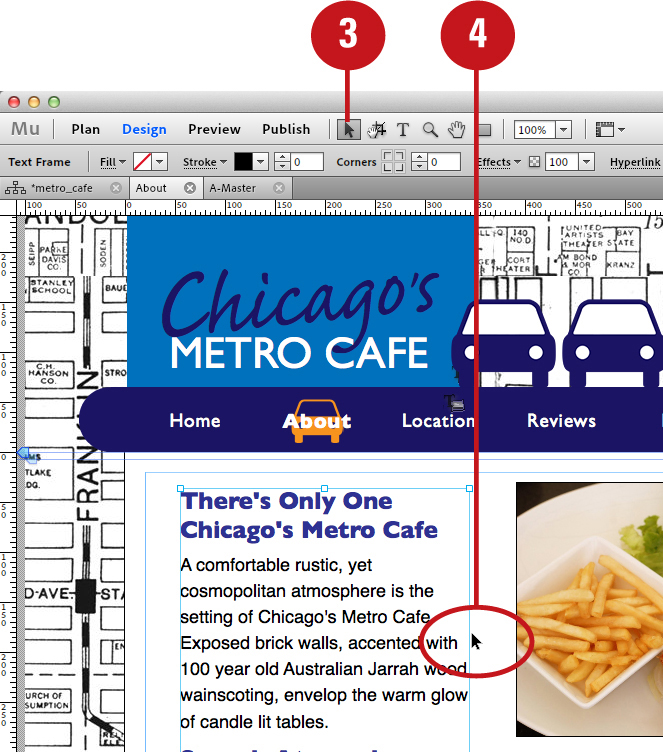
![]() Select the text frame by clicking it with the Selection tool.
Select the text frame by clicking it with the Selection tool.
![]() Choose Window > Text to display the Text panel.
Choose Window > Text to display the Text panel.

![]() Enter a value for the margin in the Left Margin or Right Margin field of the Text panel.
Enter a value for the margin in the Left Margin or Right Margin field of the Text panel.

Muse applies the margin spacing to the selected text.
Adding Space Before and After a Paragraph
You can add space above and below a paragraph by selecting the text object and entering a value in the Space Before and Space After fields of the Text panel. The default values are zero (no extra space). By entering positive values in either field, you can add space above and below the paragraph. You can also adjust the spacing values in 1-point increments by clicking the up/down arrows to the left of either field.
Enter a value in the Space Before/Space After fields
![]() Choose Plan Mode from the View menu.
Choose Plan Mode from the View menu.

![]() From the sitemap, double-click the thumbnail of the page containing text you’d like to edit.
From the sitemap, double-click the thumbnail of the page containing text you’d like to edit.
Muse opens the page in Design Mode.
![]() Click the Selection Tool icon at the top of the Design Mode interface.
Click the Selection Tool icon at the top of the Design Mode interface.
![]() Select the text frame by clicking it with the Selection tool.
Select the text frame by clicking it with the Selection tool.

![]() Choose Window > Text to display the Text panel.
Choose Window > Text to display the Text panel.
![]() Enter a spacing value in the Space Before of Space After field of the Text panel.
Enter a spacing value in the Space Before of Space After field of the Text panel.

Muse applies the spacing to the selected text.