12. Previewing a Site
What You’ll Do
Previewing a Page in the Default Browser
Previewing a Site in the Default Browser
Previewing in a Non-Default Browser
Introduction
As you design web pages in Muse, it’s essential to test the functionality of each page element you’ve included in your design, such as navigational buttons, hyperlinks, and slideshows. Muse comes equipped with a Preview Mode, which enables you to test your sites from within the application. However, to ensure proper functionality, you should also preview your sites in some external browsers, such as Google Chrome, Apple Safari, Mozilla Firefox, and Windows Internet Explorer.
The Preview Mode in Muse uses WebKit as its rendering engine. This is the same engine that powers Apple Safari, Google Chrome, and most mobile phone browsers.
In this chapter, you will learn how to preview individual pages and entire websites using Preview Mode. You’ll also learn how to preview them using your system’s default web browser application.
The final section of this chapter explains how to use the Export as HTML command to preview your websites in a non-default browser application.
Previewing a Page in Muse
Although it’s always a good idea to preview web pages in a browser, Muse also includes a Preview Mode, which enables you to render pages right inside the Muse application. Preview uses WebKit as its rendering engine. This is the same engine that powers Apple Safari, Google Chrome, and most mobile phone browsers. You can open the current page in Preview by choosing Preview Mode from the View menu, or by clicking the Preview button in the upper-left corner of the interface.
Choose the Preview command
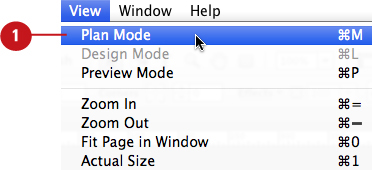
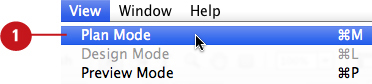
![]() Choose Plan Mode from the View menu.
Choose Plan Mode from the View menu.

![]() From the sitemap, double-click the thumbnail of the page you’d like to preview.
From the sitemap, double-click the thumbnail of the page you’d like to preview.
Muse opens the page in Design Mode.
![]() Choose View > Preview Mode or click the Preview button located in the upper left of the Design Mode interface.
Choose View > Preview Mode or click the Preview button located in the upper left of the Design Mode interface.

Muse displays the current page in Preview Mode.
You can also enter Preview Mode by clicking the Preview button. To display the current page in Preview Mode, click the Preview button located in the upper left of the Design Mode interface.
Previewing a Site in Muse
Not only can you render a single web page in Preview Mode—you can also preview the entire site! If you click a page’s navigational buttons while in Preview Mode, Muse takes you to the pages, just as if you were previewing the site in a browser. Note that depending on the amount of content placed on each page, the site rendering may be a bit slower in Preview Mode than when previewing the site in an actual browser.
Choose the Preview command
![]() Choose Plan Mode from the View menu.
Choose Plan Mode from the View menu.
![]() From the sitemap, double-click the thumbnail of any page in the site.
From the sitemap, double-click the thumbnail of any page in the site.

Muse opens the page in Design Mode.
![]() Choose View > Preview Mode or click the Preview button located in the upper left of the Design Mode interface.
Choose View > Preview Mode or click the Preview button located in the upper left of the Design Mode interface.
Muse displays the current page in Preview Mode.
![]() To display each page of the site in Preview Mode, click the navigational buttons.
To display each page of the site in Preview Mode, click the navigational buttons.

You can also enter Preview Mode by clicking the Preview button. To display the current page in Preview Mode, click the Preview button located in the upper left of the Design Mode interface.
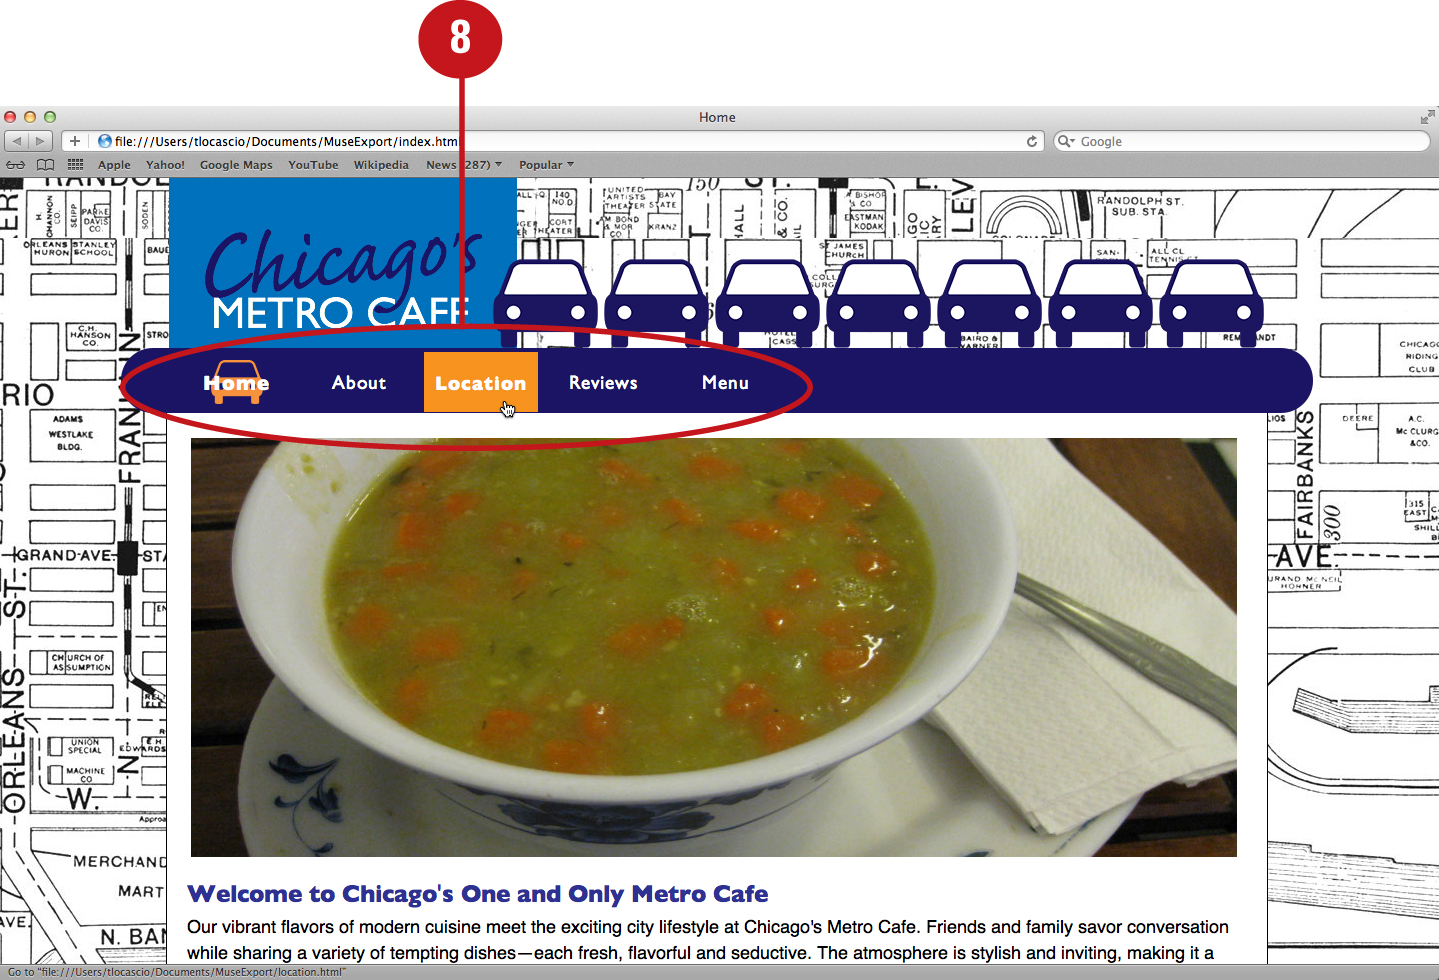
Previewing a Page in the Default Browser
Although the Preview Mode in Muse is incredibly accurate, it is not able to emulate the behavior of every browser, especially Mozilla Firefox and Windows Internet Explorer; therefore, you should still always preview your pages in every browser available. Doing so helps you ensure that all the page elements will function properly when publishing the site to the Web. To preview the current page in your system’s default browser application, choose Preview Page in Browser from the File menu.
Choose the Preview Page in Browser command
![]() Choose Plan Mode from the View menu.
Choose Plan Mode from the View menu.
![]() From the sitemap, double-click the thumbnail of the page you’d like to preview in a browser.
From the sitemap, double-click the thumbnail of the page you’d like to preview in a browser.

Muse opens the page in Design Mode.
![]() Choose File > Preview Page in Browser.
Choose File > Preview Page in Browser.
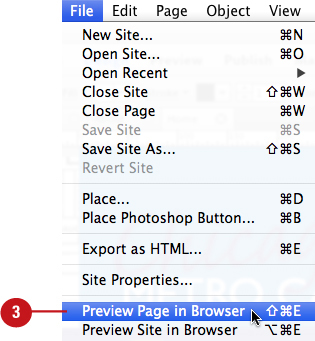
Press Shift+Cmd+E (Mac) or Shift+Ctrl+E (Win) to apply the Preview Page in Browser command quickly.
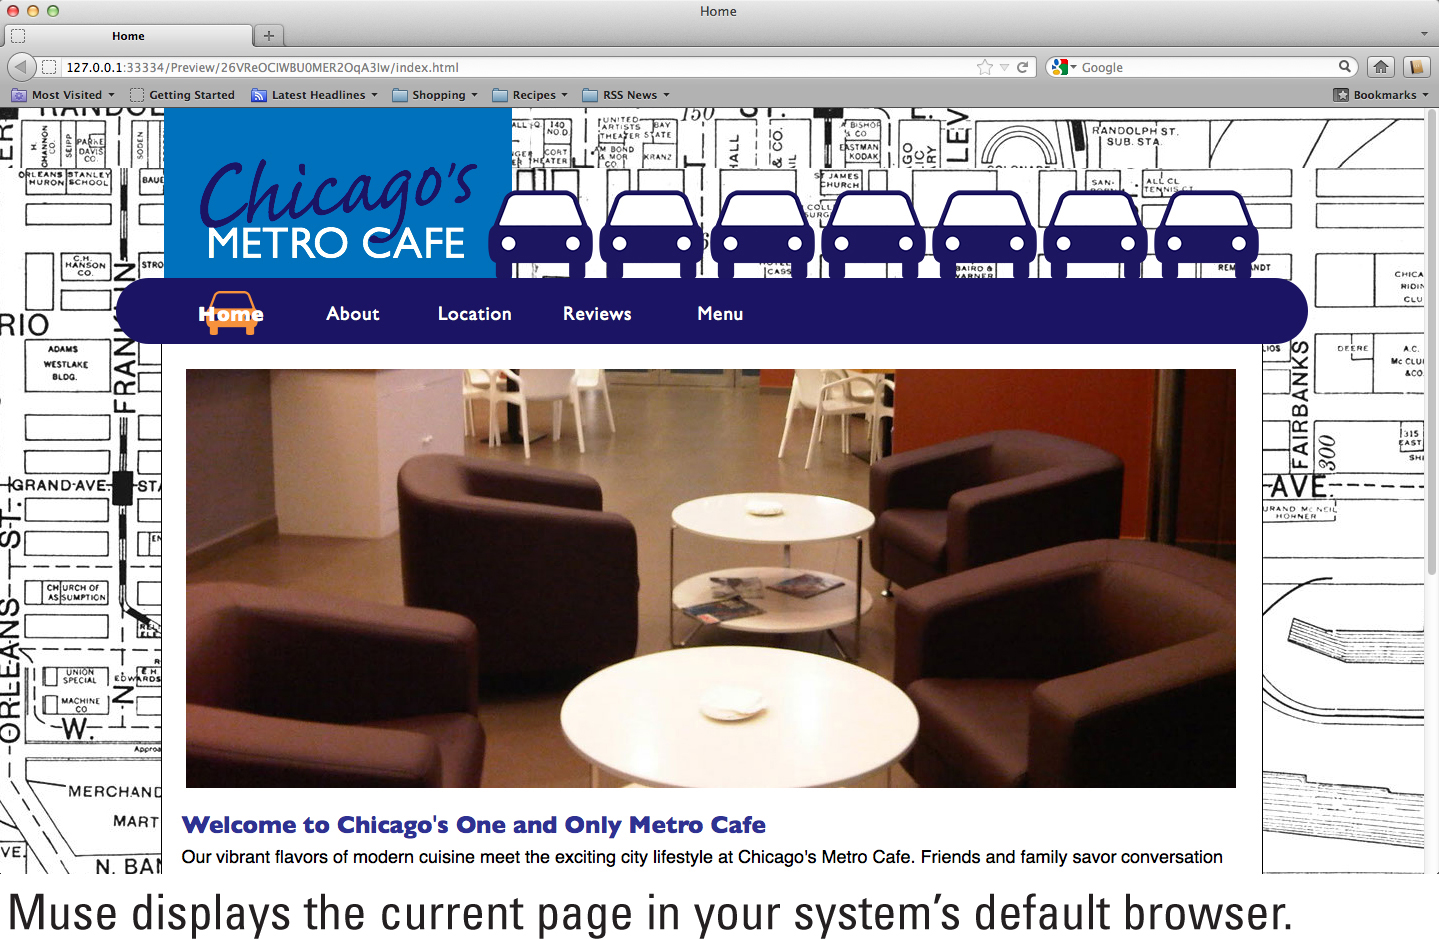
Muse creates a temporary export and displays the current page in your system’s default browser.
Previewing a Site in the Default Browser
Before you publish your site to the Web, it’s always a good idea to preview it in a browser. Doing so enables you to make sure that all of your navigational buttons, hyperlinks, and slideshows are functioning properly. When you choose the Preview Site in Browser command, Muse creates a temporary site export, which enables you to view the site in your system’s default browser application.
Choose the Preview Site in Browser command
![]() Choose Plan Mode from the View menu.
Choose Plan Mode from the View menu.

![]() Choose File > Preview Site in Browser.
Choose File > Preview Site in Browser.
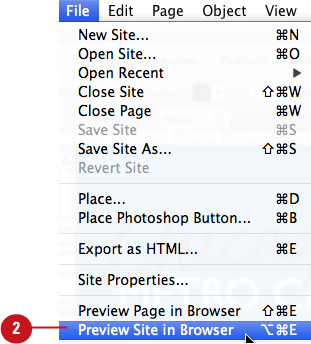
Press Option+Cmd+E (Mac) or Option+Ctrl+E (Win) to apply the Preview Site in Browser command quickly.
Muse creates a temporary export and displays the current page in your system’s default browser.
![]() To display each page of the site in the default browser, click the navigational buttons.
To display each page of the site in the default browser, click the navigational buttons.

Previewing in a Non-Default Browser
To test a website accurately before publishing it, you should preview it in as many browsers as possible—not just in your system’s default browser. In order to do this in Muse, you must choose the Export as HTML command. After you export the site as HTML, you can open the index.html page (the first page of the site) in all of the other browsers on your system, such as Google Chrome, Apple Safari, Mozilla Firefox, and Windows Internet Explorer.
Choose the Export as HTML command
![]() Choose Plan Mode from the View menu.
Choose Plan Mode from the View menu.

![]() Choose File > Export as HTML.
Choose File > Export as HTML.

Muse displays the Export to HTML dialog box.
If any of the placed graphics in the site have been moved or deleted from where they were originally stored on your computer, they appear as missing or modified. In this instance, when you choose the Export as HTML command, Muse displays a warning dialog box, reminding you to link them in the Assets panel before exporting.
![]() In the Export to HTML dialog box that appears, Muse tells you where the export folder will be saved on your system disk. Click OK to export the site.
In the Export to HTML dialog box that appears, Muse tells you where the export folder will be saved on your system disk. Click OK to export the site.

Muse exports the site to the location displayed in the Export to HTML dialog box.
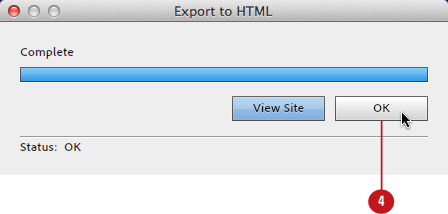
![]() Click OK to close the Export to HTML dialog box.
Click OK to close the Export to HTML dialog box.
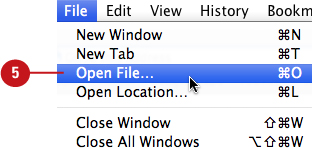
![]() Launch the non-default web browser application you would like to preview the site in, such as Google Chrome, Apple Safari, Mozilla Firefox, or Windows Internet Explorer, and choose Open File from the browser File menu.
Launch the non-default web browser application you would like to preview the site in, such as Google Chrome, Apple Safari, Mozilla Firefox, or Windows Internet Explorer, and choose Open File from the browser File menu.
![]() In the Open file dialog box that appears, navigate to the Muse Export folder location and select the index.html file.
In the Open file dialog box that appears, navigate to the Muse Export folder location and select the index.html file.
![]() Click Open to display the first page of the site in the non-default browser.
Click Open to display the first page of the site in the non-default browser.

![]() To display each page of the site in the non-default browser, click the navigational buttons.
To display each page of the site in the non-default browser, click the navigational buttons.