Drawing Basics
Moving from Shape to Form
The four basic shapes—the circle, rectangle, triangle, and square—can appear to be three-dimensional by adding a few carefully placed lines that suggest additional planes. By adding ellipses to the circle, rectangle, and triangle, you give the shapes dimension and begin to produce a form within space. The shapes become a sphere, a cylinder, and a cone. Add a second square above and to the side of the first square, connect them with parallel lines, and you create a cube.
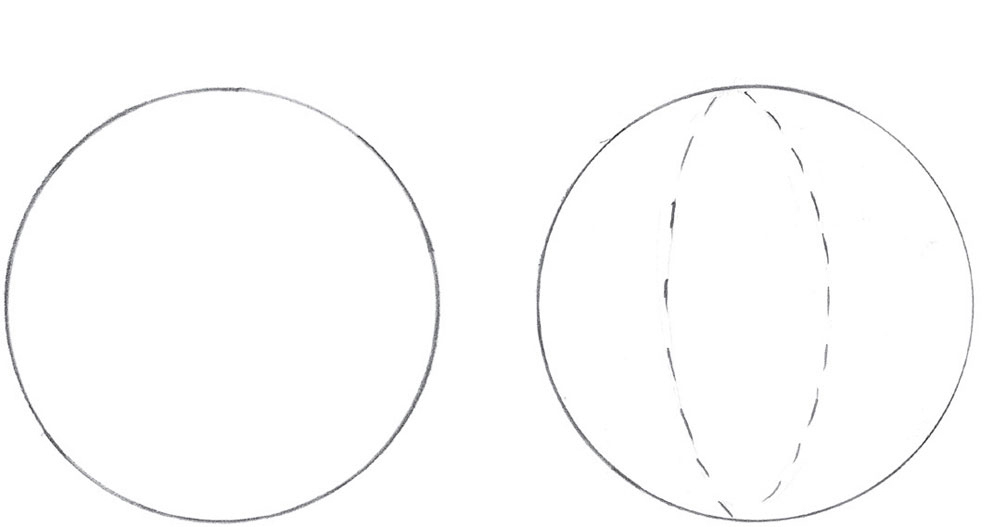
Left: Circle. Right: Sphere.

Left: Rectangle. Right: Cylinder.
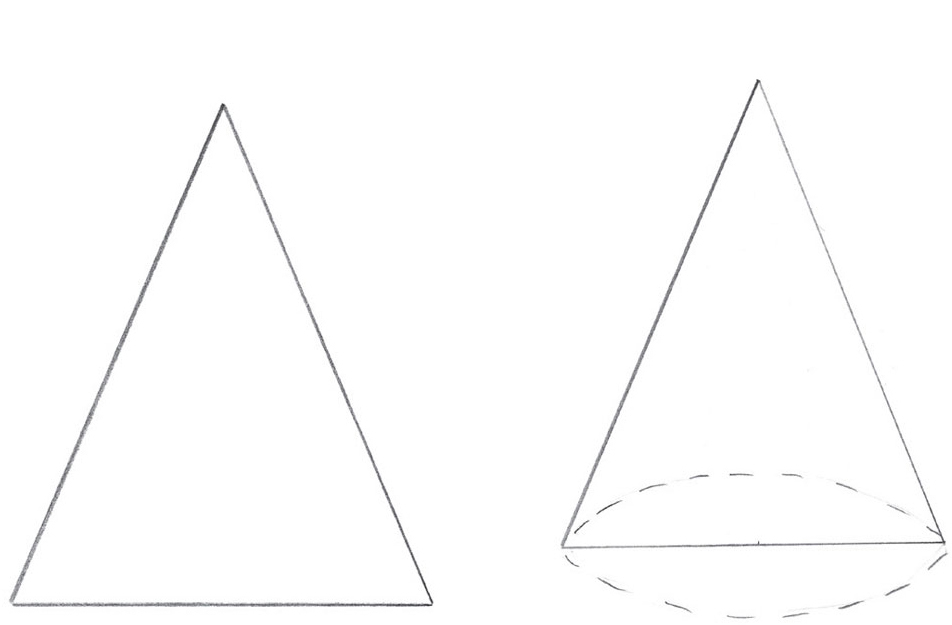
Left: Triangle. Right: Cone.
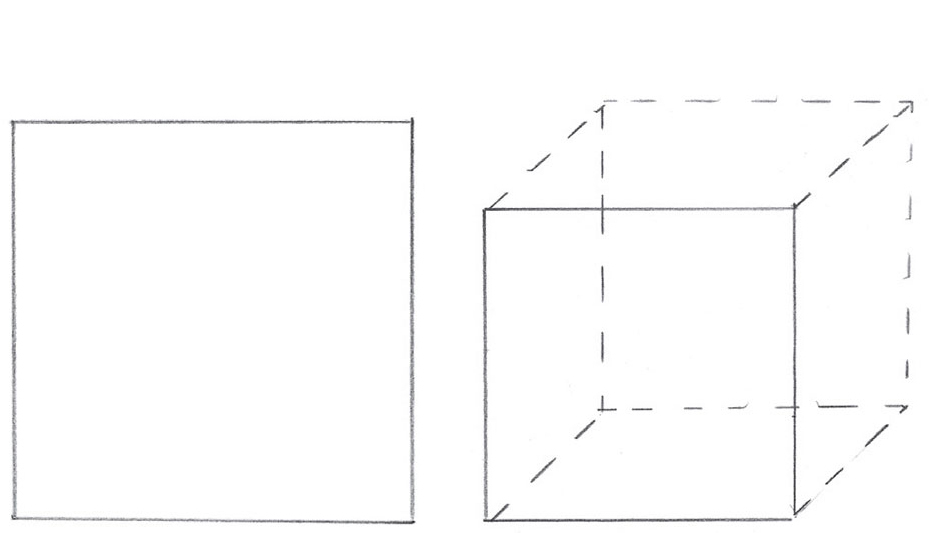
Left: Square. Right: Cube.
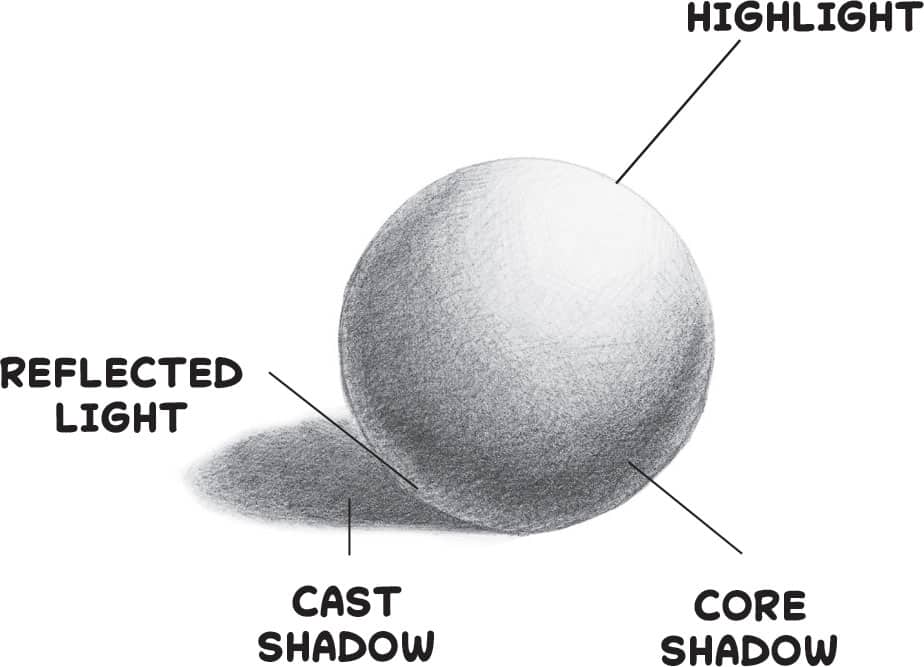
ADDING VALUE TO CREATE FORM
A shape can be further defined by showing how light hits the object to create highlights and shadows. First note from which direction the source of light is coming. In this example, the light source is beaming from the upper right. Then add the shadows accordingly. The core shadow is the darkest area on the object and is opposite the light source. The cast shadow is what is thrown onto a nearby surface by the object. The highlight is the lightest area on the object, where the reflection of light is strongest. Reflected light, often overlooked by beginners, is surrounding light that is reflected into the shadowed area of an object.
CREATING VALUE SCALES
Artists use scales to measure changes in value. Value scales also serve as a guide for transitioning from lighter to darker shades. Making your own value scale will help familiarize you with the different variations in value. Work from light to dark, adding more and more tone for successively darker values (as shown below left). Then create a blended value scale by using a blending stump to blend each value into its neighboring value to create a gradation (as shown below right).


BASIC TECHNIQUES
The basic pencil techniques below can help you learn to render everything from people to machines. Whatever techniques you choose, remember to shade evenly in a back-and-forth motion over the same area, varying the spot where the pencil point changes direction.
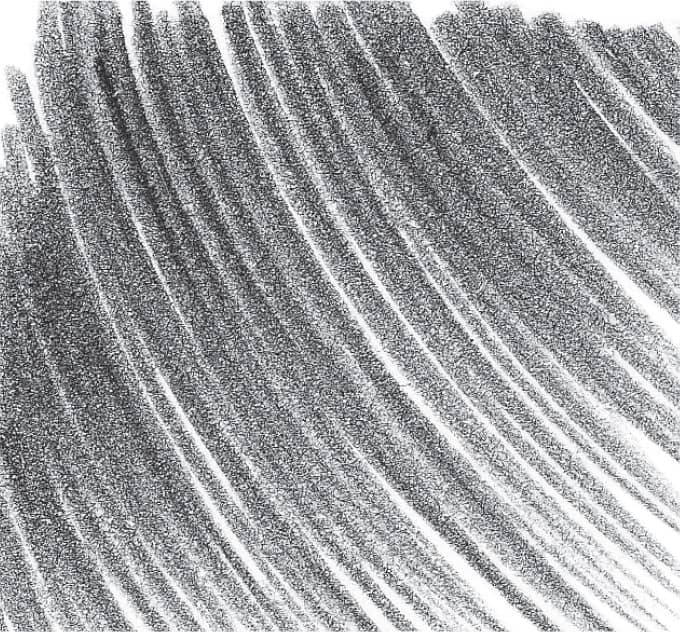
Hatching
This technique consists of a series of parallel strokes. The closer the strokes, the darker the tone will be.

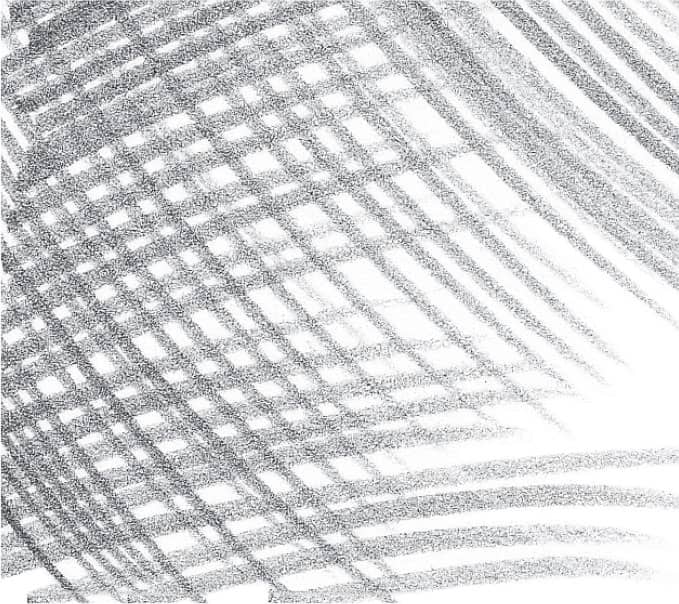
Crosshatching
For darker shading, layer parallel strokes on top of one another at varying angles.
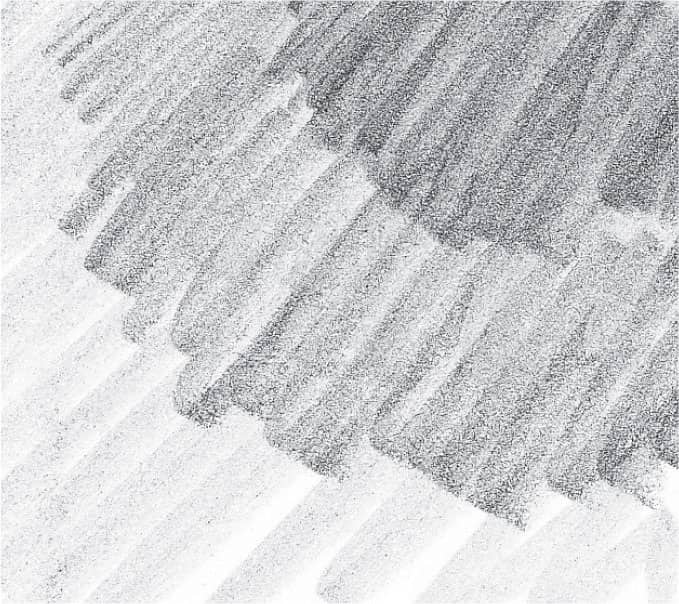
Gradating
To create gradated values, apply heavy pressure with the side of your pencil, gradually lightening as you go.
Shading Darkly
Apply heavy pressure to the pencil to create dark, linear areas of shading.
Shading with Texture
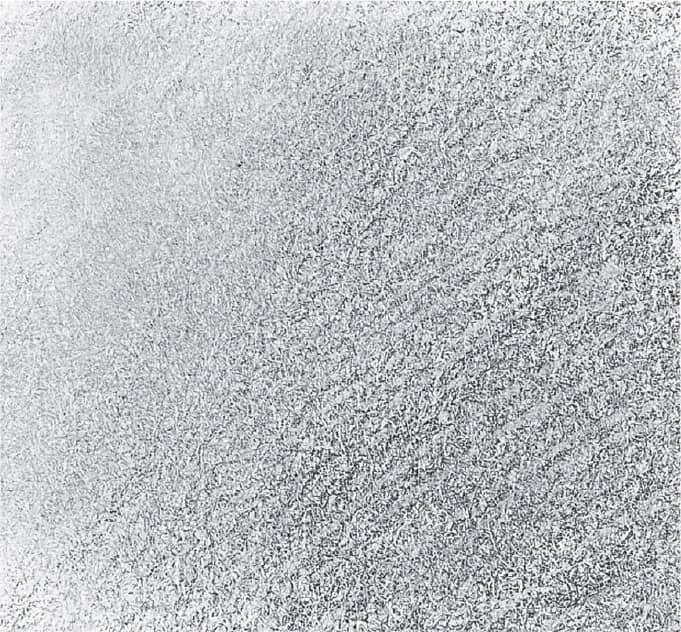
For a mottled texture, use the side of the pencil tip to apply small, uneven strokes.

Blending
To smooth out the transitions between strokes, gently rub the lines with a blending tool or your finger.