Tools & Materials
Comic book art can be created using a variety of tools and materials. Most of the artwork in this book was colored on a computer, but don’t worry if you’re not set up for that. You can use plenty of traditional media such as pencils, inks, colored pencils, markers, and paint. Below are the supplies you’ll need to get started.
PAPER
Sketch pads and inexpensive printer paper are great for sketching and working out your ideas. Tracing paper can be useful for creating a clean version of a sketch using a light box. Cardstock is sturdier than thinner printer paper, which makes it ideal for drawing repeatedly or for heavy-duty artwork. You may also want to have illustration board on hand.

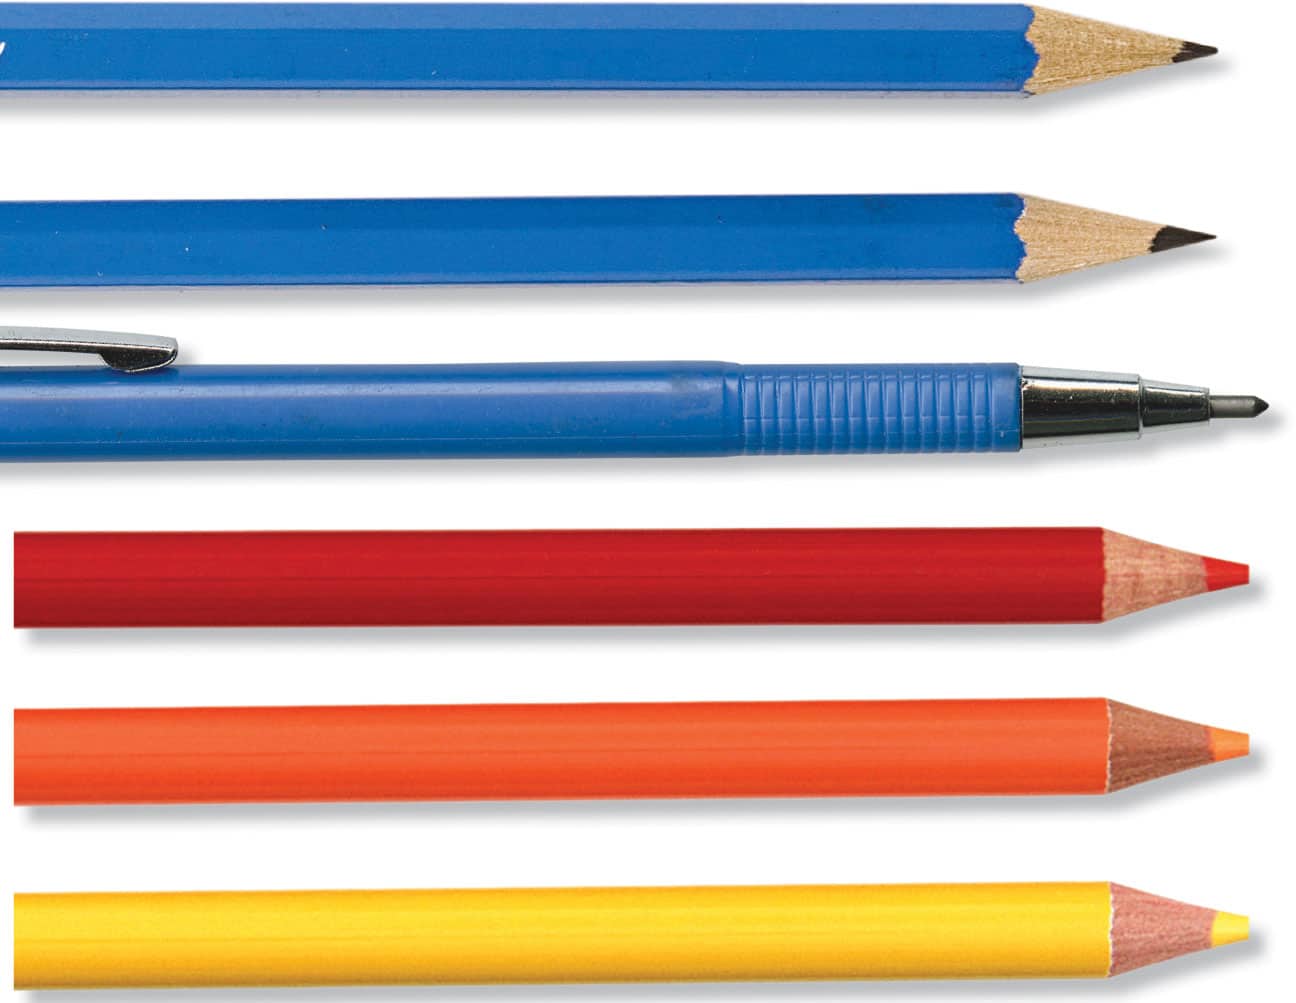
PENCILS
Pencil lead, or graphite, varies in darkness and hardness. Pencils with a number and an H have harder graphite, which marks paper more lightly. Pencils with a number and B have softer graphite, which makes darker marks. A good pencil for sketching is an H or HB, but you can also use a regular No. 2 pencil.
COLORED PENCILS
Colored pencils layer over each other easily. They come in wax-based, oil-based, and water-soluble versions. Oil-based pencils complement wax-based pencils nicely. Water-soluble pencils react to water in a manner similar to watercolor. In addition to creating finished art, colored pencils are useful for enhancing small details.
ERASERS
Vinyl and kneaded erasers are both good to have on hand. A vinyl eraser is white and rubbery and is gentler on paper than a pink eraser. A kneaded eraser is like putty. It can be molded into shapes to erase small areas. You can also use it to lift graphite off paper to lighten artwork.

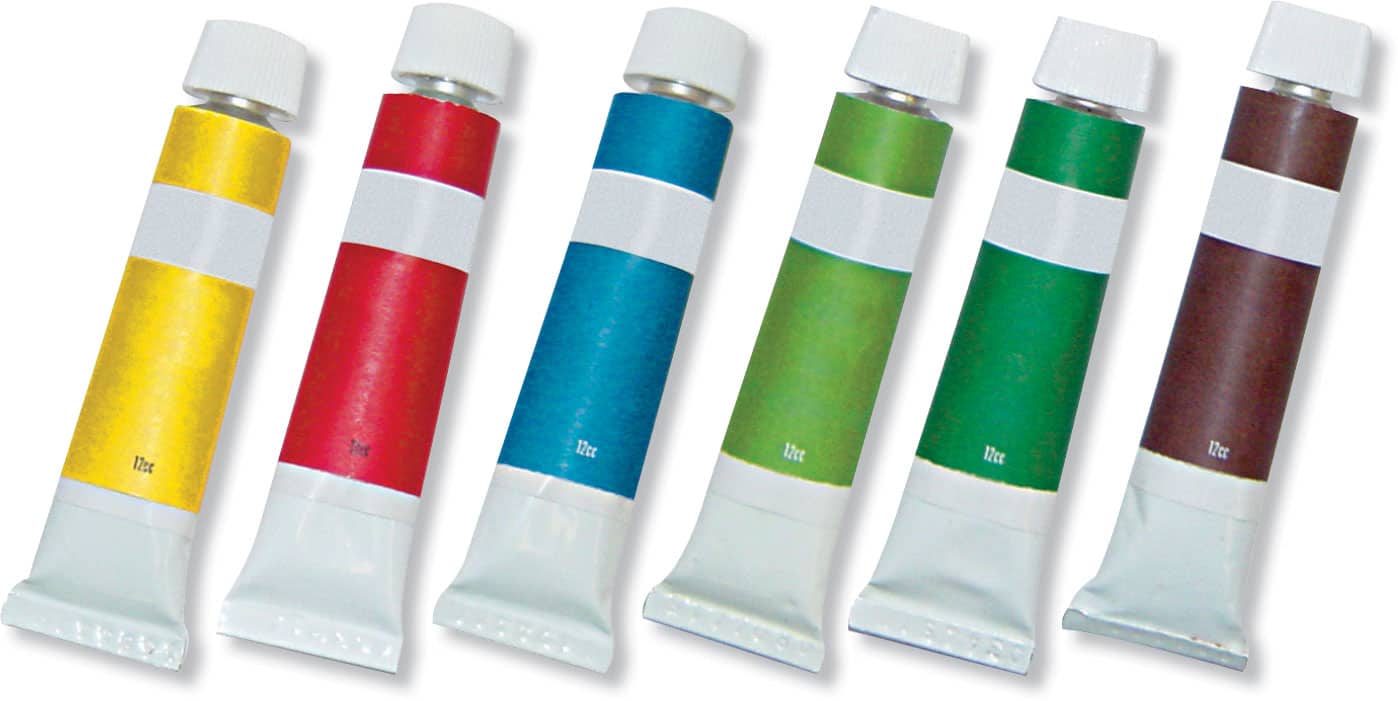
PAINT
Have fun exploring acrylic, watercolor, and even gouache paint. Watercolor paints are available in cakes, pans, and tubes. Tube paints are fresher and the colors are brighter. Acrylic paint dries quickly, so keep a spray bottle of water close to help keep the paint on your palette fresh. It’s a good idea to have two jars of water when you paint: one for diluting your paints and one for rinsing your brushes.
ART MARKERS
Alcohol-based art markers are perfect for adding bold, vibrant color to your artwork. They are great for shading and laying down large areas of color. Markers and colored pencils can be used in combination with paint to enhance and accent your drawings.

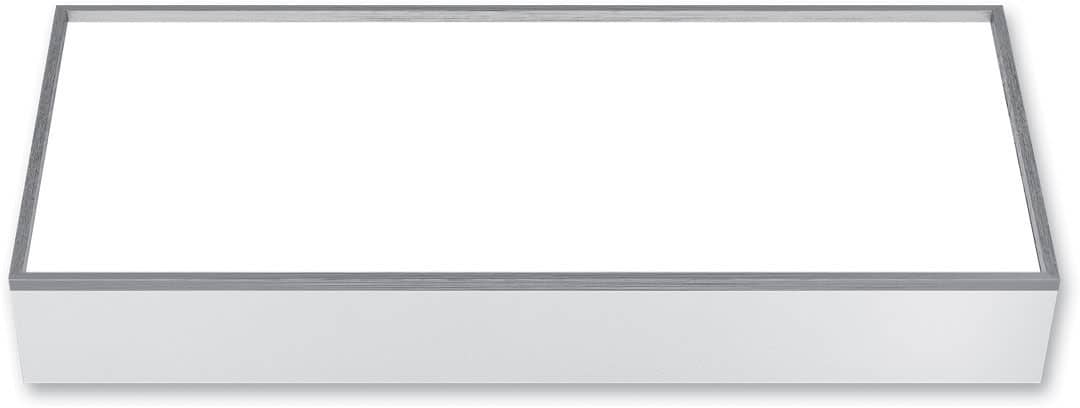
LIGHT BOX
A light box is a useful and generally inexpensive tool with a transparent top and a light inside. The light illuminates paper placed on top, allowing lines to show through for easy tracing. Simply tape your rough drawing on the surface of the light box, place a clean sheet of paper on top of your sketch, and turn the light on.
QUILL OR DIP PEN
Quill and dip pens provide some flexibility with line when inking. You can purchase different sizes of nibs. Be careful when inking with these tools. They often leave lines that stay wet for several minutes. Make sure you allow for plenty of drying time!

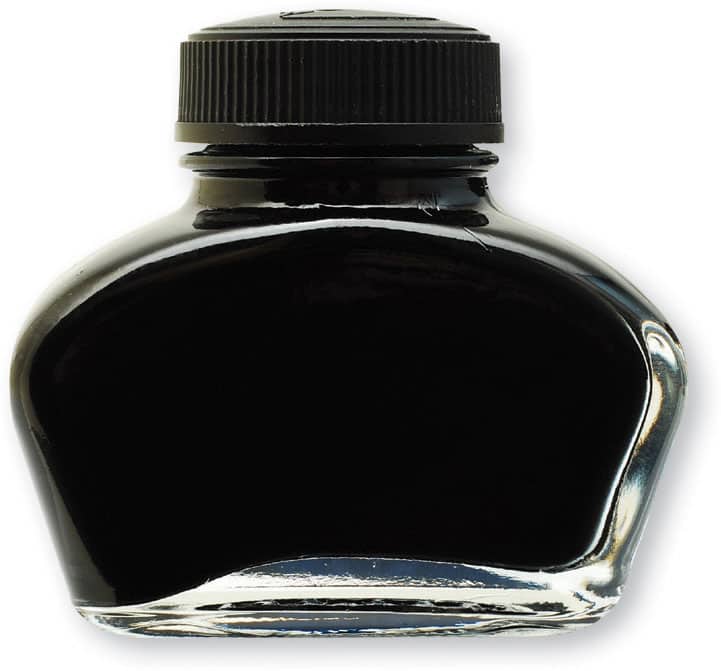
INDIA INK
India ink is black ink made of carbon. It has been used in various forms since ancient times and became standard for writing and printing in the Western world around the turn of the 20th century. India ink is a traditional inking material for comic book artists, but you do not have to use it to ink your art.
INKING BRUSH
Inking with a brush can create smoother, livelier lines and is great for creating thick-to-thin strokes. Working with a brush takes more time and requires a lot of practice to become proficient. Look for a sable brush with a sharp point. When inking with a brush, dip it in water first and roll the excess water onto a paper towel. Then dip it in ink.

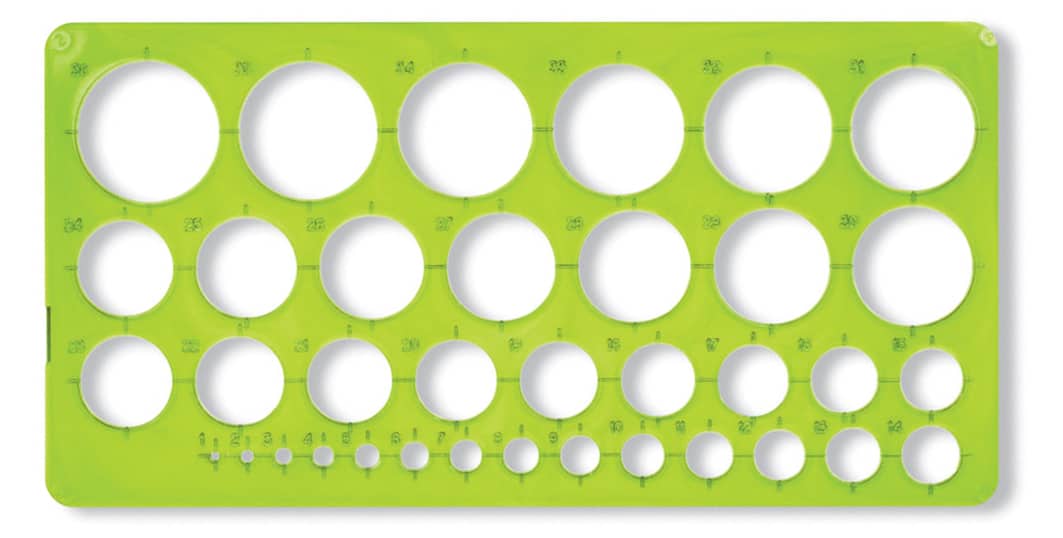
TEMPLATES & CURVES
You can find circle, ellipse, and curve templates at any art supply store. These templates are perfect for making dialogue balloons. It’s also helpful to have a flexible drawing curve, which you can bend to match curved lines in your sketches. You can use this helpful tool to create a thick-and-thin line quality by stroking your line several times and adjusting the position of the curve to build a line that is thicker in the middle and thinner at the ends.