
Master Actions, Services & Workflows
You’ve seen many of the amazing and powerful things that LaunchBar can do with applications, files, and folders, as well as with your calendar, contacts, iTunes library, and more. But LaunchBar has yet another trick up its sleeve. You can use LaunchBar to trigger actions and services, and integrate LaunchBar into workflows you create with Apple’s Automator.
In this chapter, I’ll show you how LaunchBar can stretch its reach beyond your files and applications to control your Mac and interface with Mac OS X and with other applications.
First, Some Terminology
In this chapter, I cover three types of items: actions, services, and workflows. To start, it’s important to explain what these three items are, and how they differ:
- Actions offer a cornucopia of interesting ways to control your Mac efficiently using LaunchBar. These actions, which enable you to add a photo to iPhoto, sleep your Mac, make a screenshot, and much more, are part of LaunchBar, created for you by LaunchBar’s developers (Flip ahead to Use Actions for more information.) Anyone can use LaunchBar’s built-in actions, but you can add your own actions to LaunchBar by creating AppleScripts, shell scripts, or Unix executables. (The creation of these types of actions is beyond the scope of this book.)
- Services are an aspect of Mac OS X that enables one application to offer its features inside other apps, via the Services menu or by Control-clicking a file in the Finder. Some services are built into Mac OS X, and others come from applications you install—or you can make your own in Apple’s free Automator app; see the next bullet item. If you’d like to work with services through LaunchBar, read Use Services.
- Workflows are step-based automated routines that you create with Automator, an app included in Mac OS X. For example, an Automator workflow that my publisher has created copies Take Control ebook files to particular folders, creates Zip archives and renames them, uploads the archives to multiple Internet servers, and more. You can save these routines as workflows that must be run manually, services that are available in any application, and even stand-alone applications. (Making workflows is beyond the scope of this book, but see the Mac OS X Automation site for more information.)
Use Actions
Some LaunchBar actions are designed to activate certain features of Mac OS X and its included applications. For example, the Empty Trash action clears your Trash and the Get Mail action tells Mail to check for new email. You can use LaunchBar actions to Log out of your user account, Quit all applications, or restart your Mac.
Other actions help you to save time by “instant-sending” a file or text to another app (see Instant Send, earlier). For example, you can select a photo in the Finder, invoke the bar and keep your keyboard shortcut pressed until the bar appears with the orange arrow ![]() at the right, and then choose the Add to iPhoto action to add that image to your iPhoto library. Or, select a URL in any text, instant-send it to LaunchBar, and choose the Add to Safari Reading List action to save it for future reading.
at the right, and then choose the Add to iPhoto action to add that image to your iPhoto library. Or, select a URL in any text, instant-send it to LaunchBar, and choose the Add to Safari Reading List action to save it for future reading.
Don’t worry about memorizing all these actions—or assigning abbreviations to them, because you can browse among all available actions in the Actions category (invoke the bar, type ACT, select Actions, then arrow right to browse or sub-search). Notice that some of the actions, such as those relating to Mail, Safari, Twitter, and Facebook, show icons that help you identify them.
Another way to discover LaunchBar actions is to look at the Actions list in the Index window (Figure 40). Some are labeled with the name of a specific application; others are clearly for acting on files, such as actions that compress a file, apply labels, or copy a file’s name. Other actions work on the system level, such as those for restarting, logging out, and changing volume.
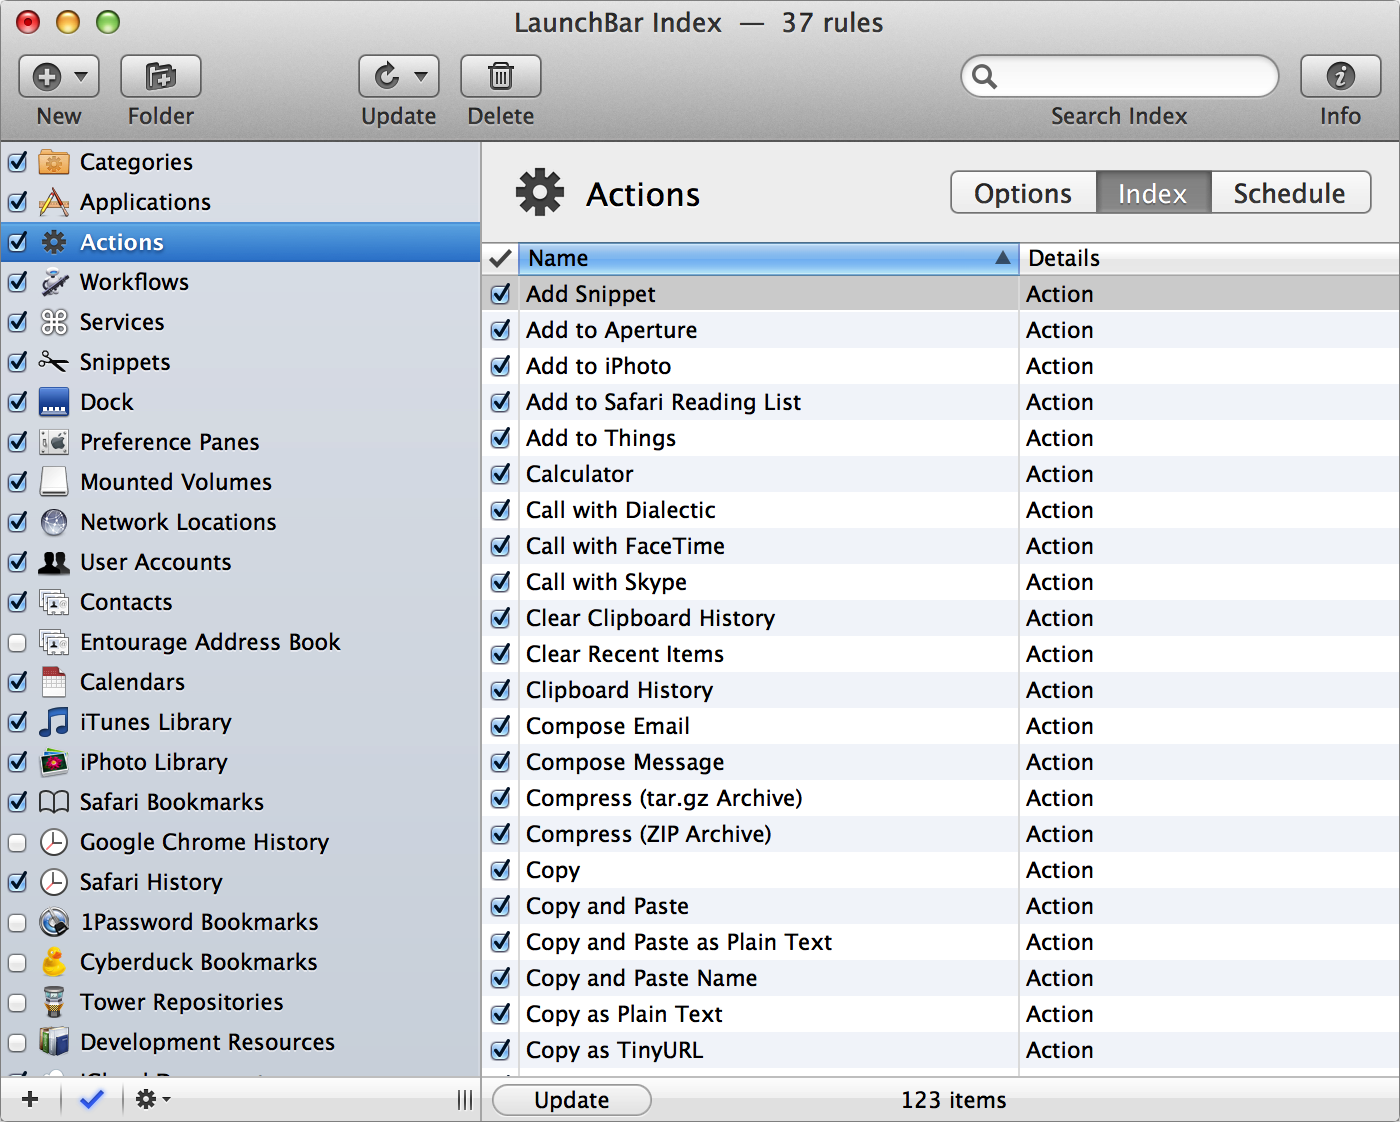
Figure 40: You can see all the actions available to LaunchBar in the Index window. Deselect any that you don’t want to use.
Feel free to de-select any actions that you don’t use. This is especially helpful if you trigger actions by browsing the Actions indexing rule since only the actions that you’ve kept selected will appear.
Use Services
As I mentioned in the beginning of this chapter, Services are a feature of Mac OS X that let one application borrow features from another. A service is provided by either an individual app or Mac OS X itself. There are different types of services. Some act on selected items, such as text, graphics, or files. Others let you interact with applications.
You can access services at any time by opening an application menu (the one with the name of the current application—like Preview, Pages, or GarageBand), then choosing Services. The Services submenu displays the services available in the current context. In other words, a service that acts on text won’t be available if you’re in a graphics program, or if you’re creating music in GarageBand.
You can see all available services in System Preferences. Look in the Keyboard pane, in the Keyboard Shortcuts view, and select Services at the left.
You can view the Services list by invoking the bar, typing SERV, then pressing the Space bar or the right-arrow key. As you can see in Figure 41, LaunchBar shows services followed by the name of the application they come from.

Figure 41: When you browse the LaunchBar Services indexing rule, you can see services from many different applications.
You can also access a service directly by typing an abbreviation. For example, you might type LUD to bring up Look Up in Dictionary.
To use a service, just select it and press Return.
Many services display text fields when you activate them; this is the case for Look Up in Dictionary, Make New Sticky Note, and Open man Page in Terminal, among others. For these, you’ll need to enter something before pressing Return.
If a service acts on text—for example, the Start Speaking Text service—select text in an application, send the text to LaunchBar, and then select the service in the bar. Or, if a service acts on some other item, like a file in the Finder or a graphical image in a word processor, first select that item, then send it to the bar and select the service.
As with actions, discussed above, you may want to cull the Services list. To do this, invoke the bar, press Command-Option-I to display the Index window, and click on Services. Deselect any services you don’t plan to use.
Use LaunchBar-Automator Workflows
LaunchBar provides special actions that Apple’s Automator can use. Automator is a tool that lets you create workflows, services, and applications that act on items much like AppleScript can, but without the need to write code. Instead, you create an Automator workflow, service, or application by dragging items from a list of actions in order to combine them, a bit like Lego bricks.
Automator and LaunchBar can be integrated in a variety of ways, since Automator can create services that LaunchBar can invoke, and because LaunchBar installs some Automator-specific actions inside Automator so workflows can control LaunchBar (Figure 42, ahead slightly).
Automator is a complex tool, and it’s well beyond the scope of this book to explain how to use it. I will, however, give you a taste of how LaunchBar can integrate with Automator by presenting one example of what you can do with LaunchBar’s actions. Let’s create a service that will copy the URL of the current Web page in Safari, then send it to LaunchBar, whose built-in Make TinyURL action will then send it to the TinyURL service to make a short URL for that page:
- Open Automator by typing, say, AUT in LaunchBar.
Automator launches and displays a dialog.
- In the dialog, choose to create a new service. (To create a workflow that LaunchBar will index in its Workflows indexing rule, you must create a service, not a workflow or application.)
- In Automator, in the Actions column at the left, click Internet.
- Find the action named Get Current Webpage from Safari, and drag it to the right-hand section of the Automator window.
- In the Actions column, click Library, and then type
LaunchBarin the search field above the list of actions to find LaunchBar’s actions. - From the list of LaunchBar’s actions, drag Perform Action to the right side of the Automator window, below the Get Current Webpage from Safari action.
- Within the Perform Action bubble, in the Action Name field, type
Make TinyURL. Make sure to type the action name accurately, or the service won’t function correctly. - Above the section where you dropped actions, from the “Service receives” pop-up menu, choose “no input.”
- Next to the pop-up menu mentioned in Step 8 is an “any application” pop-up menu. Click this menu and choose Safari.
Your workflow should look like the one shown in Figure 42.

Figure 42: If you’ve followed the above steps, your Automator window should look like this. Notice the LaunchBar actions in the middle column.
- Press Command-S to save the workflow as a service. Give it a name such as “Make TinyURL from Safari.”
The service is saved in LaunchBar’s Workflows indexing rule. You can access it from LaunchBar as you would any application.
To try your new service, open Safari, and visit your favorite Web page. Invoke the bar and type an abbreviation, such as URLSAF; then press Return. The service will copy the URL from Safari, send it to the TinyURL Web site, then return the resulting short URL in LaunchBar. You can then copy the URL from the bar with Command-C, or use send-to to send it by email or iMessage to a friend or colleague.