Manage Notifications
Of the Apple Watch’s many features, I take advantage of notifications the most. When a text message, Twitter reply, bank card alert, or other notification arrives, it appears on my watch; in fact, my iPhone, asleep in my pocket, doesn’t chime or vibrate. (Conversely, if you’re actively using the iPhone, notifications don’t appear on the watch.) This is the heart of the watch’s interaction: you can quickly, and discreetly if needed, check a notification on your wrist without pulling out the iPhone.
Act on a Notification
When a notification arrives, the watch taps your wrist and the notification appears (Figure 50).

Depending on the type, you can take several actions:
Tap the app icon or title to open that app—if it exists—on the watch. In the figure above, tapping the Photos app icon in the second screen displays the attached image.
Tap the Dismiss button to acknowledge you’ve read a notification. You can also swipe down from the top of the screen to dismiss it.
Tap an action, depending on the app. On the first screen above, you could scroll down slightly and tap the iMessage field to compose and send a text in Messages (see Reply to Messages).
Do nothing: the notification disappears after a few seconds of inaction (or with a flick of the wrist to put the screen to sleep). It’s then added to Notification Center.
Keep Notifications Private
If you want to ensure that no one can see notification text as messages arrive, open the Watch app on the iPhone, and turn on Tap to Show Full Notification.
Now, each new incoming notification arrives with only the sender and the associated app. Tap it to view its details.
View Missed Notifications
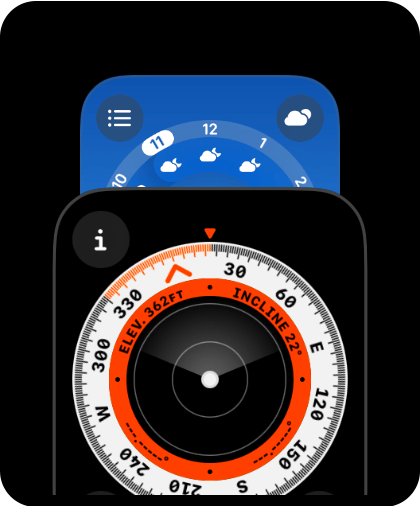
If you have any unread notifications, a red dot appears at the top of the watch face (Figure 51). If that’s too intrusive, turn it off in the Watch app on the iPhone by tapping Notifications and turning off Notifications Indicator; on the watch itself, find the switch in Settings ![]() > Notifications.
> Notifications.

Swipe down to reveal Notification Center and catch up on notifications you’ve missed (or ignored) (Figure 52). Use the Digital Crown or swipe to scroll through the list. When several notifications belong to the same app, they appear in a stack; tap the stack to expand it.
Clear Notifications
Some people don’t mind letting Notification Center fill up, but I can’t handle having more than a few items there. Here are some ways to clear those notifications:
With the Notification Center visible, swipe left to reveal an X button. Tap it to remove the notification (Figure 53).

Figure 53: Swipe left and then tap the X button to remove a single notification from Notification Center. If a particular app is inundating you with notifications but you don’t want to prevent them entirely, swipe left and tap the More
 button. Tap the Mute 1 Hour button to give yourself a 60-minute break, or the Add to Summary button to send them to Notification Center without alerting you each time one comes in. Or, tap Turn Off to stop receiving notifications from that app entirely.
Even better, scroll to the top of the Notification Center screen and tap the Clear All button to nuke all the notifications.
Choose Which Notifications You Receive
The downside to notifications is the potential to be overwhelmed by too many—you don’t want the Taptic Engine to feel like a wrist massager. By adjusting some settings in the Watch app on the iPhone, you can control which notifications get through to the watch.
In the app, tap Notifications and scroll down to the list of apps.
In general, the watch’s notifications mirror, or copy, the settings on the iPhone. For example, the Calendar app is initially set to Mirror my iPhone (Figure 54).

To customize which Calendar items are sent, such as turning off invitations (Figure 55), tap Calendar > Custom and then tap a type of alert to turn it off.

Notifications can also be grouped, so you aren’t forced to scroll through several alerts belonging to the same app (like when a lot of people like an Instagram post or tweet). In general, this option is controlled on the iPhone in Settings > Notifications > App name > Notification Grouping.
For Apple’s built-in apps, you can control grouping for each one in the Watch app under Notifications > App name > Custom > Notification Grouping.
Third-party apps can mirror the notifications settings on the iPhone, or you can turn watch notifications off in the Notifications screen in the Watch app on the iPhone.
Choose Feedback for Alerts
Do some notifications appear with a tap on your wrist, while others chime? Some of Apple’s built-in apps let you choose whether you want to be alerted by sound or by haptic feedback. Tap Notifications and the app you want to customize (such as Messages), tap Custom, and pick the alert styles (Figure 56).

If you’re prone to missing notifications on your wrist, set the Repeat Alerts option on the same screen to as many as 10 times.
Receive Mail from VIPs Only
I’ve never needed to know the moment I receive new email messages, even on the iPhone, but I do want to be alerted when messages arrive from a handful of important people.
To mark someone as a VIP:
Locate an email message from that person in the Mail app on the iPhone and open it.
Tap the person’s name to view their contact information.
Scroll down and tap Add to VIP.
To receive notifications on the watch when VIPs send email messages:
On your iPhone, open the Watch app and go to the Notifications section.
Tap Mail and choose Custom.
Make sure the Show Alerts switch is set to On.
Tap VIPs and turn on Show Alerts from VIPs (Figure 57).

Figure 57: Make sure you’re notified when email from VIPs arrives. The next time a message from one of your VIPs arrives, it also appears as a notification on the watch (Figure 58).
