In this task, we'll go just one step further. We'll create submenus for our menu items. The submenus let us navigate not only to the main subjects of the prezi, but also to the subparts.
We want to keep our original file with the plain menu. Save your world-of-bees.html as world-of-bees2.html to create a new web page and continue working on the menu.
In our unordered list, we'll create new unordered lists for our submenus. Let's start with the first submenu for menu item Bees.
The following is the code of the new unordered list for the submenu:
<ul>
<li><a href="javascript:player.flyToStep(2)">what's a
  bee?</a></li>
<li><a href="javascript:player.flyToStep(4)">4 groups</a></li>
<li><a href="javascript:player.flyToStep(5)">bee body</a></li>
</ul>
Put this list between the <li></li> tags of the menu item Bees, just before the end tag </li>.
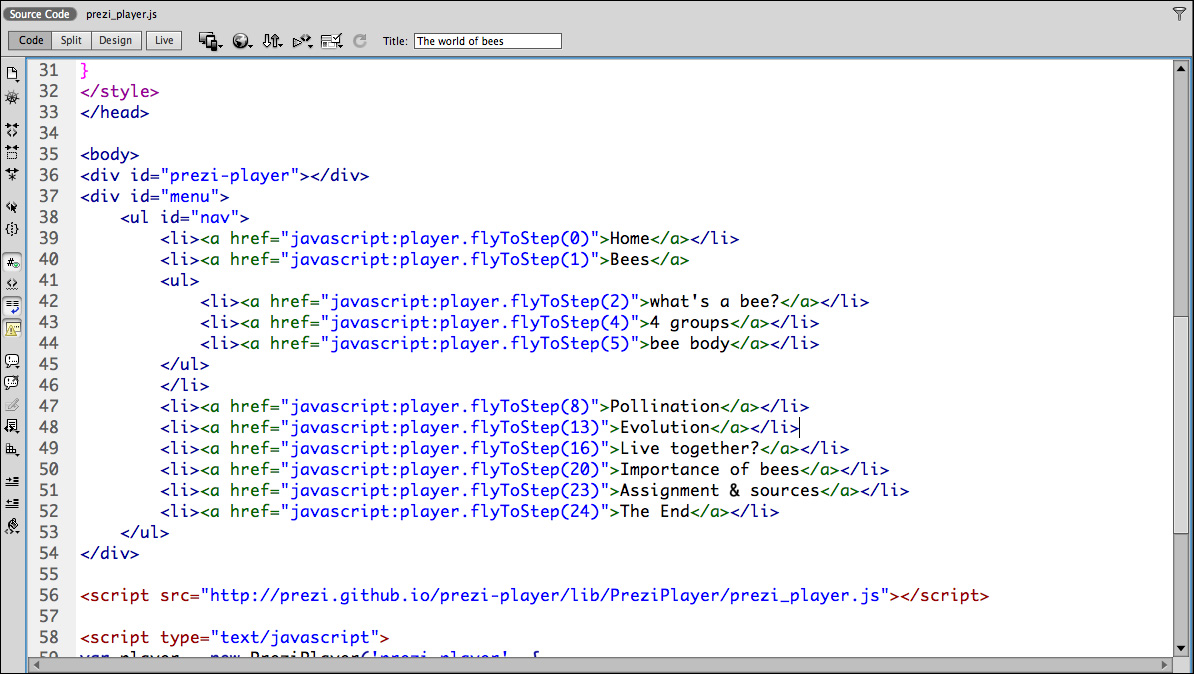
The code will look as shown in the following screenshot. Pay attention to the end tag </li> after the whole new sublist.
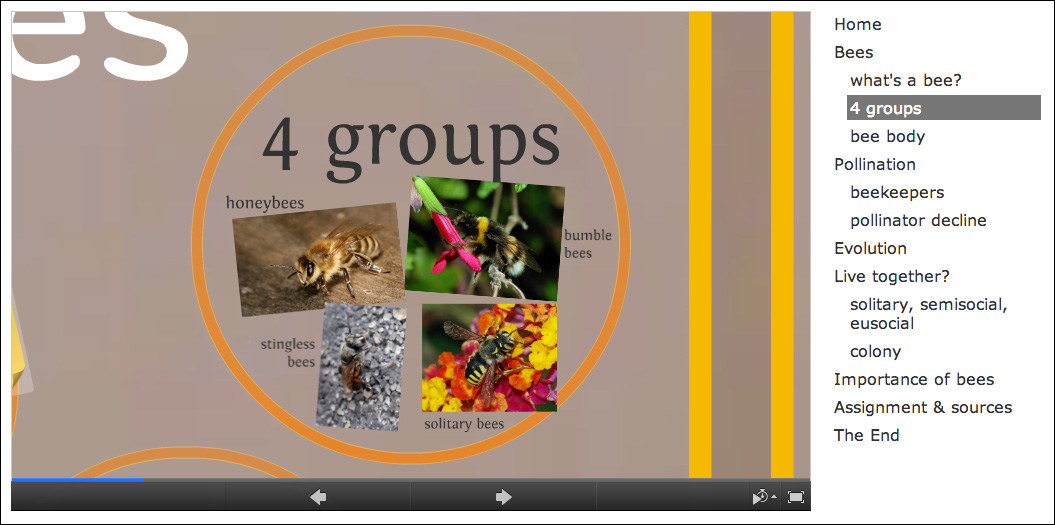
The webpage now looks like the following screenshot:

This code works immediately as you do not have to compile or upload it first. Maybe you want to change the design of the sublist, we will do that later. First, we'll add the other sublists to our menu.
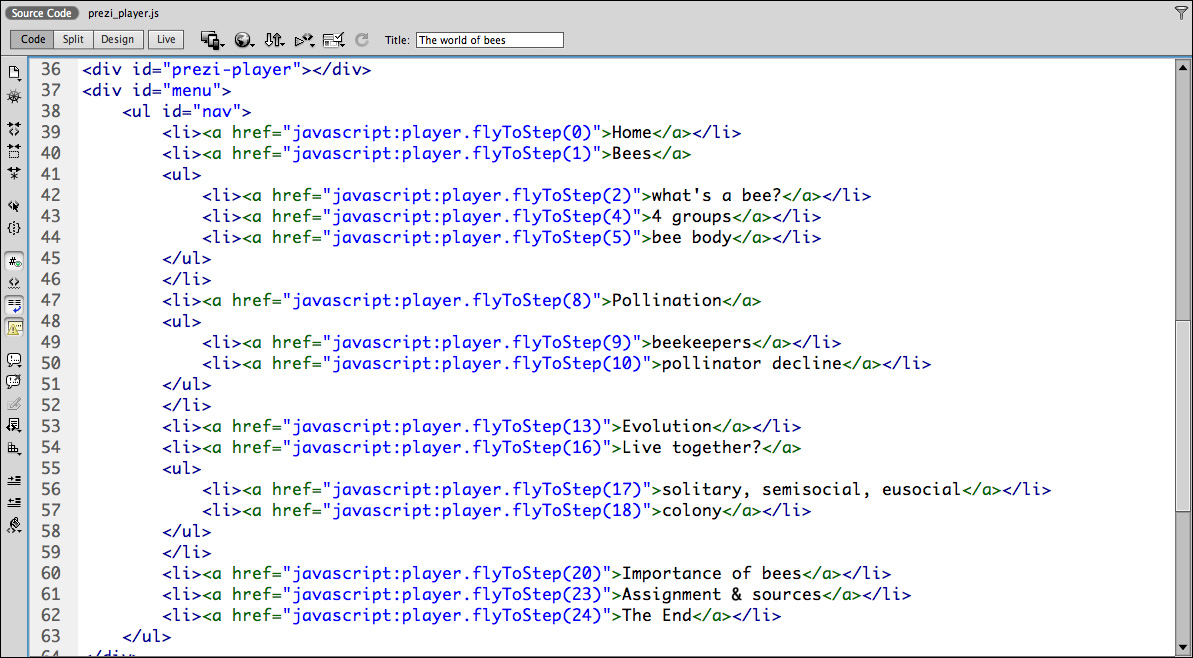
Look at the following screenshot for the code of the complete menu.
The last thing that we want to change is the design of the submenu. We want to get rid of the bullets and we want to give the submenu a lighter background if we move the mouse over it.
In the CSS part, we add the following code to accomplish this:
#nav li li {
  list-style-type: none;
  margin-left: -24px;
}
#nav li li a:hover {
  background-color: #777;
  color: #fff;
}
By using li li, we can reference to the submenu instead of the main menu items, as shown in the following screenshot: