2. Managing Workbooks and Worksheets
This chapter covers some of the more fundamental tasks you undertake in Excel; tasks that revolve around managing your workbooks and worksheets. The topics covered in this chapter include
→ Opening and closing an Excel workbook
→ Organizing and customizing worksheets
→ Password protecting a workbook
A workbook is essentially a container that holds your worksheets. When people refer to an Excel workbook, they are referring to the entire Excel file. A worksheet is the actual spreadsheet you work in. There can be many worksheets in a workbook—similar to pages in a book.
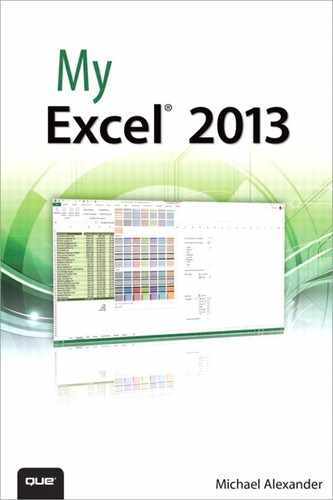
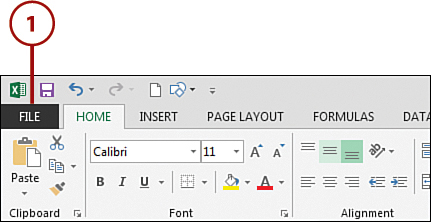
Excel 2013 includes a File tab. The File tab exposes the Backstage view. In the Backstage view you find every command you need to manage and work with Excel workbooks. The more common tasks found are opening Excel workbooks, creating new workbooks, and saving workbooks. The Backstage view also provides options to share files, see file information, and access Excel application options.
Opening an Excel Workbook
Any time you want to work with an existing Excel workbook, first you must open it. The idea here is simple: First you tell Excel you want to open a file, and then you select the file you want using the Open dialog box.
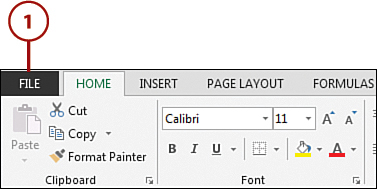
1. Click the File tab.
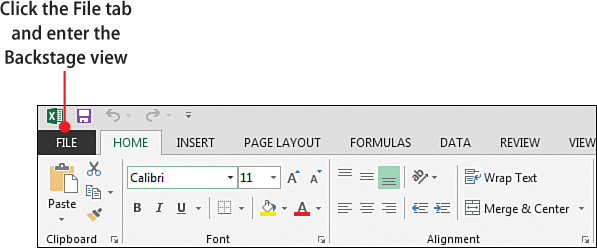
2. Click the Open command.
3. Select the location in which your file resides.
4. Click the Browse icon to browse your chosen location.

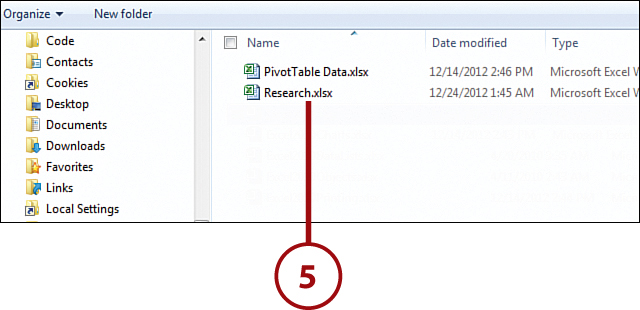
5. Use the Open dialog box to find the file you want to open and then double-click the file.
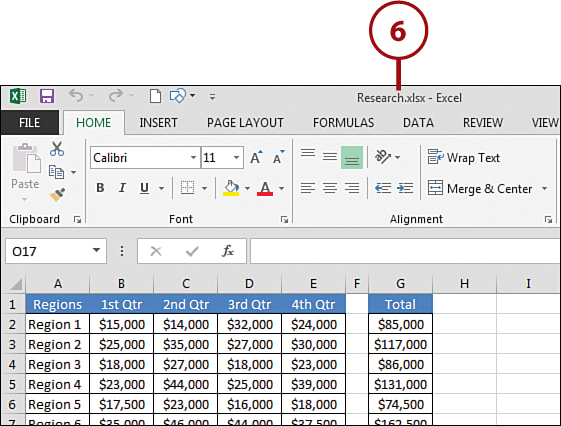
6. Excel opens the workbook. The filename displays at the top of the workbook.
Creating a New Workbook
If you want to start a new workbook from scratch, you can click the File tab, select New, and then select Blank Workbook. Alternatively, you can go to your keyboard and press the shortcut key combination Ctrl+N.
Closing an Excel Workbook
Excel 2013 introduces the concept of one workbook—one window. That is to say, each workbook you open has its own window. This makes it easier to work with multiple workbooks at one time. This comes in handy when you work on two monitors. When closing a workbook, the entire Excel window closes. This is a departure from Excel’s previous behavior of closing the workbook but keeping the Excel window open.
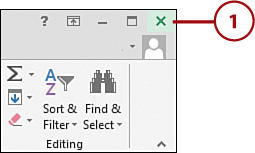
1. Click the Close button (represented by the X) in the document window. If you’ve made changes to the workbook, Excel prompts you to save your changes.
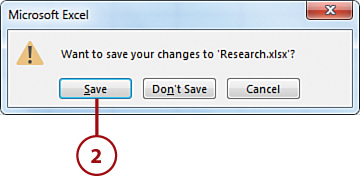
2. Click Save if you want to save any changes you have made, or click Don’t Save if you do not. Excel responds accordingly and then closes the workbook.
Saving a Workbook
You should regularly save your workbooks as you work in them so you don’t lose data. You can save a workbook as many times as you like, so saving often is a good habit to get into. You can also save your workbook under another name if you want to keep track of multiple versions of your workbook.
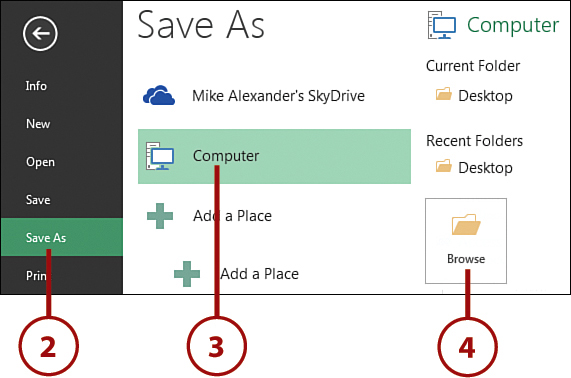
1. Click the File tab to get to the Backstage view.
3. Choose the location you want your file saved.
4. Click the Browse button to locate the folder where you want to save the file.
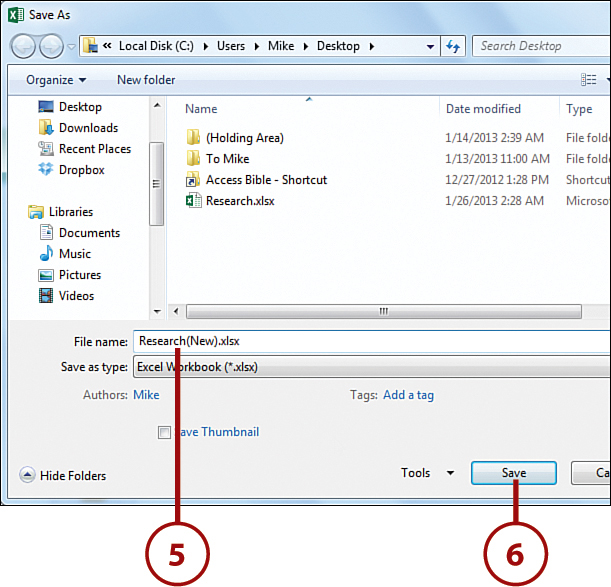
5. Use the Save As dialog box to enter a new name for your file.
6. Click the Save button, and Excel saves your workbook.
Clicking Save on the Quick Access Toolbar
If you have already saved and named your file, you can resave it after making additional changes by clicking the Save icon on the Quick Access Toolbar. Revisit Chapter 1, “Working with Excel’s Ribbon Menus,” for a refresher on the Quick Access Toolbar.
Switching Between Open Workbooks
You can have multiple workbooks open at the same time and switch between them whenever you want. For example, you might be using two different workbooks to create one report. You can use the Windows Taskbar to quickly move from one workbook to another.
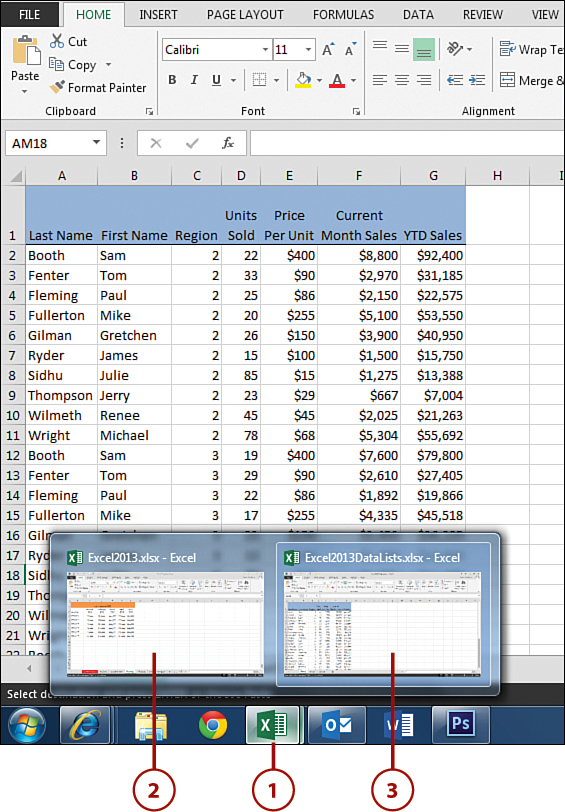
1. With two or more workbooks already open, hover over the Excel icon on the Windows Taskbar.
2. Click the button on the Windows Taskbar that represents one of your open workbooks (in this case, the Excel2013.xlsx button). This workbook becomes the active workbook.
3. Click a different workbook button on the Windows Taskbar (for instance, the Excel2013DataLists.xlsx button). This workbook becomes the active workbook.
Using Alt+Tab to Toggle Through Workbooks
You can also toggle through your open workbooks by using the Windows Alt+Tab toggle. With several workbooks open, you can press the shortcut key Alt+Tab. This enables you to cycle through all the open applications/workbooks and stop on the workbook you want.
Switching Between Worksheets
Similar to switching between multiple workbooks, you can switch between the separate worksheets within a single workbook. This enables you to review and edit data stored on separate worksheets within a single workbook.
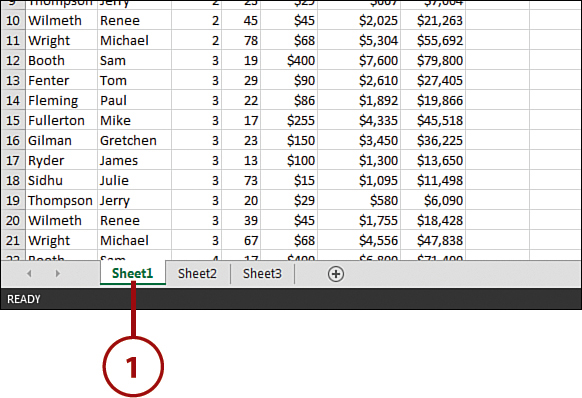
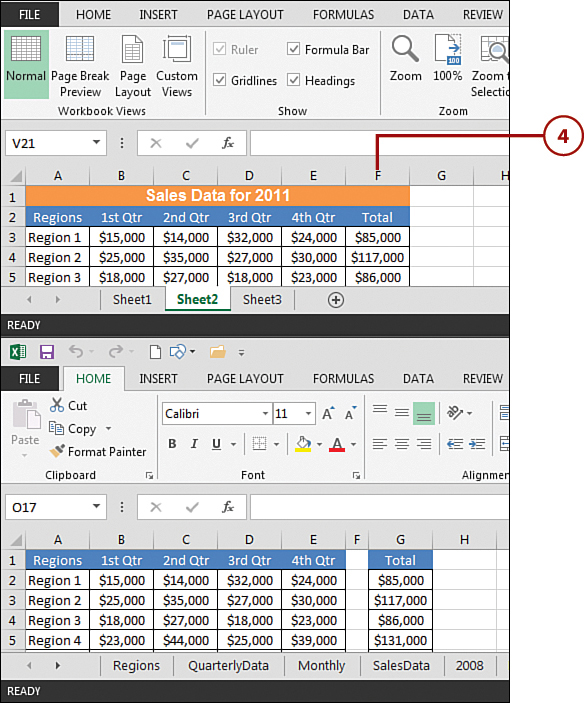
1. Click a worksheet tab (in this example, the Sheet1 tab) to see the contents in that worksheet.
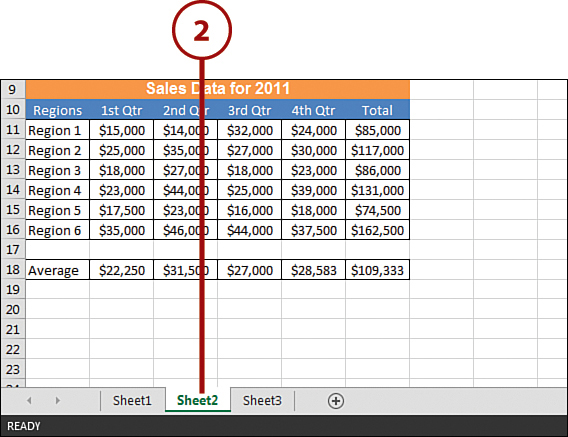
2. Click a different worksheet tab (here, the Sheet2 tab) to see the contents of that worksheet.
Cycle Through Sheets with the Keyboard
You can also cycle through the sheets in your workbook with keyboard combinations. Press Ctrl+PgUp to go to the next sheet. Press Ctrl+PgDown to go to the previous sheet.
Viewing Multiple Workbooks
Instead of constantly switching between workbooks, you can view multiple workbooks onscreen in Excel and resize their windows as needed. This comes in handy if you want to compare two or more workbooks or work on multiple workbooks at the same time.
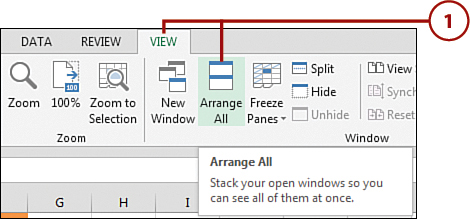
1. Click the View tab, and then select the Arrange All command.
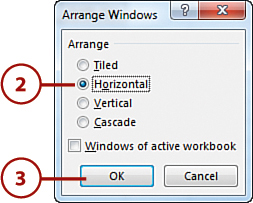
2. Select how you want the windows arranged (for example, Horizontal).
3. Click the OK button.
4. Multiple workbooks display simultaneously. Click the title bar or in the body of the workbook you want to work in to make it the active worksheet.
If you need to compare two workbooks where the data is column-oriented (data is mostly going up and down) use the Vertical option when arranging the window. If you need to compare two workbooks where the data is row-oriented (data is mostly left to right) use the Horizontal option.
Inserting and Deleting Worksheets
By default, Excel automatically provides you with one worksheet when a new workbook is created. As you work with Excel, you can likely find that you need to insert additional worksheets. Conversely, sometimes you need to delete ones you no longer use.
1. To insert a new worksheet, click the plus icon next to the worksheet tabs.

2. The new worksheet is automatically named SheetX, where X is the next number in the sequence of sheets.
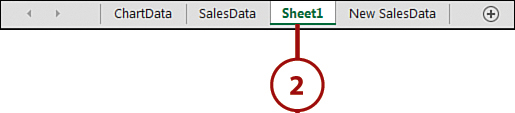
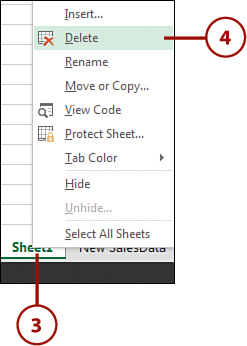
3. To delete a worksheet, right-click the worksheet tab you want to delete.
4. Click the Delete command.
5. Click the Delete button to confirm that you want to delete the worksheet.
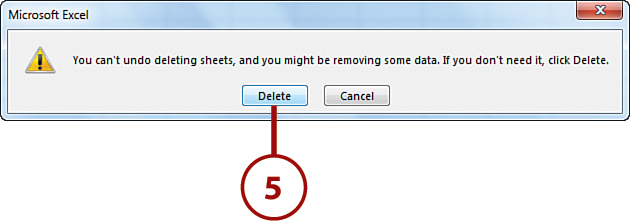
No Undo When Deleting Worksheets
Be careful when deleting worksheets because there is no way to undo after you delete a worksheet. If you mistakenly delete a sheet, there is no way to get it back.
Renaming Worksheets
You should always endeavor to use descriptive names for the worksheets in your Excel file. If you have a workbook that uses multiple worksheets, providing descriptive names for your worksheets makes working within your workbook far easier than it would be if all your sheets are named Sheet1, Sheet2, and so on.
1. Double-click the worksheet tab you want to rename. Alternatively, you can right-click the worksheet name and select Rename.
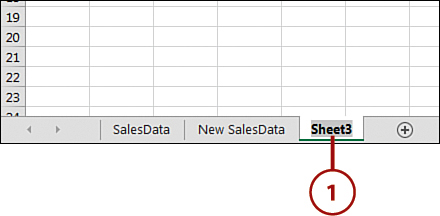
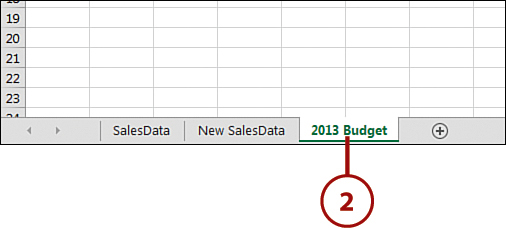
2. Type the new name and press Enter. Excel displays the new name on the worksheet tab.
Worksheet Names Can’t Be Too Long
Excel has a 31-character limit on worksheet names. That is, your worksheets cannot have a name that exceeds 31 characters.
Coloring Worksheet Tabs
As you add worksheets to your workbook, you might find an increasing need to organize your worksheets. To help with this, Excel enables you to color your worksheet tabs. If you want to indicate something specific about a worksheet tab—for example, if a worksheet contains preliminary data—you can assign it a tab color, such as red.
1. Right-click the worksheet tab you want to color.
2. Click Tab Color.
3. Select your preferred color.
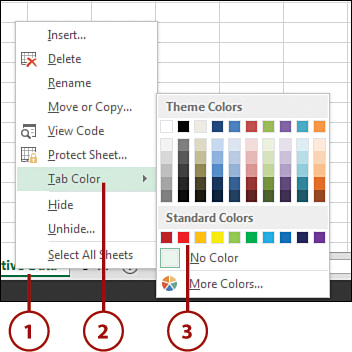
4. The color is immediately applied to your worksheet tab.

Moving Worksheets Within a Workbook
When Excel inserts a new worksheet, it always places it in front of the currently selected worksheet. You can, of course, move your worksheet tabs as you start organizing your workbook.
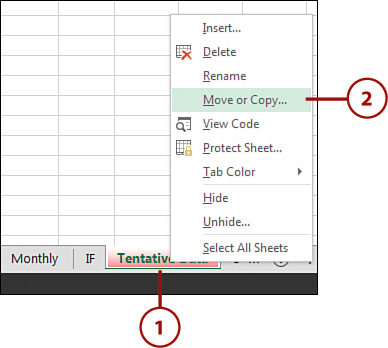
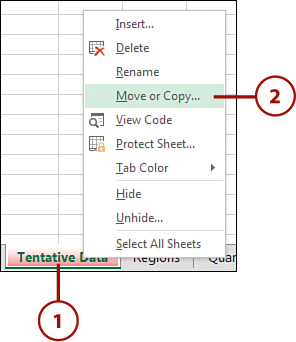
1. Right-click the worksheet tab that you want to move.
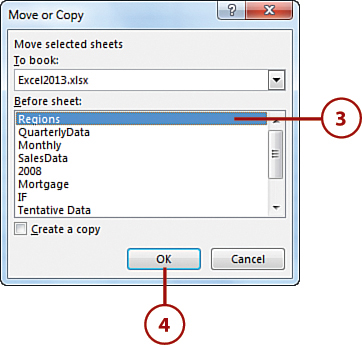
2. Select Move or Copy from the shortcut menu. The Move or Copy dialog box opens.
3. In the list of worksheets, click the name of the worksheet in front of which you want the selected sheet to be moved.
4. Click OK to move the worksheet.
Move by Dragging
You can also click a worksheet tab and drag it in front of or after another worksheet tab to change its location. This can be a much more efficient method of moving worksheets in smaller workbooks that contain only a handful of worksheets.
Copying Worksheets Between Workbooks
You might find that a worksheet used in one workbook would be of use in another workbook. Instead of re-creating the worksheet, you can simply create a copy of the worksheet in the other workbook.
1. Right-click the worksheet tab that you want to copy.
2. Select Move or Copy from the shortcut menu. The Move or Copy dialog box opens.
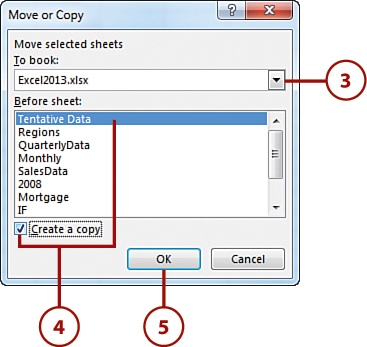
3. Click the down arrow next to the To Book field, and choose the workbook to which you want the target worksheet copied.
4. Choose the position where you want the worksheet copied. Click the Create a Copy check box.
5. Click OK. At this point, Excel copies the worksheet as directed.
Moving Versus Copying
Be sure to click the Create a Copy option when copying a worksheet. If you fail to do so, the worksheet is moved to the other workbook instead of copied. If the worksheet is moved, it is no longer accessible in the current workbook.
Password Protect a Workbook
You might have instances in which your Excel workbooks are so sensitive that only certain users are authorized to see them. In these cases, you can force your workbook to require a password to open.
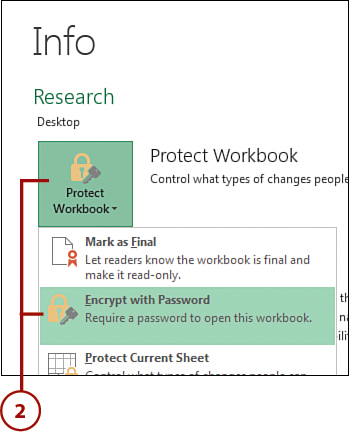
1. With your workbook open, click the File tab to get to the Backstage view.
2. Click the Protect Workbook drop-down, and select the Encrypt with Password option.
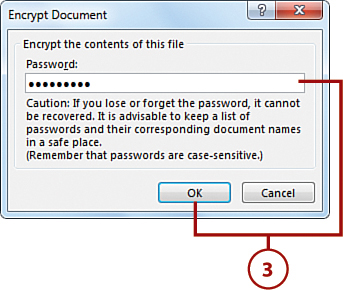
3. Enter an appropriate password and then click OK.
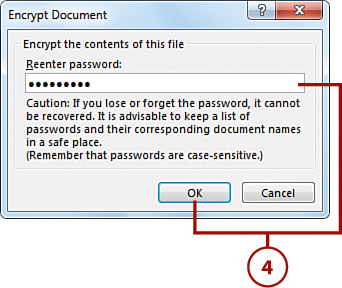
4. Enter the same password in the Reenter Password box and then click OK. At this point, your worksheet is protected.
Remember Your Passwords
Excel offers no way to recover lost or forgotten passwords. You must remember them.
If you lose or forget your password, you have to use a third-party password-hacking program. You can find dozens of them by going to your favorite Internet search engine and entering “Excel Lost Password.”
Protecting a Worksheet
When you share files with other users, you might find it useful to protect your worksheets. When your worksheet is protected, you essentially restrict the capability to take certain actions without a password—actions such as inserting or deleting rows and cell data.
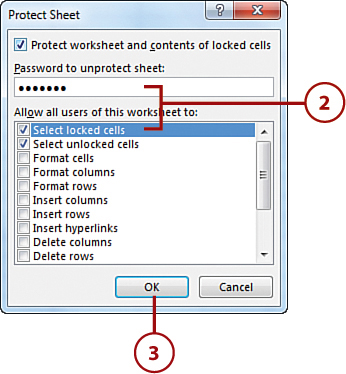
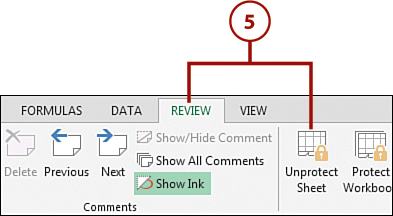
1. Go to the Review tab and select the Protect Sheet command.

2. Place a check mark next to the actions that you want users to perform, and then enter a password in the Password to Unprotect Sheet text box.
3. Click OK.
4. Type the same password in the Confirm Password dialog box; then click OK. At this point, your worksheet is protected.

The Password Is Optional
If you leave the Password entry blank, your worksheet is still protected. However, your users can unprotect the worksheet without a password.
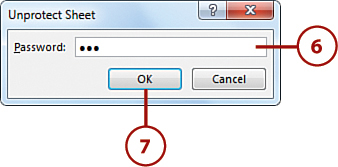
5. To unprotect a worksheet, go to the Review tab, and select the Unprotect Sheet command. The Unprotect Sheet dialog box appears.
6. Enter the password.
7. Click OK. At this point, the worksheet is unprotected.
Excel Passwords are Case Sensitive
Be aware that passwords are case-sensitive in Excel. That is, if you enter the password as “RED” (uppercase letters), your worksheet can’t be unprotected if you enter “red” in lowercase letters.