8
Filmora Filmstock – A Treasure Chest of Assets
Welcome to Chapter 8! This will be the last chapter of the second part of the book. This will be an extremely short chapter going over how we can access Filmstock, a place where we can download and install different add-on media made by professionals to our Filmora software and use in our own projects. The reason why I’m teaching you this now instead of at the beginning is that now, you have a solid grasp of the basics and fundamentals of how to use Filmora, and going forward into Part 3, we will be using some of these in our projects:
- Treasure – what is Filmstock?
- Using and navigating Filmstock
- Downloading and installing new Filmstock assets
Treasure – what is Filmstock?
Filmstock is basically the marketplace for all kinds of elements, animations, titles, sounds, music, effects, and everything else that Filmora uses to create videos. I call it treasure because that’s what it is! The company (and other users) add these professional assets for users such as you and me to download and use. Some of the assets are free and some you have to buy, but please don’t feel discouraged, as there are a myriad of free assets that will last you for quite some time!
Using and navigating Filmstock
To access Filmora Filmstock, we need to go to the dedicated website at https://filmstock.wondershare.com/ first, and once there, we will be greeted with this:

Figure 8.1: The Filmstock website for Wondershare Filmora 11
At the top of the website, we can see different drop-down categories that we can explore based on what asset we are looking for. Most commonly, users look for effects or audio, but this depends on what you need for your video:

Figure 8.2: The Filmstock categories
Now, it is important to mention that most of the assets on the Filmstock website need to be purchased, but there are loads of free, high-quality assets that we can use without needing to pay a license.
For example, if we look just below the categories, we can already see some free asset packs that we can download.

Figure 8.3: Free assets in Filmstock
If you don’t like any of these, we can click on any category that we’ve seen here and there will be a list of free effects that you can choose from:

Figure 8.4: Free Filmstock effects
In the following section, you will learn how to install all the assets we can find on Filmstock!
Downloading and installing new Filmstock assets
Once we find an effect that we like, we can simply click on it to go to its page and click on the bright green Free Download button:
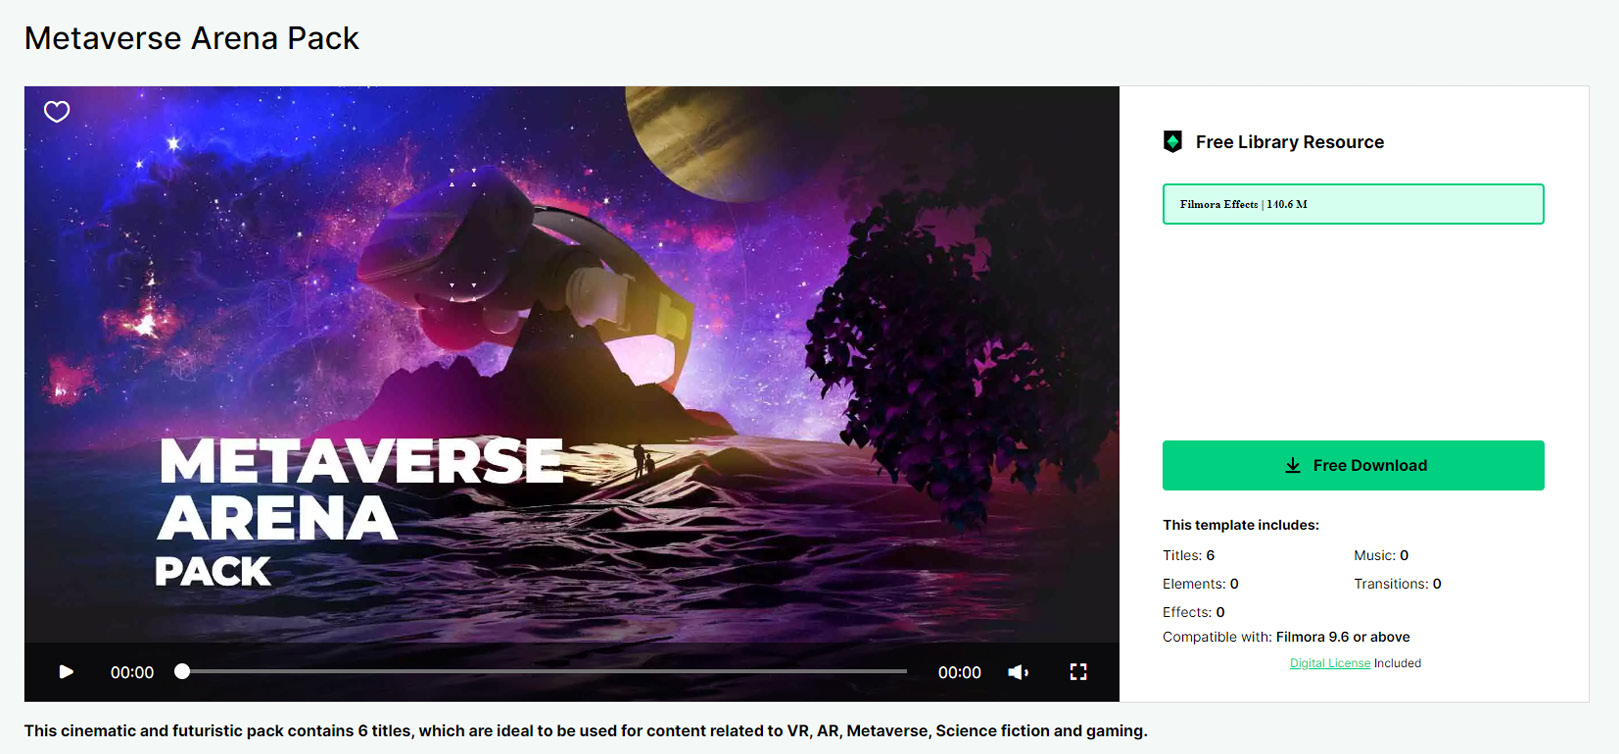
Figure 8.5: The Filmstock asset page
Once the download button is clicked, this window will pop up:

Figure 8.6: The Filmstock window
This is Filmora’s Filmstock window, which was installed at the same time as your Filmora software.
The download and installation will start automatically and once installed, you will now be able to find these assets inside Filmora in the correct category (in my case, the Titles category) as can be seen here:

Figure 8.7: Installed assets in Filmstock
And thus, we now have them in our Filmora 11 software and they are ready to use!
Summary
So, in this brief chapter, we have learned how to navigate the Filmstock website and how to install and add them to our Filmora 11 software. This is how you and I can get high-quality free assets to use in our videos without any extra cost.
I would highly suggest using these in combination with everything we have learned, as this will give your video a unique and enjoyable quality, as we will see in the next few chapters when we create our projects.