
5
Exploring Navigation and Routing with a Hacker News Clone
So far in our adventures, we have yet to build more than a simple application, however in real life, most of the applications that we use in our daily lives have more than one page. Due to this, every framework has a way of navigating between different views or pages; this feature allows us to keep the user’s experience simple and intuitive because we only display the information that they need to see rather than everything that might lead to information overload.
In this chapter, we will learn how to navigate in a multi-page application using Flutter and its Navigator APIs. First, we will examine how navigation works in Flutter and how we can move from one screen of an application to another. Then, we will build a news application with the Navigator 1.0 API. After getting a clear understanding of how Navigator 1.0 works, we will refactor our application to use Navigator 2.0. Finally, we will simplify our application by using a popular routing library.
We will cover the following topics:
- Understanding navigation
- Imperative routing with Navigator 1.0
- Declarative routing with Navigator 2.0
- Simplifying Navigator 2.0 with GoRouter
Technical requirements
Make sure to have your Flutter environment updated to the latest version in the stable channel. Clone our repository and use your favorite IDE to open the Flutter project we’ve built at chapter_5/step_0_start.
The project that we’ll build upon in this chapter can be found on GitHub: https://github.com/PacktPublishing/Flutter-UI-Projects-for-iOS-Android-and-Web/tree/main/chapter_5/step_0_start.
The complete source code can be found on GitHub as well: https://github.com/PacktPublishing/Cross-Platform-UIs-with-Flutter/tree/main/chapter_5/step_4_end.
Let’s set up the project so we can start to explore how navigation works in a multi-page Flutter application.
Setting up the project
In this chapter, we will learn how to use Flutter’s navigation APIs to build an interactive, multi-page Hacker News application that will allow us to navigate from lists of articles or stories, to their detail pages. Hacker News is a social news website focusing on computer science and entrepreneurship.
When we have finished, the resulting application should mirror Figure 5.1:
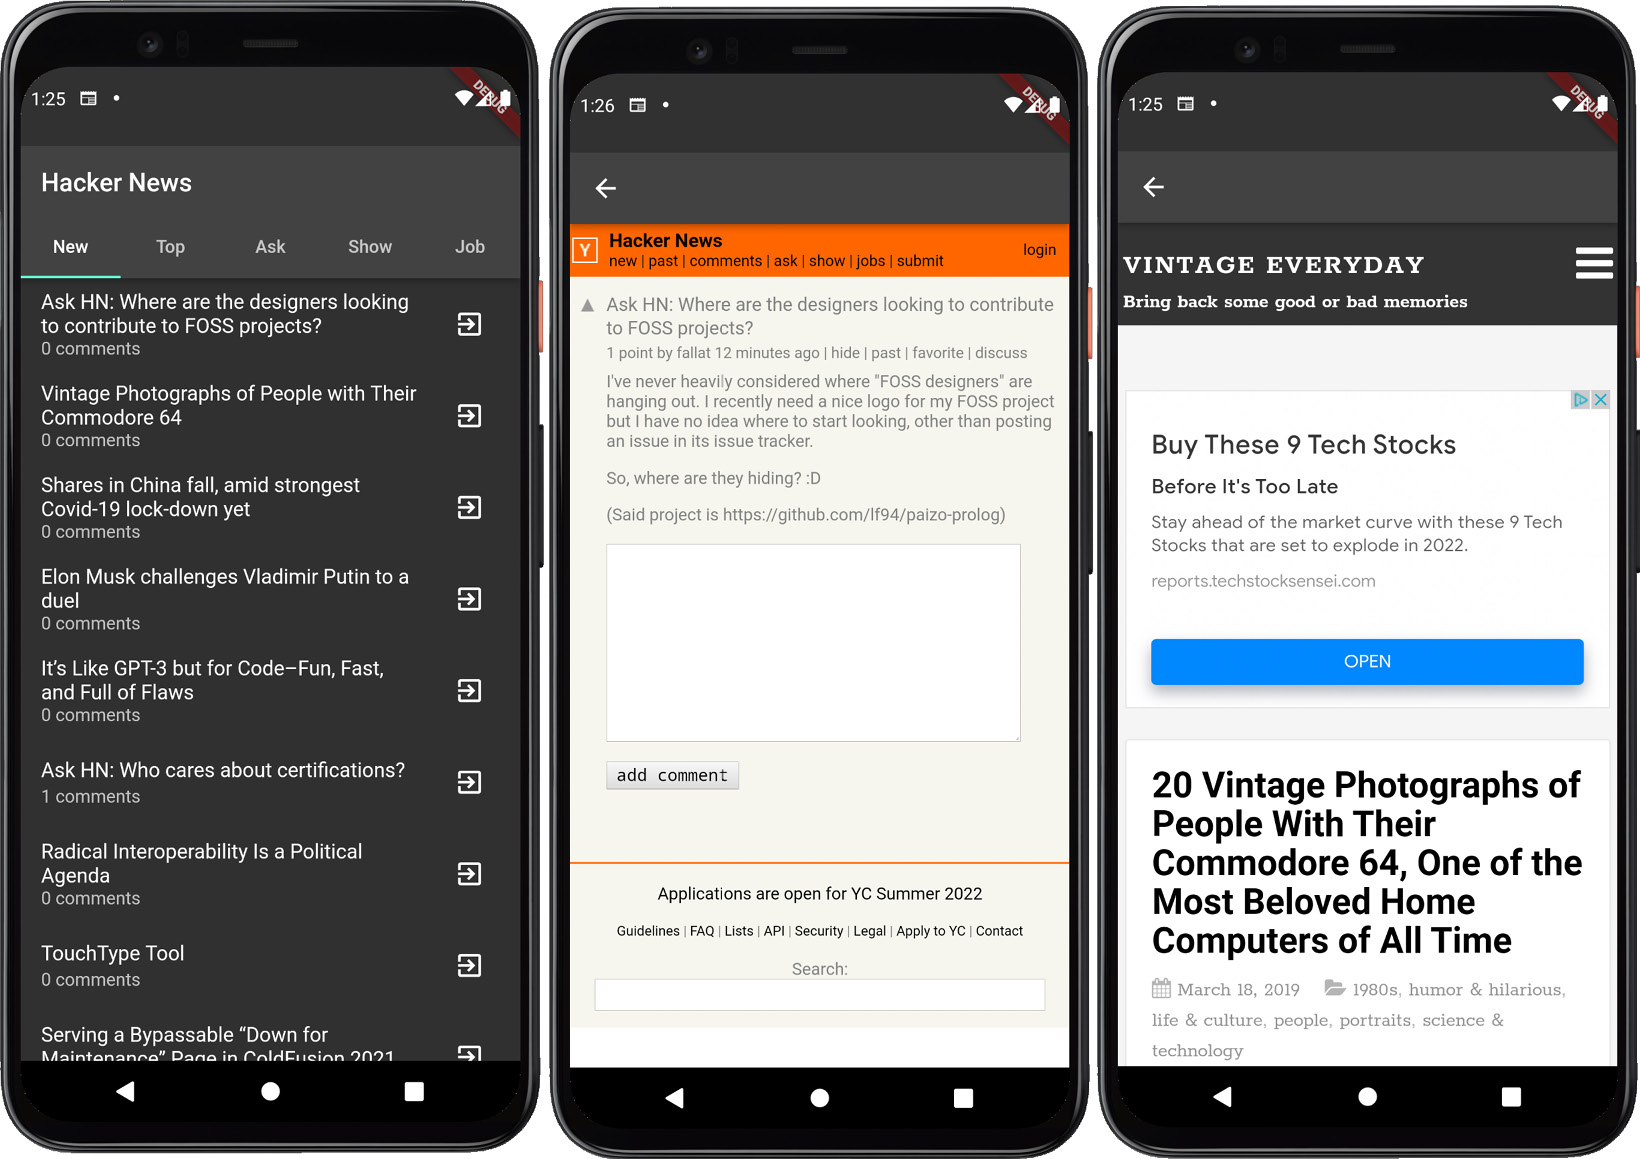
Figure 5.1 – Hacker News app
In Figure 5.1, we see three different screens:
- A home screen that has tabs for each Story Type
- A details or comments screen that renders Hacker News in a WebView
- A story link view that renders the original story source URL in a WebView
Additionally, when tapping on an already selected tab from either the details or the story screen, we should be redirected back to the list view for that Story Type.
We will start with an example that has one empty page with tabs that match the Hacker News web application at https://news.ycombinator.com: New, Past, Comments, Ask, Show, and Jobs. This example also includes the controllers and APIs to communicate with the Hacker News API located at https://hacker-news.firebaseio.com.
After downloading the initial application from GitHub, we can start by moving into its root directory and running the flutter pub get command from the Terminal. This will install any package dependencies that the application needs. Additionally, opening the project in an IDE will also trigger an install of the project on initial load and when pubspec.yaml is updated.
After installing the application’s dependencies, execute the flutter run command from the same terminal window and view the project either in your browser or on your currently running emulator. When viewing the application in your IDE, you should observe the following file structure:
lib
|-- src:
   |-- data
   |-- localization
   |-- ui
      |-- story
   |-- app.dart
|-- main.dart
Let’s briefly explore the purpose of each top-level folder/class:
- src: This folder contains implementation details of our application that, unless exposed, will be hidden from consumers.
- data: This folder that includes all of the business components of our application. This can include API facades.
- localization: This folder that includes all of the translations for the application.
- ui: This folder that includes all of the presentational components of our application. This can include controllers and widgets.
- story: This folder that includes all of the presentational components associated with stories.
- app.dart: This widget will control whether to display a Material-themed application or a Cupertino-themed application.
- main.dart: This is the entry point of the application.
Now let’s explore the features of the Flutter framework that enable us to build platform-specific UIs.
Understanding navigation
Flutter has two ways of navigating between views. The first pattern introduced was an imperative API that makes use of the Navigator widget. Think of Navigator as a stack that sits at the top of the application. A stack is a linear data structure that follows the principle of Last In First Out (LIFO), meaning the last element inserted inside the stack is removed first. Stacks generally have two main functions: push which allows you to add a new item to the stack, and pop, which removes the item from the stack that was added. The Navigator widget extends this API further:
- pop: Pops the top-most route off the navigator.
- popAndPushNamed: Pops the top-most route off the navigator and pushes a named route onto the navigator.
- popUntil: Pops routes off the navigator until some conditions are met.
- Push: Pushes a route onto the navigator.
- pushAndRemoveUntil: Pushes a route onto the navigator and pops routes until some conditions are met.
- pushNamed: Pushes a named route onto the navigator.
- pushNamedAndRemoveUntil: Pushes a named route onto the navigator and pops routes until some conditions are met.
- pushReplacement: Replaces the current route by first pushing the given route and then disposing of the previous one once the animation has finished.
- pushNamedReplacement: Replaces the current route by first pushing the given named route and then disposing of the previous one once the animation has finished.
In this chapter, we will primarily be focused on pop and pushNamed. Like any other widget in Flutter, Navigator can be deeply nested inside of other navigators, and when you make an API call, it will only affect the Navigator widget most closely associated with the given context.
To tell Flutter how to define the onGenerateRoute property on MaterialApp. If you inspect app.dart, you will notice that we have already done this:
      onGenerateRoute: (RouteSettings routeSettings) {
        return MaterialPageRoute<void>(
          settings: routeSettings,
          builder: (BuildContext context) {
            switch (routeSettings.name) {
              case StoryDetailsView.routeName:
                return const StoryDetailsView(
                  storyId: 0,
                );
              case StoryListView.routeName:
              default:
                return const StoryListView();
            }
          },
        );
      },
The previous code snippet does the following:
- Define a MaterialPageRoute with the routeSettings provided by onGenerateRoute.
- Display the StoryDetailsView widget if routeSettings.name matches StoryDetailsView.routeName.
- Display the StoryListView widget if routeSettings.name matches StoryListView.routeName.
If we run our application, we should get an image that matches the following:
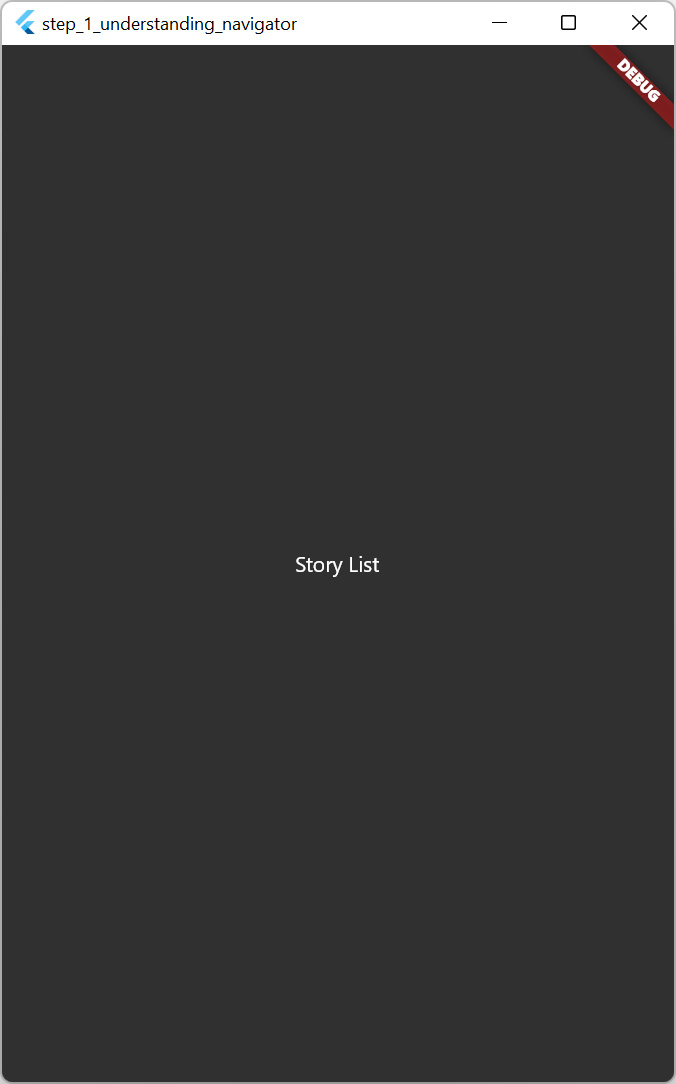
Figure 5.2 – Story list view
Notice in Figure 5.2 that we have no way of getting to the StoryDetailsView. Let’s add that ability by opening StoryListView and adding the following block of code to the Column’s children:
TextButton(
    onPressed: () {
        Navigator.of(context).pushNamed(
          StoryDetailsView.routeName);
    },
    child: const Text('Go to details'),
)
Let’s examine what this code does:
- We created a button with the text Go to details.
- On button press, we call Navigator.pushNamed and pass it a static string defined on StoryDetailsView.
Now if we reload the application, we should get our newly created button below the Story List text:
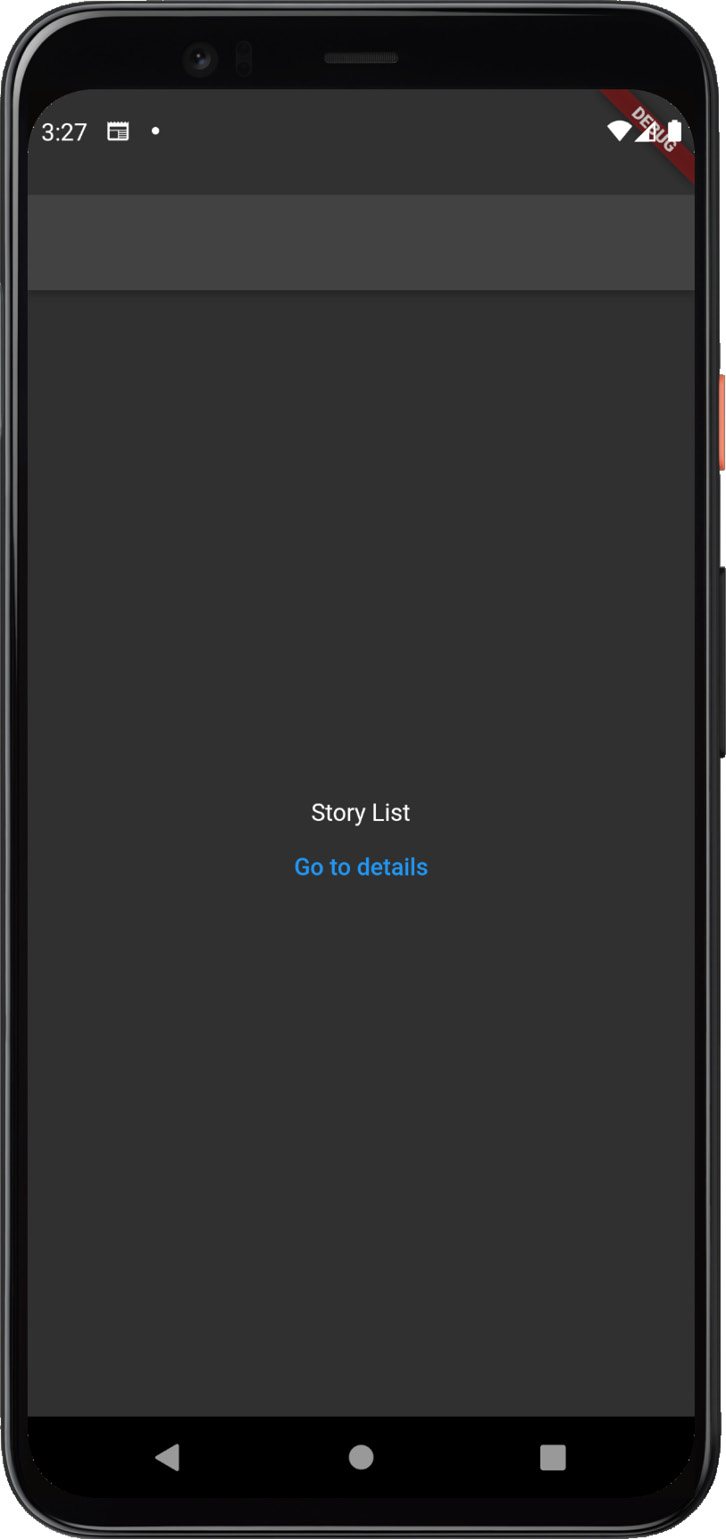
Figure 5.3 – Story list view with navigation button
If we click on our newly added button, as displayed in Figure 5.3, we should be redirected to the Story Details page and see the following screen:

Figure 5.4 – Story details view
One important thing to notice in Figure 5.4 is that we have no way of navigating back to the page that we came from. Let’s add a button to return to our previous page by extending StoryDetailsView with the following block of code to the Column’s children:
TextButton(
    onPressed: () {
        Navigator.of(context).pop();
    },
    child: const Text('Go back'),
),
Let’s examine what this code does:
- We created a button with the text Go back.
- On button press, we call Navigator.pop which will remove the most recent route from the stack.
Upon refreshing the application, we should see our newly added Go back button. Our Story Details view should mirror the following screen:
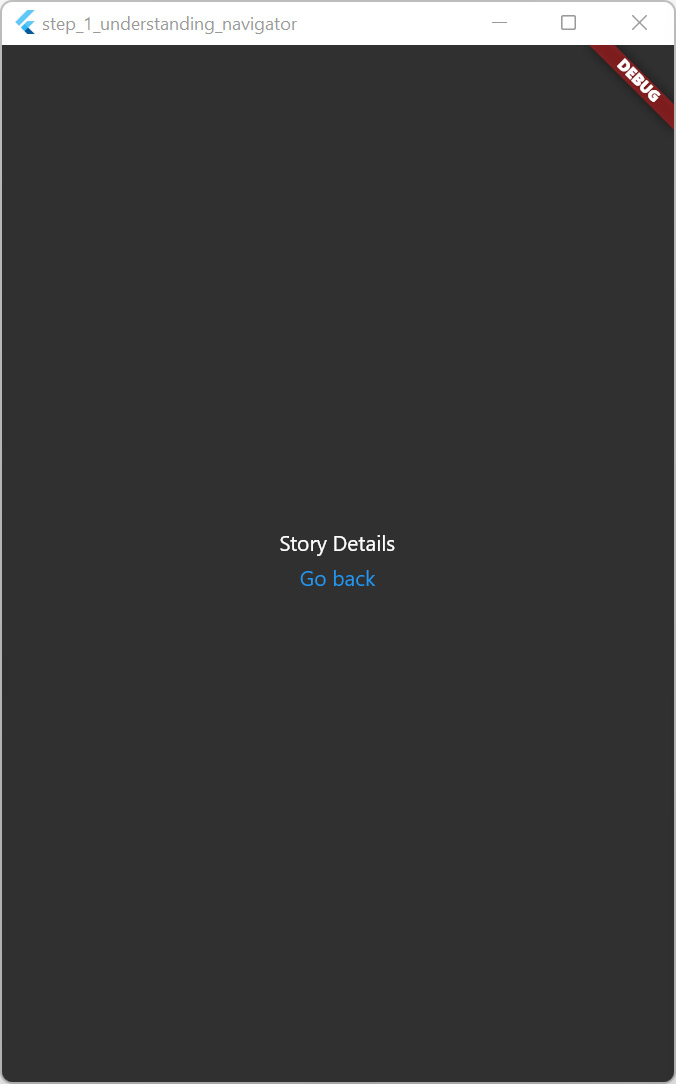
Figure 5.5 – Story Details view with Go back button
Graphically speaking, the example in Figure 5.5 is fine, but technically, always displaying a back button on a screen can create a bad user experience. If somehow the user navigates to this screen initially, there would be no previous route to navigate to, and clicking on the button could cause an error.
Fortunately, the Navigator.canPop function allows us to verify that the stack has a previous page to navigate to. Let’s wrap our button with a conditional check using the Navigator.canPop function using the following code:
if (Navigator.canPop(context))
    TextButton(
    onPressed: () {
        Navigator.of(context).pop();
    },
    child: const Text('Go back'),
),
In this refactored code snippet, we instruct the application to only display the back button if Navigator.canPop is true, signifying that there are additional routes on the stack beyond the current route.
You may be thinking that handling back navigation seems like an unnecessary step, and you would be correct. Flutter already has the ability to automatically imply whether or not to display a back button. This capability is built into AppBar, which will determine whether or not to display a back button if the leading property is empty and the automaticallyImplyLeading property is true.
Let’s add AppBar to both StoryListView and StoryDetailsView to see what this looks like. Extend the Scaffold widget in both classes with the following code before body:
appBar: AppBar(),
The preceding code merely tells the application that we would like to use Flutter’s Material AppBar with all of its default settings. These defaults include a leading property being empty and automaticallyImplyLeading being set to true. If we refresh our application, we should get the following results:
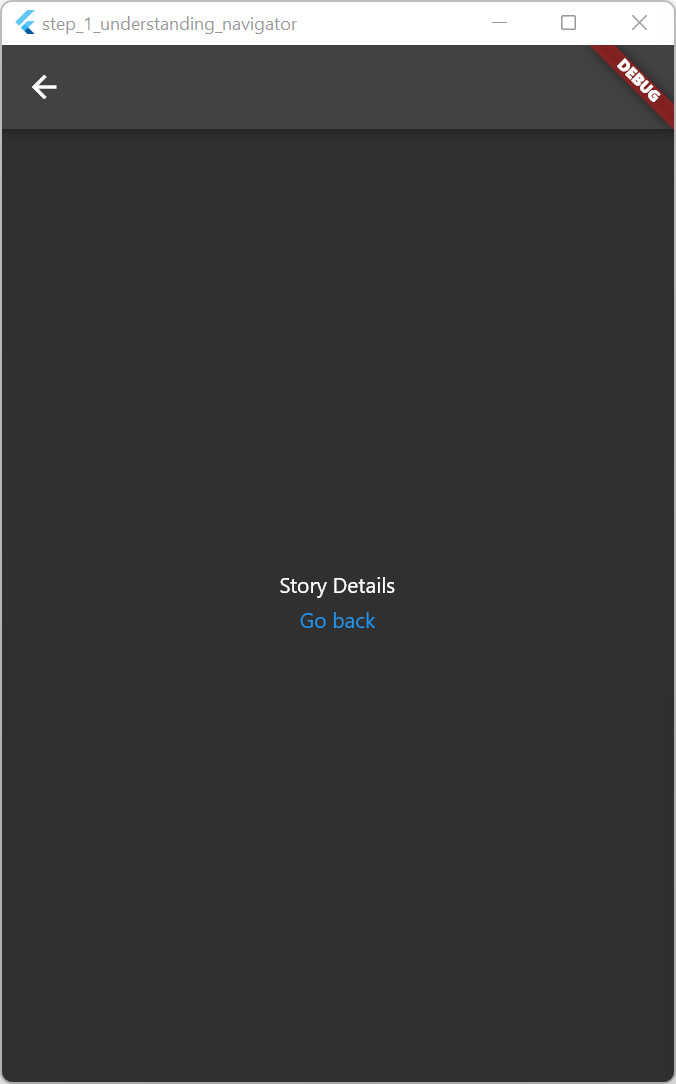
Figure 5.6 – Story Details view with Go back button
Notice in Figure 5.6 that the top area of the application now includes a short bar that is empty on the StoryListView, and has a back button signified by a left arrow icon on StoryDetailView. The AppBar widget automatically injects that widget based on the navigator stack.
Now we should have a clearer understanding of the setup that is required when using Flutter’s Navigator. We should also be a bit more comfortable using some of the imperative Navigator’s APIs to navigate between pages of an application. Next, let’s build our Hacker News application using Flutter’s Navigator 1.0 APIs.
Imperative routing with Navigator 1.0
Now that we have familiarized ourselves with how to do multi-page navigation in Flutter, let’s put what we’ve learned into action by building our Hacker News Application using these APIs. Flutter has a collection of APIs for handling multi-page navigation. The legacy APIs are referred to as Navigator 1.0. Let’s start by using those to build our page navigation.
We will start by adding a new view with tabs. Create a new home_view.dart class in the lib/src/ui/home folder. In it create a new StatefulWidget called HomeView and add the following logic to the _HomeViewState class’ build method:
  @override
  Widget build(BuildContext context) {
    return Scaffold(
      appBar: AppBar(
        title: const Text('Hacker News'),
        bottom: TabBar(
          controller: _controller,
          tabs: [
            for (final storiesType in StoriesType.values)
              Tab(text: storiesType.displayName)
          ],
        ),
      ),
      body: TabBarView(
        controller: _controller,
        children: [
          for (final storiesType in StoriesType.values)
            StoryListView(
              storiesType: storiesType,
            ),
        ],
      ),
    );
  }
In the previous code snippet, we have done the following:
- Constructed a page that displays an AppBar which will display tabs from the StoriesType enum values.
- Constructed Scaffold.body with TabBarView that creates StoryListView for each StoriesType enum.
- Additionally, we pass both TabBar and TabBarView a TabController named _controller that we have yet to define.
Let’s do so now by adding the following code in the same _HomeViewState class before the build method:
  late final TabController _controller;

  @override
  void initState() {
    super.initState();
    _controller = TabController(
      length: StoriesType.values.length,
      vsync: this,
    );
  }

  @override
  void dispose() {
    _controller.dispose();
    super.dispose();
  }
Now, we have done the following:
- Instantiated an instance of our _controller.
- Created our _controller appropriately in our initState function.
- Disposed of the _controller in the dispose function.
Re-run the application and observe changes, which should match the following screen:
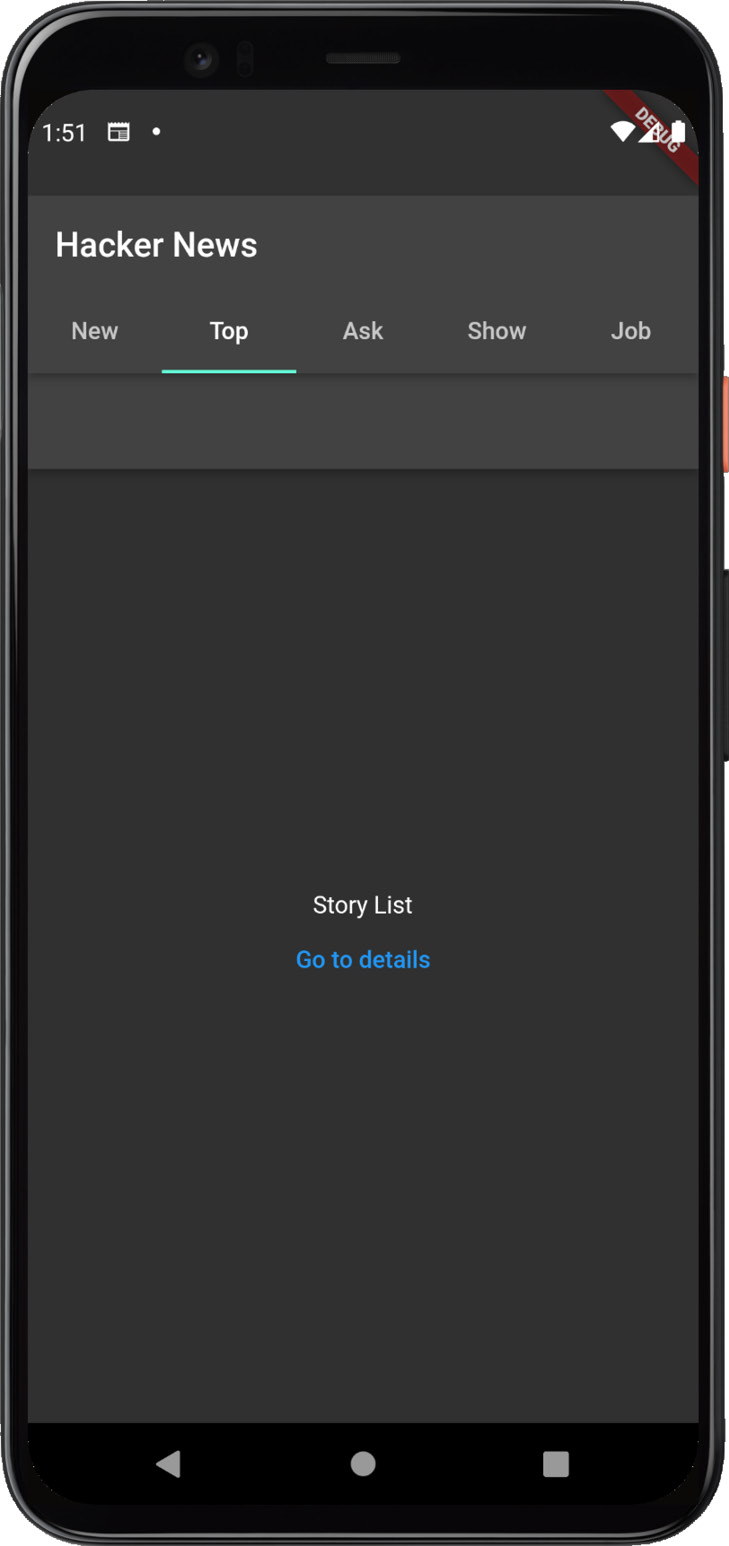
Figure 5.7 – Home view with tabs
Figure 5.7 shows us our newly created tabs with the pre-existing StoryListView. Now let’s populate StoryListView with some actual data. Navigate to the widget and convert it from a StatelessWidget to a StatefulWidget. Replace the Selector.builder function with the following code:
            return ListView.builder(
              itemCount: state.length,
              itemBuilder: (BuildContext context,
                            int index) {
                final story = stories[index];

                return ListTile(
                  title: Text(
                    story.title,
                  ),
                  subtitle: GestureDetector(
                    onTap: () =>
                     _navigateToStoryComments(story.id),
                    child: Text('${story.descendants}
                                comments'),
                  ),
                  trailing: IconButton(
                    onPressed: () =>
                     _navigateToWebview(story.id),
                    icon: const Icon(Icons.exit_to_app),
                  ),
                );
              },
            );
The previous code will use the stories provided by the Selector widget and build a list from those results. Additionally, we need to add the call to getStories to load the stories from the API.
Next, modify the initState method and replace it with the following code:
  @override
  void initState() {
    super.initState();
    _storyController = StoryController(context.read())
      ..getStories(widget.storiesType);
  }
In this code, we immediately call the getStories method after initializing our controller. Finally, to run the application let’s add some empty methods for _navigateToStoryComments and _navigateToWebview, which are referenced in the build function. Add the following code after the build method:
  void _navigateToStoryComments(int storyId) {
  }

  void _navigateToWebview(int storyId) {
  }
We will revisit these methods, but for now leave them empty. Now, run the application and you should observe the following:

Figure 5.8 – Home view with tabs and stories
Figure 5.8 shows that our application is finally displaying results. Congratulations! As you navigate between tabs and back, you may notice that the tabs must reload with every re-entry. This is less than ideal, as we would prefer the results to be persisted.
Let’s update our application to persist the state. Add the AutomaticKeepAliveClientMixin mixin to _StoryListViewState and then copy the following code before the initState method:
  @override
  bool get wantKeepAlive => true;
AutomaticKeepAliveClientMixin will prevent our widget from being disposed of automatically, as long as wantKeepAlive is true. Additionally, we need to add super.build() as the first line in our build method. Now when running the application, you should be rewarded with tabs that persist in their state upon re-entry.
Next, let’s change StoryDetailsView to display WebView which points to the details page URL that the API gives us for each story. Replace the build method of StoryDetailsView with the following code:
    return Scaffold(
      appBar: AppBar(),
      body: WebView(
        javascriptMode: JavascriptMode.unrestricted,
        initialUrl:
          'https://news.ycombinator.com/item?id=$storyId',
        gestureRecognizers:
          <Factory<VerticalDragGestureRecognizer>>{
          Factory<VerticalDragGestureRecognizer>(
            () => VerticalDragGestureRecognizer(),
          )
        },
      ),
    );
In this code snippet, we have swapped the previous body for a WebView that points to ‘https://news.ycombinator.com/item?id=$storyId’, which is the details website for the current story. We also pass in a VerticalDragGestureRecognizer to ensure smooth scrolling, since we are using WebView. Finally, we allow WebView to exercise JavaScript in an unrestricted mode to prevent any rendering errors that might occur.
Next, we would like to add a class to capture the storyId that we will pass to the StoryDetailsView widget. At the bottom of the file, add the following code:
class StoryDetailsViewArguments {
  const StoryDetailsViewArguments(this.storyId);

  final int storyId;
}
Here, we have created a class called StoryDetailsViewArguments that takes in a single storyId parameter, which we will use to build the URL. We can now revisit story_list_view.dart and update the _navigateToStoryComments function to navigate to our details view using these arguments. Replace the function with the following code:
  void _navigateToStoryComments(int storyId) {
    Navigator.of(context).pushNamed(
      StoryDetailsView.routeName,
      arguments: StoryDetailsViewArguments(storyId),
    );
  }
This function will merely redirect to the story details, adding the arguments property with the StoryDetailsViewArguments that we just created.
As a final step, we need to refactor app.dart to make use of the new arguments class. Inside of MaterialPageRoute.builder replace the first switch case with the following code:
              case StoryDetailsView.routeName:
                assert(routeSettings.arguments != null);
                final arguments =
                    routeSettings.arguments as
                      StoryDetailsViewArguments;

                return StoryDetailsView(
                  storyId: arguments.storyId,
                );
The changes that we introduce are as follows:
- Throw an error if no arguments are provided
- Attempt to parse the arguments correctly
- Pass storyId from the arguments to the details view
Now, we should be able to run the application and see our details screen when tapping on the comments widget:
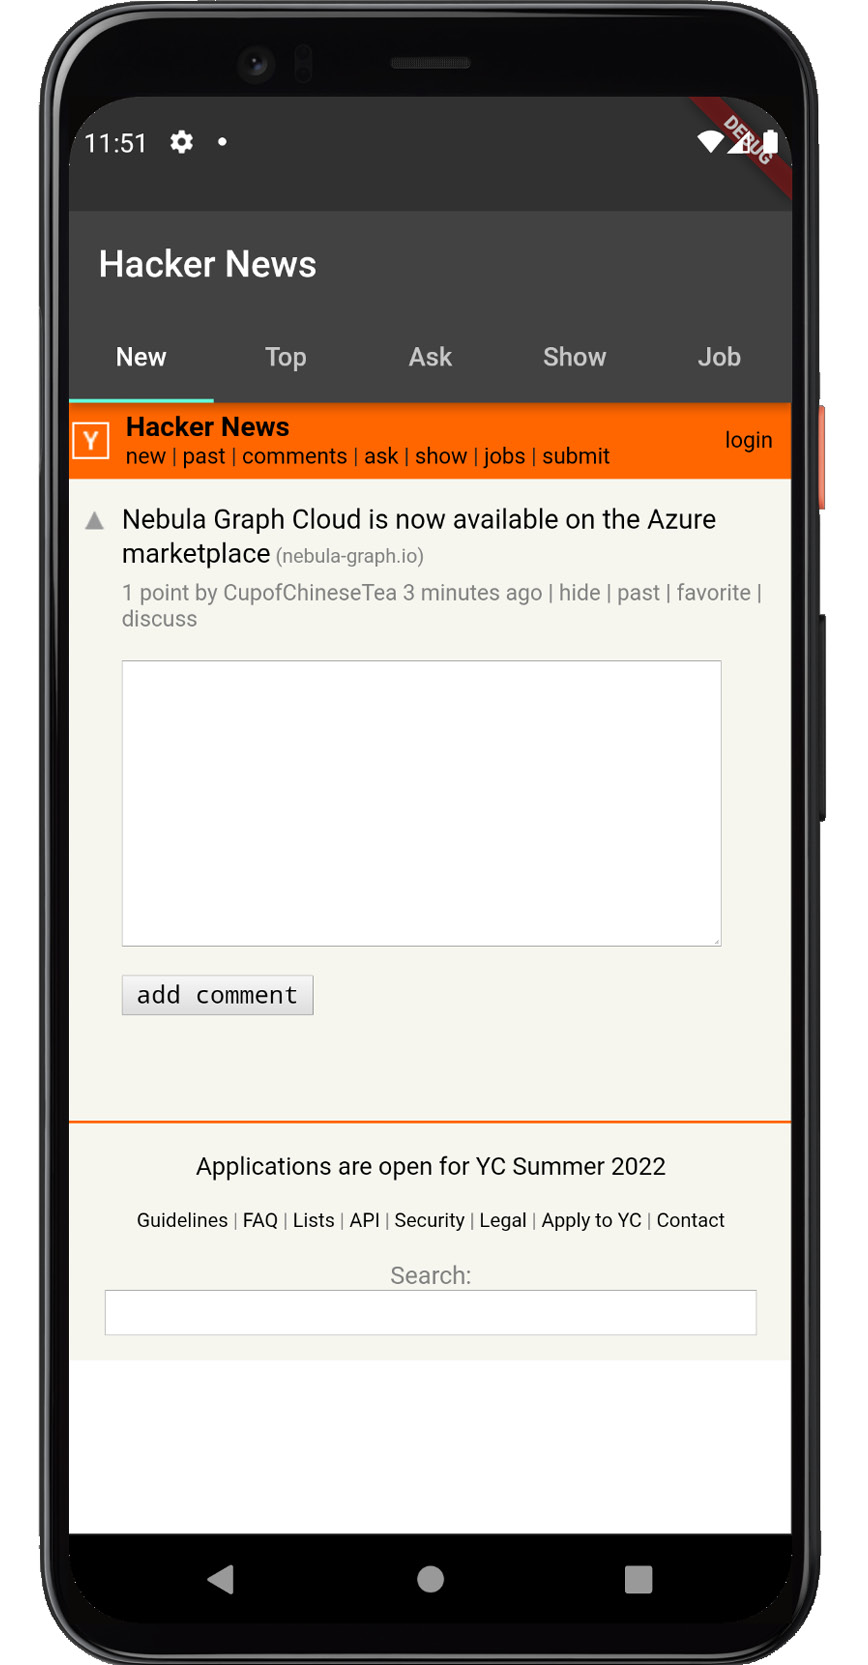
Figure 5.9 – Story details view
Figure 5.9 shows us the results that we should expect when navigating to the story details view: an empty AppBar and a WebView that directs us to the details of the story.
Now, let’s repeat the process to add a WebView for the story’s source URL. Create a file called story_web_view.dart in the story folder. In it, create a StatefulWidget called StoryWebView. Add the following code to the body of that class:
class StoryWebView extends StatefulWidget {
  const StoryWebView({
    Key? key,
    required this.storyId,
  }) : super(key: key);

  final int storyId;

  static const routeName = '/story-source';

  @override
  State<StoryWebView> createState() =>
   _StoryWebViewState();
}
Like StoryDetailsView this widget takes in a storyId parameter and includes routeName for use with Navigator. Inside the _StoryWebViewState class replace the build method with the following:
@override
  Widget build(BuildContext context) {
    return ChangeNotifierProvider.value(
      value: _storyController,
      child: Scaffold(
        appBar: AppBar(),
        body: Selector<StoryController, Story?>(
          selector: (context, controller) =>
            controller.selectedStory,
          builder: (context, story, child) {
            if (story == null) {
              return const Center(
                child: CircularProgressIndicator(),
              );
            }
            if (story.url == null) {
              return const Center(
                child: Text('This story does not have a
                             link'),
              );
            }
            return WebView(
              javascriptMode: JavascriptMode.unrestricted,
              initialUrl: story.url.toString(),
              gestureRecognizers:
                <Factory<VerticalDragGestureRecognizer>>{
                Factory<VerticalDragGestureRecognizer>(
                  () => VerticalDragGestureRecognizer(),
                )
              },
            );
          },
        ),
      ),
    );
  }
In this code, we do the following:
- Define a provider for _storyController.
- Build a Scaffold inside of the provider, selecting the story using Selector.
- Display a loading indicator if the story has not loaded.
- Display a message if the story does not have a URL.
- Display a WebView if the story has loaded and it also has a URL.
We have not added the logic to retrieve our _storyController or load the story, so we will do that next by adding the following code preceding the build method:
  late final StoryController _storyController;

  @override
  void initState() {
    super.initState();
    _storyController = StoryController(context.read())
      ..getStoryById(widget.storyId);
  }
Now, we just need to round out this page by adding an arguments class to the bottom of the file, similar to StoryDetailsViewArguments.
class StoryWebViewArguments {
  StoryWebViewArguments(this.storyId);

  final int storyId;
}
Revisit story_list_view.dart and update the _navigateToWebview function to navigate to our source web view using these arguments. Replace the function with the following code:
  void _navigateToWebview(Story story) {
    Navigator.of(context).pushNamed(
      StoryWebView.routeName,
      arguments: StoryWebViewArguments(story.id),
    );
  }
This function will merely redirect to the story source view, adding the arguments property with StoryWebViewArguments that we just created.
Finally, we just need to refactor app.dart to make use of the new view and new arguments class. Inside MaterialPageRoute.builder add the following code after the first switch case:
              case StoryWebView.routeName:
                assert(routeSettings.arguments != null);
                final arguments =
                    routeSettings.arguments as
                      StoryWebViewArguments;

                return StoryWebView(
                  storyId: arguments.storyId,
                );
The changes that we introduce are as follows:
- Throw an error if no arguments are provided
- Attempt to parse the arguments correctly
- Pass storyId from the arguments to the source view
Now, re-run the application and observe changes, which should lead to the following screen:
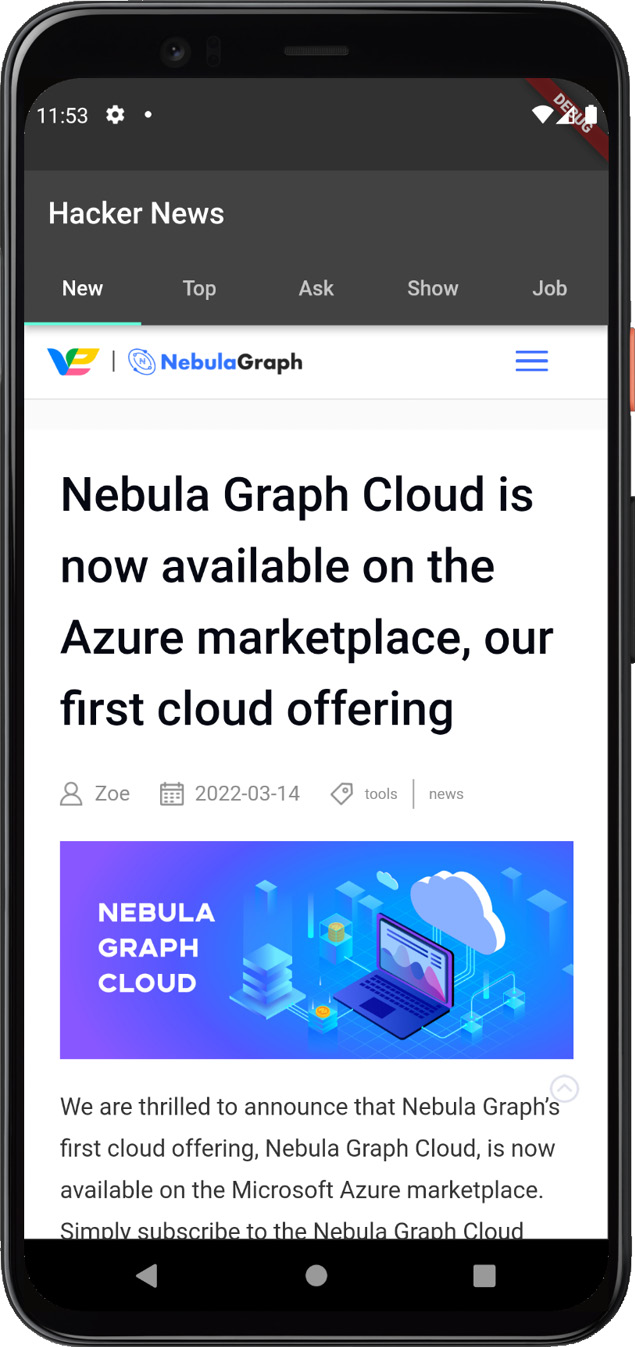
Figure 5.10 – Story source view
As you can see from Figure 5.10, we now have a view of the story’s source URL that matches our details view!
In this section, we finally put our newfound knowledge of Navigator to good use, building out our Hacker News application and demonstrating the following:
- How to navigate to pages using arguments
- How to persist page information even as we navigate back and forth between pages.
- How to translate page parameters into data using our previously created StoryController
In the next section, we will discover how to build declarative applications with Navigator 2.0 and Google’s GoRouter library.
Declarative routing with Navigator 2.0
Now that we have learned how to build our Hacker News application using Flutter’s legacy navigation APIs, we can refactor our Hacker News Application to use Flutter’s declarative Navigator 2.0 APIs. Specifically, we will look at how to use a newer library provided and maintained by the Flutter team called go_router. Navigator 2.0 was introduced to provide a more powerful, declarative API that would empower developers who suffered from some of the shortcomings of Navigator 1.0, specifically the following:
- The inability to have more fine-grained control over the navigation stack.
- The inability to properly handle web URLs and deep linking.
- The inability to have state changes easily triggers navigation.
The Navigator 2.0 spec, while more powerful is a more low-level API that is missing many of Navigator 1.0’s capabilities, such as pushReplacement or pushNamed. Fortunately, Google actively maintains a library that abstracts that complexity called GoRouter. In this section, we’ll learn the following:
- How to set up our application to use Navigator 2.0
- How to define routes in GoRouter
When setting up routing using GoRouter, there are two classes that you will rely on, GoRouter and GoRoute. Let’s start using them to understand how they work. Create a file called app_router.dart in your src directory and add the following code:
final appRouter = GoRouter(
  routes: [
    GoRoute(
      path: '/',
      builder: (context, state) => const Material(
        child: Center(
          child: Text('Hello GoRouter'),
        ),
      ),
    ),
  ],
);
We have created a simple variable called appRouter using the GoRouter class, which does the following:
- Define a list of routes that will keep track of all the routes in the application
- Create a single GoRoute in the routes list that uses the / path and will display the centered text Hello GoRouter when a user logs in
GoRouter is an important class that abstracts the complexity of Navigator 2.0 by automatically creating two classes that it relies on:
- RouterDelegate
- RouteInformationParser
GoRoute declaratively maps URL paths to widgets via the builder method. As we will discover later, it additionally handles route nesting along with redirects.
Next, we need to replace our old MaterialApp with one that relies on our appRouter. Inside of the app.dart file, add the dependency on app_router to the top of the file and replace MaterialApp with the following code:
    return MaterialApp.router(
      restorationScopeId: 'app',
      localizationsDelegates: const [
        AppLocalizations.delegate,
        GlobalMaterialLocalizations.delegate,
        GlobalWidgetsLocalizations.delegate,
        GlobalCupertinoLocalizations.delegate,
      ],
      supportedLocales: const [
        Locale('en', ''),
      ],
      onGenerateTitle: (BuildContext context) =>
          AppLocalizations.of(context)!.appTitle,
      theme: ThemeData(),
      darkTheme: ThemeData.dark(),
      themeMode: ThemeMode.dark,
      routeInformationParser:
        appRouter.routeInformationParser,
      routerDelegate: appRouter.routerDelegate,
    );
In this code, we have the following:
- Swapped out the MaterialApp default constructor for the named MaterialApp.router constructor
- Provided the routeInformationParser with the one created by our appRouter
- Provided the routerDelegate with the one created by our appRouter
- Removed the onGenerateRoute and home properties
Now if we re-run our application, it should match the following screen:
Figure 5.11 – Story source view
From Figure 5.11, you should see that the single route that we added previously is displayed. Now, let’s extend our example a bit further to demonstrate routing between pages. Replace the routes that we have defined with the following code:
    GoRoute(
      path: '/',
      builder: (context, state) => Material(
        child: Center(
          child: TextButton(
            onPressed: () => appRouter.push('/page-two'),
            child: const Text('Go to Page 2'),
          ),
        ),
      ),
    ),
    GoRoute(
      path: '/page-two',
      builder: (context, state) => Material(
        child: Center(
          child: TextButton(
            onPressed: () => appRouter.go('/'),
            child: const Text('Go to Page 1'),
          ),
        ),
      ),
    ),
The code that we have added should define two routes that navigate back and forth between each other using two different methods:
- appRouter.push pushes a new route onto the navigation stack.
- appRouter.go replaces the entire navigation stack
Now, run the application and observe the following results when clicking back and forth between the buttons:

Figure 5.12 – Story source view
Figure 5.12 shows us the results of running the application and then tapping on the Go to Page 2 button, which redirects us to the page-two route.
The most powerful feature that we have introduced with these changes is web support. Run the application using flutter run -d chrome and you should observe the following when navigating directly to #/page-two:

Figure 5.13 – Story source view
From Figure 5.13, you can see that the correct page has been displayed without any extra effort on our part. Using Navigator 2.0 in the browser with URLs just works.
These capabilities are all the basics that we need to understand about the go_router library. Now that we understand how to use Navigator 2.0, we can refactor our Hacker News application to take advantage of more complex scenarios with the popular go_router library
Simplifying Navigator 2.0 with GoRouter
Now that we have gotten familiar with how to use GoRouter we can begin to refactor the Hacker News application to take advantage of its features. First, we need to swap out our demo routes with the actual routes to our application. Inside of app_router.dart replace GoRouter.routes with the following:
GoRoute(
      path: '/',
      redirect: (_) =>
        '/stories/${StoriesType.newStories.name}',
    ),
    GoRoute(
      path: '/stories/:storyType',
      builder: (context, state) {
        final storyTypeName =
            state.params['storyType'] ??
              StoriesType.newStories.name;
        final storyType =
          StoriesType.values.byName(storyTypeName);
        return HomeView(key: state.pageKey,
                       storyType: storyType);
      },
      routes: [
        GoRoute(
          path: 'story/:id/details',
          name: StoryDetailsView.routeName,
          builder: (context, state) {
            final id = int.parse(state.params['id']!);
            return StoryDetailsView(key: state.pageKey,
                                    storyId: id);
          },
        ),
        GoRoute(
          path: 'story/:id/source',
          name: StoryWebView.routeName,
          builder: (context, state) {
            final id = int.parse(state.params['id']!);
            return StoryWebView(key: state.pageKey,
                                storyId: id);
          },
        )
      ],
    ),
Make sure to resolve any dependency errors that are reported. This code should not look too dissimilar from our original onGenerateRoute, and does the following:
- Create a / root route that will redirect to the /stories/:storyType route that displays Home.
- Create a story/:id/details route that will display the StoryDetailsView widget with the provided storyId.
- Create a story/:id/source that displays the StoryWebView widget with the provided storyId.
The :[parameter] keyword is a special pattern that enables us to include parameters in the route’s path. We can then access those parameters from the GoRouterState.params object passed into the builder function.
Next, we need to swap out instances where the application navigates using Navigator for instances using our appRouter. Find the _navigateToStoryComments and _navigateToWebview functions inside of story_list_view.dart and replace them with the following code:
  void _navigateToStoryComments(int storyId) {
    appRouter.pushNamed(StoryDetailsView.routeName,
        params: {'storyType': widget.storiesType.name,
                 'id': '${storyId}'});
  }
  void _navigateToWebview(int storyId) {
    appRouter.pushNamed(StoryWebView.routeName,
        params: {'storyType': widget.storiesType.name,
                 'id': '${storyId}'});
  }
Now, instead of using Navigator, we are using appRouter and passing the correct story type. If we run the application, we should be met with the result matching our previous example.
Figure 5.14 – Hacker News app
If the application matches Figure 5.14, we should see a full Hacker News application and be able to navigate back and forth between details views and source views.
Now that we have wrapped up our application, let’s review what we have learned.
Summary
In this chapter, we learned how to build multi-page applications using Navigator 1.0. Then, we build a more complex Hacker News application to demonstrate how to pass arguments from page to page and use those arguments to display information. Finally, we rewrote the application using GoRouter to take advantage of Navigator 2.0’s declarative APIs and ability to display pages in the browser, based on their URL.
By learning how to build multi-page applications, you now understand how to provide a more robust experience to users that will work both on mobile devices and in browsers.
In the next chapter, you will learn how to build an application that responds to user input with forms and input fields.
Further reading
- Navigation and routing: https://docs.flutter.dev/development/ui/navigation
- GoRouter: https://gorouter.dev